Posted on 4 Comments

September Photo a Day Final Instalment

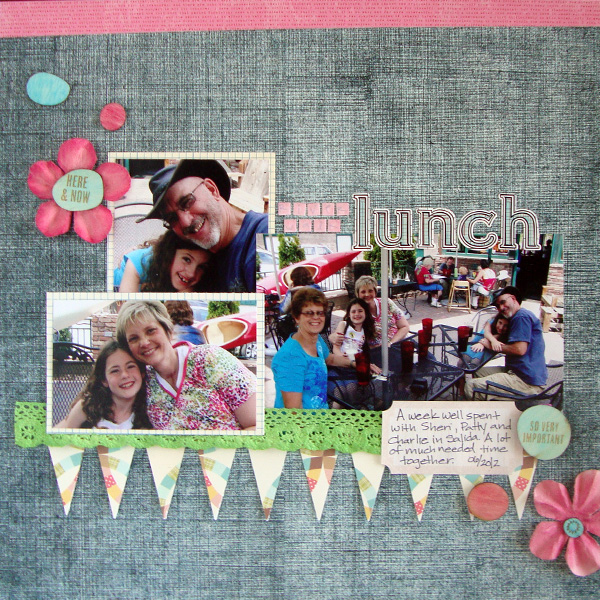
Here are the last 8 photos for my Photo a Day Challenge this month at Get It Scrapped.  I am a little sad to see it go!  I think I will just have to make sure it happens again later this year 😉

If you are looking for a fun read or activity over the weekend check out the great scrapbooking ideas at Get It Scrapped!

22 – The Color Purple

image(1)
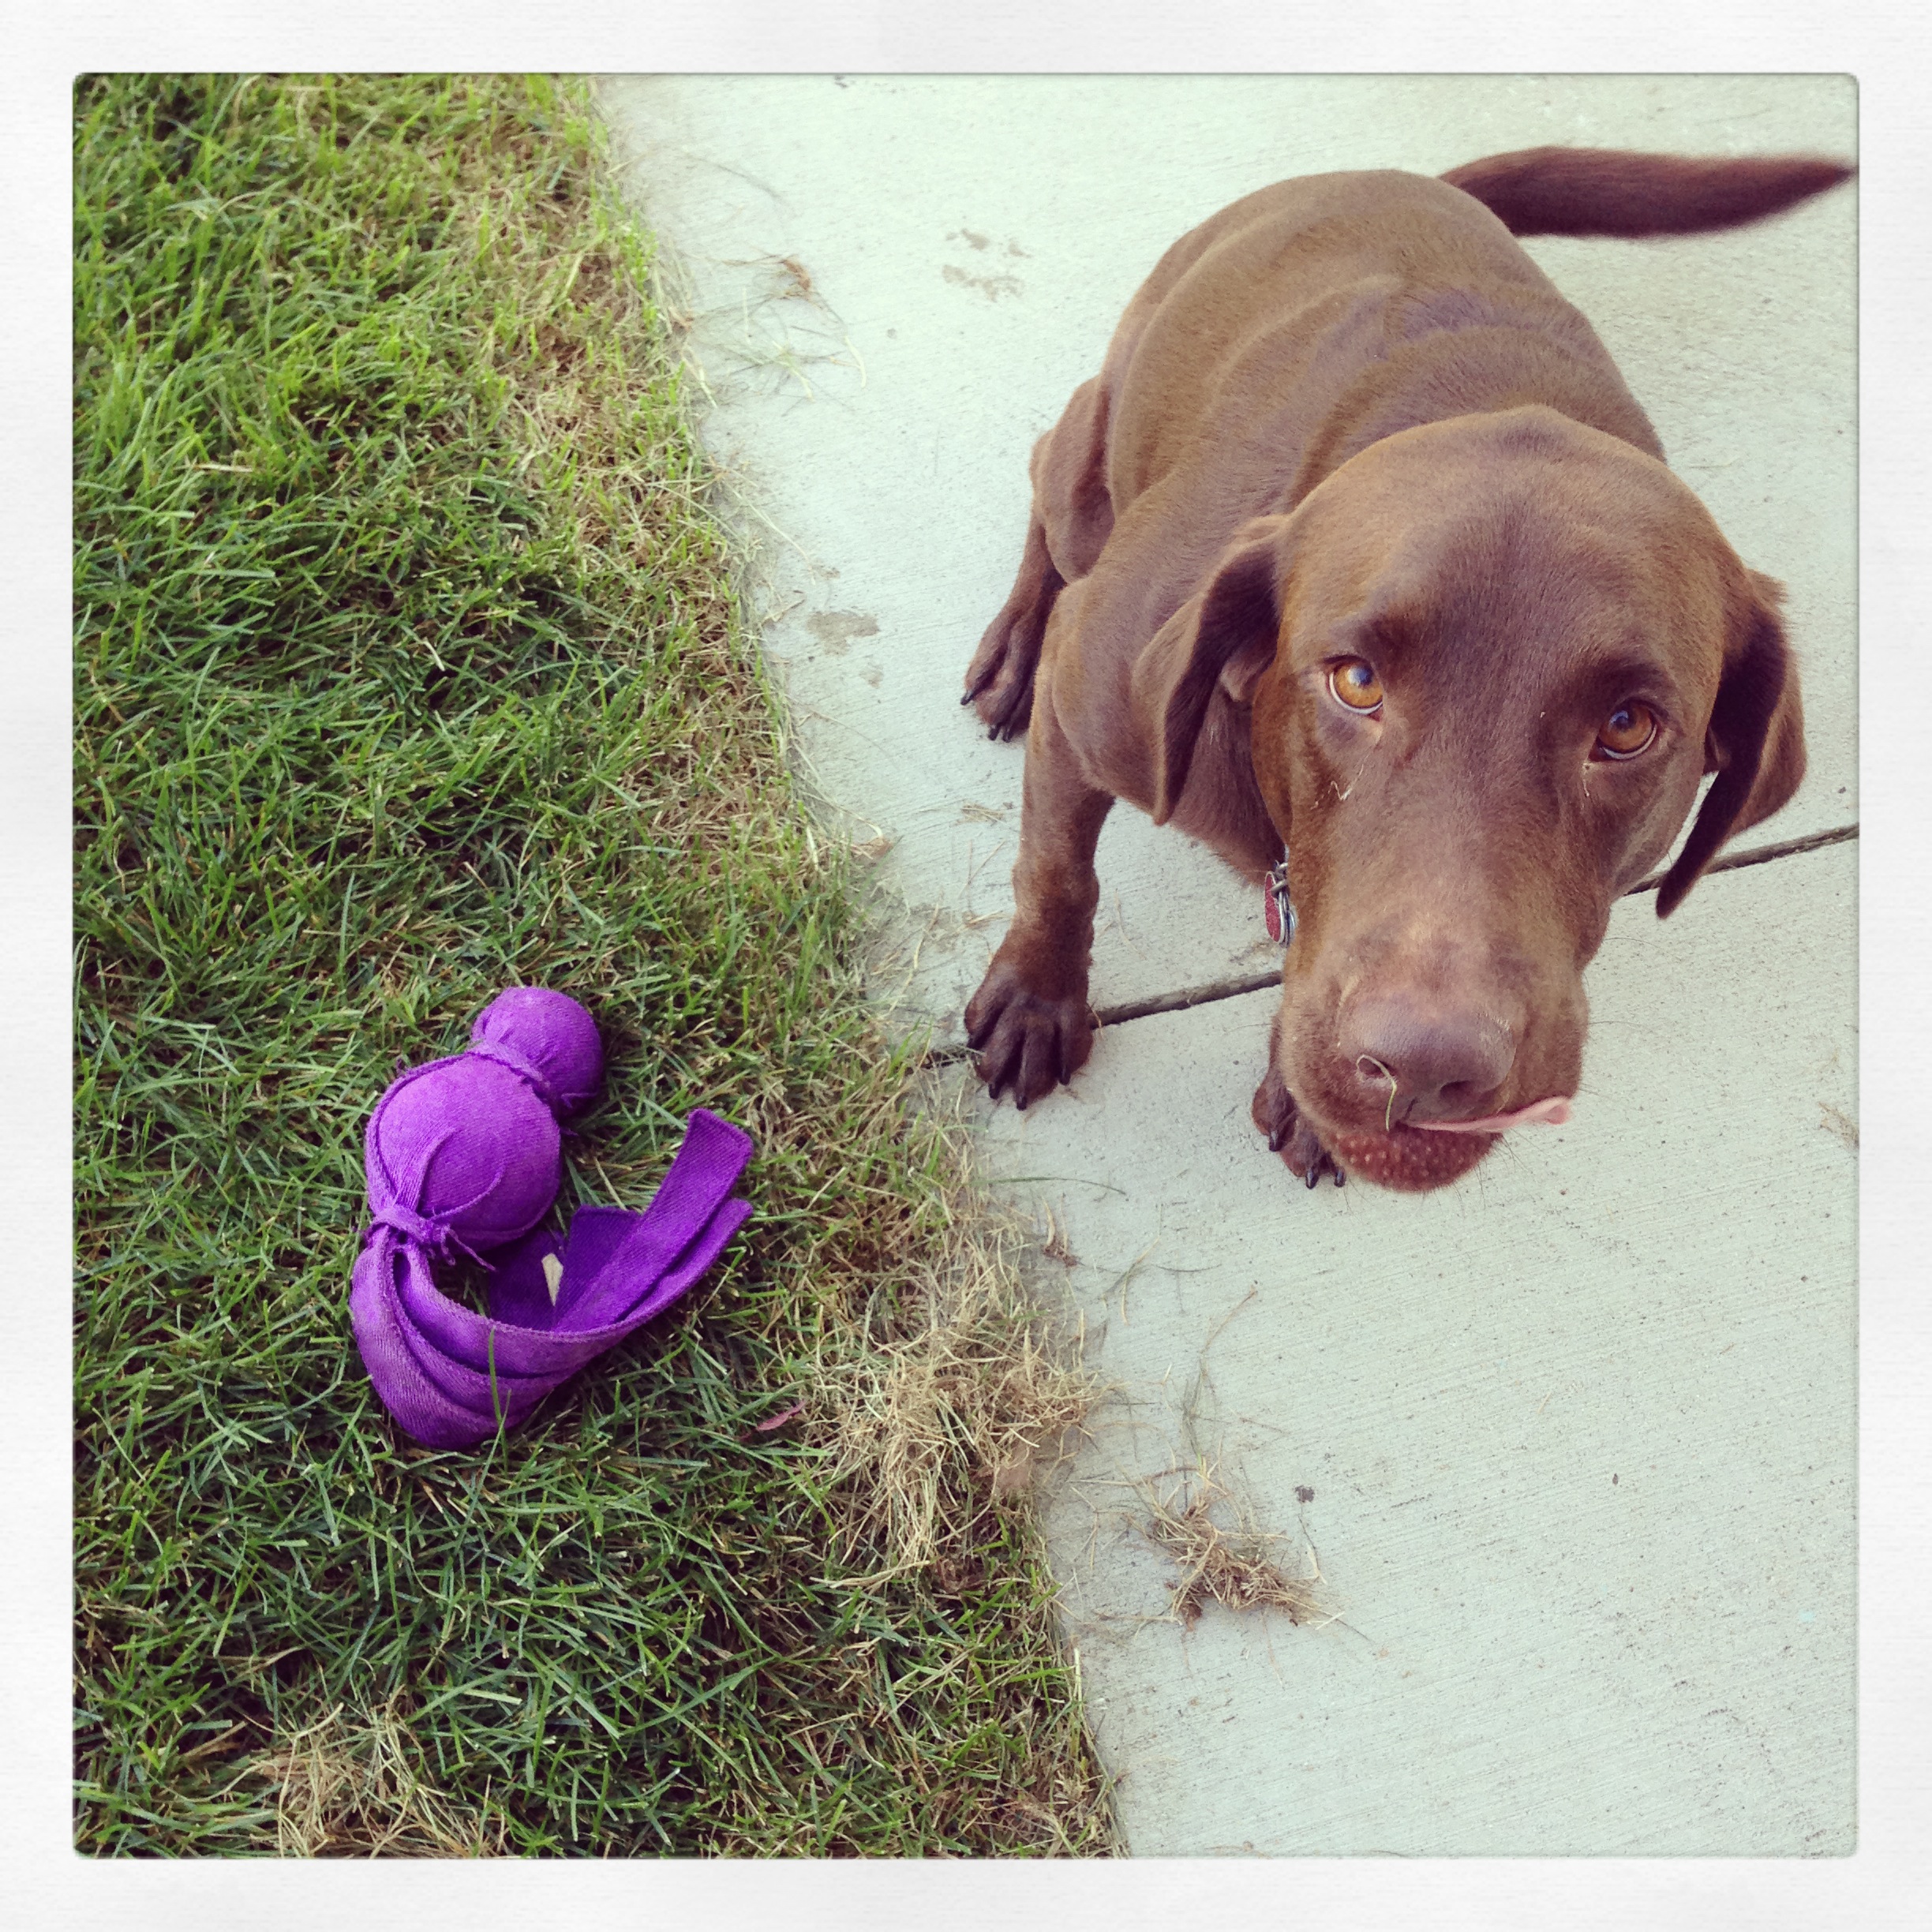
Maisey’s favorite color is the color purple, at least her Wuba is purple even if she’s color blind she LOVES her Wuba!  I even caught her licking her lips she loves it so much ha ha!

23 – Little House in the Big Woods

image(13)We have an entire town sitting behind our couch on a table, not just one little house.

24 – Perks of Being a Wallflower

image(4)
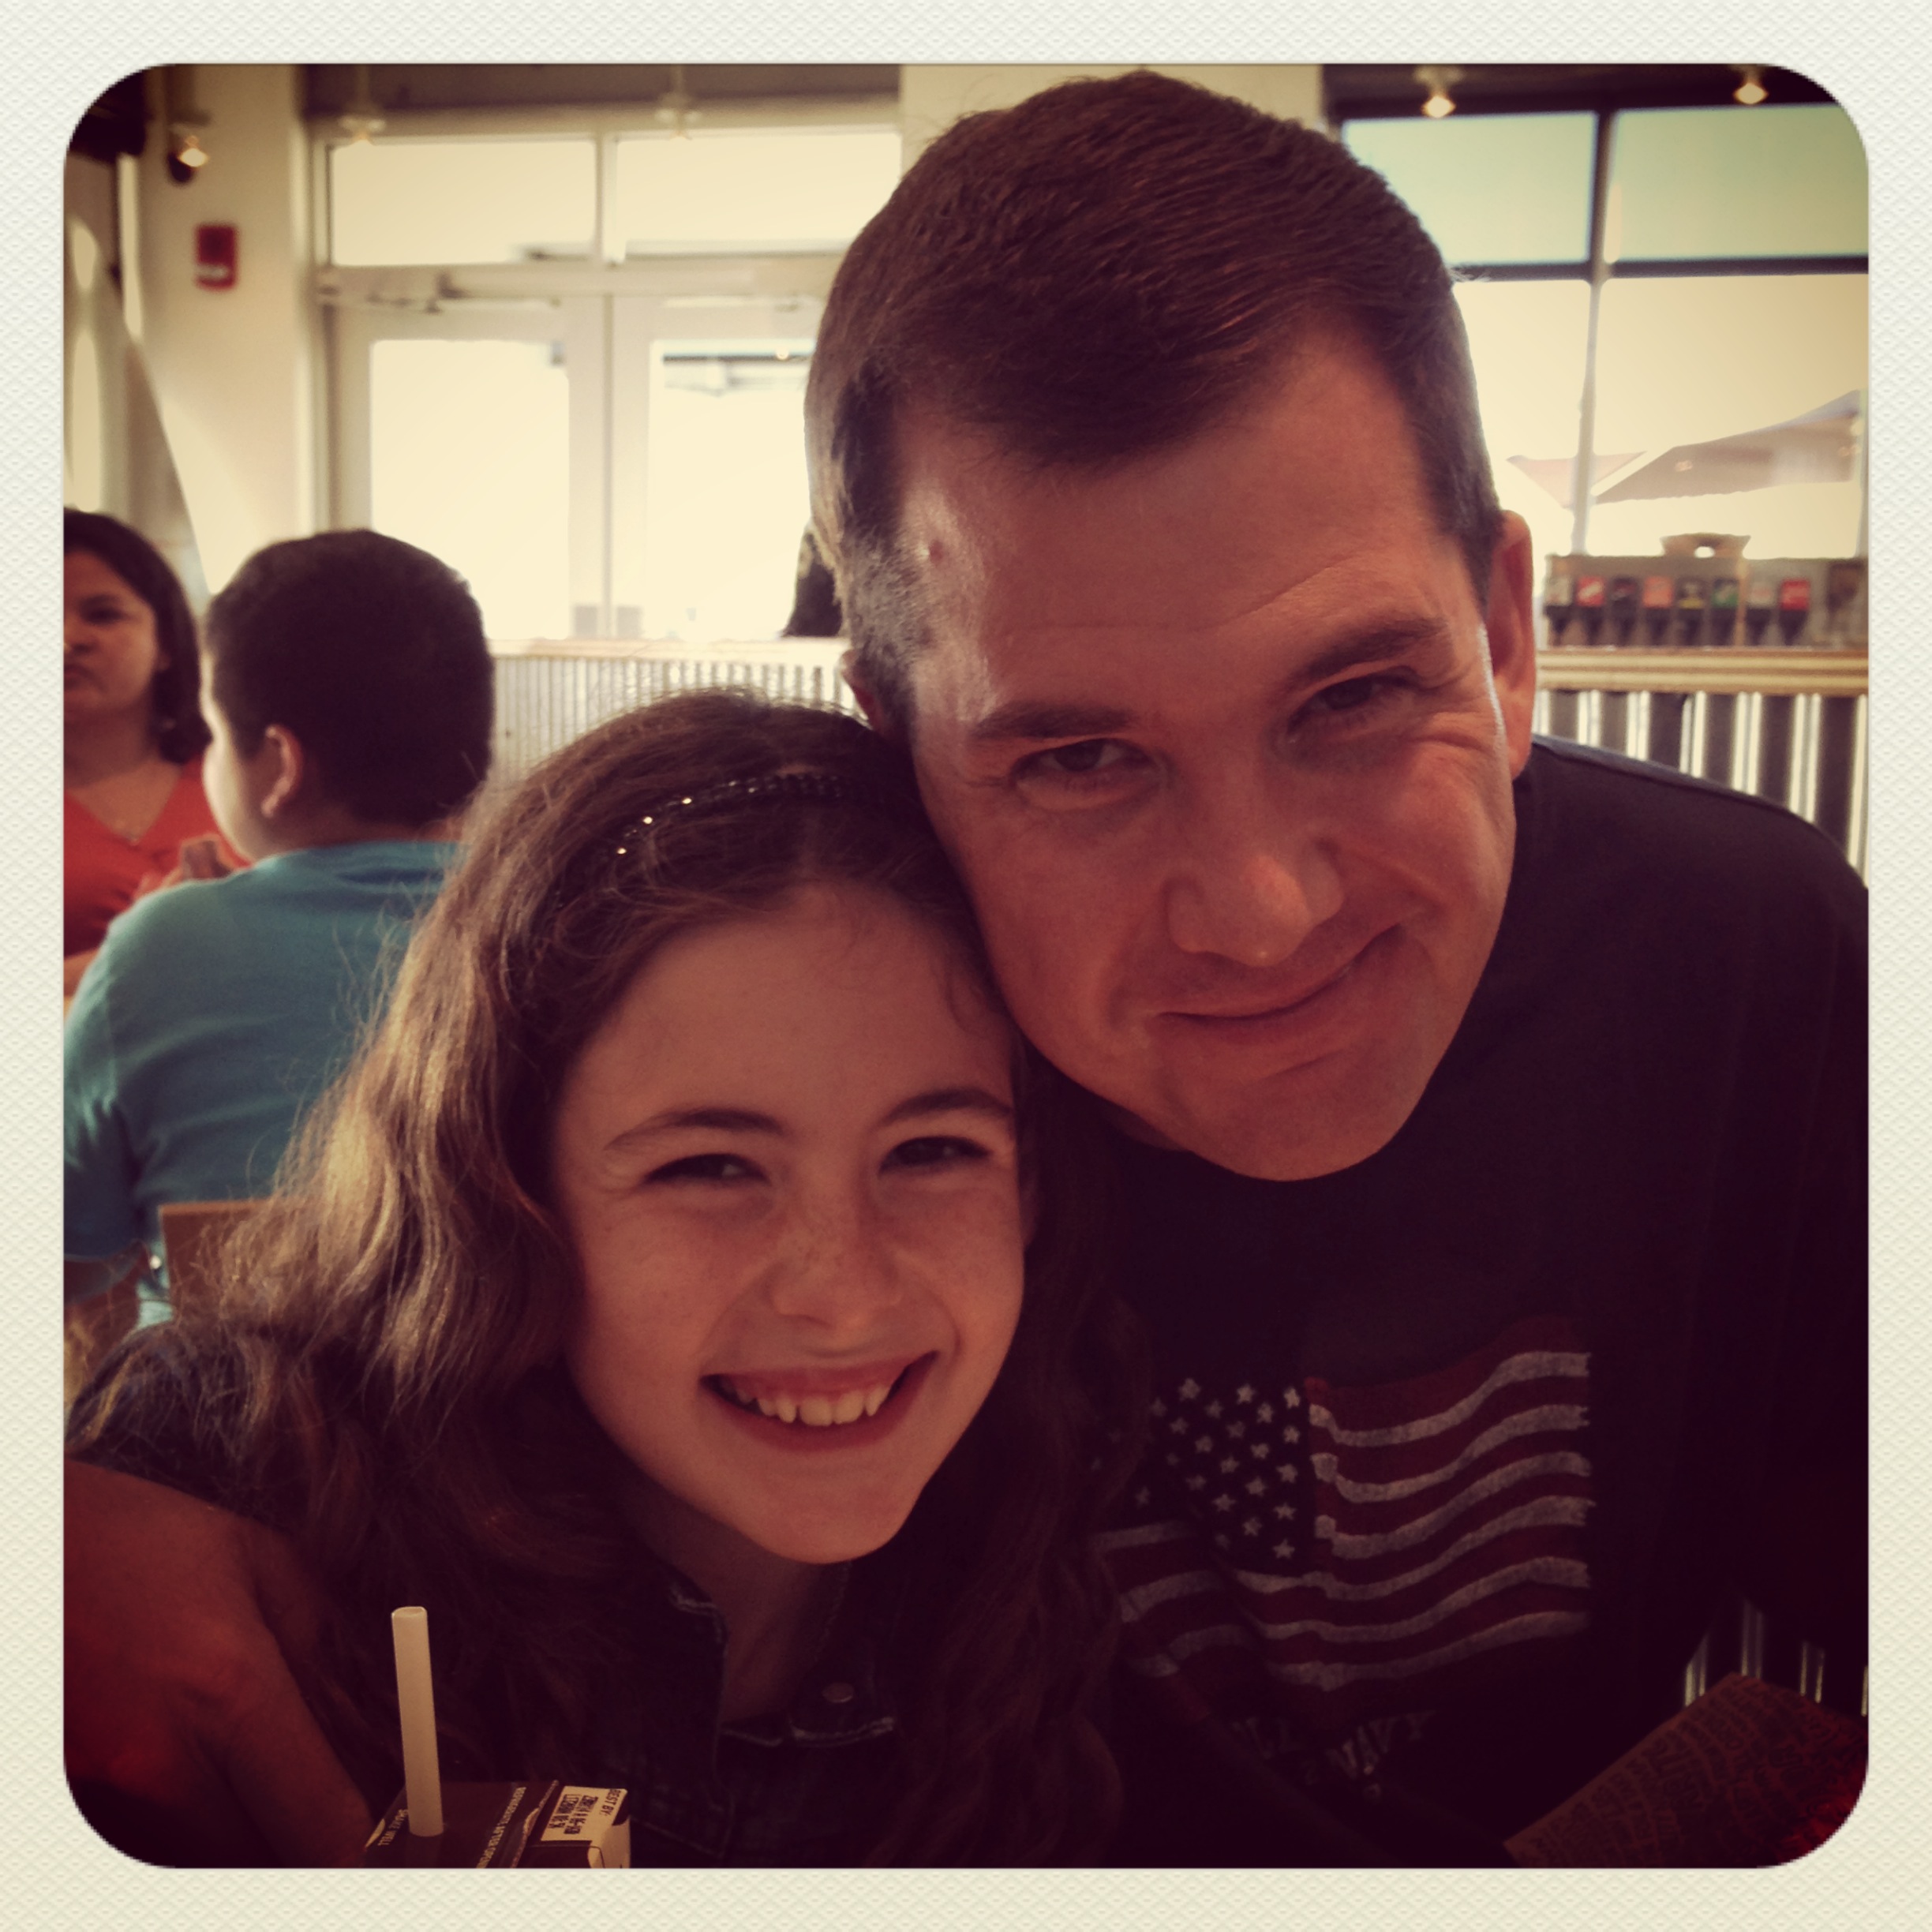
Sometimes when you are stuck at home with Mom and Dad because your sister got invited to a party there are perks!  Chipotle, Yummmm!

25 – Oh the Places You’ll Go

imageFound this in our yard this morning, the top was about 4 inches across and from this view looked very Dr. Sues to me 🙂

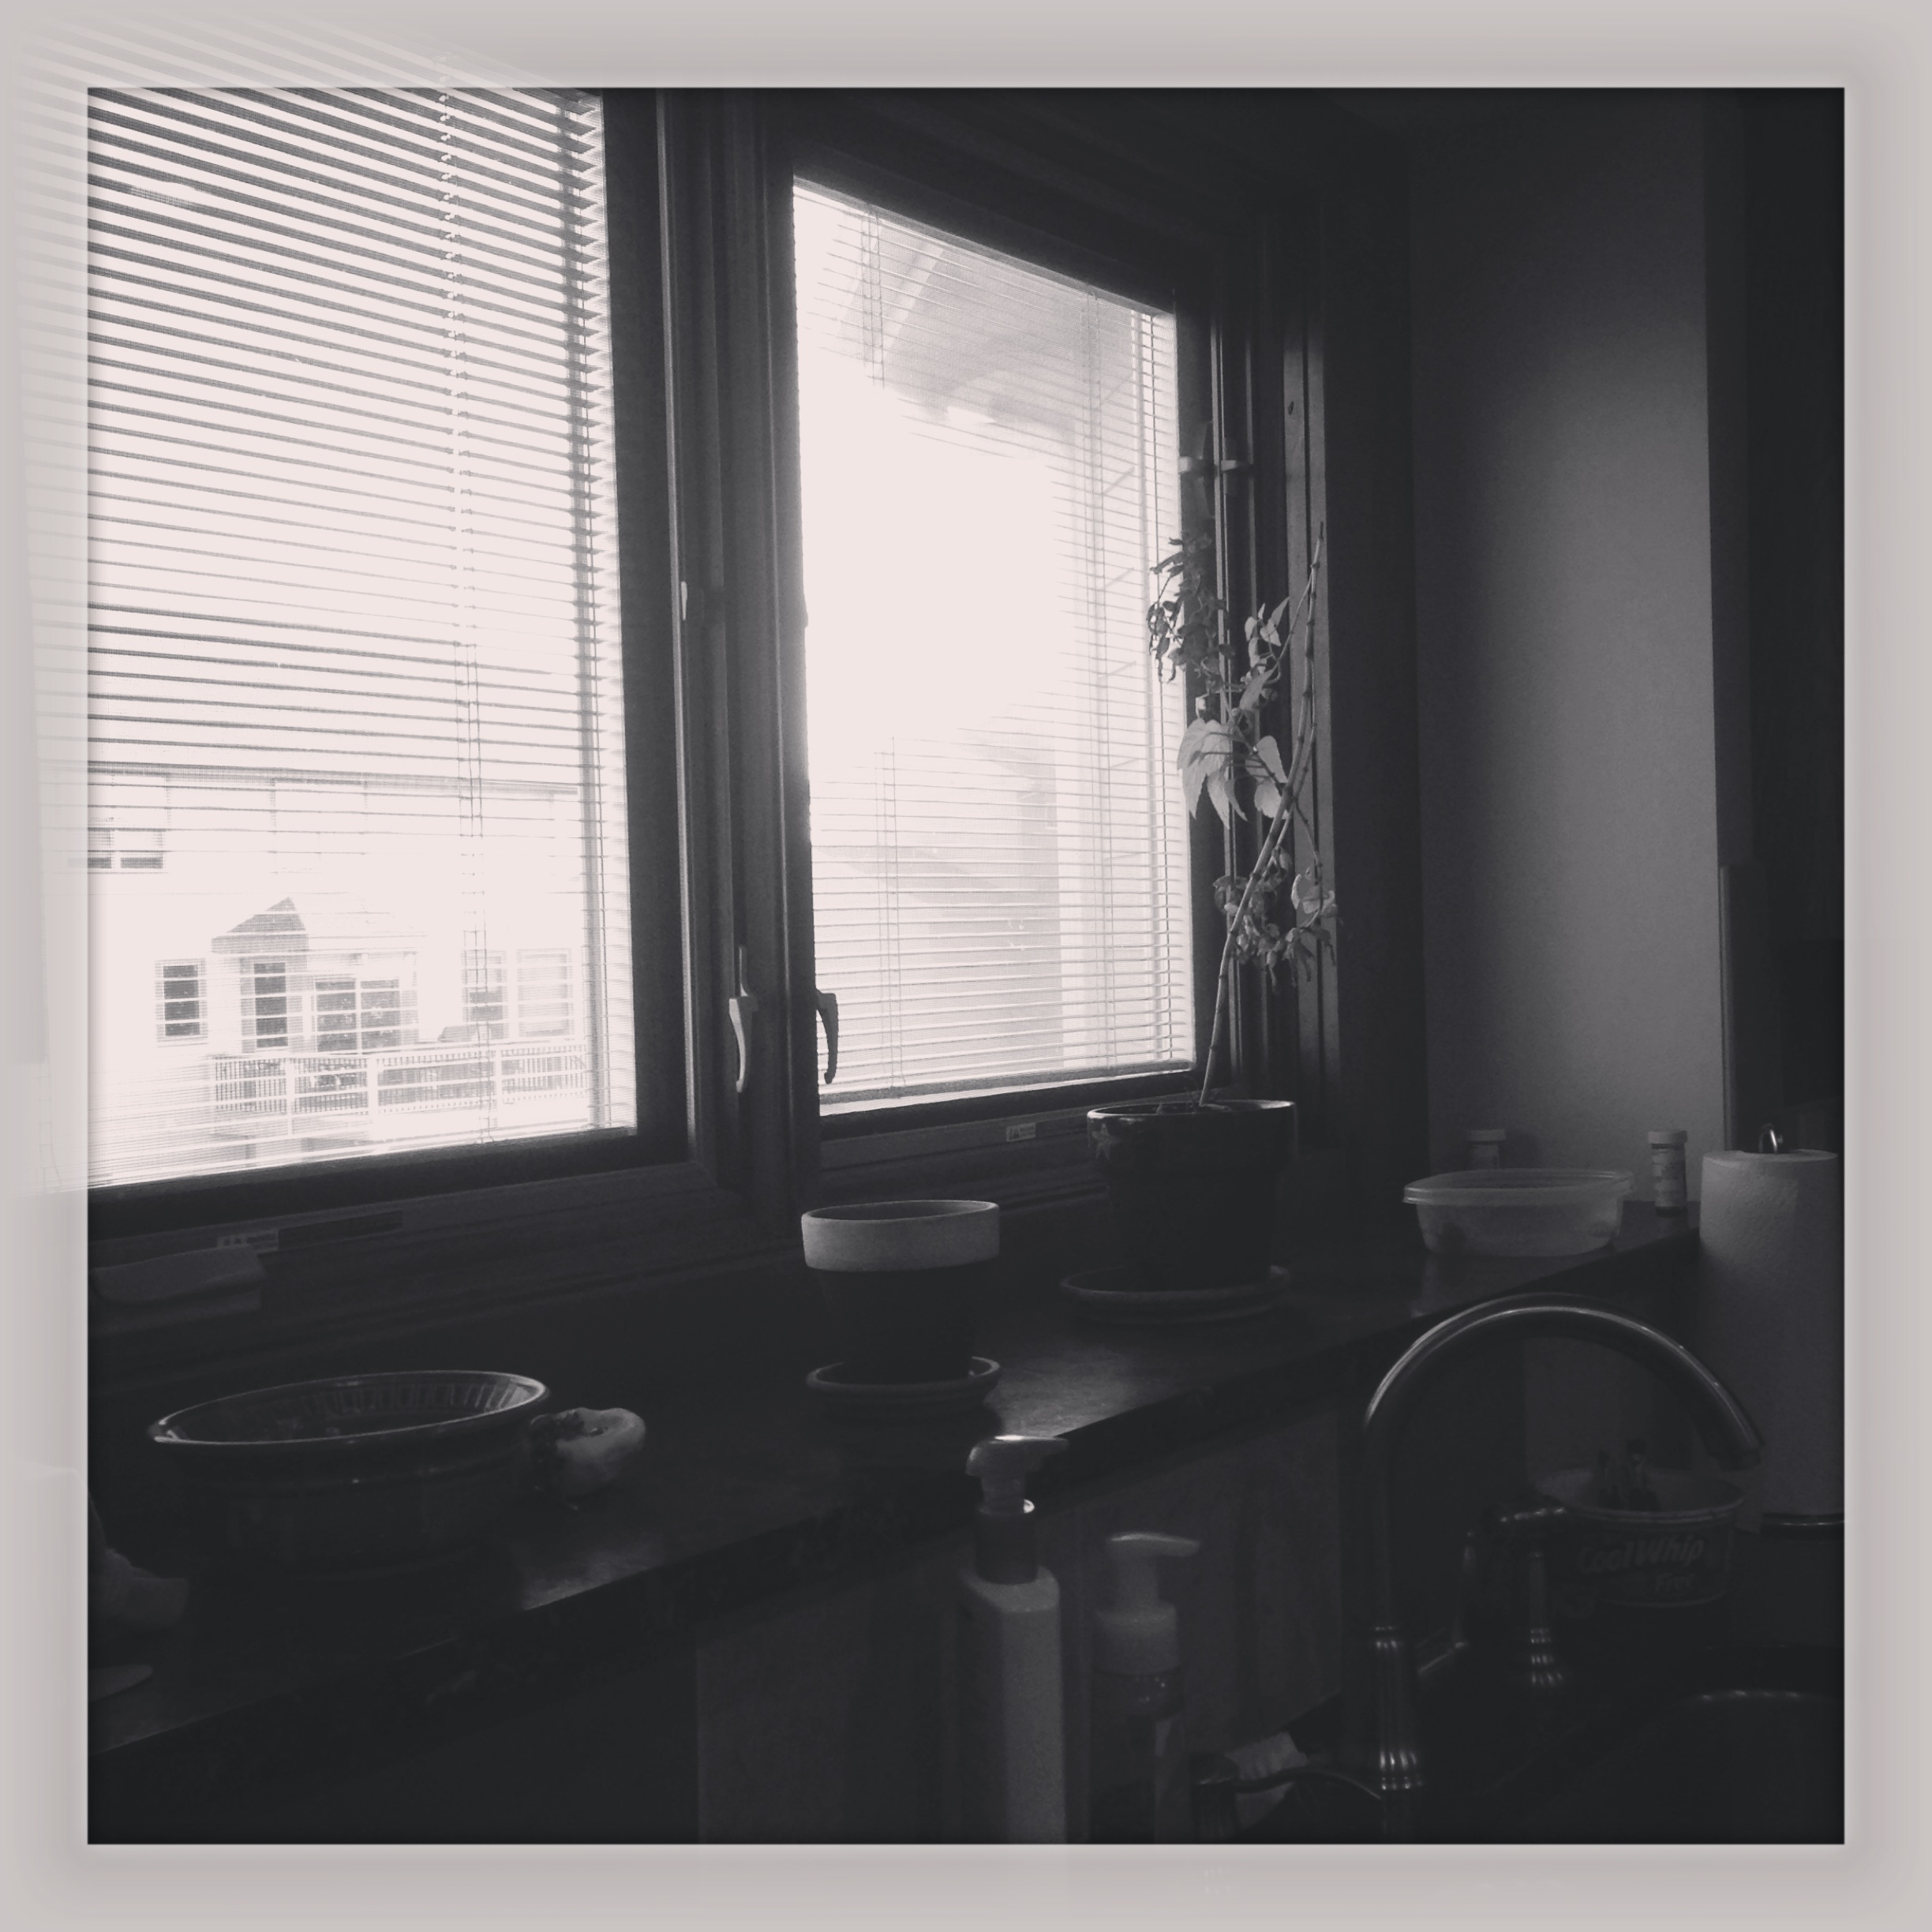
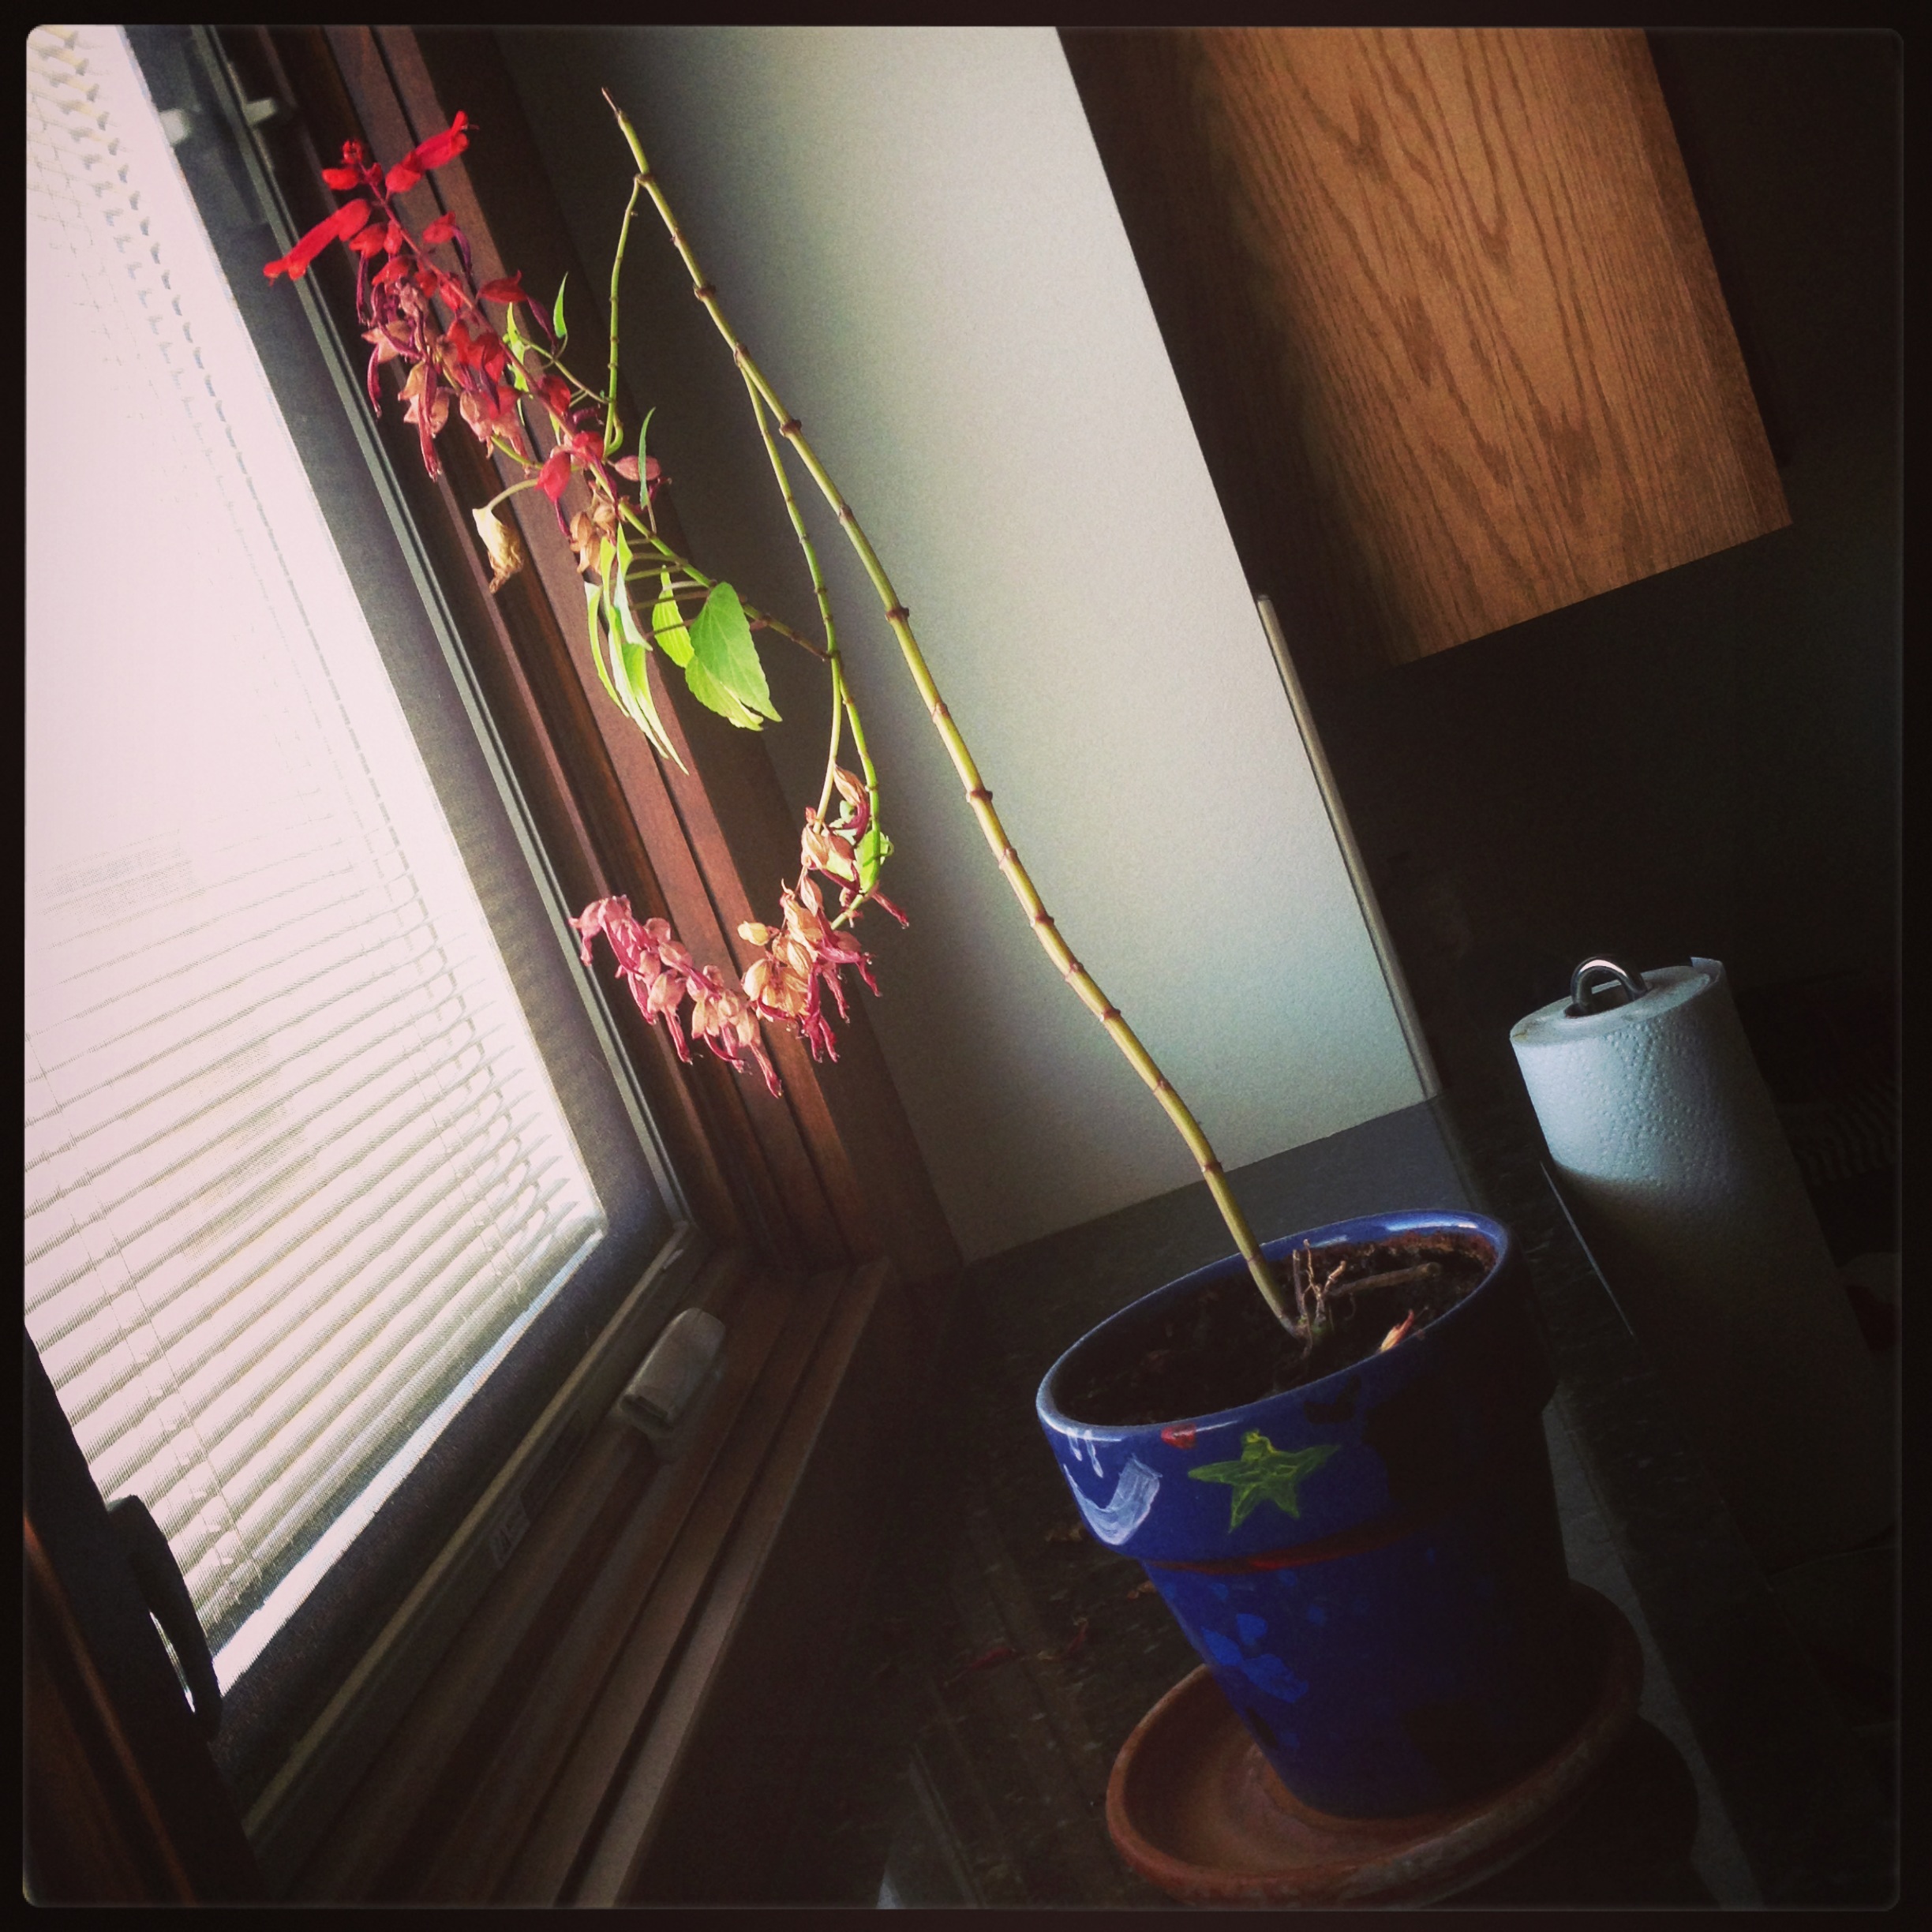
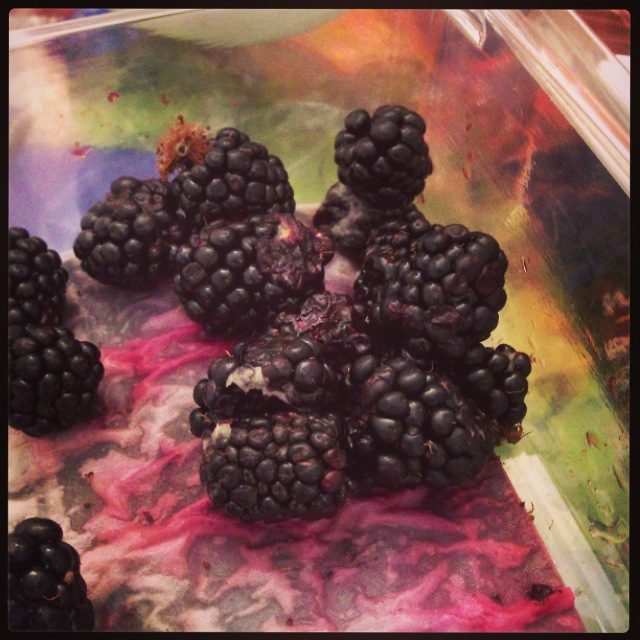
26 – Scarlett Letter

image(3)
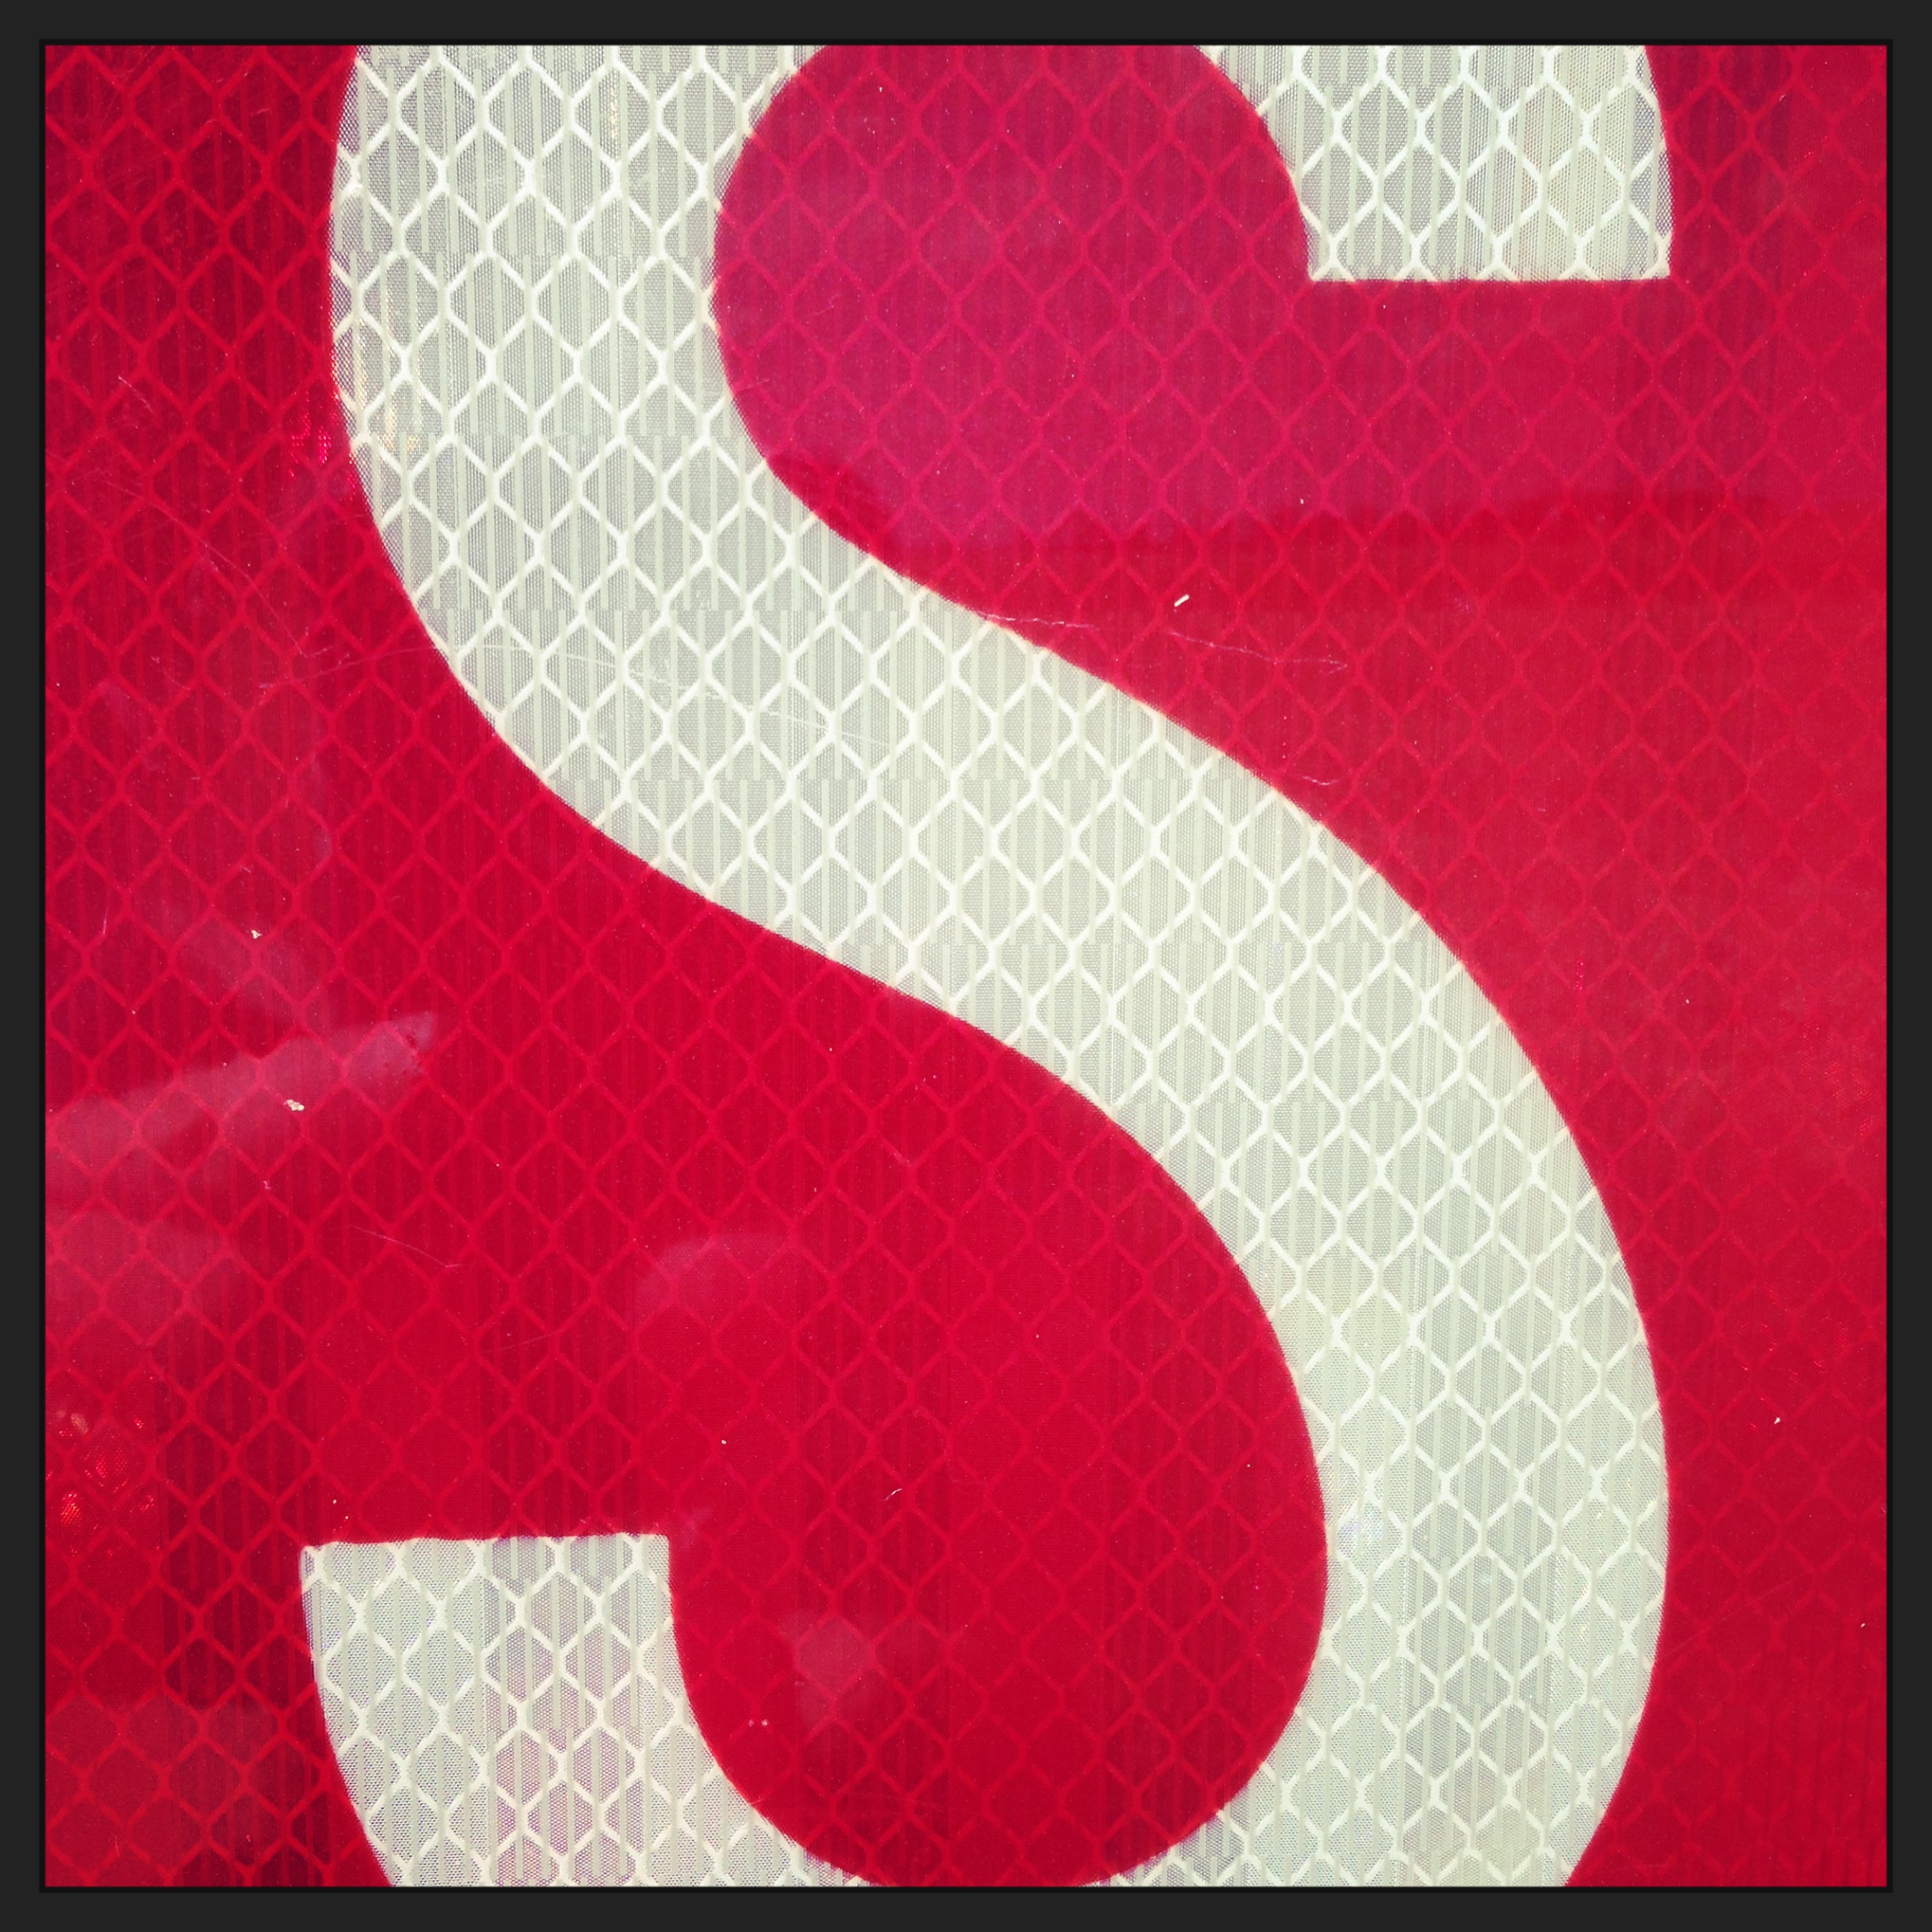
Extreme close up but I think you get it.

27 – Twilight

image(2)
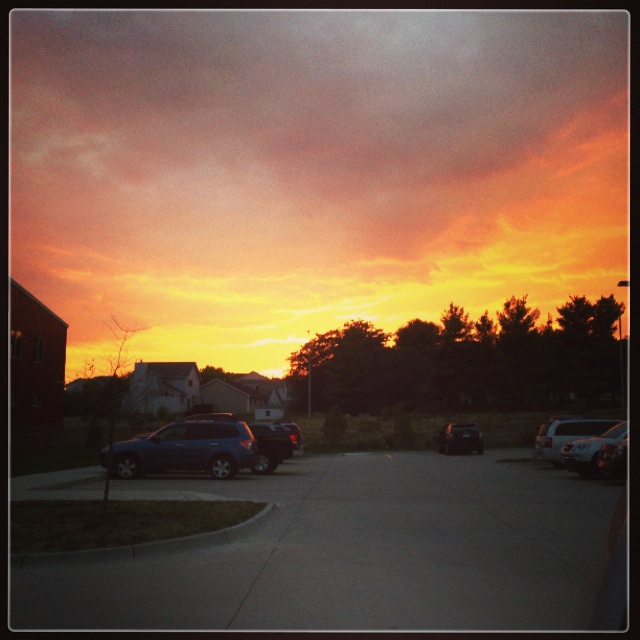
Caught this one going in to gymnastics Tuesday night.

28 – “May the wind under your wings bear you where the sun sails and the moon walks.” from The Hobbit

image(5)
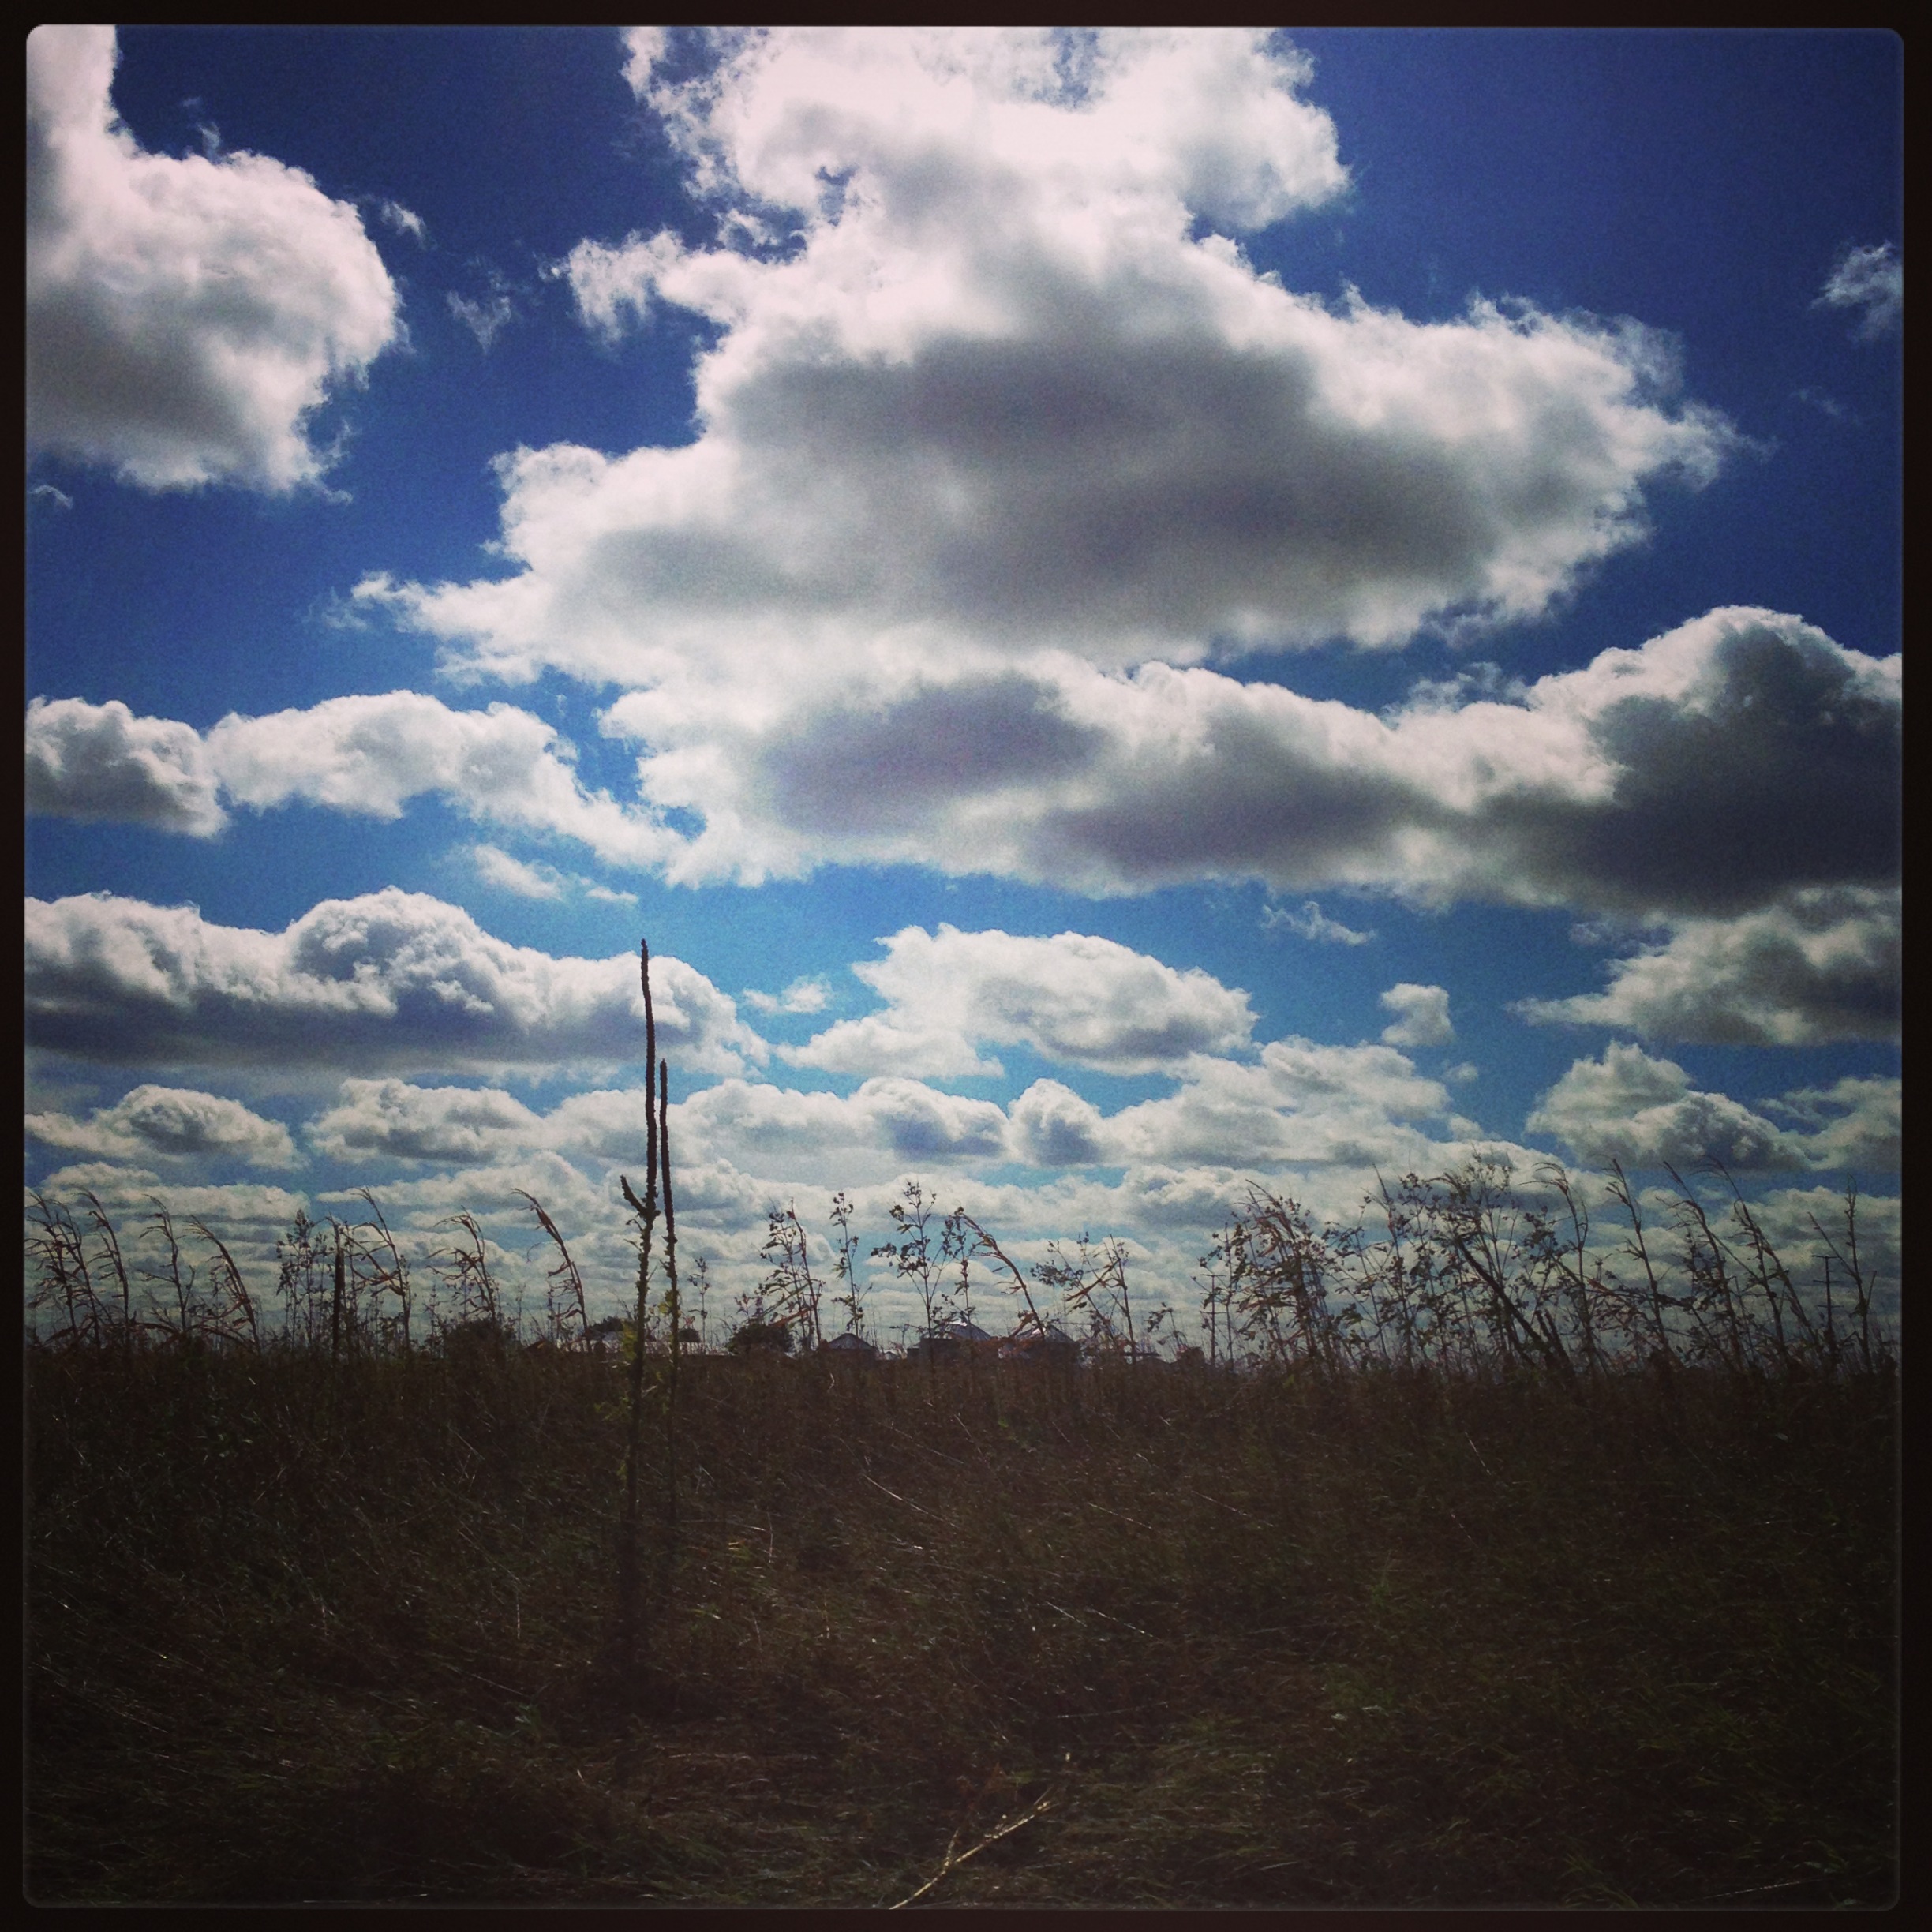
This just seemed to fit and showed the beauty of where I live.  Sometimes it is hard to see in the humidity, wind, and flat land.
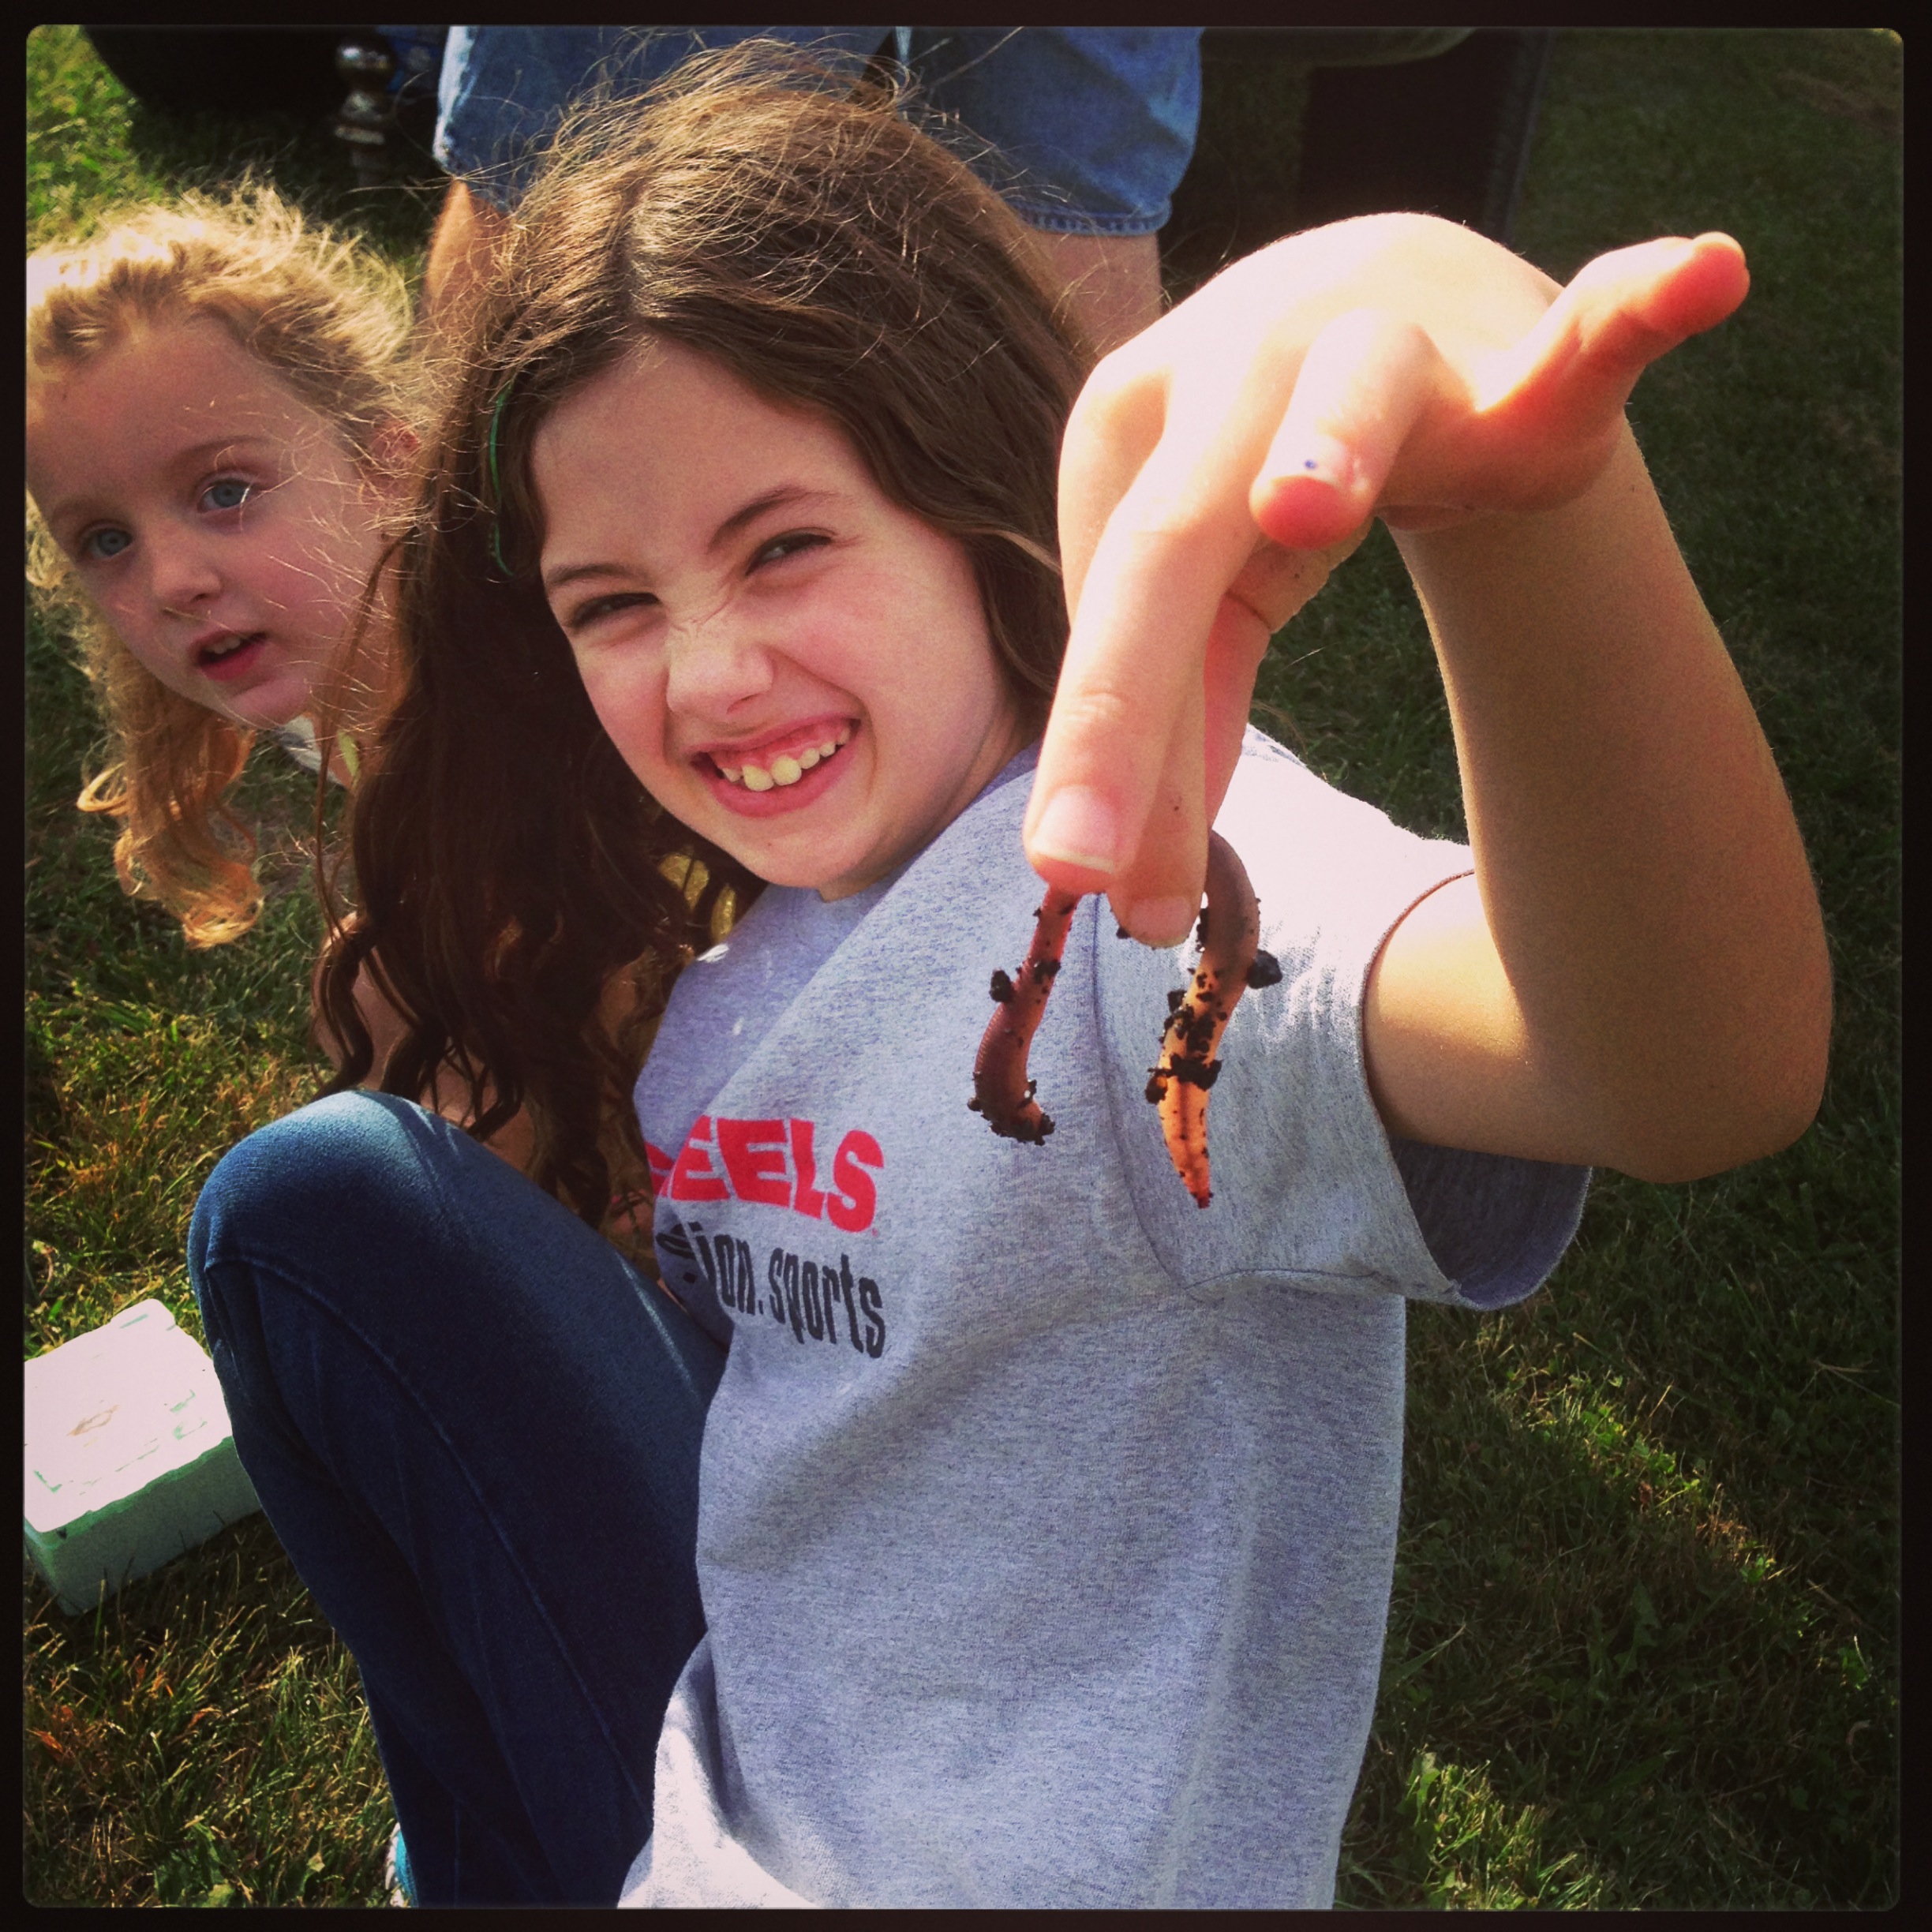
29 – Outliers

image(6)
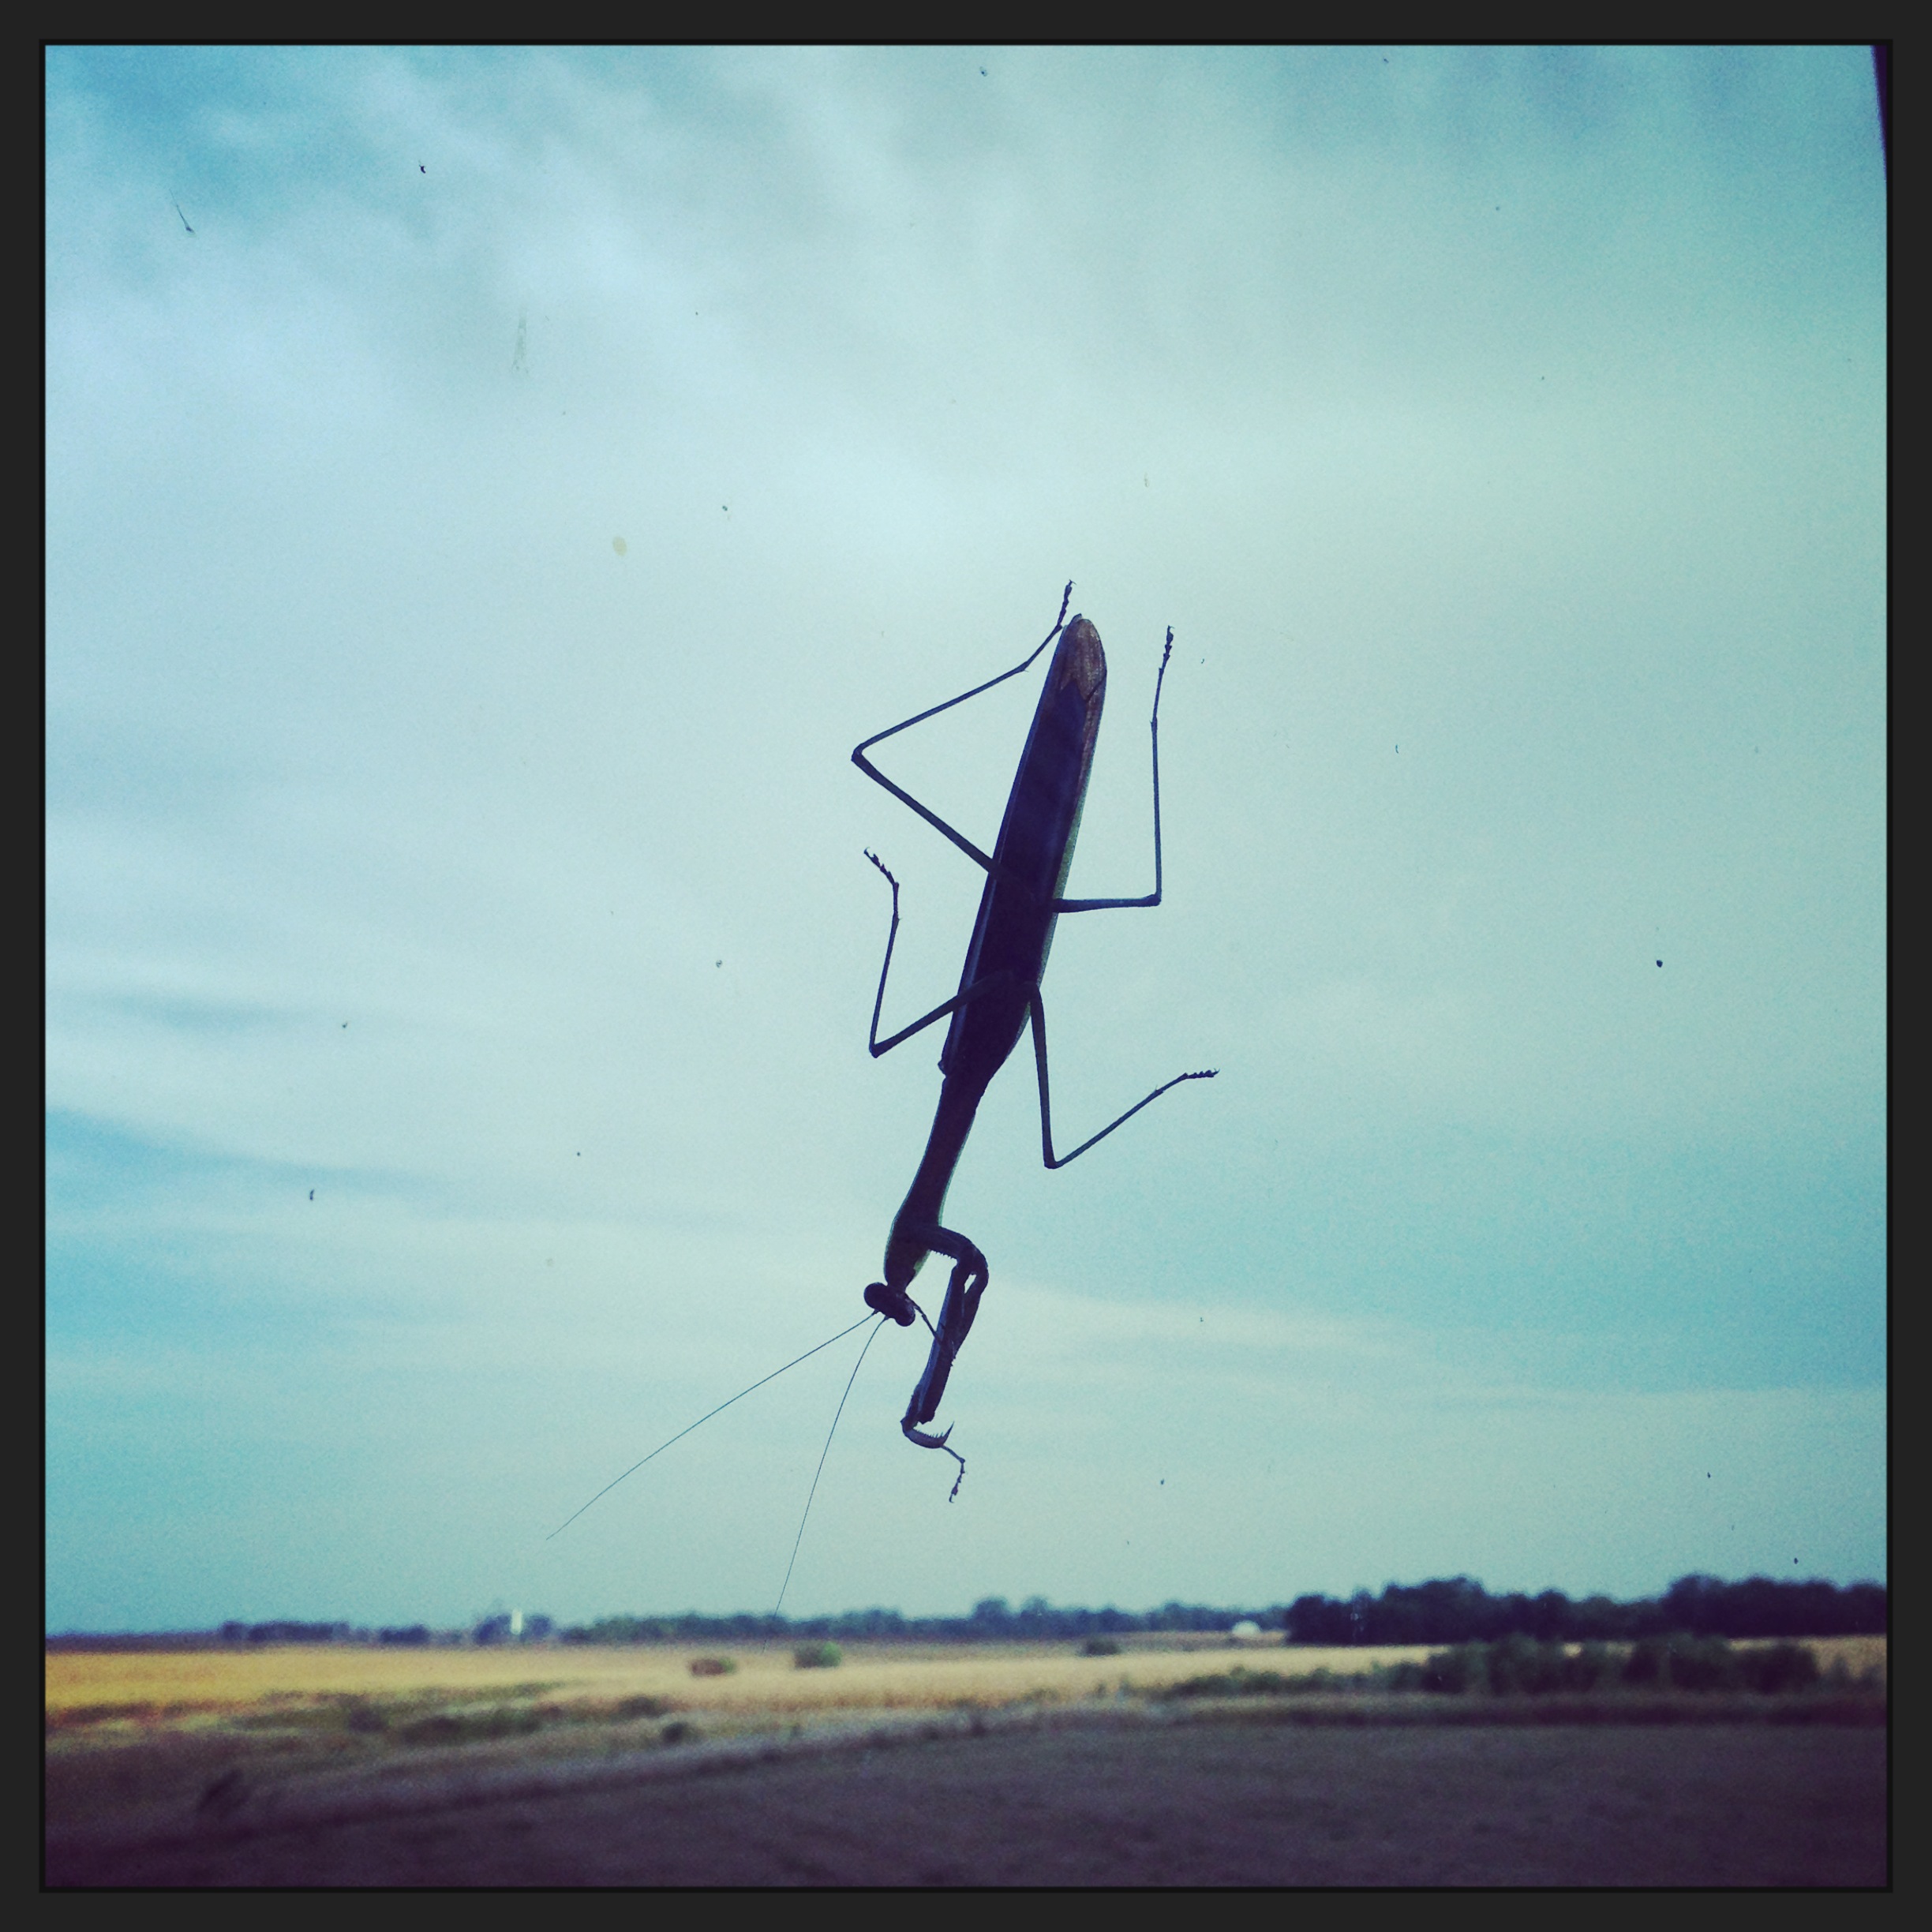
Thought Doris would appreciate this.  This little guy was clinging to the window outside the YMCA where I teach.  I almost missed him but it was so cool he just looked like he was floating!

Argh! Just realized I missed one, The Book Thief, I had planned on taking a picture of a book that accidentally made the move from Ohio with me.  I had borrowed it to read, never read it and forgot to give it back ooops!  Really truly!

Hugs all!  Hope you have a great weekend!

Posted on

Copic Embellishments and Masterful Scrapbook Design

There is a new article over at Get It Scrapped highlighting just a few of the fun ways to use Copic markers on you scrapbooking layouts.  Here is the page that I added to the article;

Copic EmbellishmentsRiver Walk Lunch by Michelle Houghton | Supplies: papers: October Afternoon and Jillybean Soup; flowers: Prima; wood veneers and label: Studio Calico; sticker letters: Jenni Bowlin and Adornit; lace: American Crafts; ink: Copic; layot design: Scrapbook Coach On A Shelf class

The article highlights many of the coloring and dying techniques that I used on this page so I will let you sneak over there to get all the details.  HERE

And if you are looking for great scrapbooking ideas make sure to put Get It Scrapped at the top of your list!

Here is another bit of inspiration from Get It Scrapped as well.  Have you heard of Masterful Scrapbook Design?

Posted on 3 Comments

September Photo a Day part 2

Here is my next batch of photos from the Get It Scrapped photo a day challenge for September.  If you would like to see the full list click HERE and join us in the forums to play along.

11 – The Joy Luck Club

image(4)Can you see the joy?

12 – The Happiness Project

image(12)I am busy de-cluttering my house one shelf, or drawer at a time.  This junk drawer got attacked first and is now making us all happy!

13 – “Small acts of kindness and love.” – Gandalf

image(10)This is a shredded napkin.  It makes me laugh because this is what my mother does to napkins she shreds them.  I had a very nice lunch with my husband this week at a favorite restaurant and at the end this is what I had left of my napkin.  It reminds me of my Mom AND my wonderful lunches with my amazing husband double love!

14 – “A person’s a person no matter how small” – Horton

image(2)Yep  creepy crawlies for fishin’.  Not  a person but certainly a small critter.

15 – Divergent

image(3)This really cool fire hydrant was beside our little fishing pond out in the middle of a big grassy property.  Really right in the middle!  So random!

16 – Rear Window

image(6)Here is my kitchen window.  This is the rear window that is mine, I am here A LOT!

17 – The language of flowers

image(5)These flowers are from my youngest daughter several years ago.  They came to me as a mother’s day gift in a little Styrofoam cup.  They grew and grew, we thought we had lost them then they came back, more than once.  We will be very sad if they ever finally give up.

18 – Let’s pretend this never happened

image(8)Yes.  That is a waffle in the trash can, a burnt waffle.  Pretty much regularly in this house I burn a waffle or a cookie.  I just try to juggle one too many things while cooking and the treats pay the price.  The girls are always up for “let’s pretend this never happened” though.  Thanks girls!

19 – Snugglepot and Cuddlepie

image(11)Not sure which is which but this is them!

20 – Rot and Ruin

image(14)We buy A LOT of produce in our house and eat most if not all of it every week.  But every once and a while we have something go bad.  The poor blackberries didn’t quite make it to the end of the week this week.

21 – “Reading is a gift” – Owen Meany

image(9)This girl knows it, she has a passion for it.  I am sooo very glad!

One group left to go! Hopefully I will have them for you next week.

Have a great end to your week!

Posted on

Ransom Titiles

There is a lot of new scrapbooking ideas at Get It Scrapped this week.  I recently had a layout posted with an article about including ransom titles on your layouts.  Here is what I created:

Ransom Title2 Wild and Crazy Girls by Michelle Houghton | Supplies: cardstock; Bazzill Basics, patterned paper; Echo Park and My Mind’s Eye, buttons; Button’s Galore, ink; Sharpie, letters; Pink Paisley, American Crafts, Heidi Swapp, Creative Imaginations, Basic Grey and Sandylion Essentials

The layout itself is based on a sketch in Debbie Hodge’s Scrapbook Coach class Criss Cross.  I had a great time finding all my old random and pulling them together for my long title.   Because of the “wild and crazy” title the embellishing became very minimal with just a few buttons and doodles with a Sharpie paint pen.  Every time I put buttons on my page now I am compelled to put thread through the holes.  Emily Pitts says she thinks they look like little eyes staring at her when they are not filled and now I can’t get that image out of my head ha ha.  I shared a tip in the article as well, when I did this title I actually put all my letters lightly on a sheet of clear plastic first so I could see how they would all fit together without committing to the series.   When I found the combination I liked I transferred them all to my layout.

Check out all the other beautiful ransom titles HERE

Have a great Tuesday!  I will be back tomorrow with more September Photo a day pics!

Posted on

New Class!

Shading-Badge

I have a brand new class at Creative Passion!  Here are all the details!  Click on the image above to take you to the sales page.

This class is for beginners and intermediate students who are ready to start coloring images on their own.

In this new one of a kind workshop, we will be focusing on where to put your shading and learning why it goes there. During class homework students will be asked to work in multiple mediums, Copics could be one of the mediums you choose but you do not have to own any markers to learn, gain knowledge and participate fully in this class.

What will I learn in this class?

This class will be concentrating on the basics of shading and adding cast shadows to images.  We will be using primarily simple shapes and forms to practice on during class assignments.  Your lessons will include:

  • Week 1:  Terminology, the “where” and the “why” of light
  • Week 2:  Basic Shapes
  • Week 3:  Transferring to complex shapes
  • Week 4:  Adding color


Shading--PromoImage

How will this help my art?

Shading for Copic Artists –

  • Become more confident adding shading and dimension to your own images and stamps.
  • Learn how to start combining color families in your shading to add even more depth and interest to your coloring

If you are brand new to Copics make sure to first check out Copic Craze or a similar beginning Copic class so you know how to use your markers.

Shading for Art Journalers –

  • Learn how to help shapes take on a three dimensional look
  • Add shading on figures to give them more character and life

Shading for Painters –

  • Learn to add dimension to still lives
  • Add shading to portraits and figure studies

Shading for Sketch artists –

  • Take the guess work out of where to put shading
  • Learn how to place cast shadows

 Your class will include:

  • 4 PDF lessons you can print and/or save to your computer to come back to as often as you want
  • JPG images of grids and basic shapes to print that will help you with class assignments
  • 4 videos that will compliment and expand on the written lessons
  • A private forum and gallery where you can get one on one help from Michelle and input from classmates

Register today and come back to the basics to learn how light works, how it will look on different shapes and forms and how it affects the area around an object.