Hey all I am making colorful messes today and playing with some gorgeous slimline dies today!Take a peek at my colorful, messy process. Happy New Years Eve by the way!😁
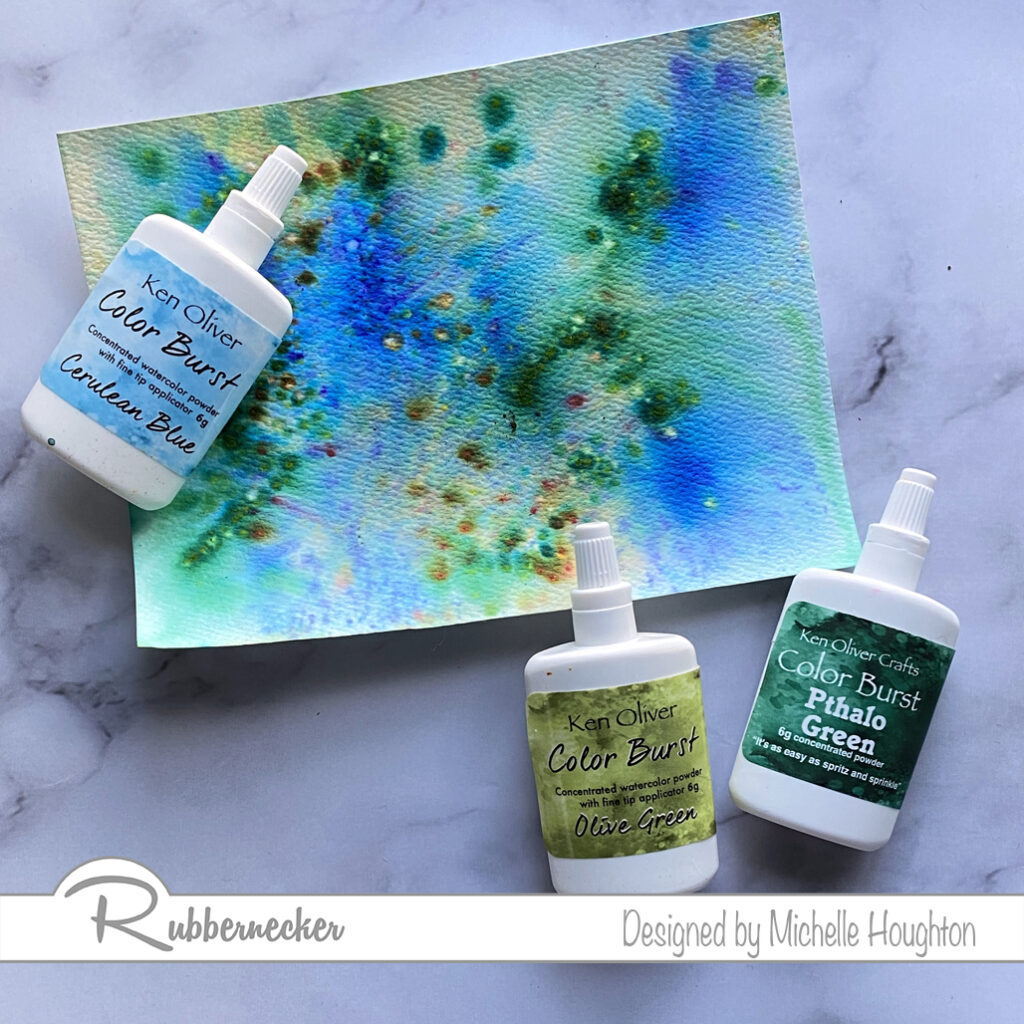
Dust 2 or three colors of Color Burst onto Neenah Bright White Felt Watercolor Paper.
Spray the paper with eater and allow the Color Burst to spread.
Let the paper dry completely.
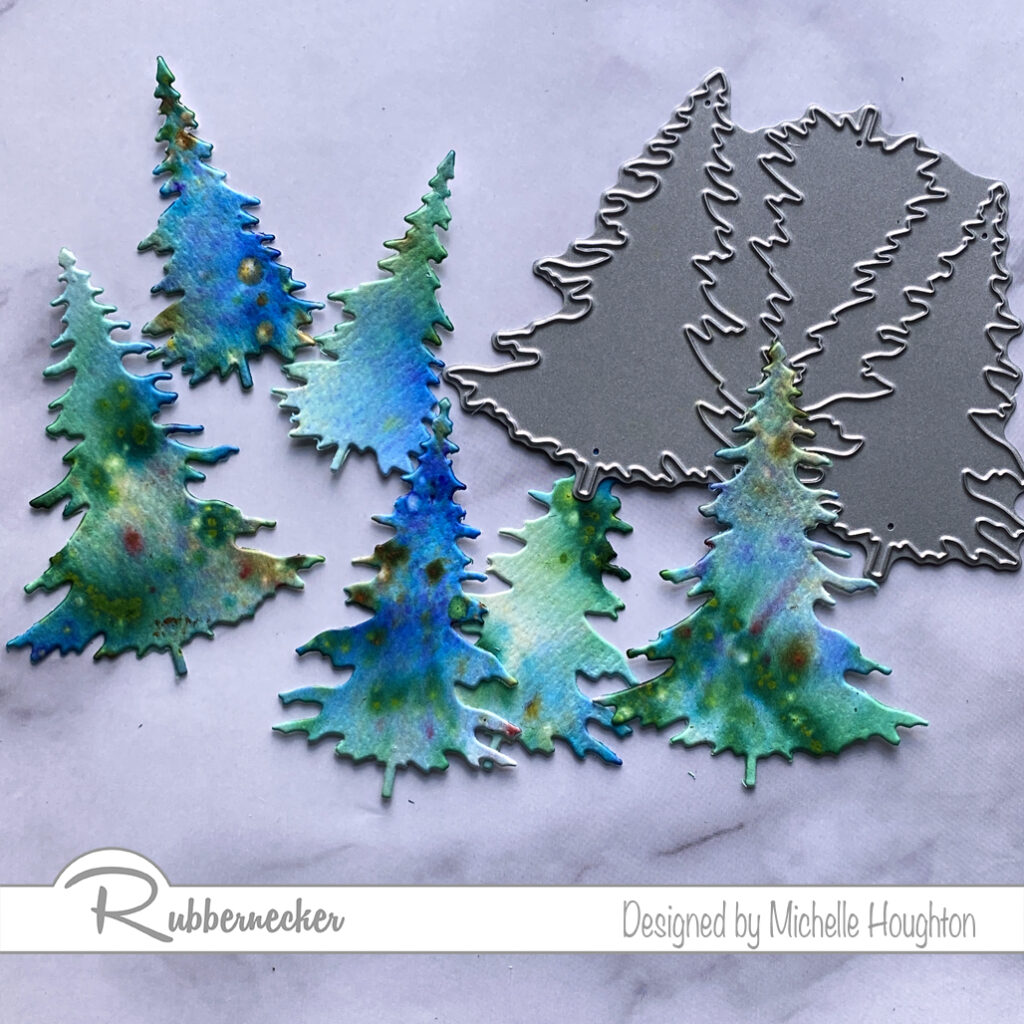
Use the Evergreen Trees Die to cut a small forest of trees out of the colorful paper.
Use the slimline Geometric Die on a silver metallic cardstock.
Use one of the nesting slimline scallop dies on the silver paper you just cut with the geometric die.
Use a second nesting slimline scallop die to cut a larger white base for the layers.
Adhere your layers working from the card base up.
Pop up the metallic silver layer.
Pop up two or three of the trees to a third level.
Thank you so much for stopping in! I am praying that all of my friends and family are healthy and safe moving into the 2021 year. I am praying for a healthier, more open year for all of us!
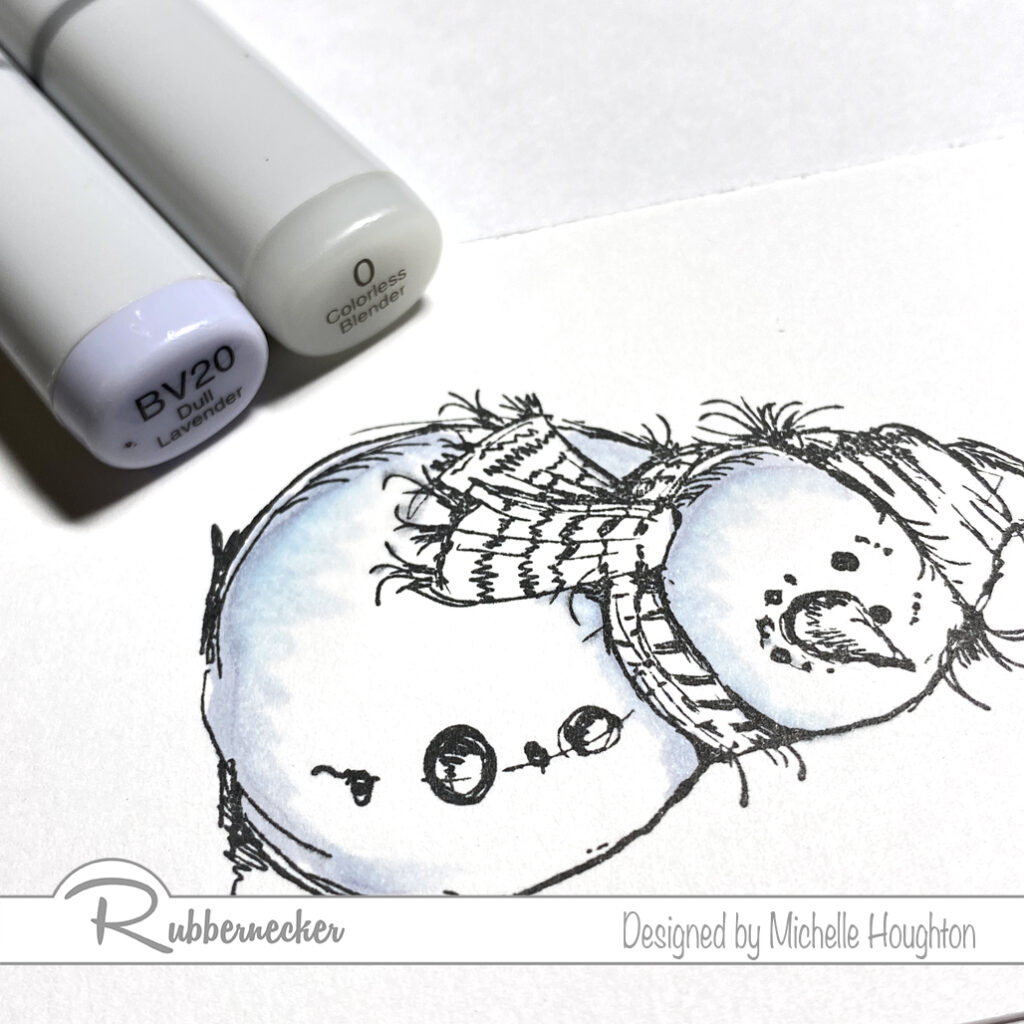
There are SO MANY snowman images out there! And I love them all. Let’s take a peek at one today and I will walk you through how I use Copics to color him up. The beauty is these steps can bee used on all your snow buddies! Let’s get coloring.
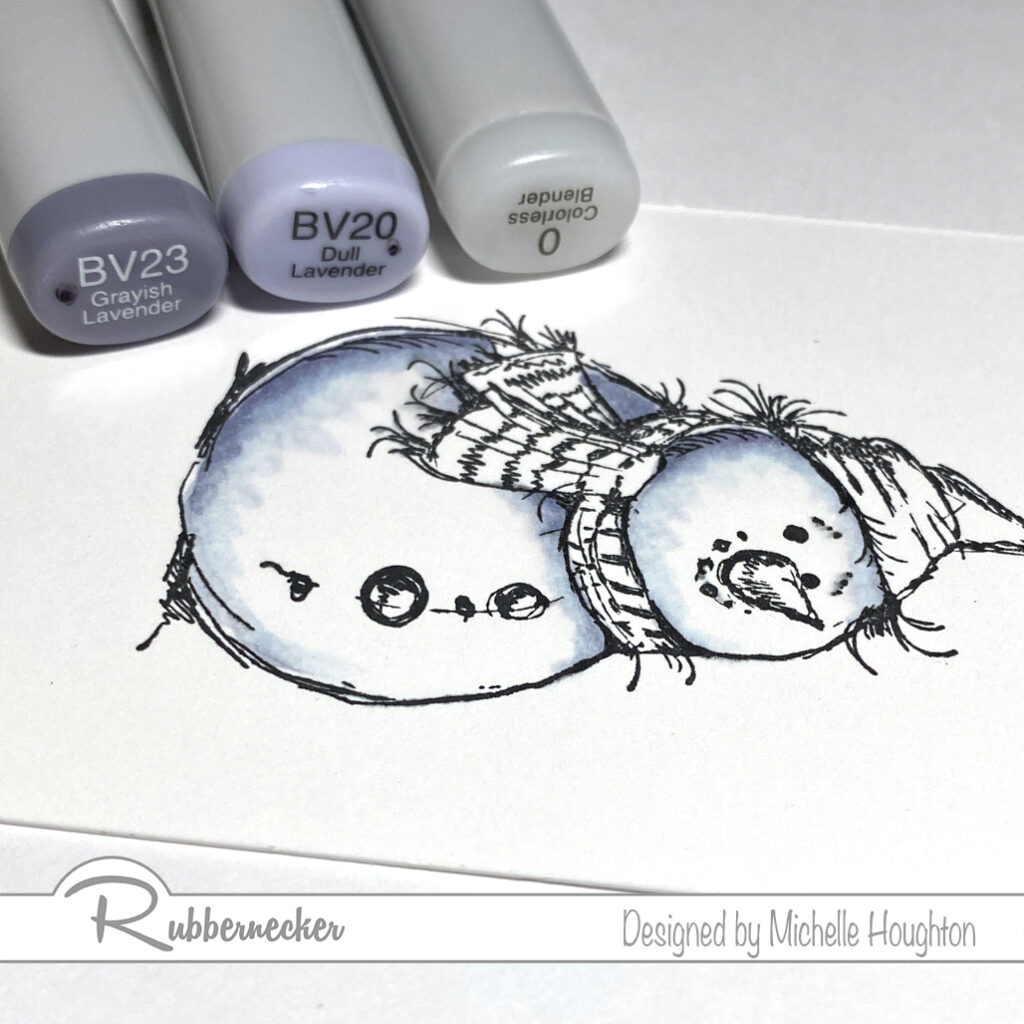
Use a light blue violet to flick from the edge of the snowman inward. (BV20)
Starting from the white area, use the Colorless Blender to flick into the blue violet to soften the edge. (0)
To deepen the shadows use a darker blue violet to dab in color at the bottom edge. (BV23)
Soften with the lighter blue violet. (BV20)
If needed use the Colorless Blender to fade the edge again. (0)
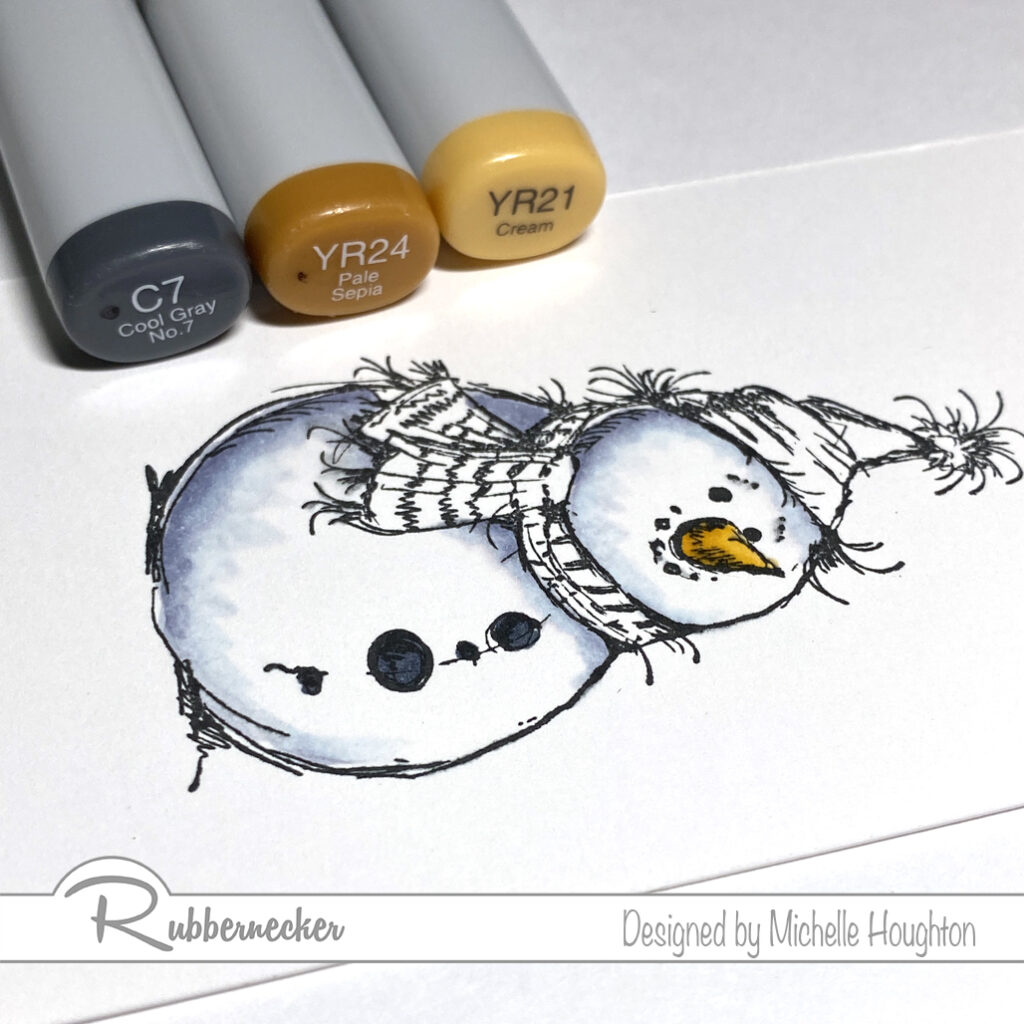
Use two yellow reds to color the carrot nose. (YR24, YR21)
Use a dark gray to color the coal. (C7)
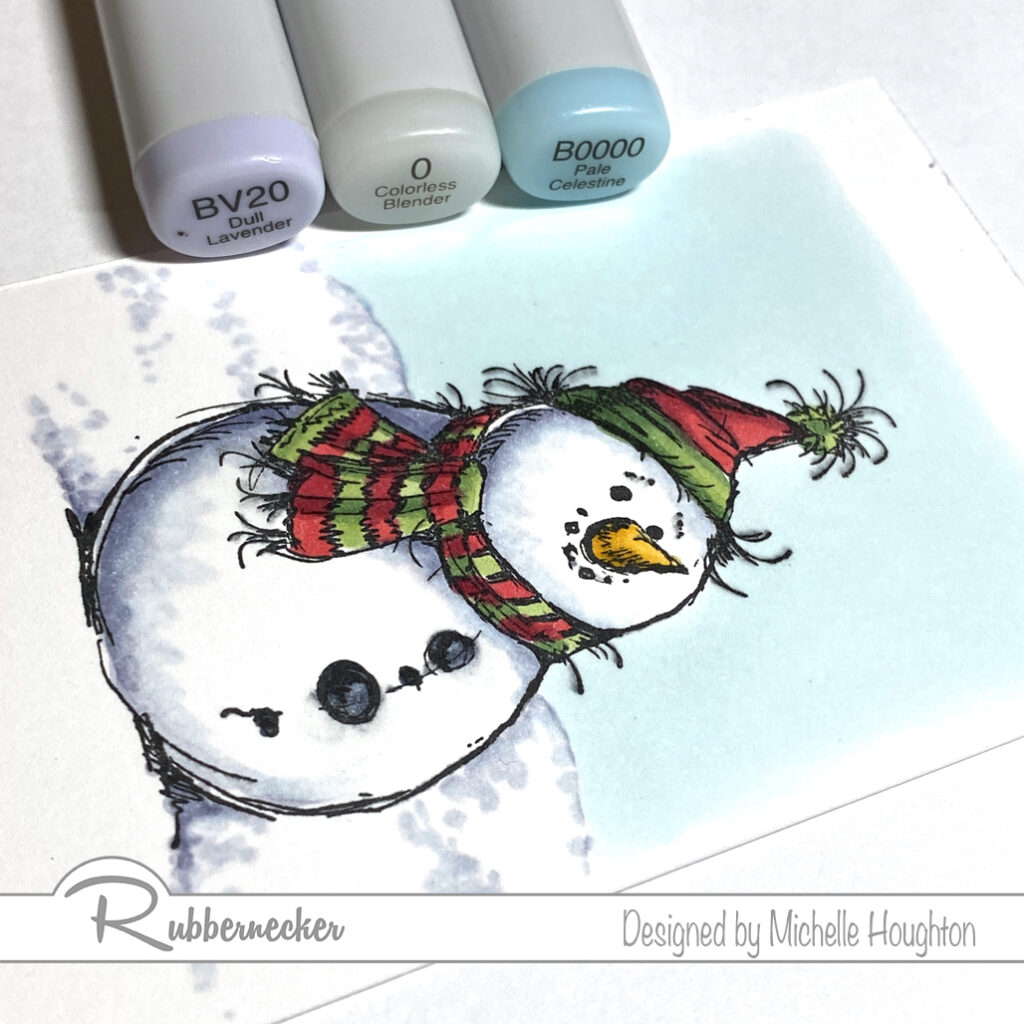
Color every other stripe on the scarf, the bottom edge and pom-pom on the hat with two greens. (G46, G43)
Use two reds on the opposite stripes and the rest of the hat. (R39, R35)
As an optional step, use the Colorless Blender on the coal to add dimension. (0)
Use a light blue green or blue to color the sky. (BG000)
Use the light blue violet and Colorless Blender to dot in a snowy ground for your snow buddy. (BV20, 0)
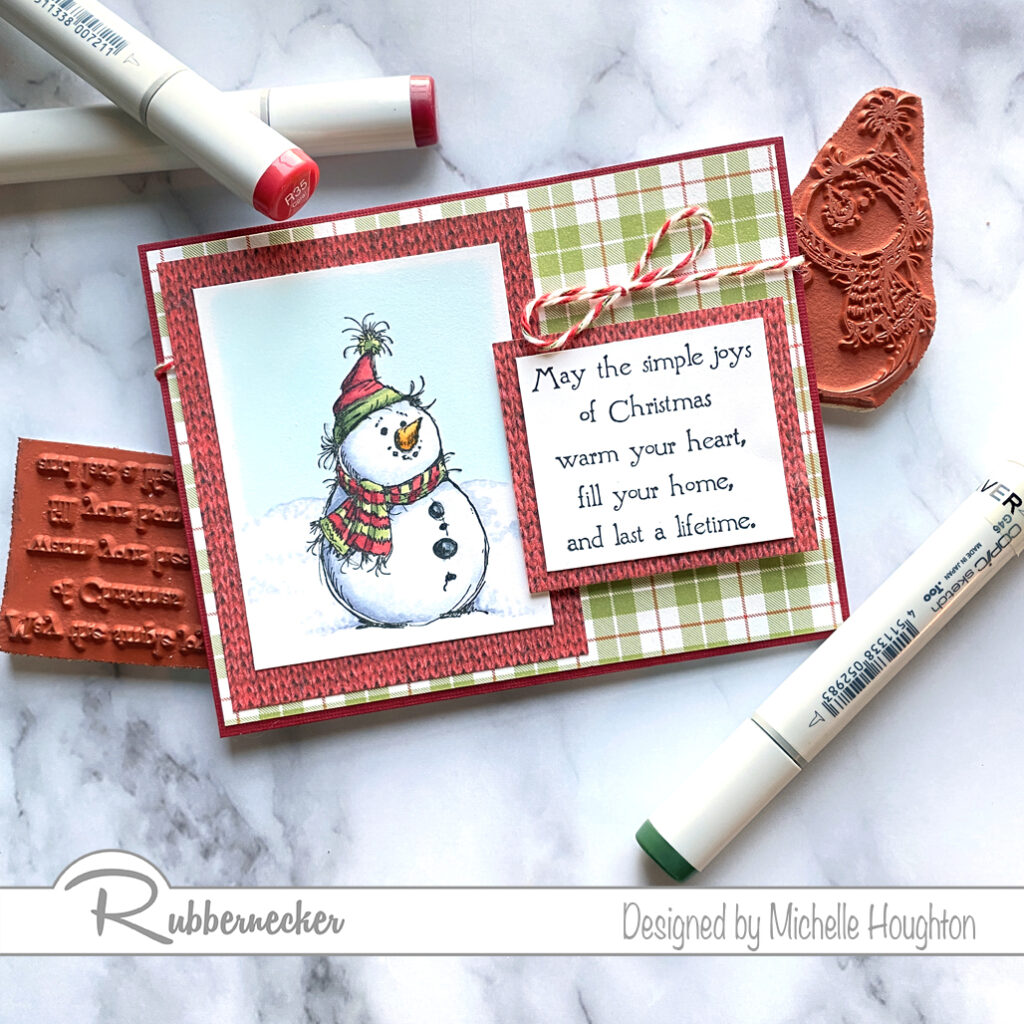
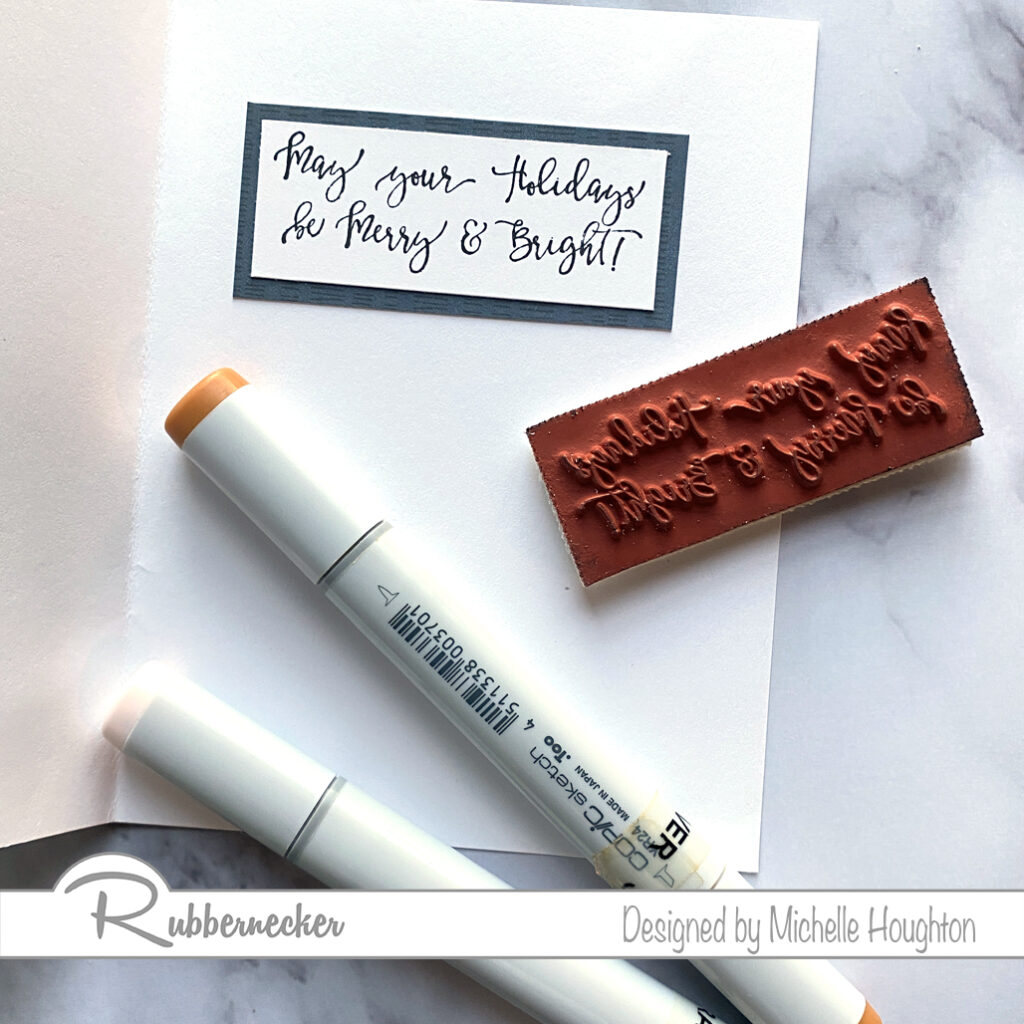
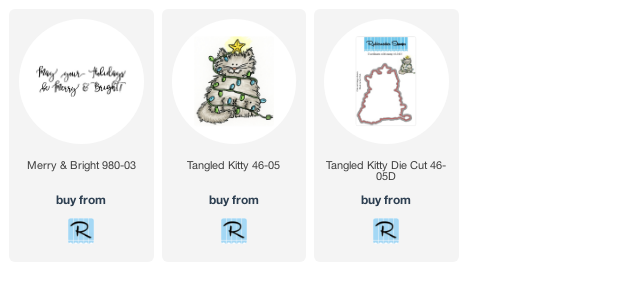
Finish your card with simple patterned paper layers, a wonderful sentiment and maybe a bow of twine. Thank you for visiting Copic In the Craft Room today! Below you will find links to the Rubbernecker Stamp products used in this post.
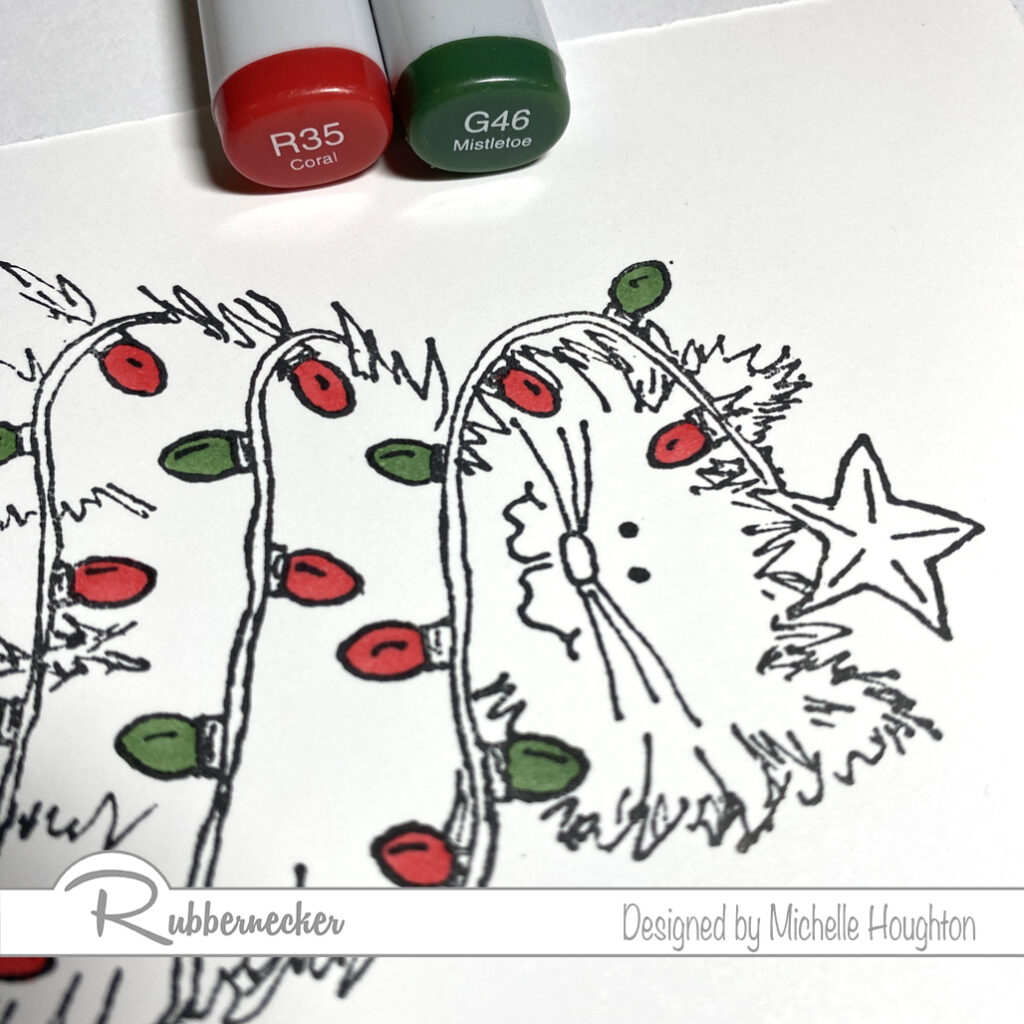
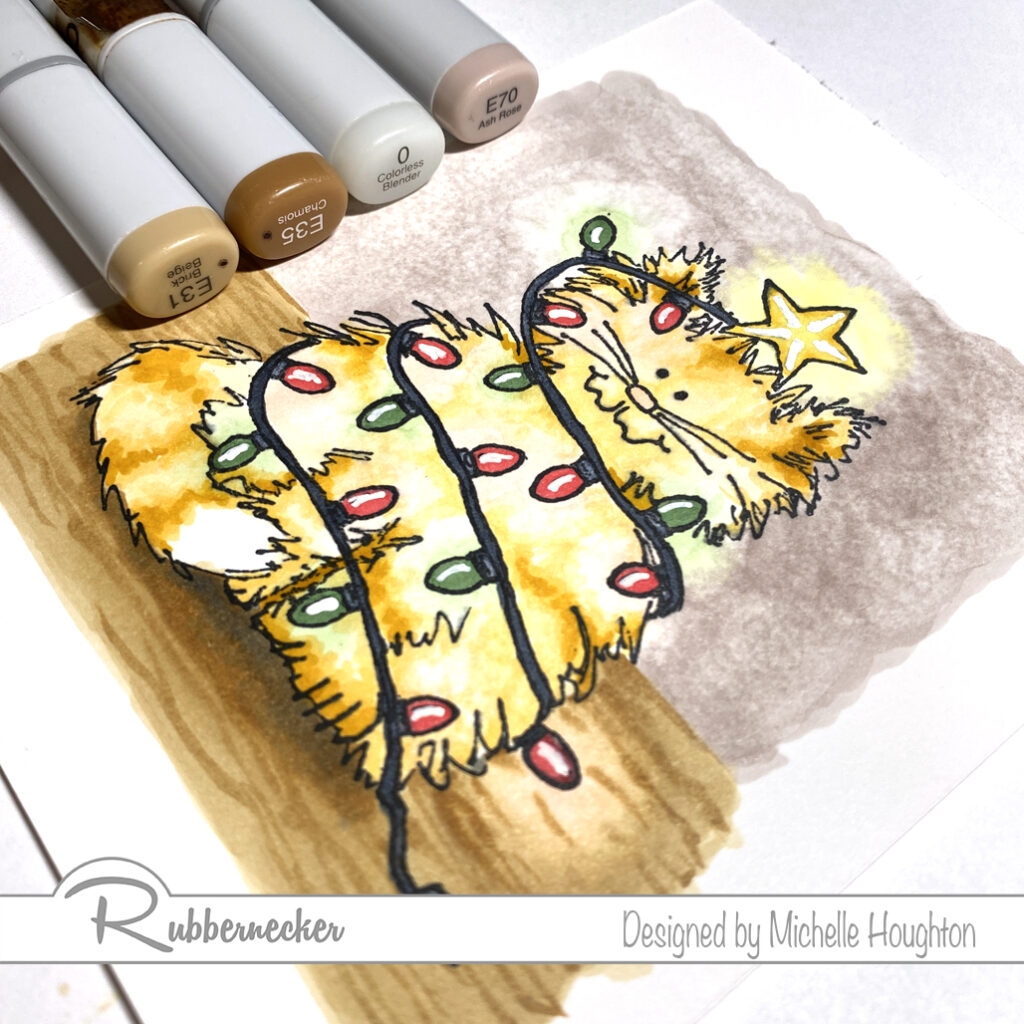
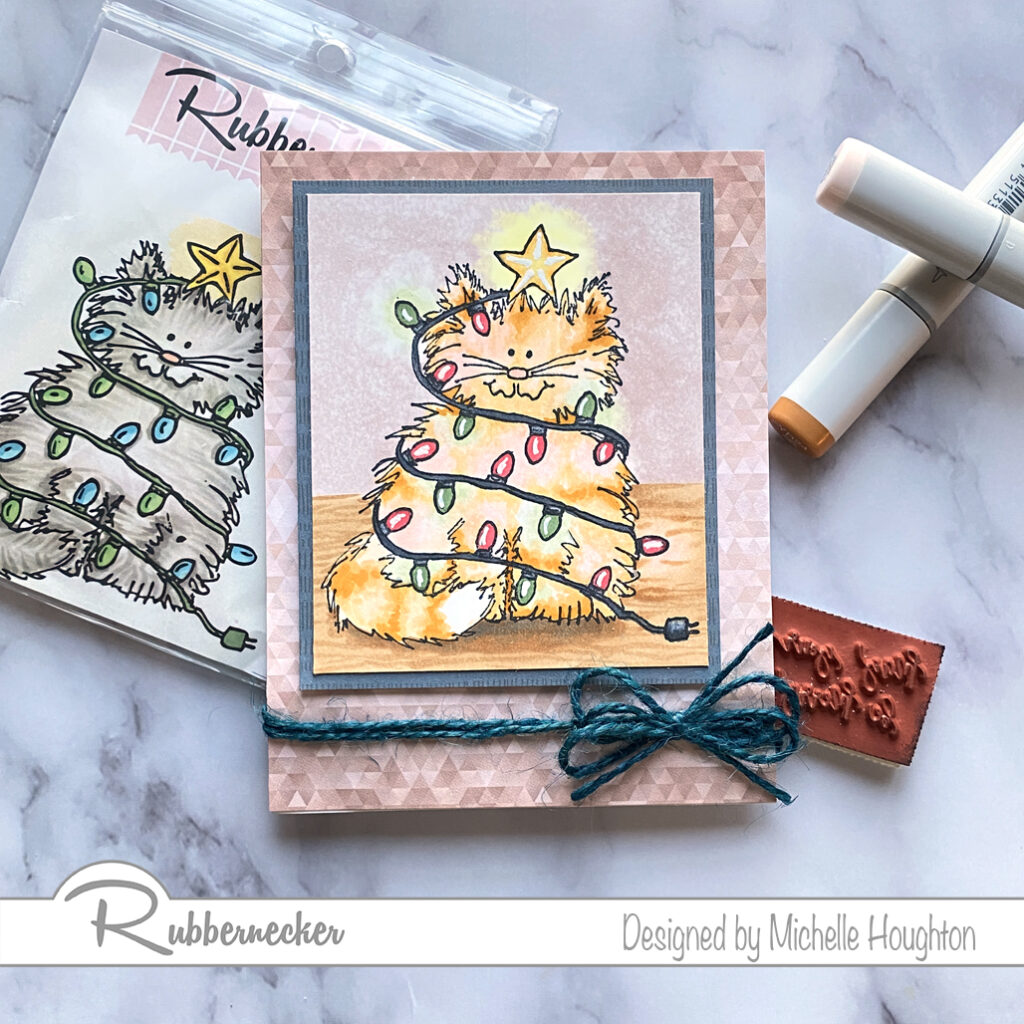
Ready for some holiday cheer? I have a quick holiday Copic coloring tutorial for you with a fun Rubbernecker Stamp. Tangled Kitty is an image that allows you to make the kitty your own and use colors that remind you of your favorite 4 legged friend. Here are the steps I took to create the look of glowing Christmas lights all tangles around this kitty.
Color in the lights with bright saturated colors. (R35, G46)
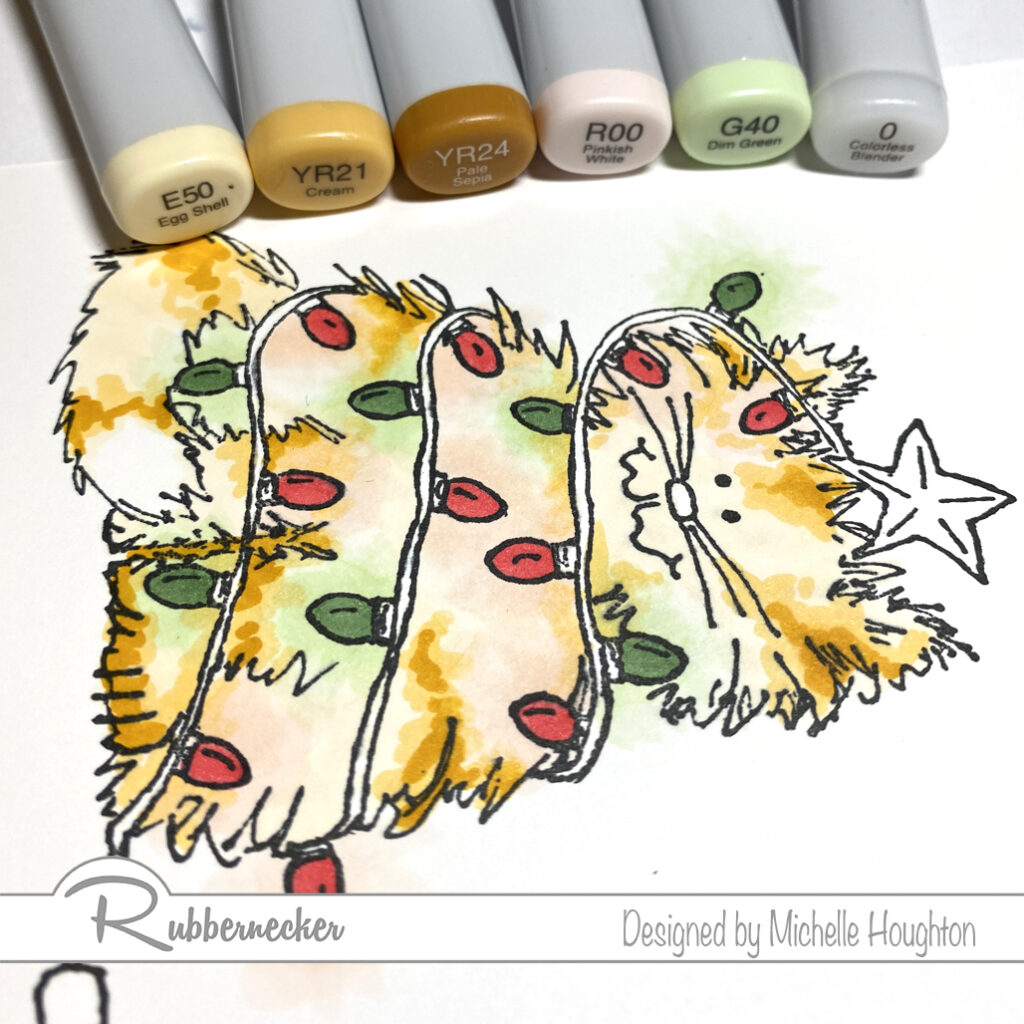
Use a lighter color of each of the lights to create a halo of color around each bulb. (R00, G40)
Use a series of colors to color the kitty. As you approach the light halos lighten the colors of the kitty. (Base color – E50 Tabby stripes – YR21, YR24)
Use the Colorless Blender to further lighten the halo around each bulb. (0)
Work back and forth with the fur colors, halo color and colorless blender to get the desired effect. (E50, YR21, YR24, R00, G40, 0)
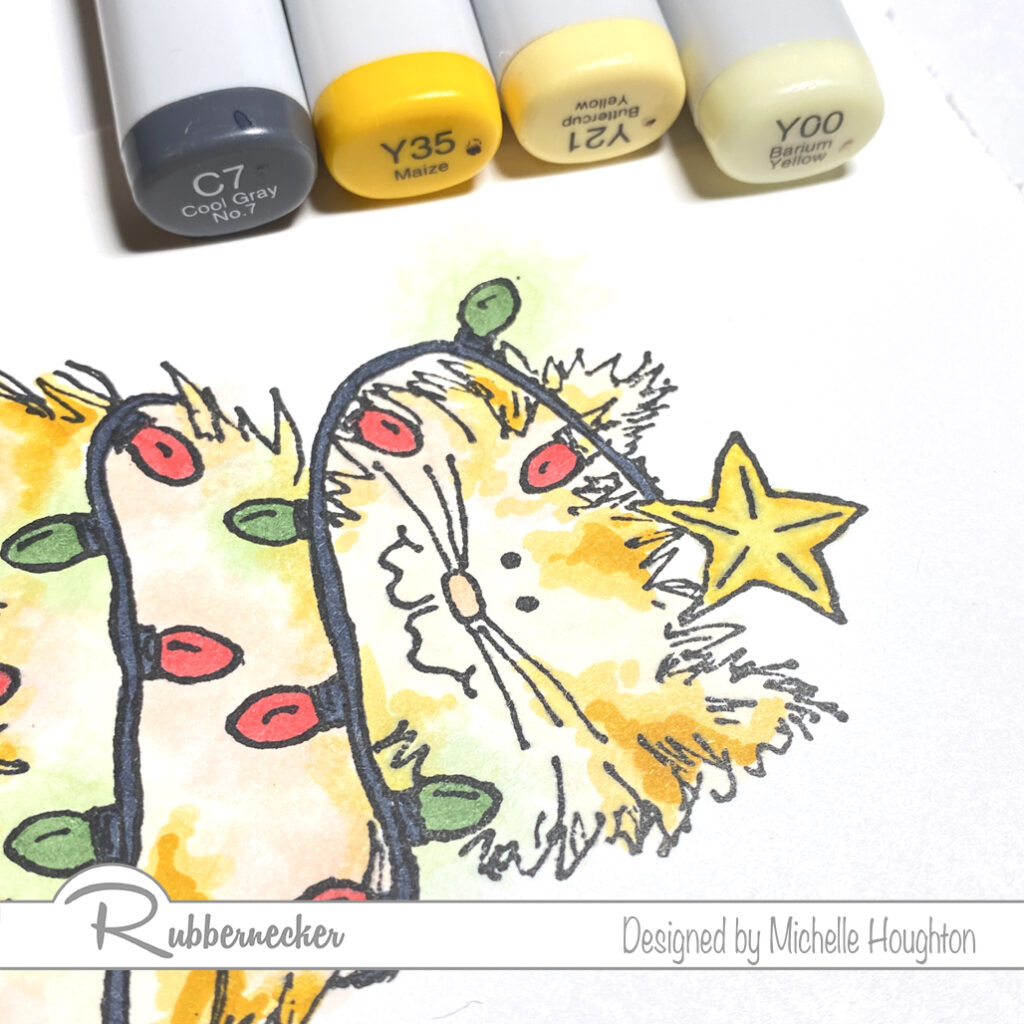
Fill the cord and bulb bases with a dark gray. (C7
Use a series of yellows to light up the star. (Y35, Y21, Y00)
Use the colorless blender in a small dot on each bulb base. (0)
Base the floor in a light earth tone. (E31)
Use a darker earth tone to create wood grain texture. (E35)
Soften the wood grain with the lighter earth tone. Then use the Colorless Blender to lighten the area around the lower bulb. (E35, 0)
Color in the wall behind the kitty with a light earth tone. (E70)
Use the Colorless Blender to lighten the wall color further and create a glow around the upper bulb and star. (0)
Use an opaque white pen to add small highlights on the bulbs and star.
Thank you as always for stopping by. You will see links to the Rubbernecker Stamp products below. I am so looking forward to the holidays this year! It feels good to be headed that way!
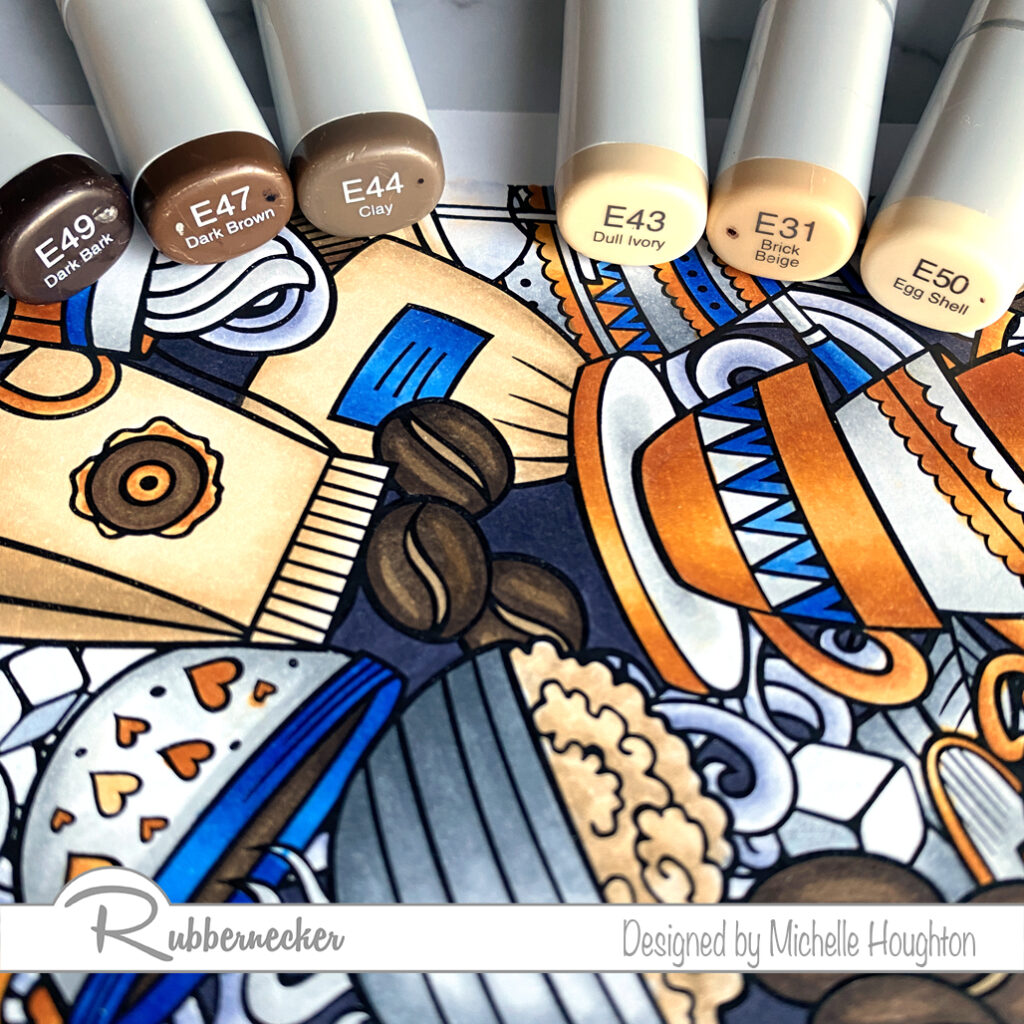
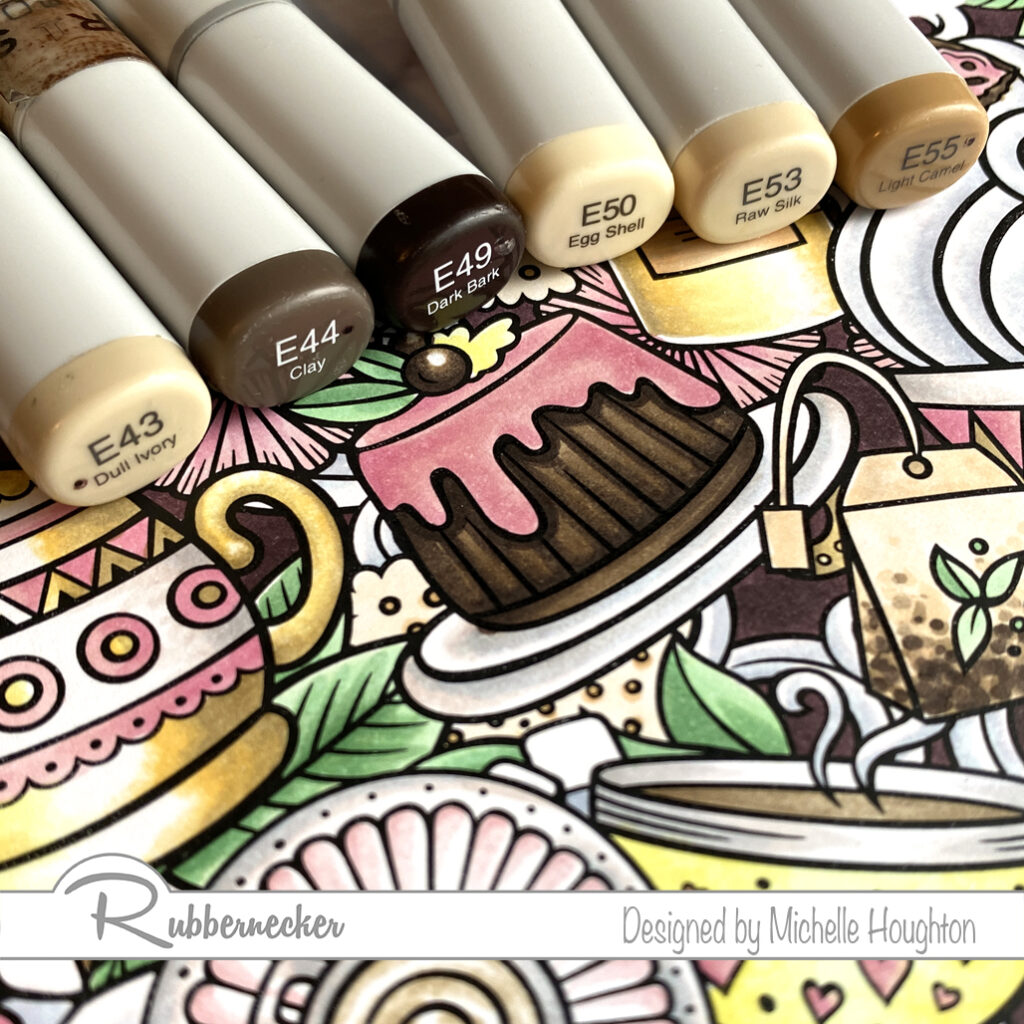
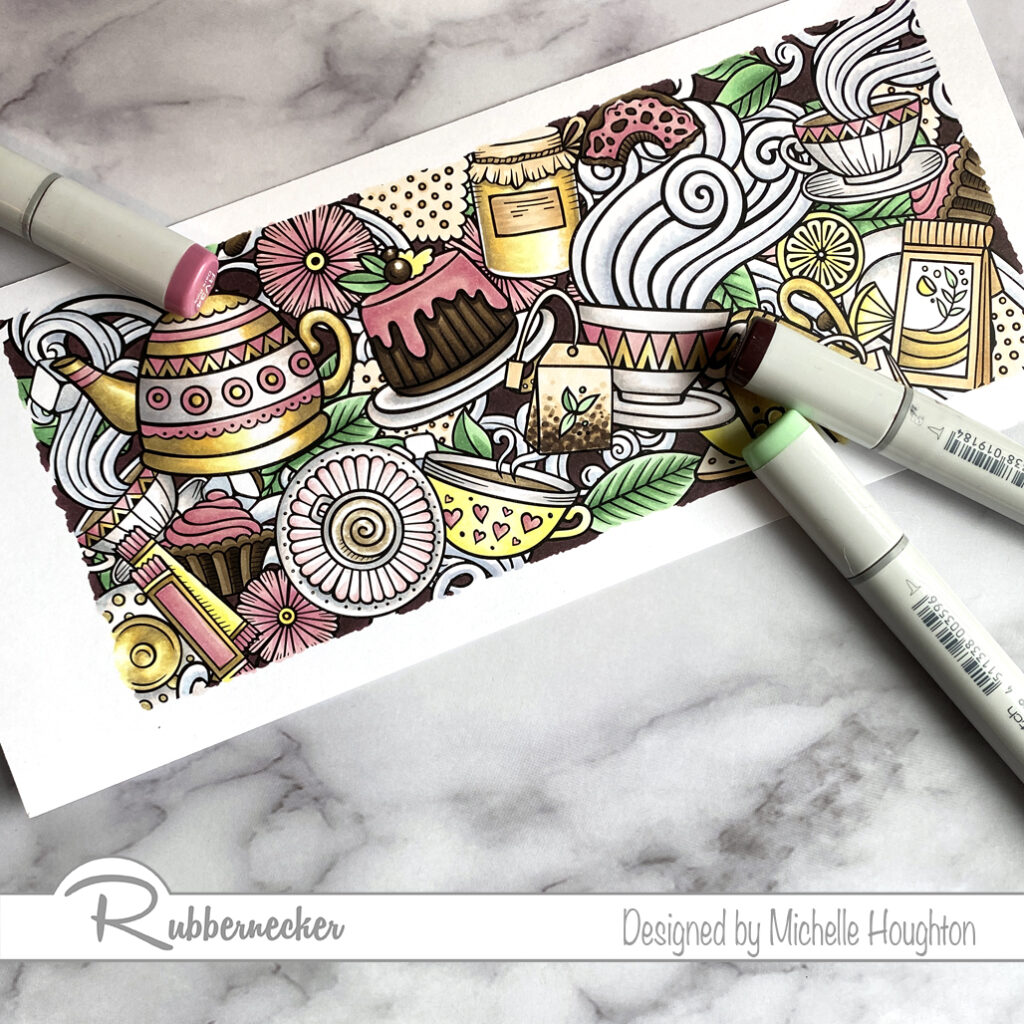
A very quick post today to share two more gorgeous slimline stamps from Rubbernecker. It has truly been a pleasure coloring all of these up for Rubbernecker Stamps. The images and all their detail just scream for coloring. I love both the coffee and tea images. Both have a lot of earth tones and I added a few accent colors to each and I am loving the result on both.
For coffee beans, coffee in mugs and other dark brown details use a series of 3 dark earth tones. (E49, E47, E44)
For bags, oatmeal and other light brown details find a series of 3 lighter earth tones. (E43, E31, E50)
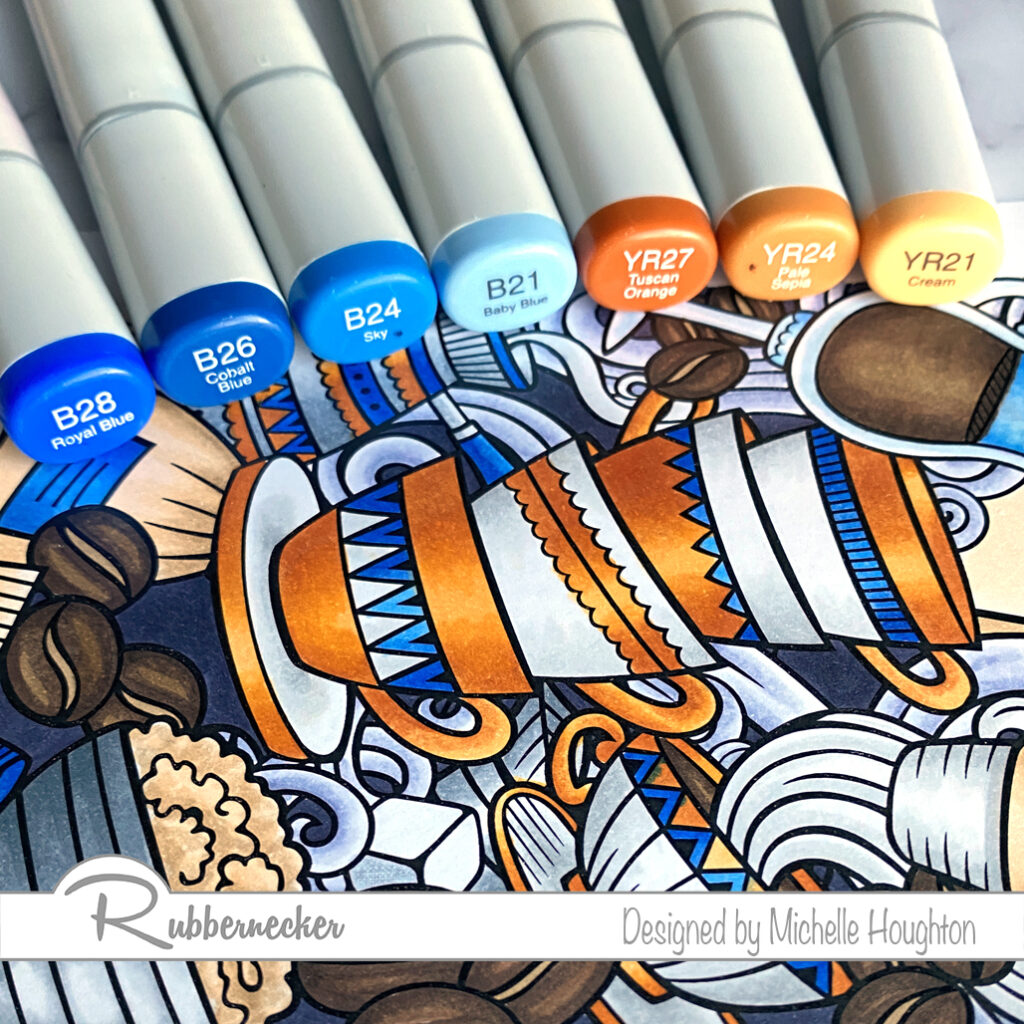
For the first of the accent colors use a series of bright saturated blues. (B28, B26, B24, B21)
To brighten the image with pops of a second accent color find a series of 3 yellow reds. (YR27, YR24, YR21)
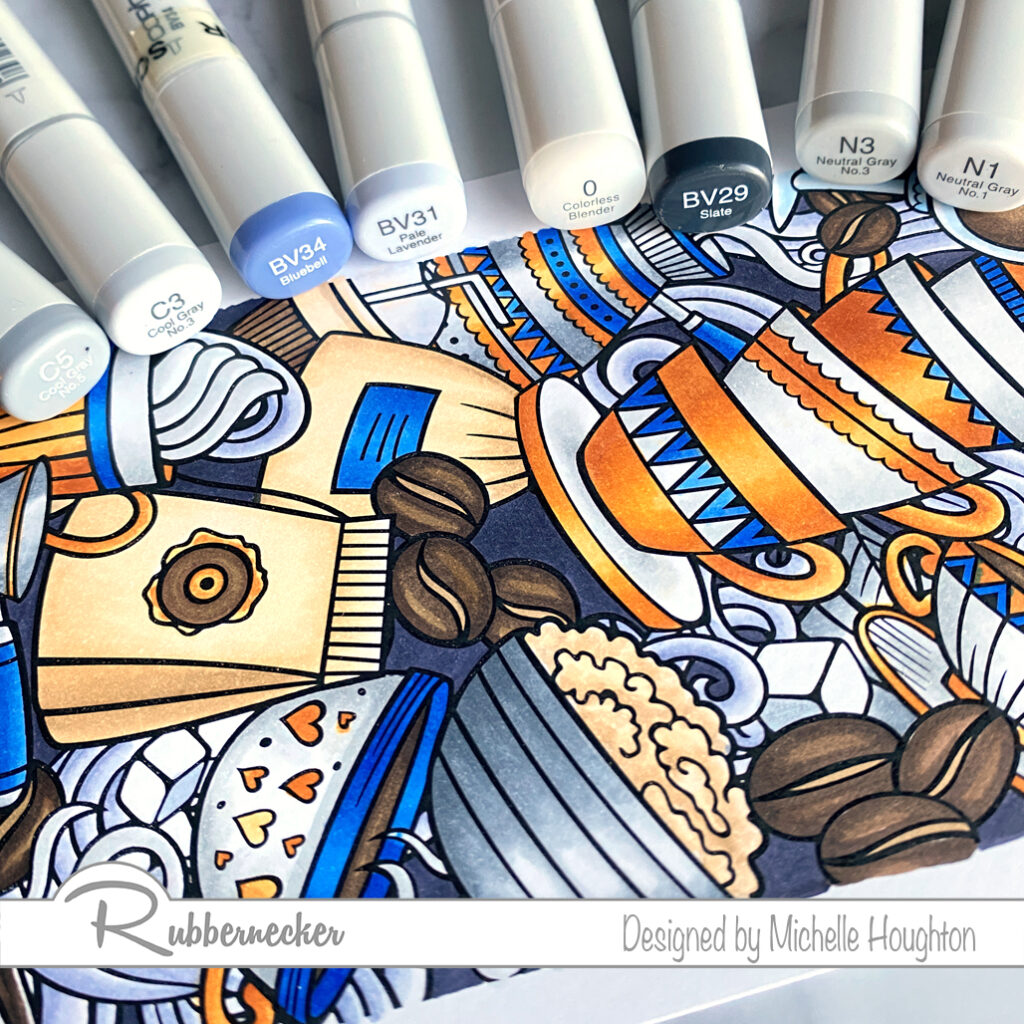
For white objects on this image use a series of 2 grays and the Colorless Blender. (N3, N1, 0)
On silver areas use two mid-tone grays. (C5, C3, 0)
Color the steam with two blue violets and the Colorless Blender. (BV34, BV31, 0)
Finish the image filling in the background with a darker blue violet. (BV29)
For the tea and lighter brown areas use a series of lighter earth tones. (E55, E53, E50)
For the deep browns in the image color with 3 darker earth tones. (E49, E44, E43)
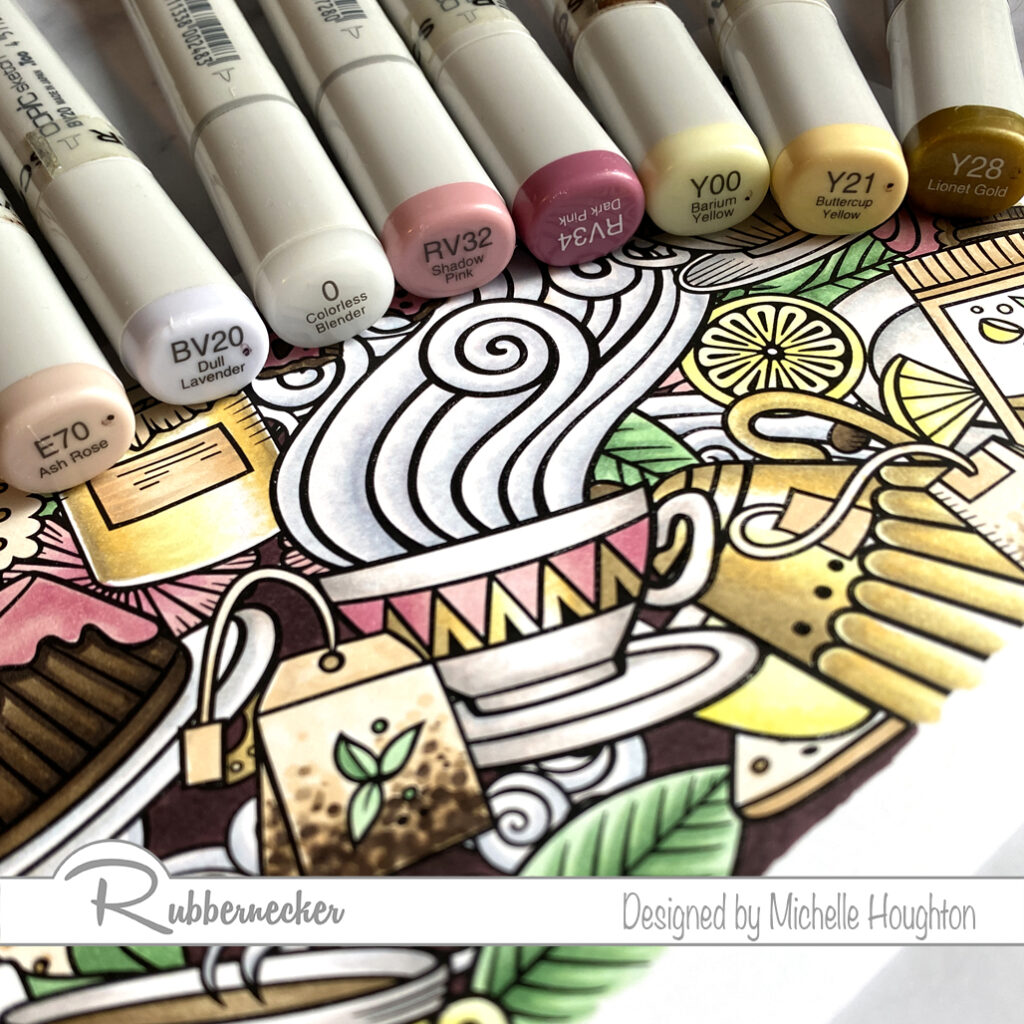
For the first accent color on the tea stamp create a gold effect with 3 yellows and the Colorless Blender. (Y28, Y21, Y00, 0)
Use 2 red violets for a pop of color on the image. (Rv34, RV32)
Color the white areas with a blue violet an earth tone and Colorless Blender. (BV20, E70, 0)
Use a light blue violet to color the steam. (BV20, 0)
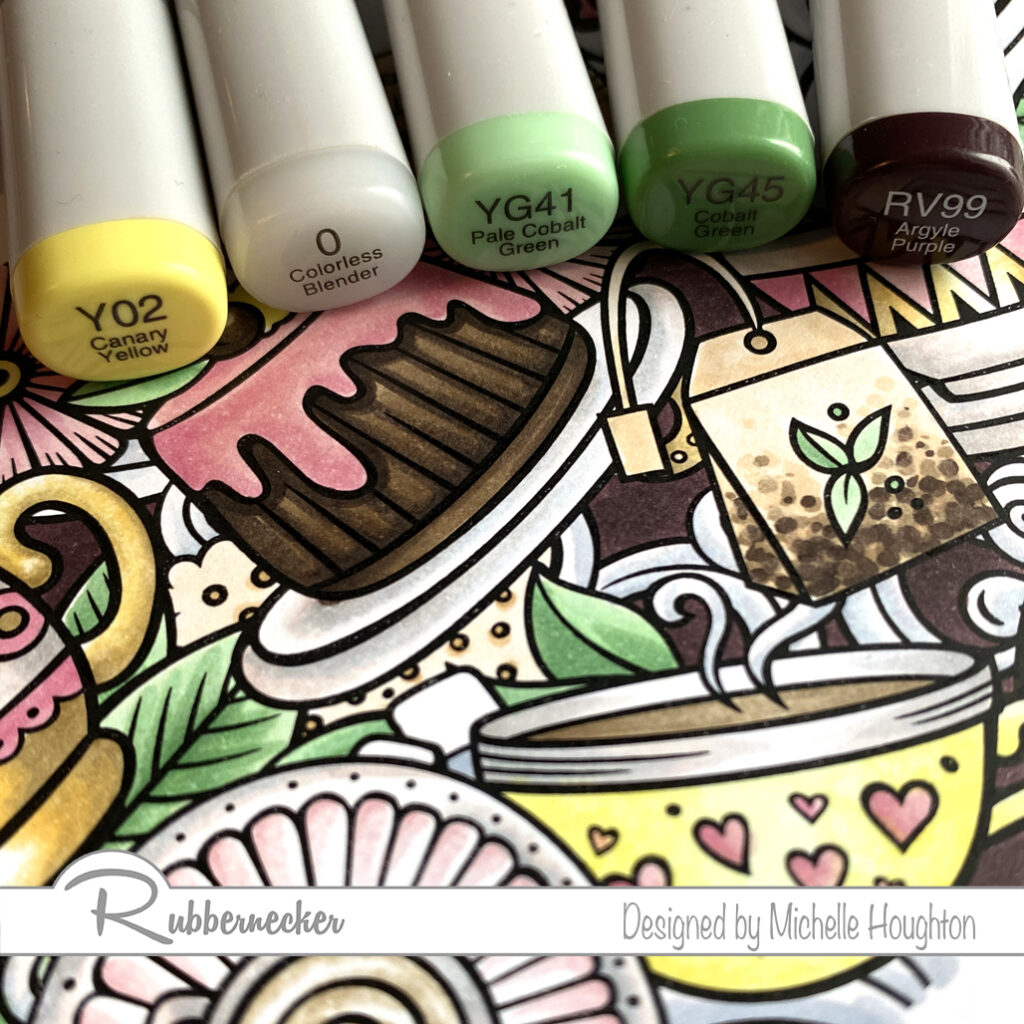
For the leaves throughout the image use two yellow greens. (YG445, YG41)
Color a few small details left with a light yellow and Colorless Blender. (Y02, 0)
Finish the image with a dark red violet to push the background to the back. (RV99)
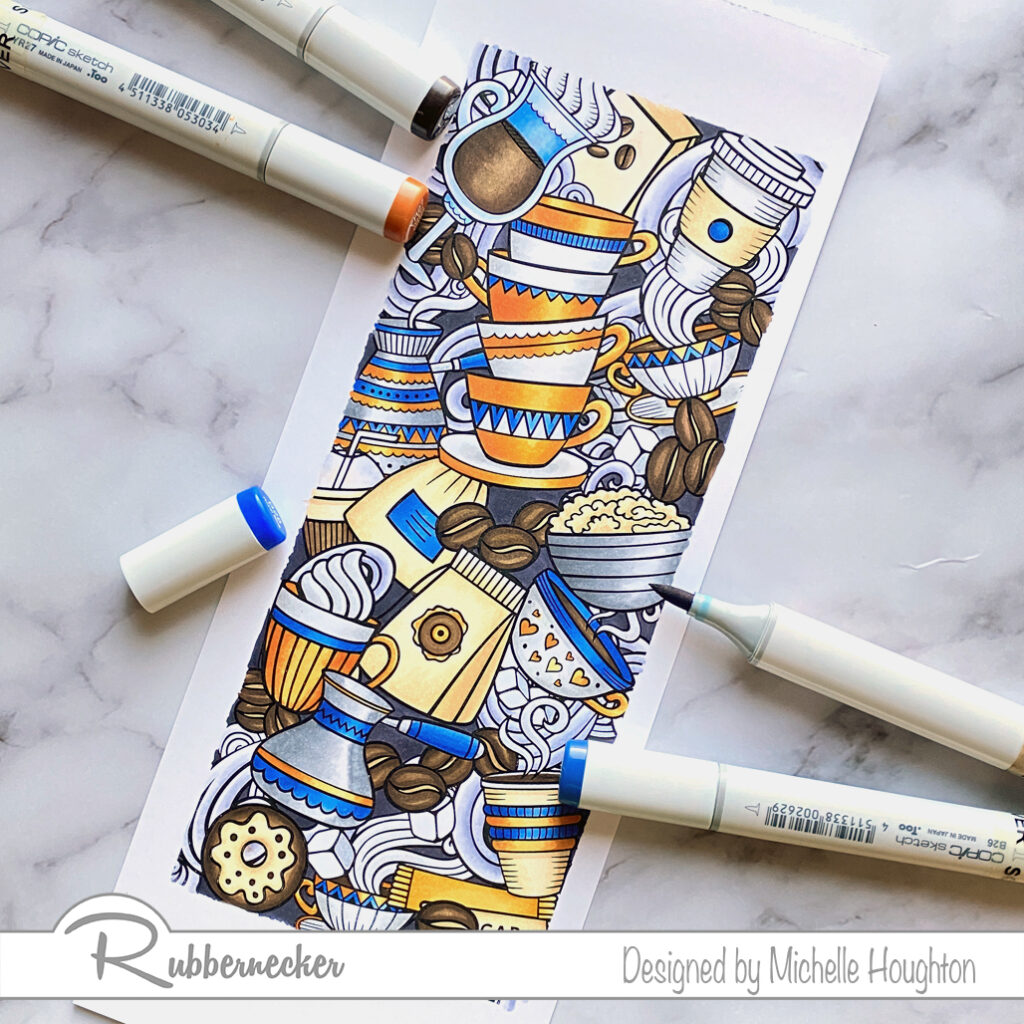
Both images were truly a pleasure to color! There are so many ways to use the slimline stamp collection from Rubbernecker Stamps and if you have time coloring all the little details is well worth it. Thank you for stopping by, links to the Rubbernecker products used can bee found below.
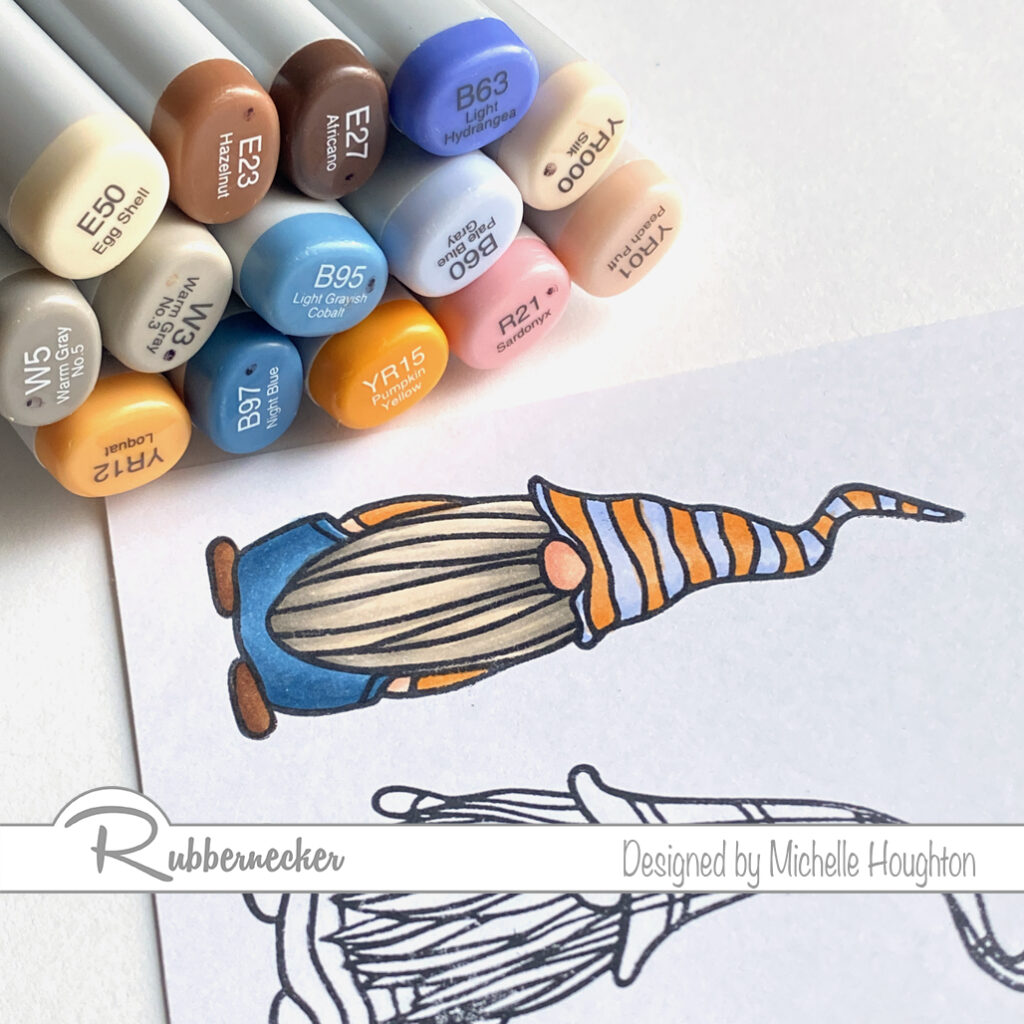
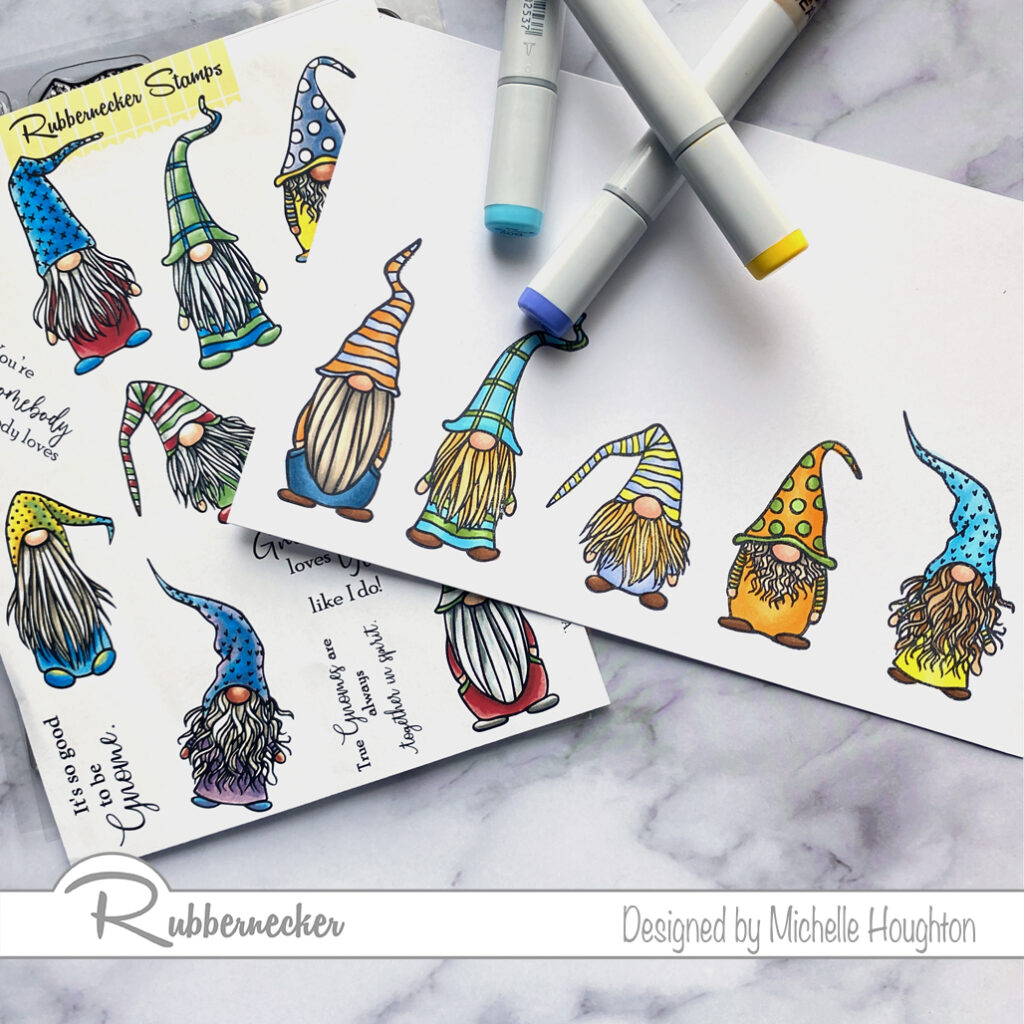
I have an adorable lineup of gnomes from Rubbernecker all in a row that will fit on a slimline card when I have the time to put them on one. For today here is a more detailed break down of how I used my Copic Markers to color one and then the Copic colors I used on the rest of them! I am trying something new with my images since there are SO MANY! You will see mini slideshows below so you will need to scroll through to see the steps! ( Slide shows did not post so sorry this is going to be LONG!
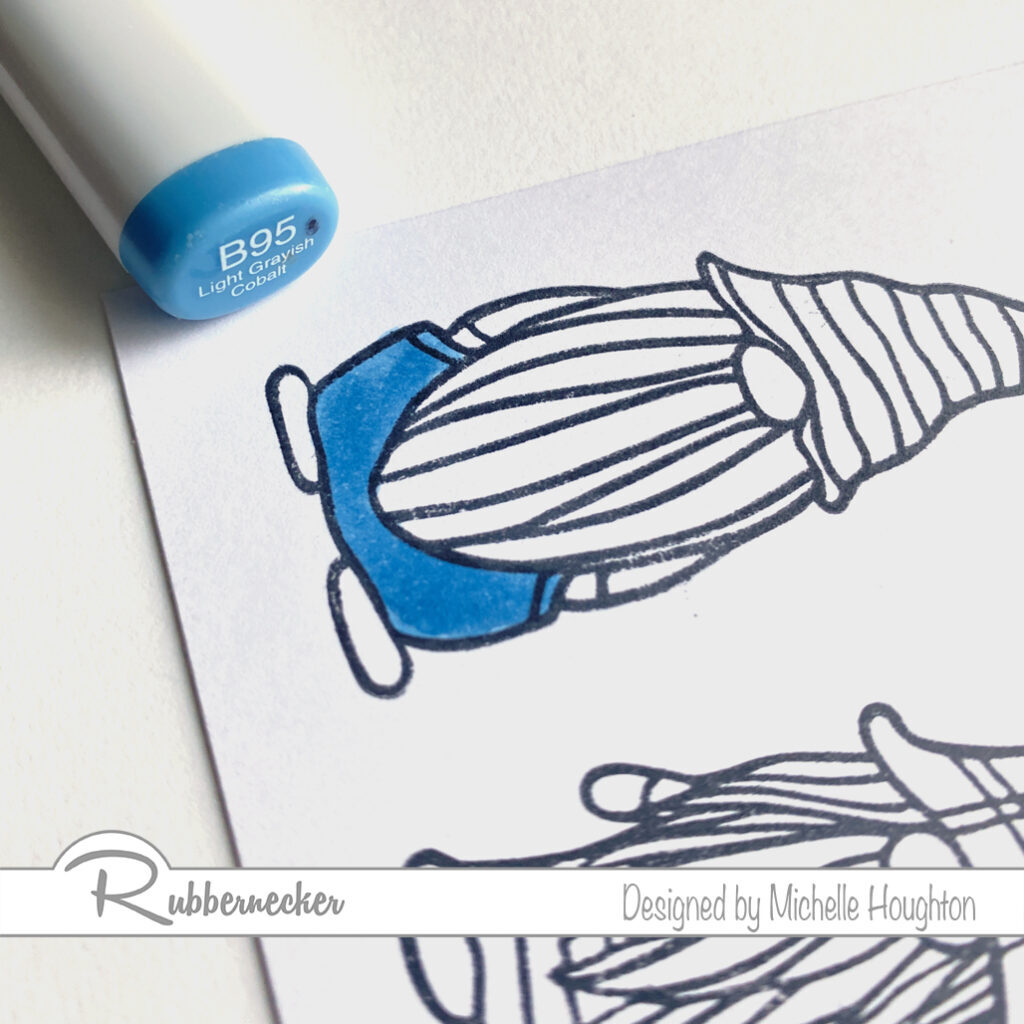
Base the pants with a B95
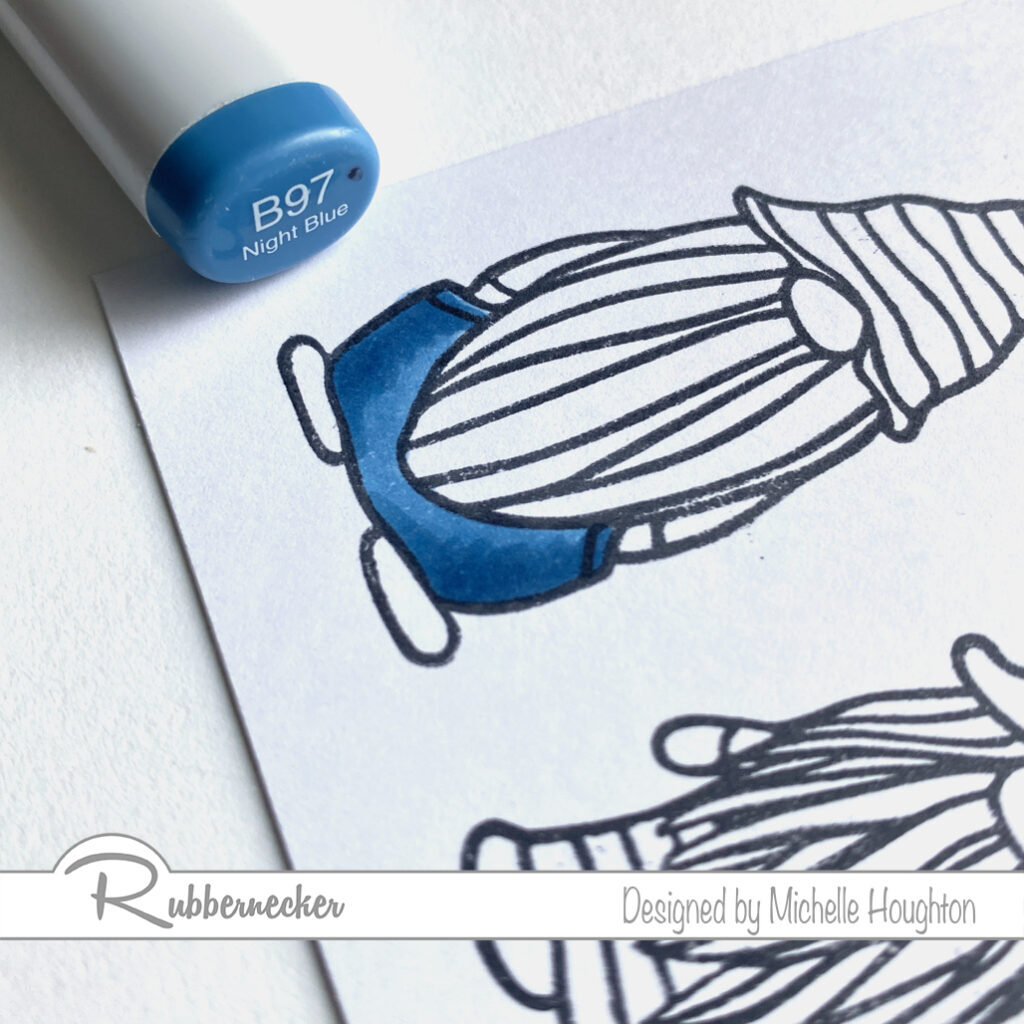
Use a B97 to add form bringing the darker coloring from the sides.
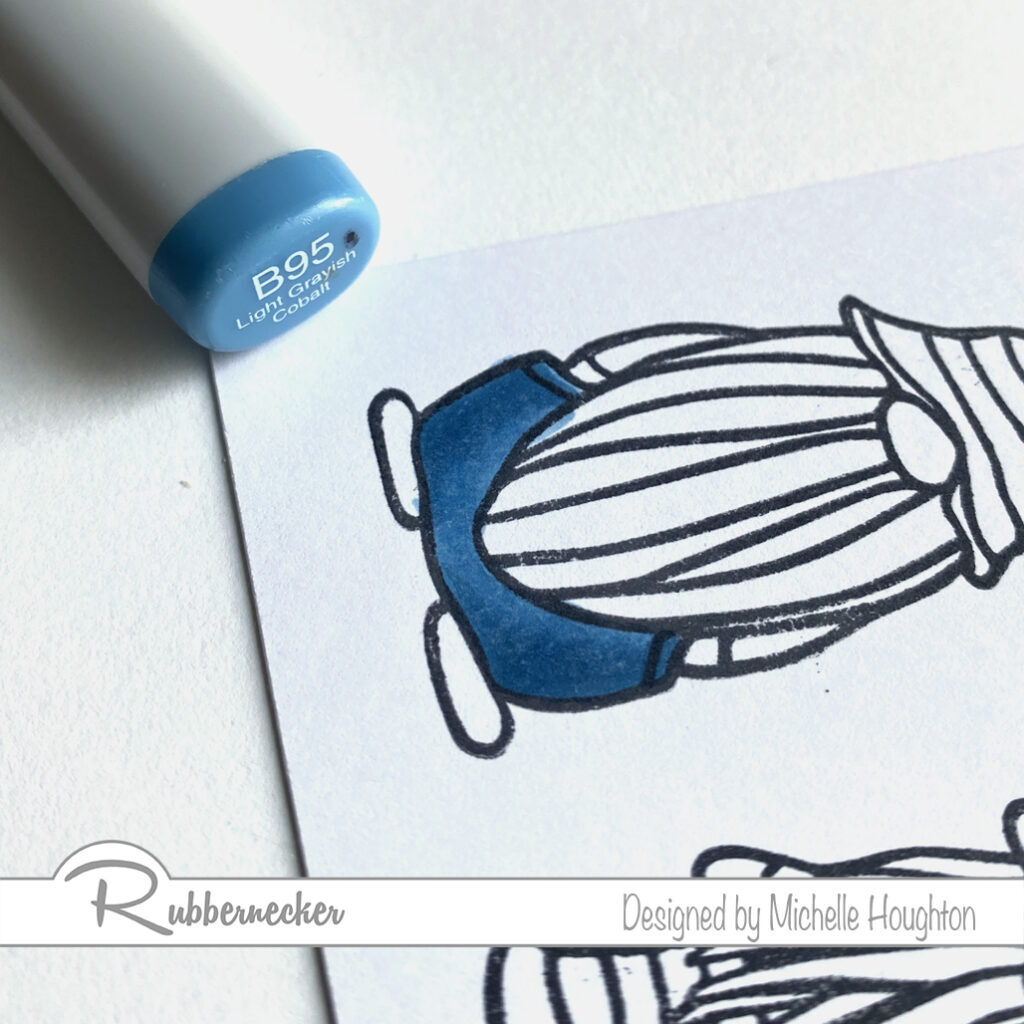
Blend the colors together using the lighter B95 to smooth out the edges of the B97.
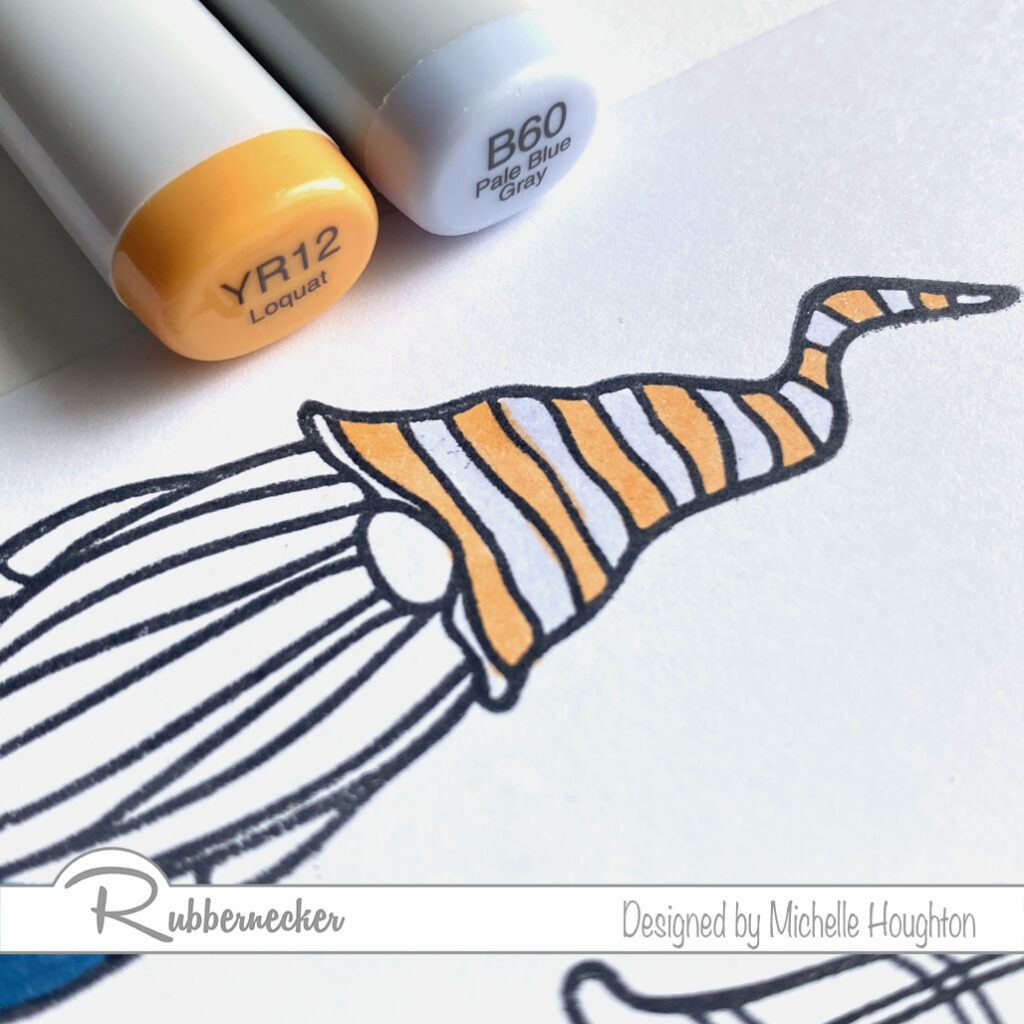
Base the stripes of the hat in two light colors, I used YR12 and B60.
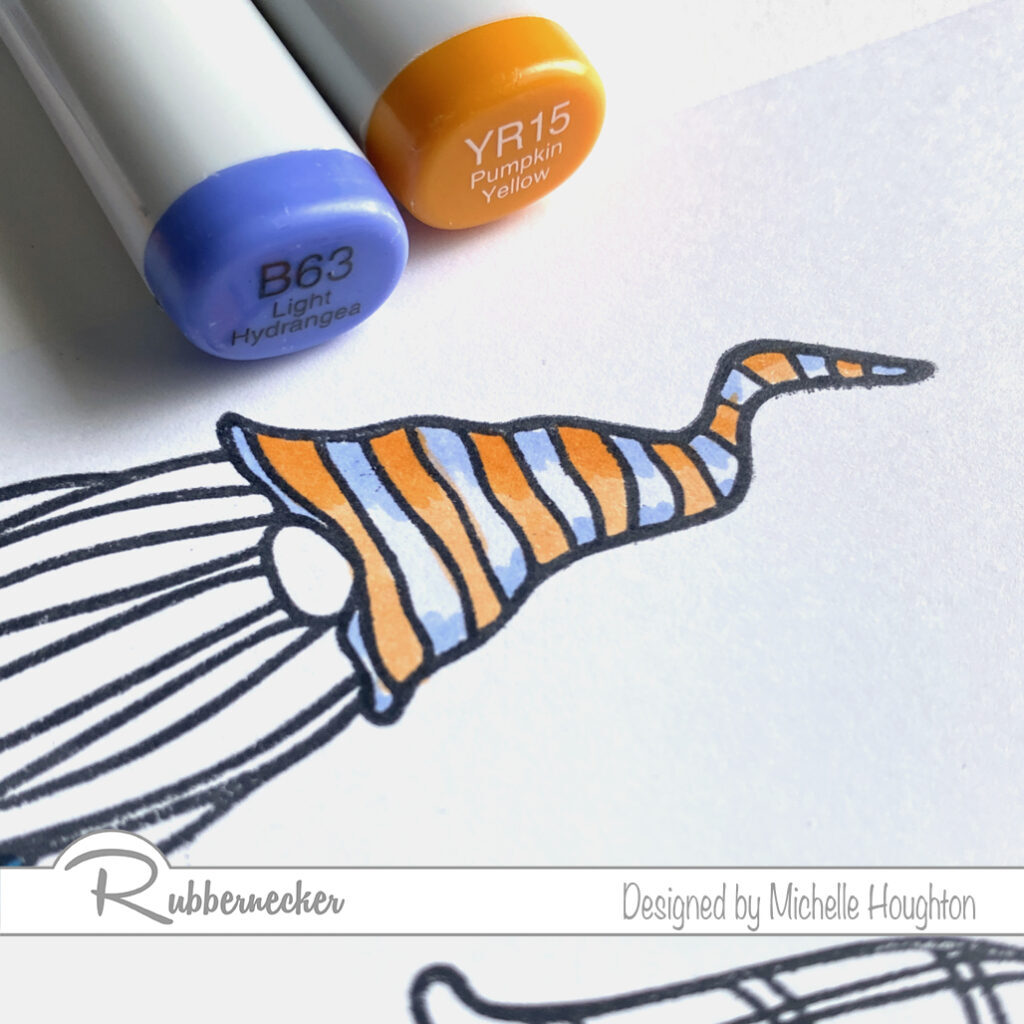
Use two darker markers to add shape to all the stripes bringing the colors in from the sides again. I used YR15 and B63.
Blend the colors together using the lighter markers.
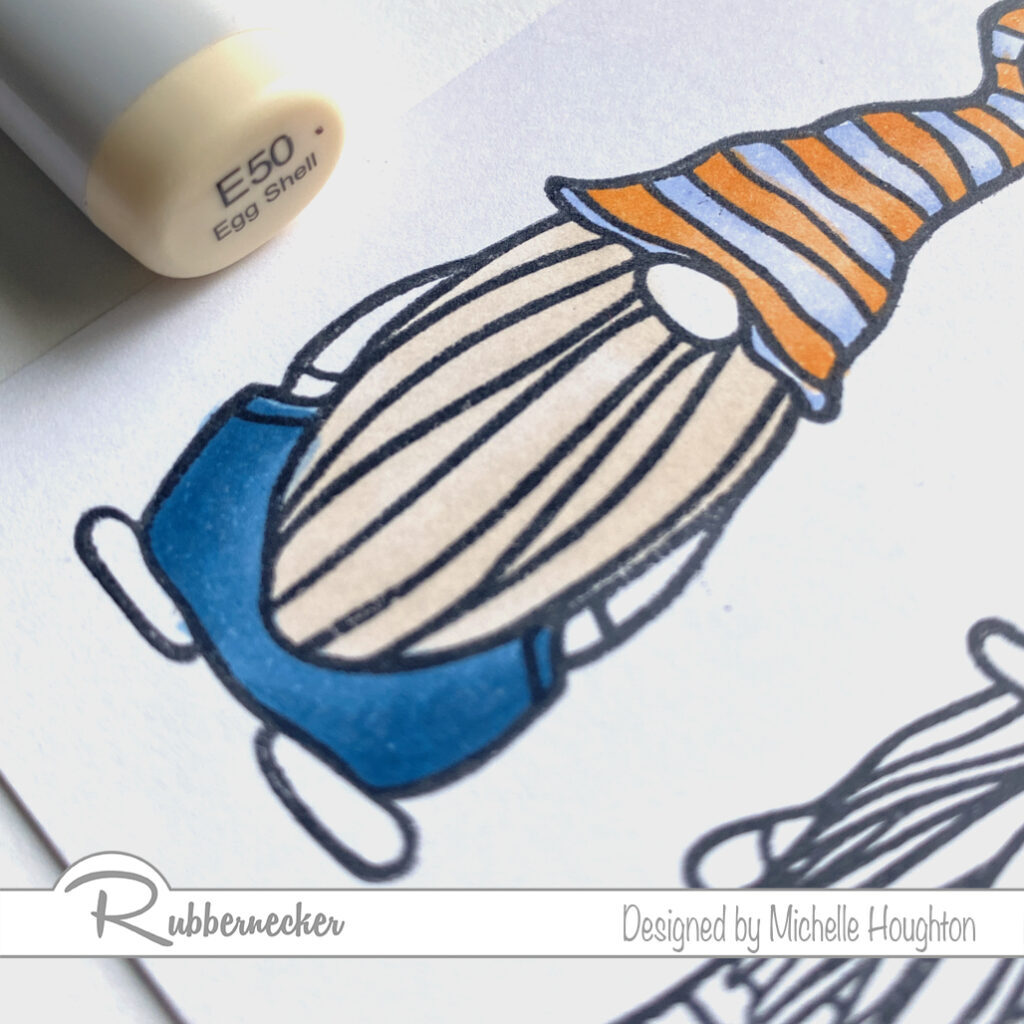
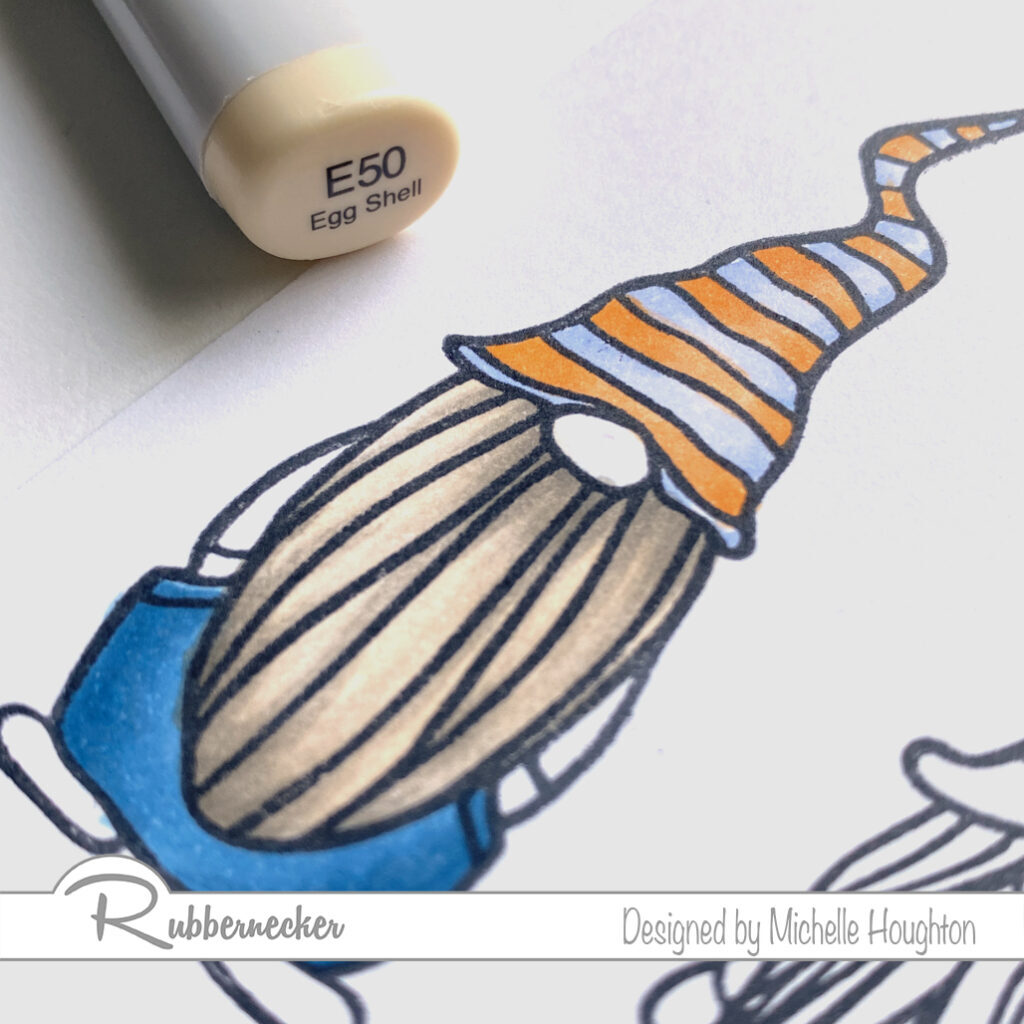
Base the beard in a light earth tone. I used E50.
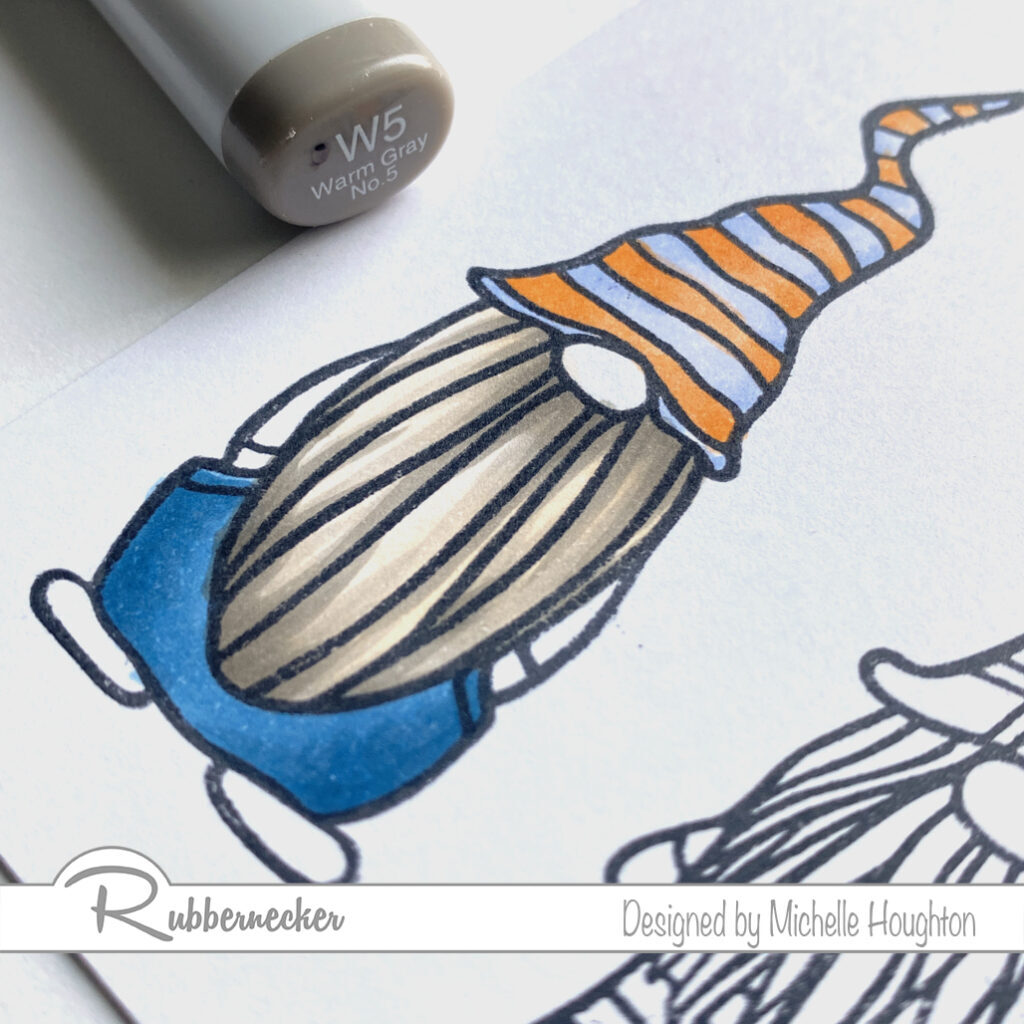
Use a warm gray to start creating texture on the beard. W3 is the color I started with.
Use a darker warm gray, I used W5 in lesser amounts, to deepen the texture on the beard.
Soften the flicks on the beard using the lightest earth tone, E50 in this case.
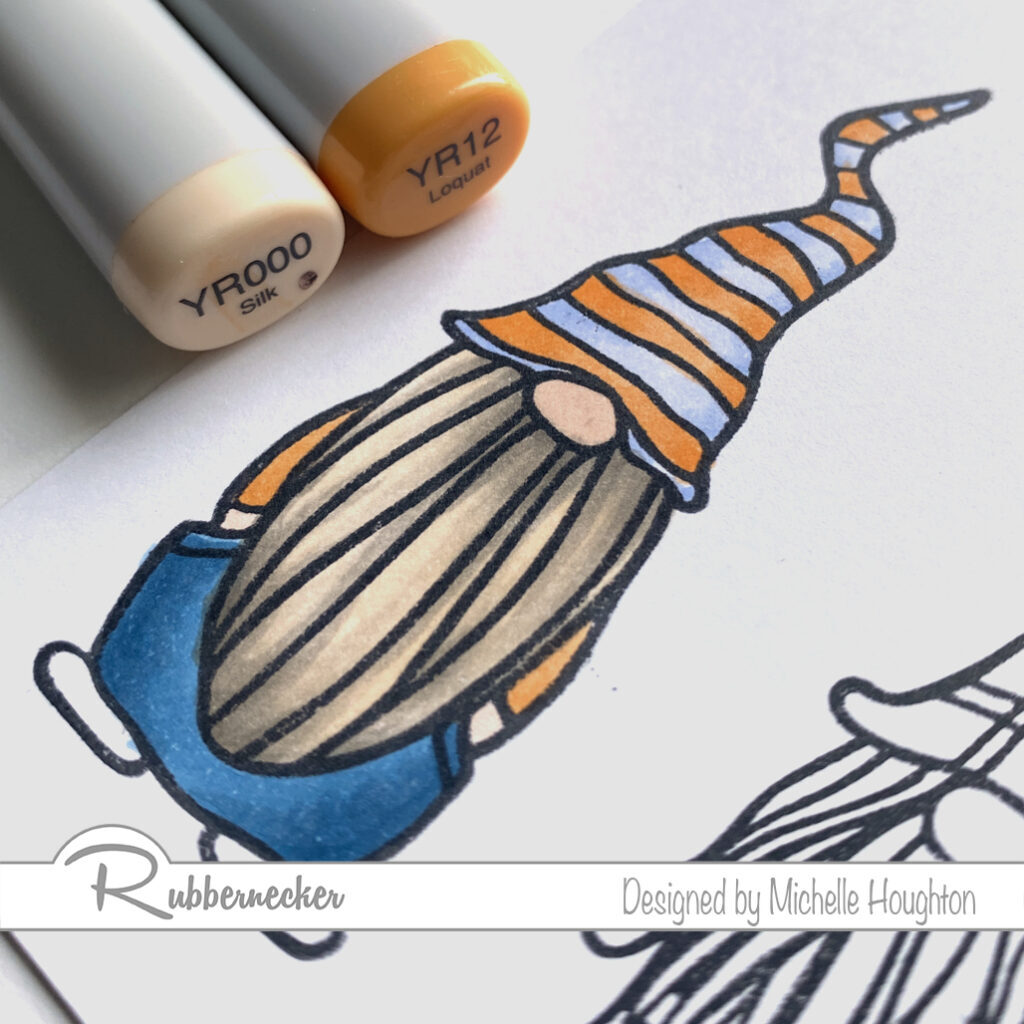
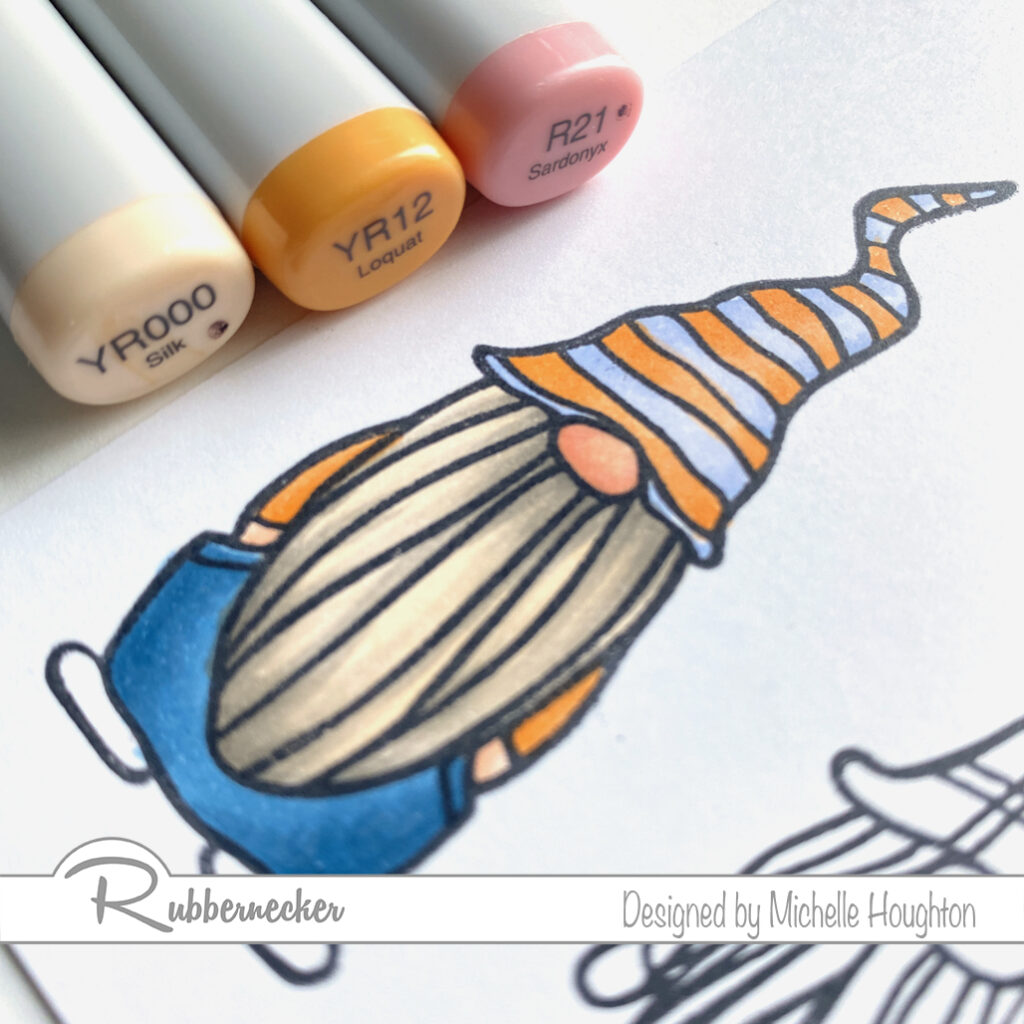
Two small areas to tackle next. Base the skin in a light yellow red, YR000. Then fill the shirt in with a darker yellow red, YR12.
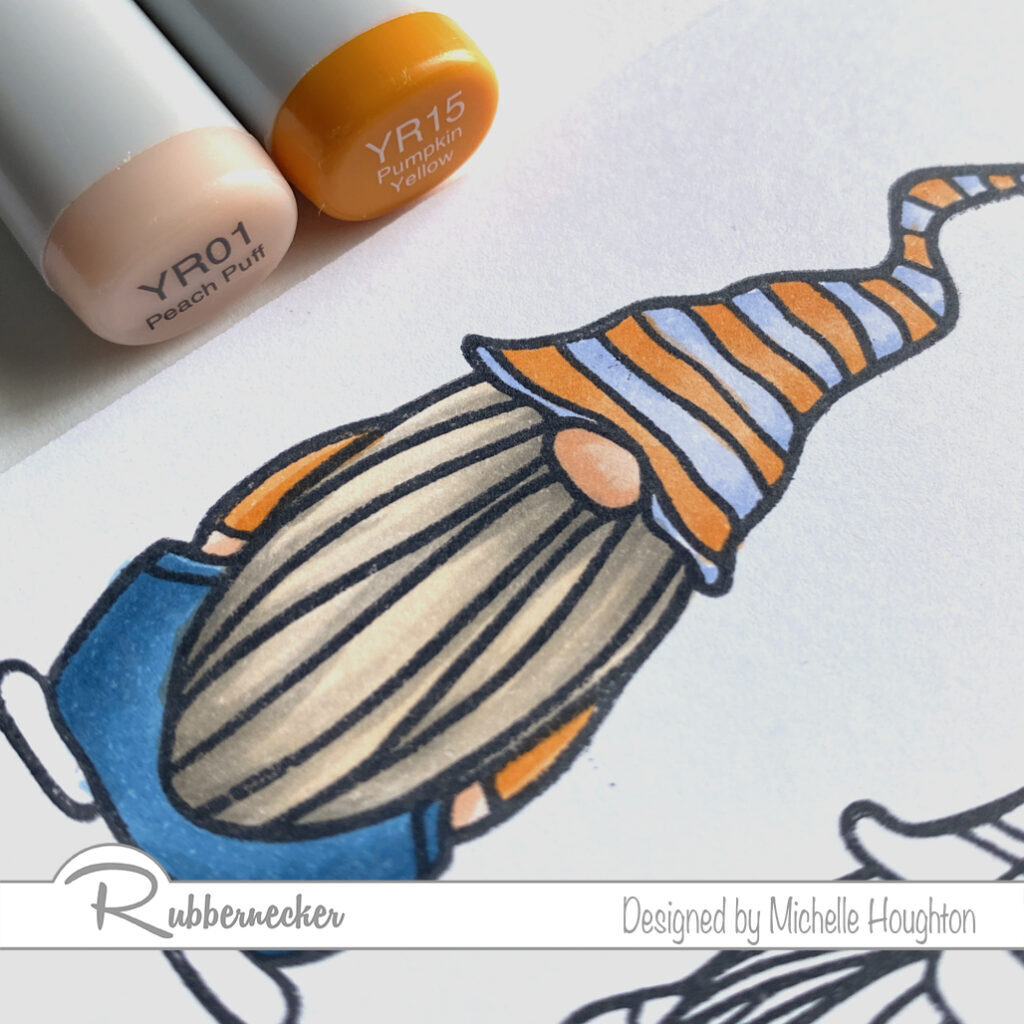
Add shape to all these areas with a YR01 on the skin, and the shirt with a YR15.
Finish the skin by blending with the lighter YR000 and adding touches of E93. Finish the shirt by blending the colors together with the lighter YR12.
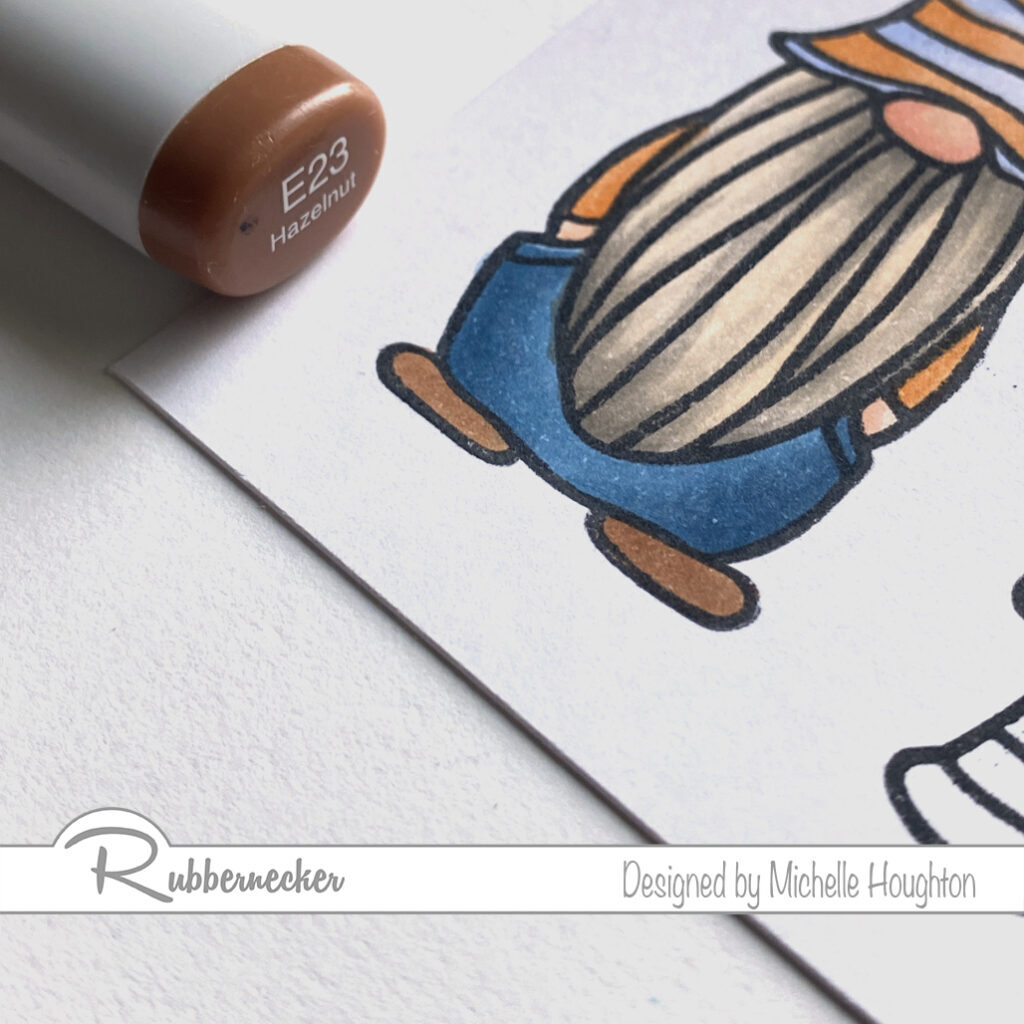
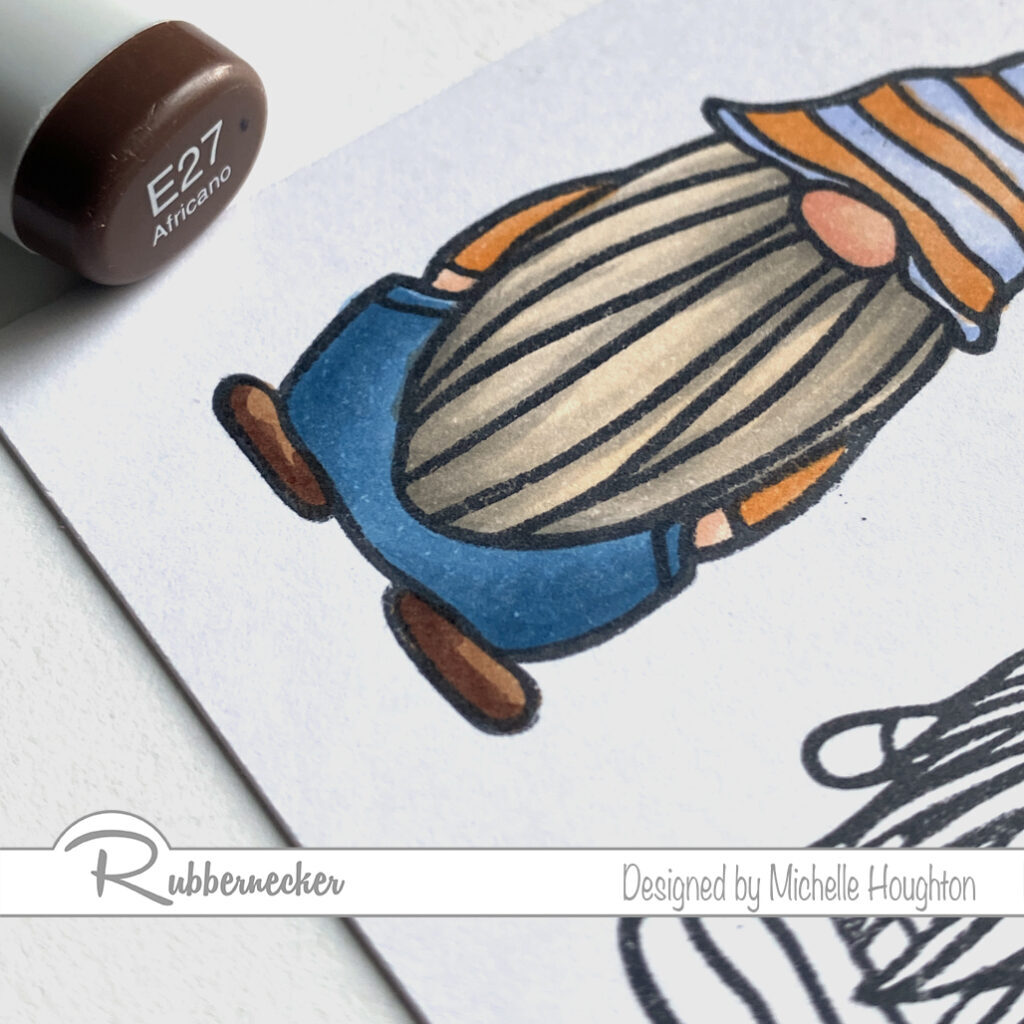
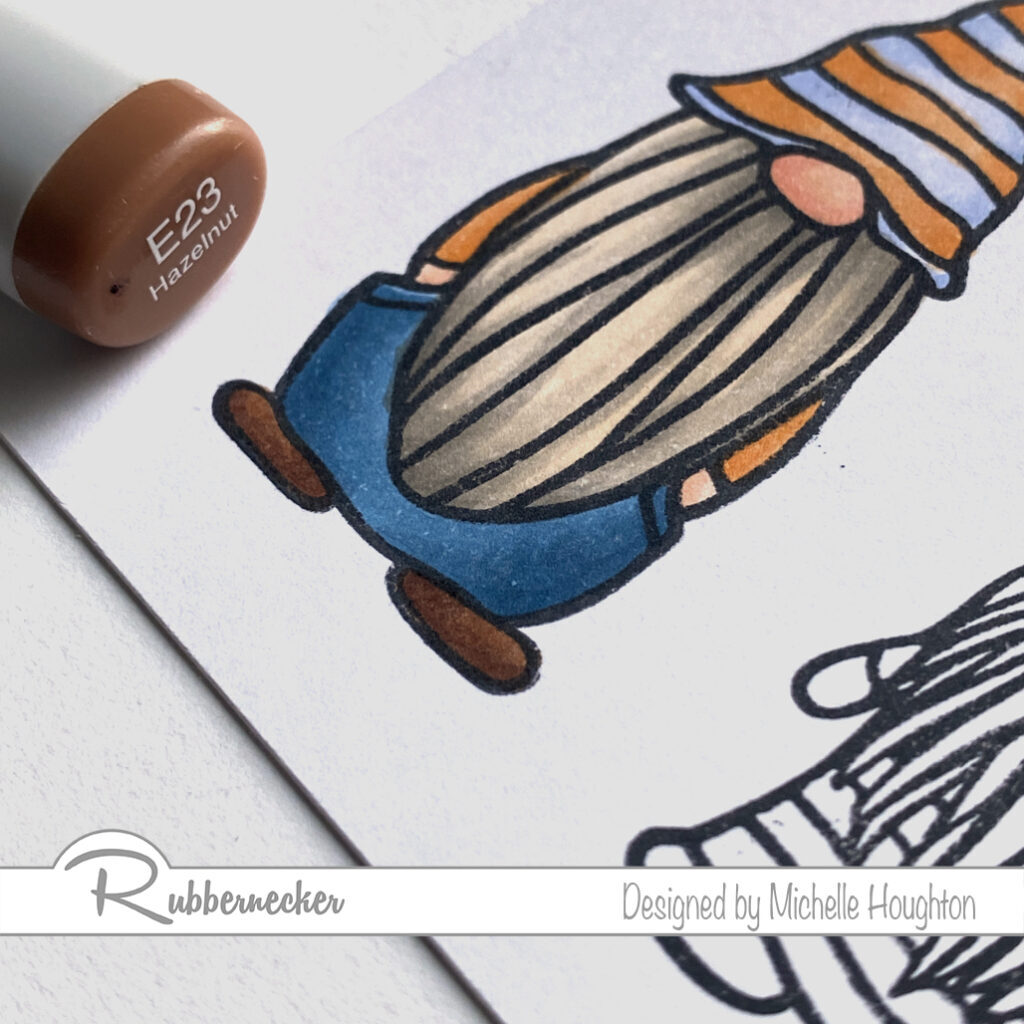
Finishing up this gnome with his shoes, base them in an earth tone, E23.
Use a darker earth tone along the bottom edge to round them, E27.
Blend the colors together using the lighter earth tone, E23.
Here is gnome #1 with all of his colors. In the next slide show I used similar colors for some sections of each of the gnomes so your will see the skin and shoe combos on each of the gnomes!
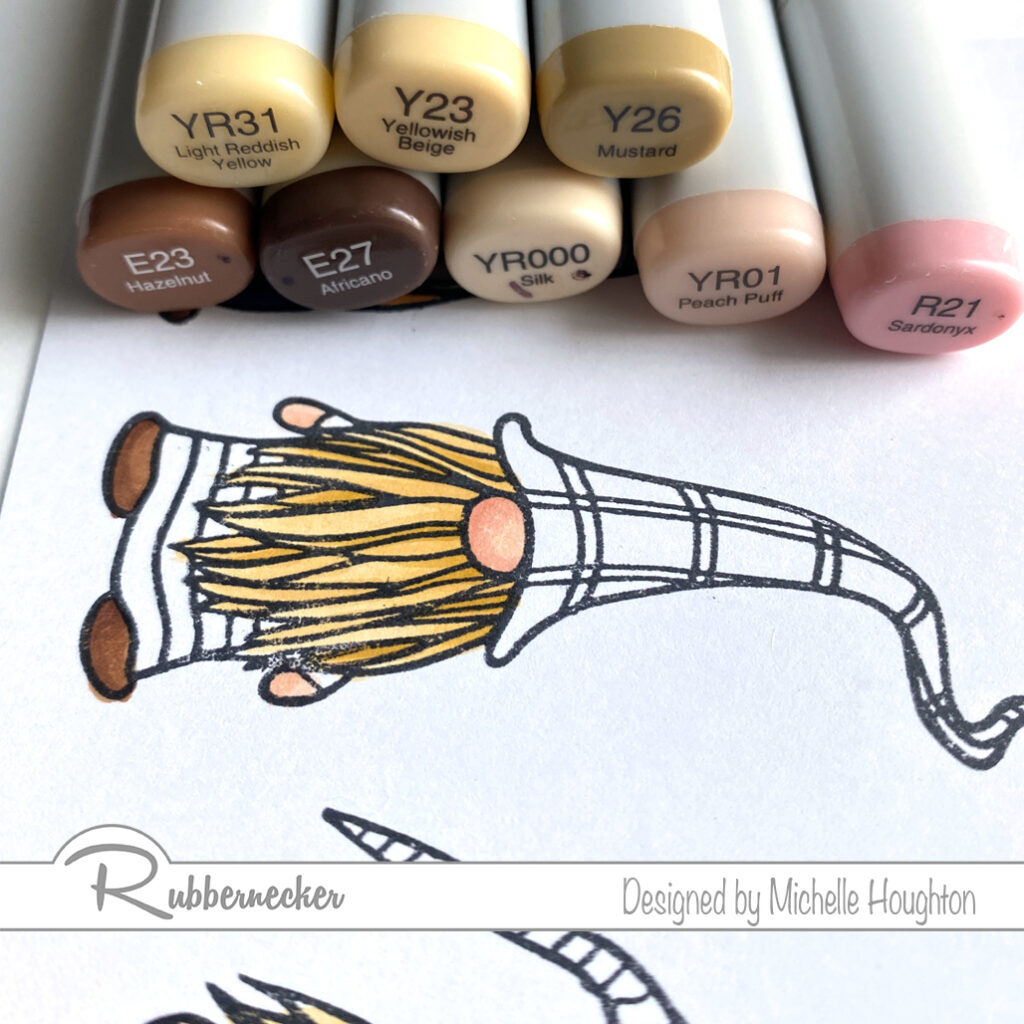
On gnome #2 use the same skin and shoe combination.
On gnome #2 use YR31, Y23 and Y26 on the beard.
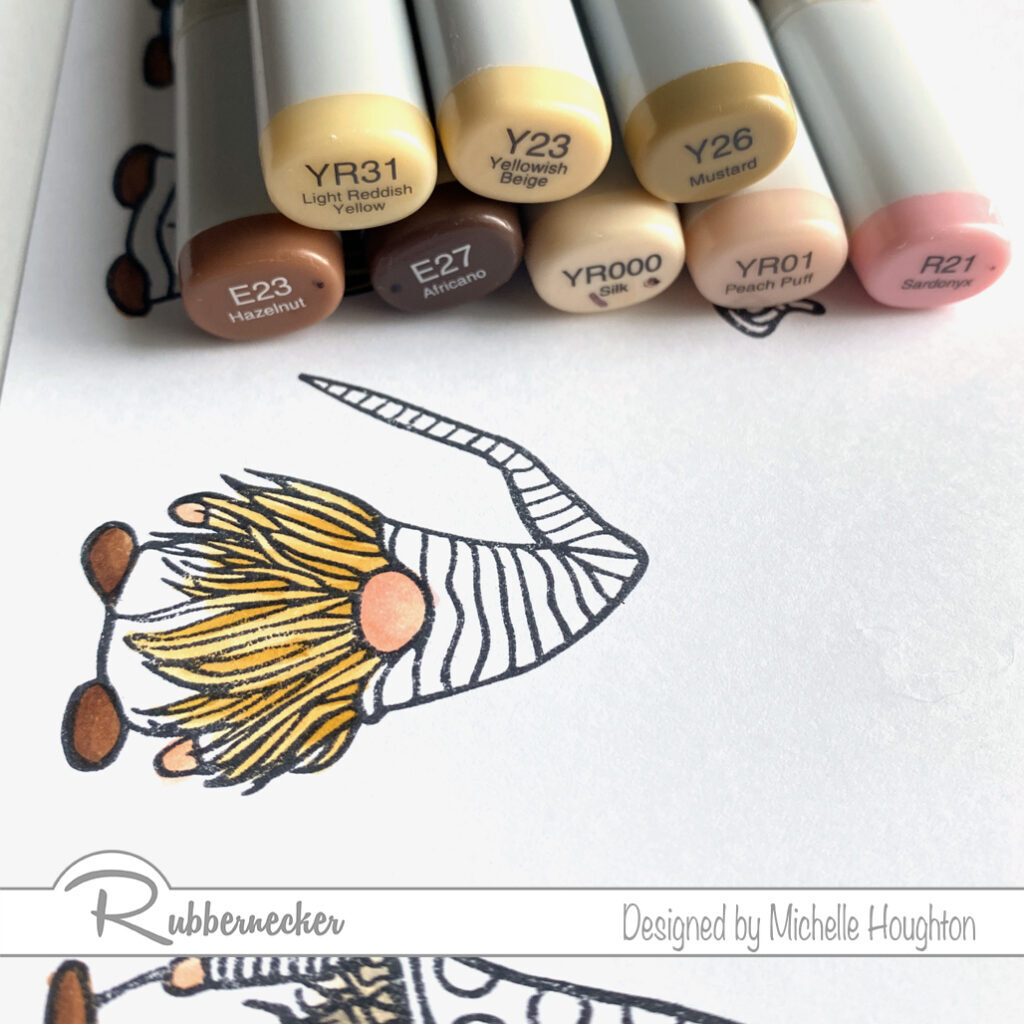
On gnome #3 use the same skin and shoe combination.
On gnome #3 use YR31, Y23 and Y26 on the beard.
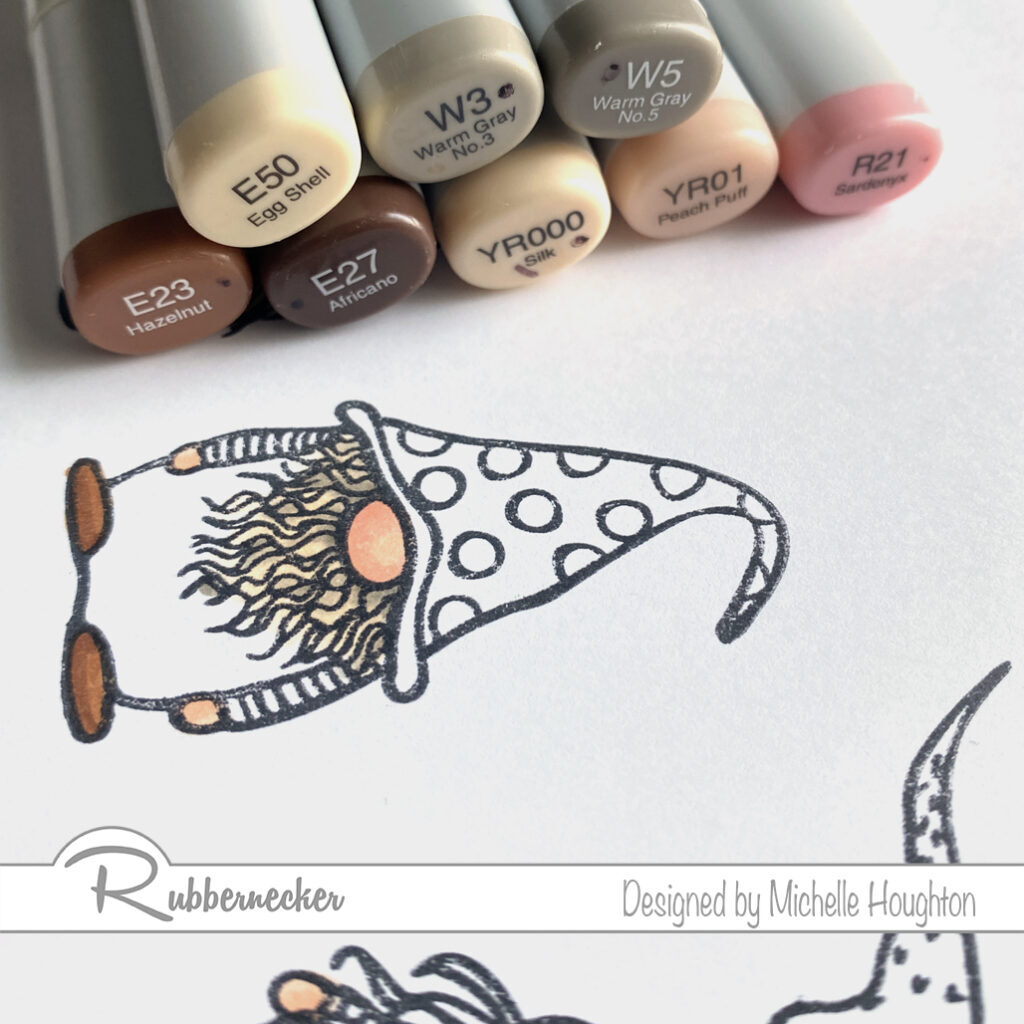
On gnome #4 use the same skin and shoe combination.
On gnome #4 use E50, W3 and W5 on the beard.
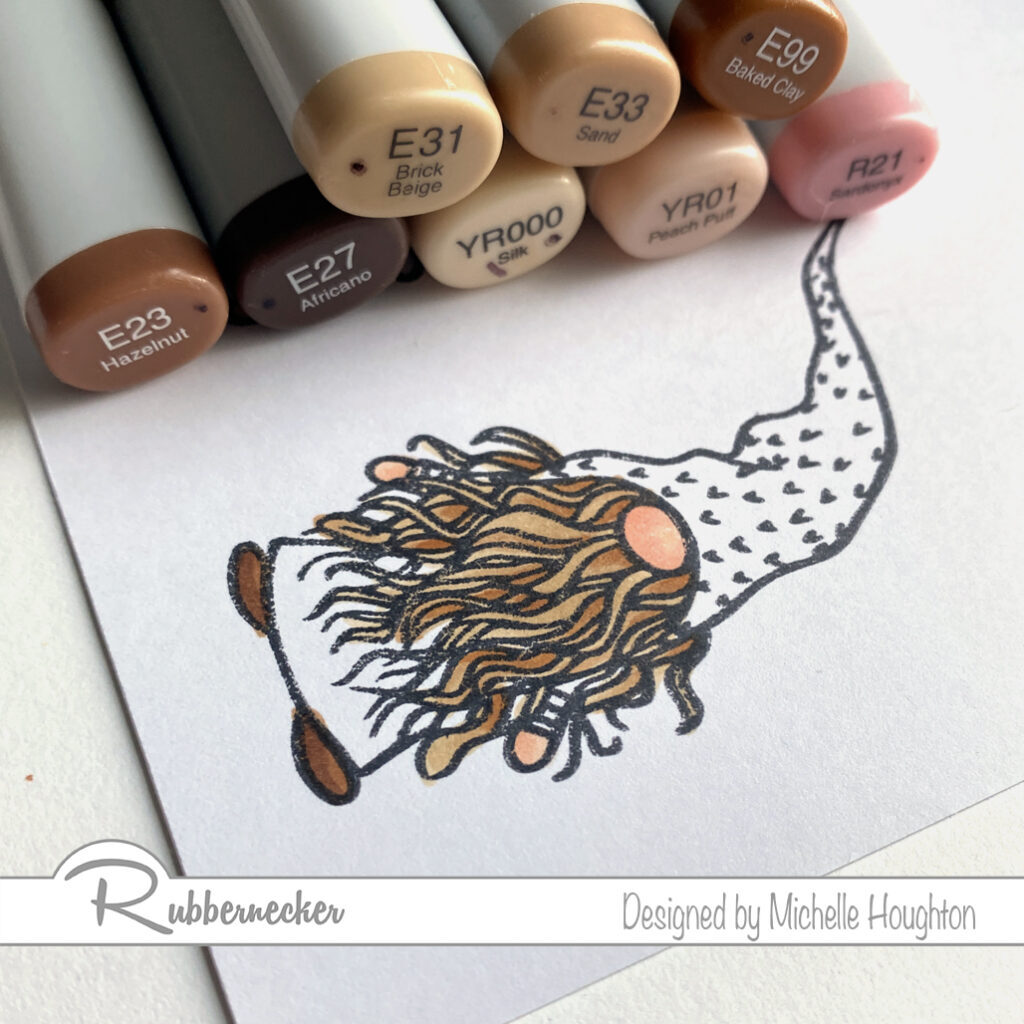
On gnome #5 use the same skin and shoe combination.
On gnome #5 use E31, E33 and E99 on the beard.
Now let’s look at the clothing on each of the gnomes.
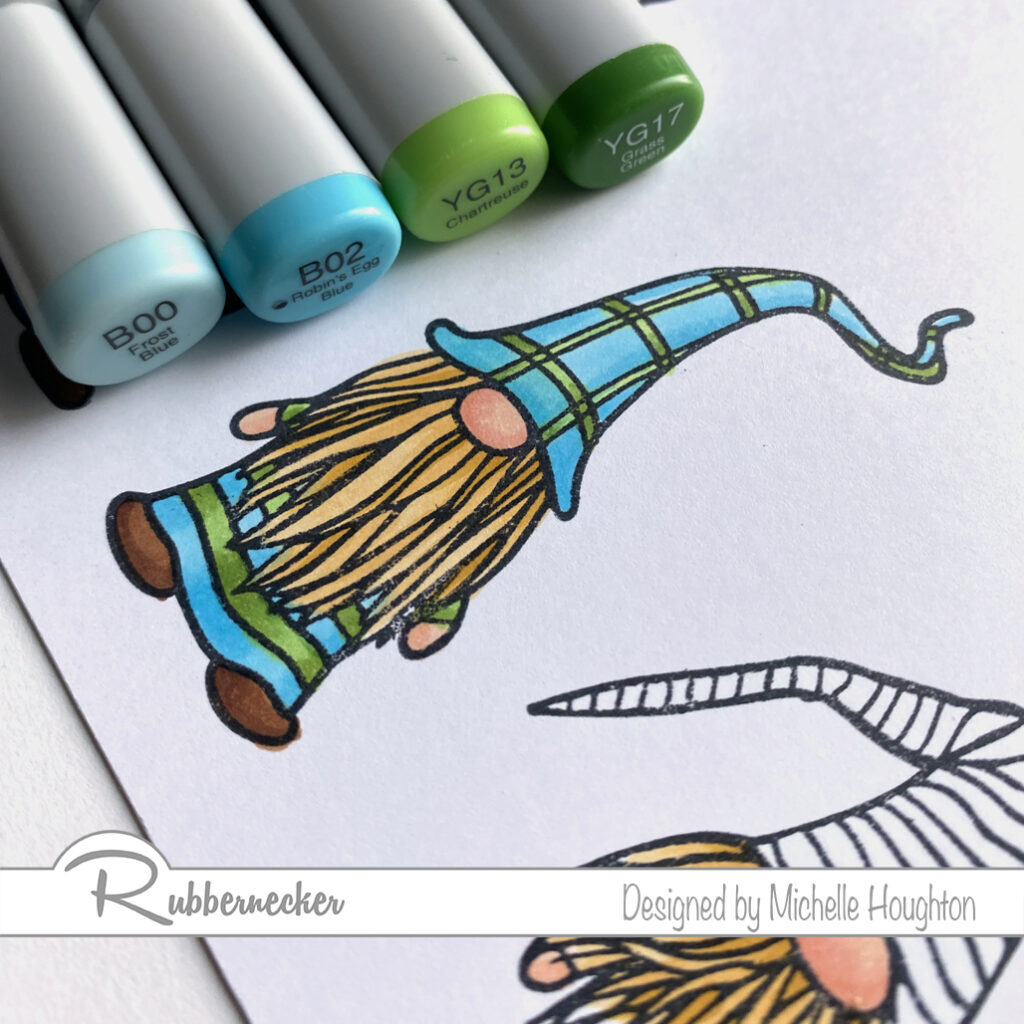
Gnome #2 uses a set of blues and yellow greens, B00, B02, YG13 and YG17.
Gnome #3 uses yellow greens and yellows, YG13, YG17, Y35 and Y38.
Gnome #4 uses yellows and blues, Y02, Y06, B60 and B63.
Gnome #5 uses yellows and a different set of blues, Y02, Y06, B00 and B02.
I need to complete the scene and get them on a card. They are just too cute and even thought this post is long with all the steps they actually color up extremely quickly! Below you will find links to the Rubbernecker Stamps products in this post. Thank you as always for stopping by!