Posted on

New No-Line Copic Coloring Video

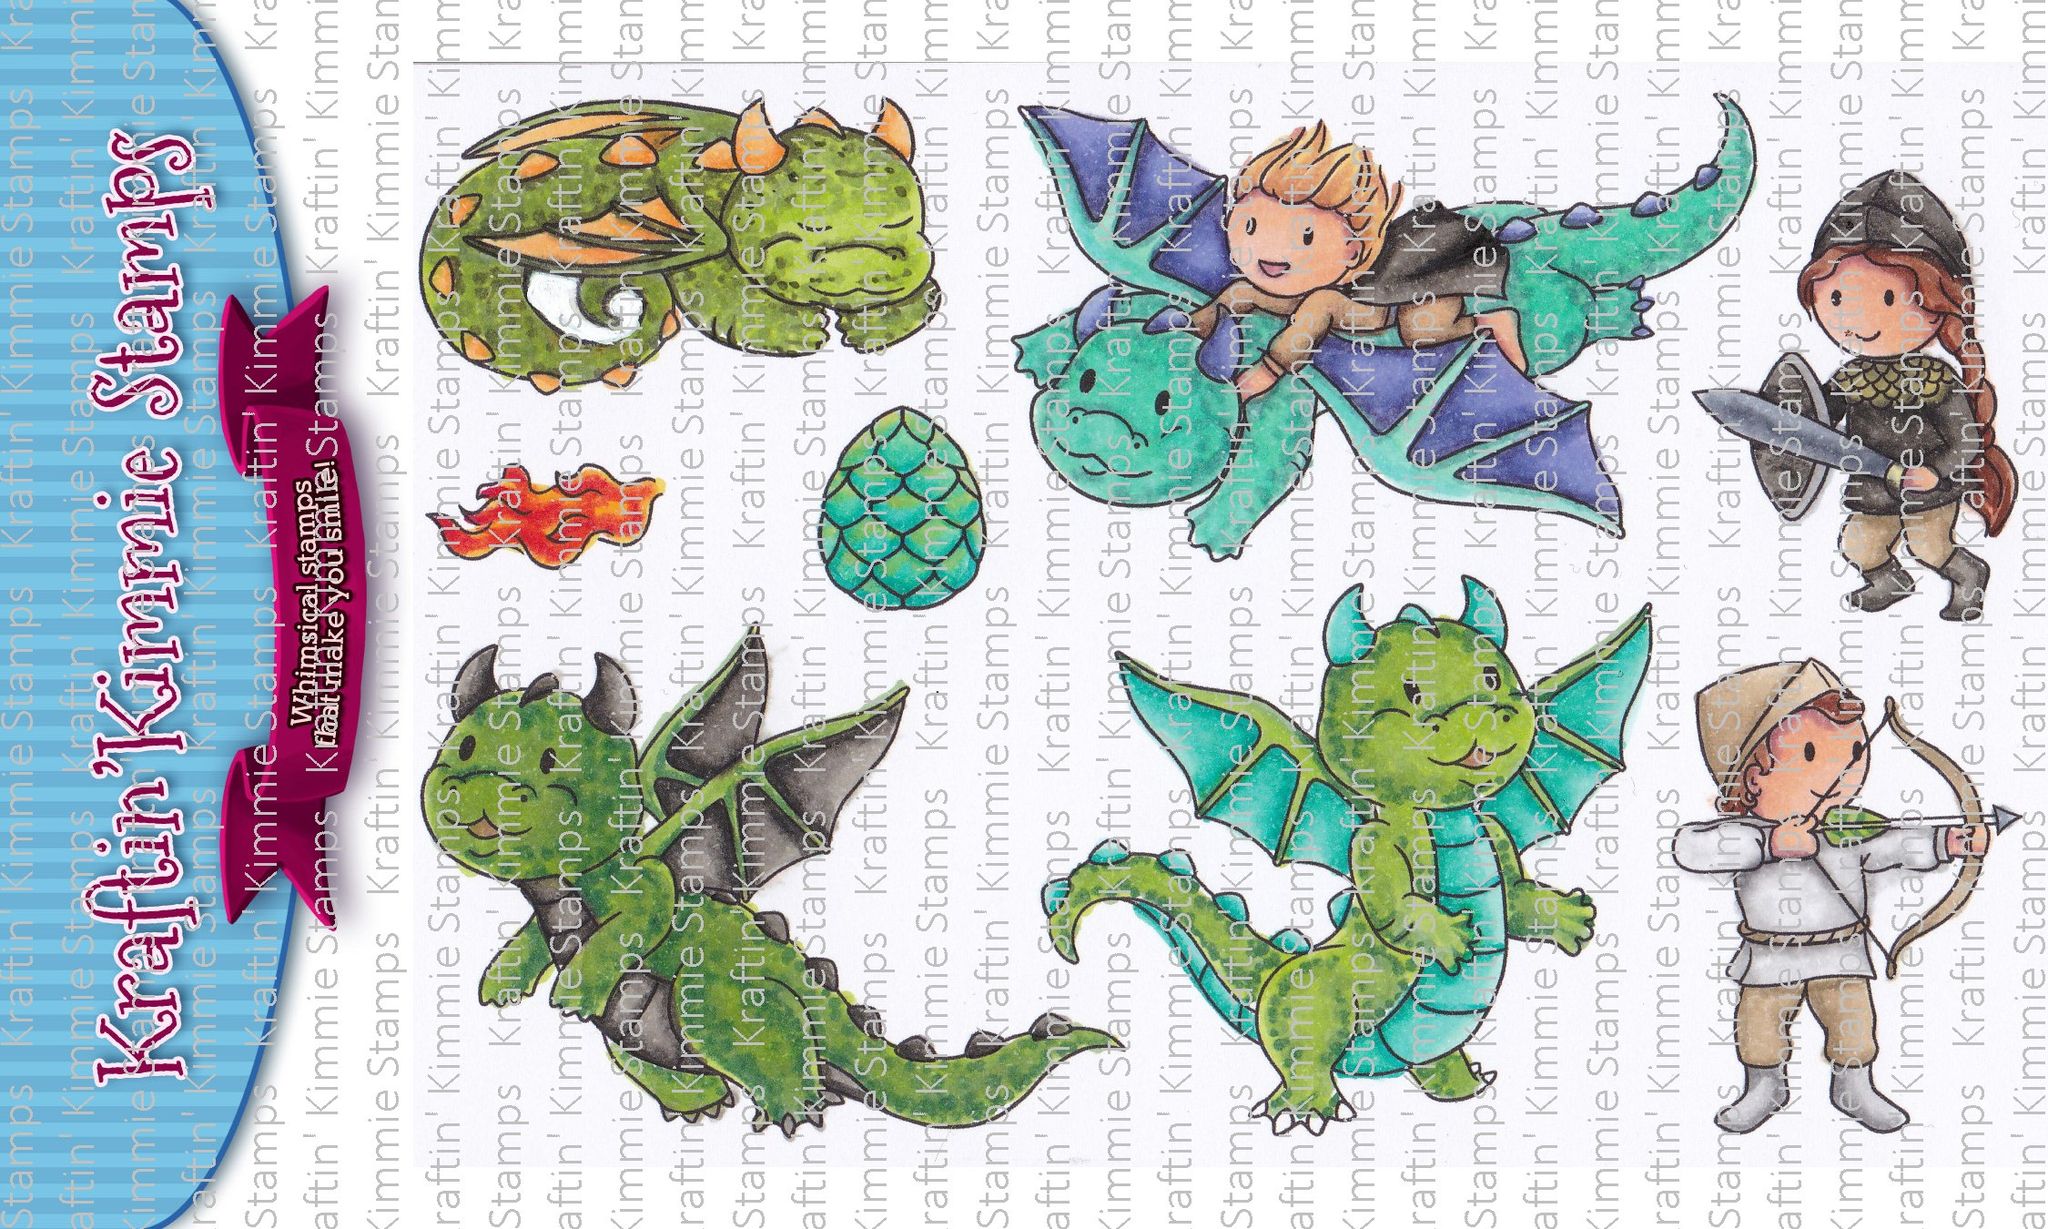
How about a little no-line coloring today? I have a new video over on the Copic In the Craft Room YouTube channel. The video is featuring this month’s add on image from Kraftin’ Kimmie. With a minimum purchase this cutie gets added to your loot.

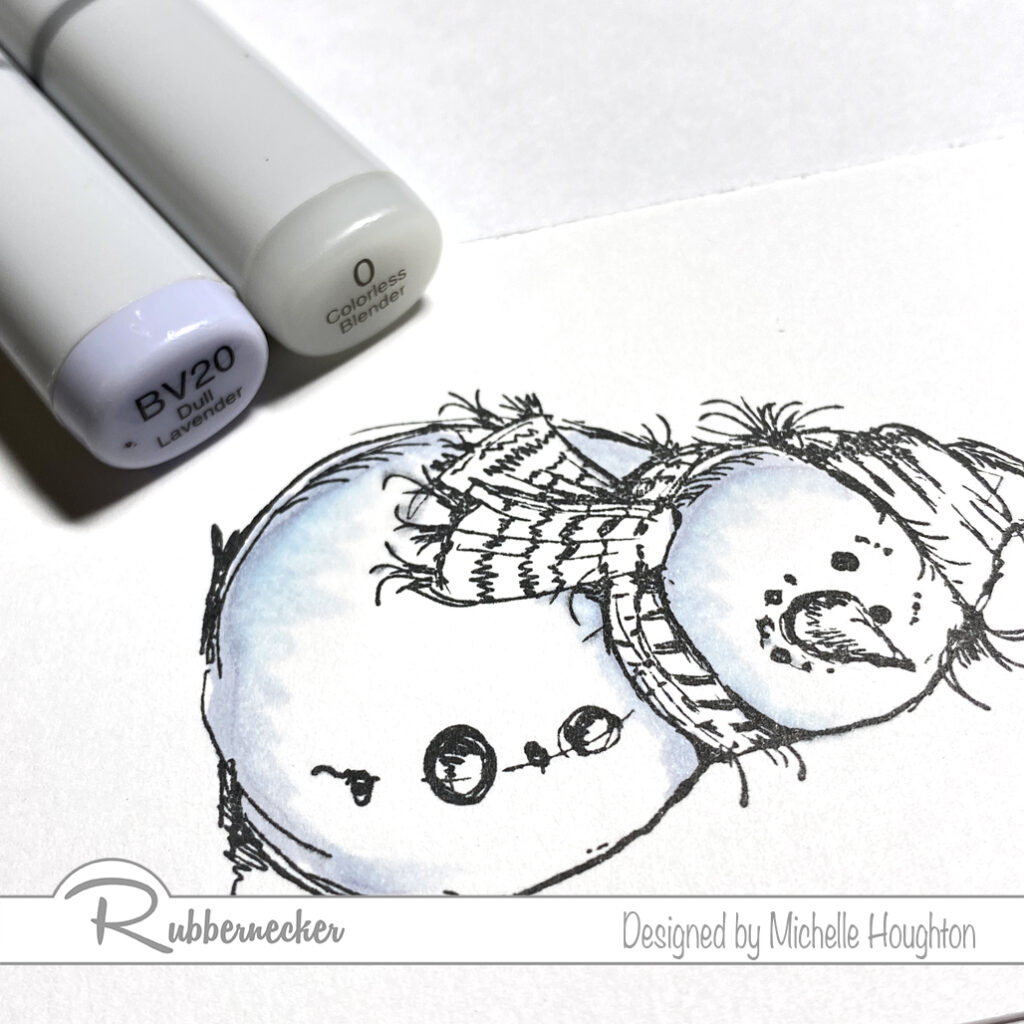
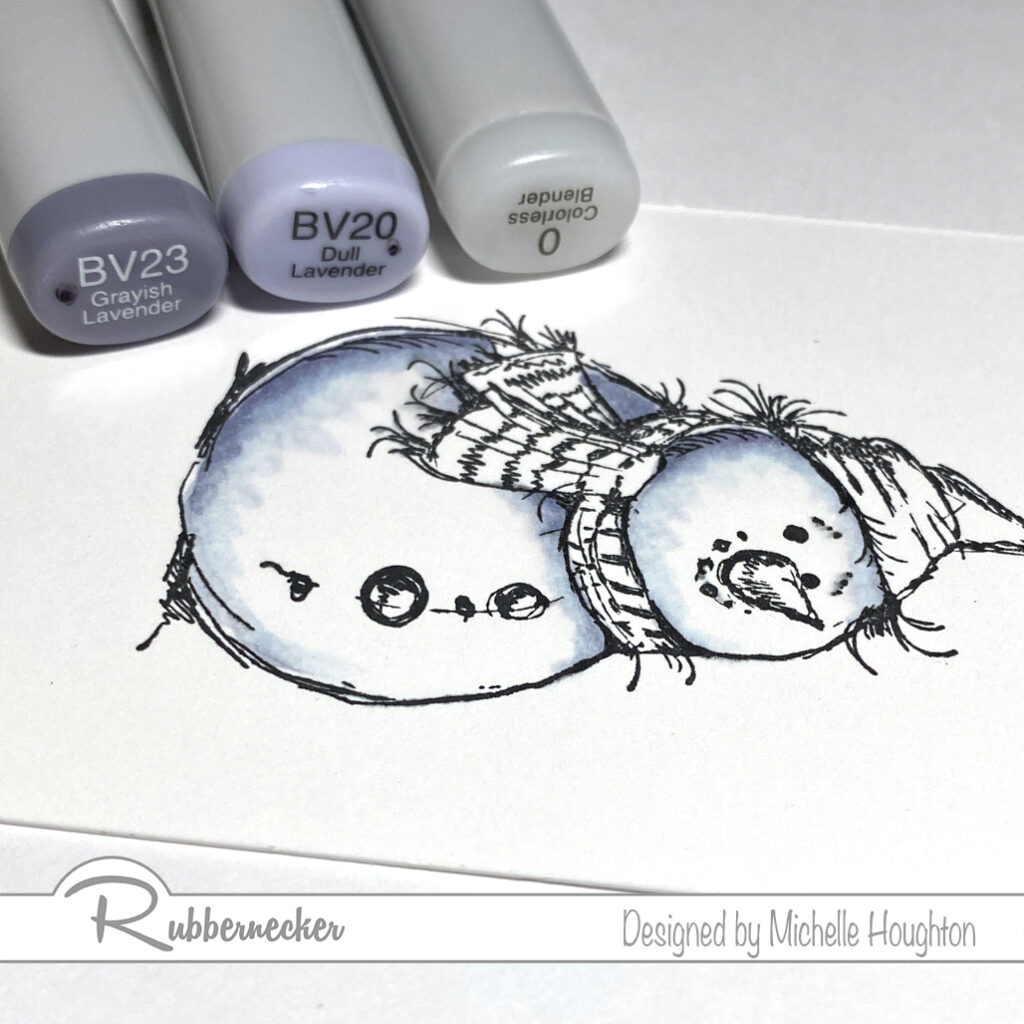
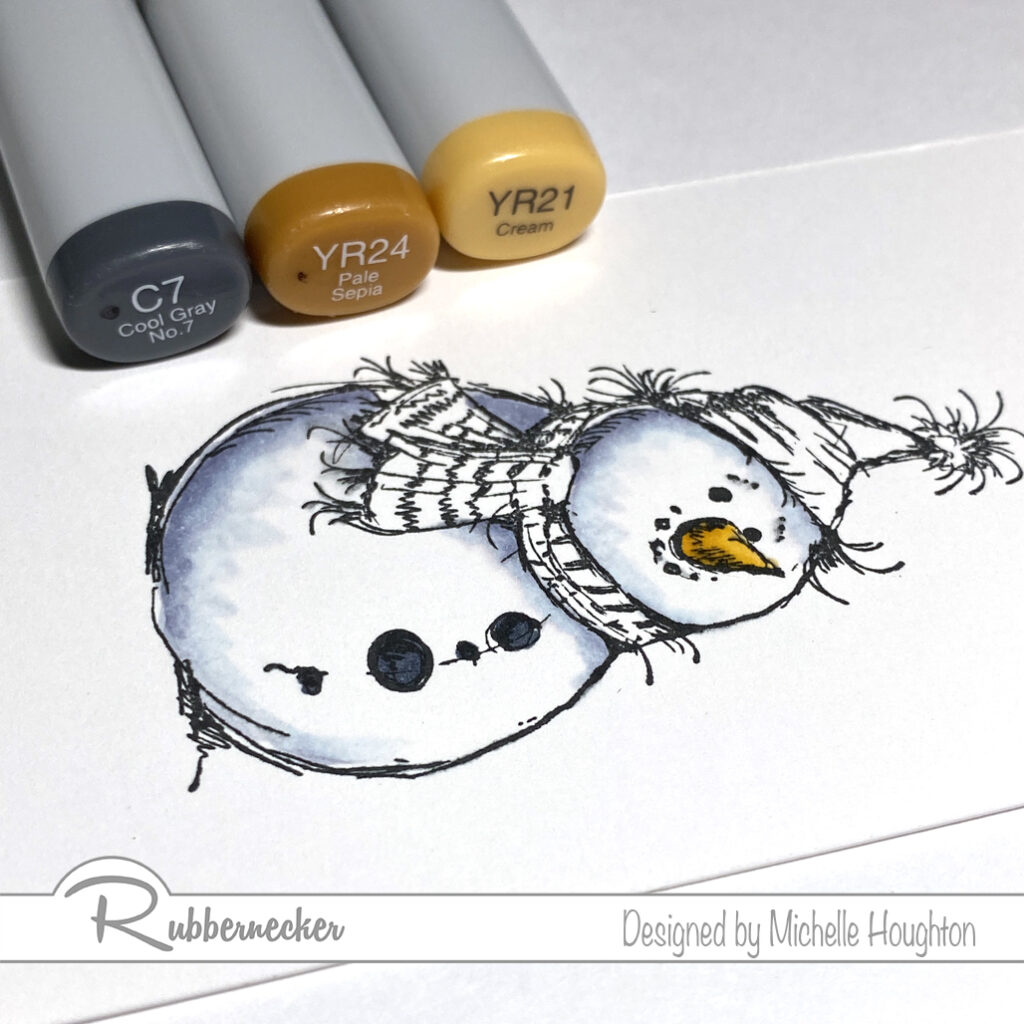
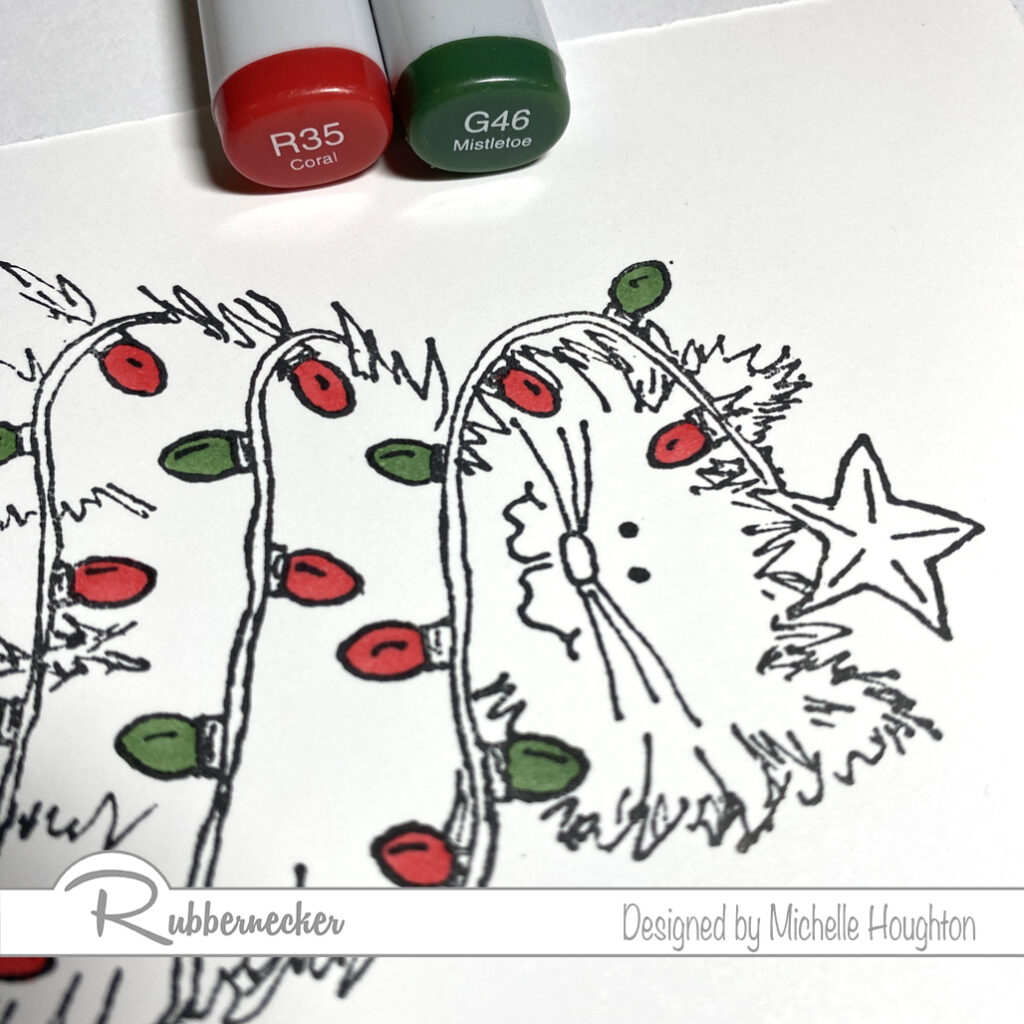
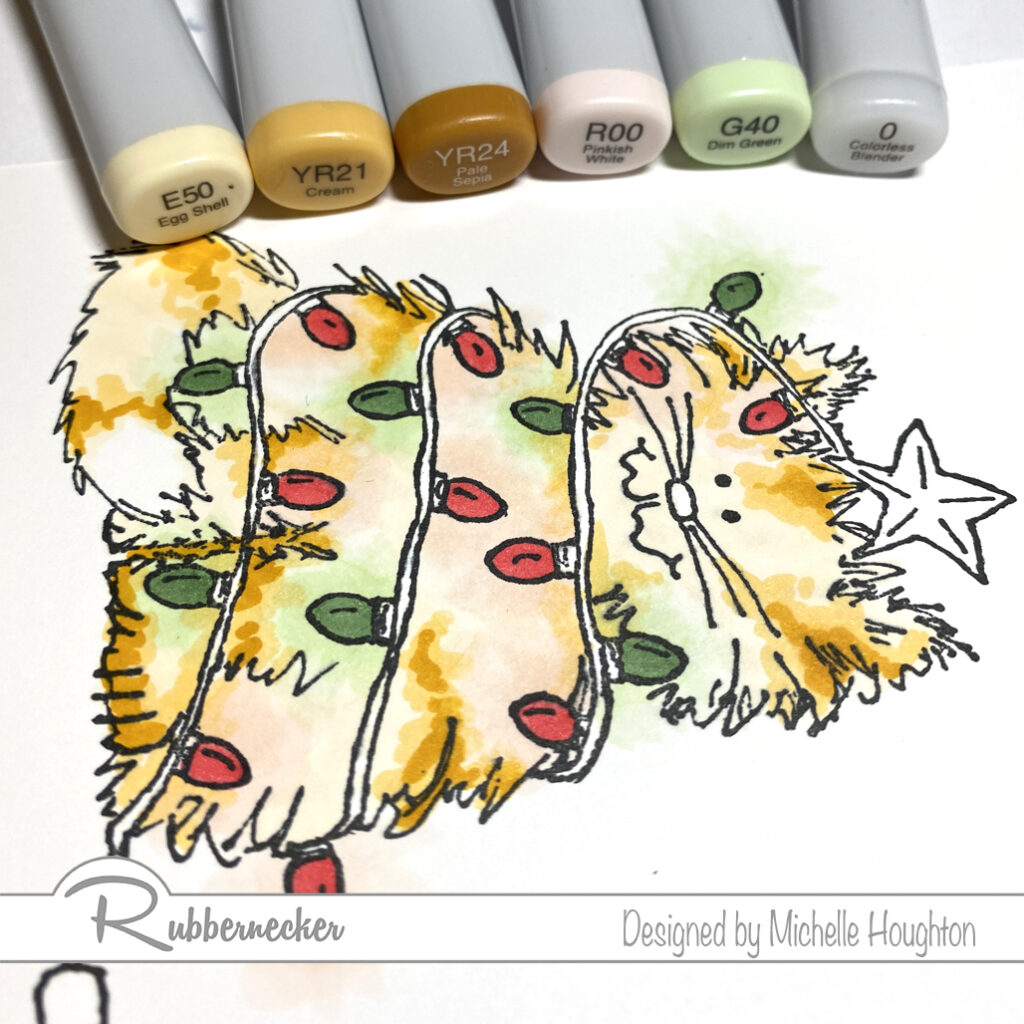
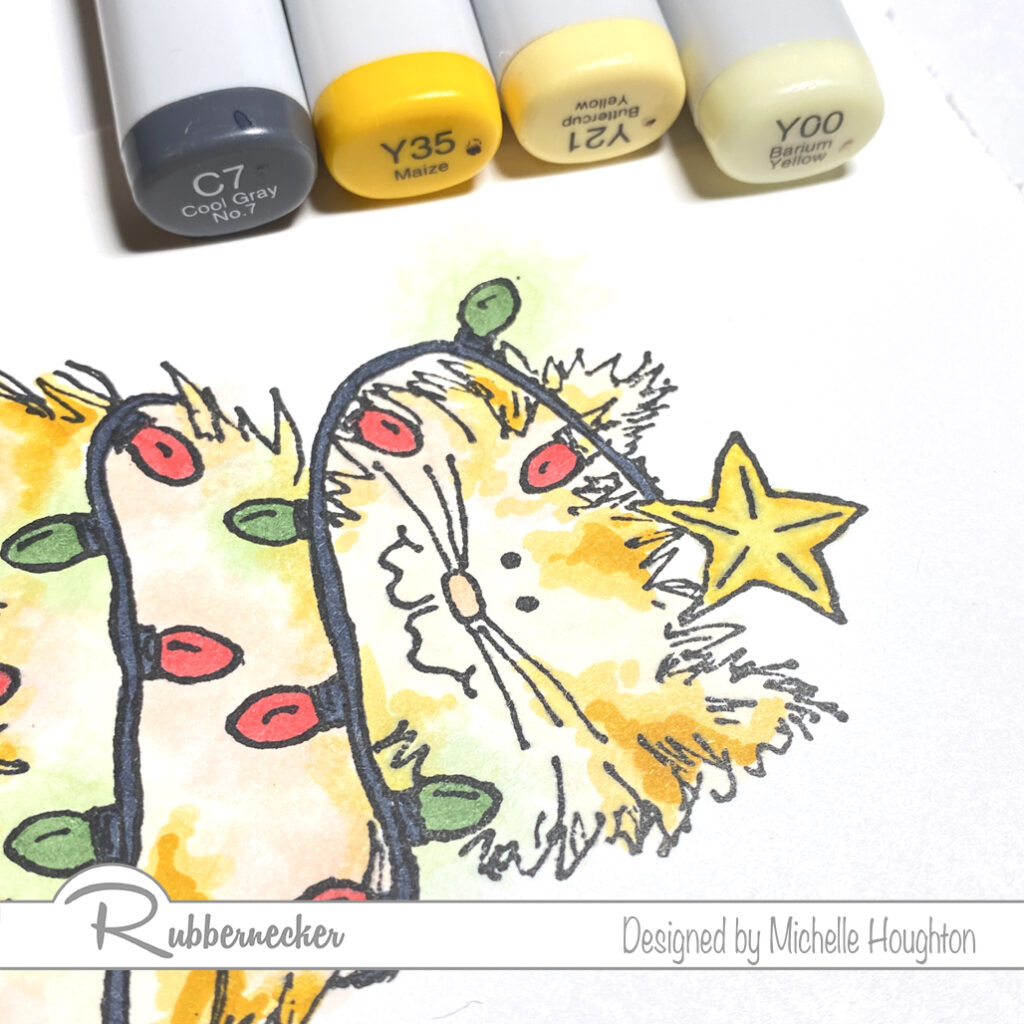
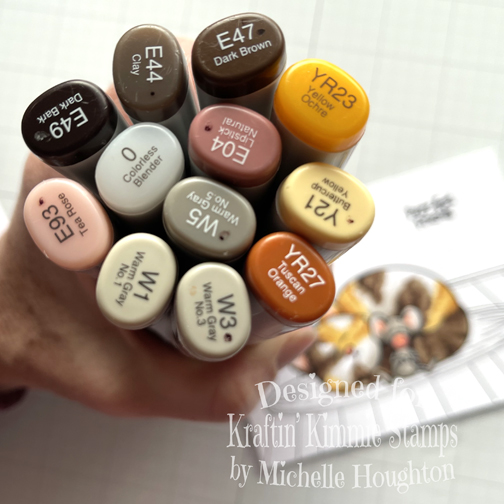
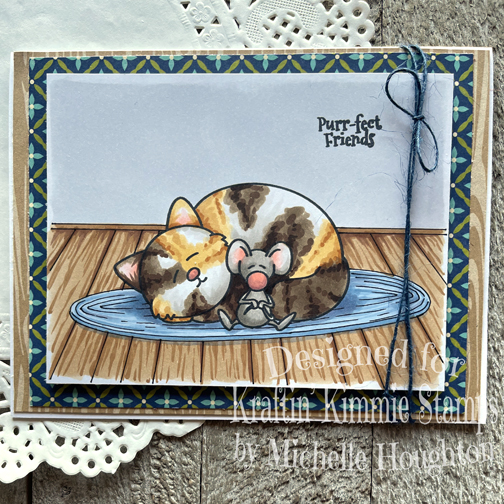
You might have noticed that the finished image is slightly different. I did a second coloring and the patches on the kitty are a little different as well as an added background! Here is how the background happened: Here are the colors I used on the kitty and the mouse,

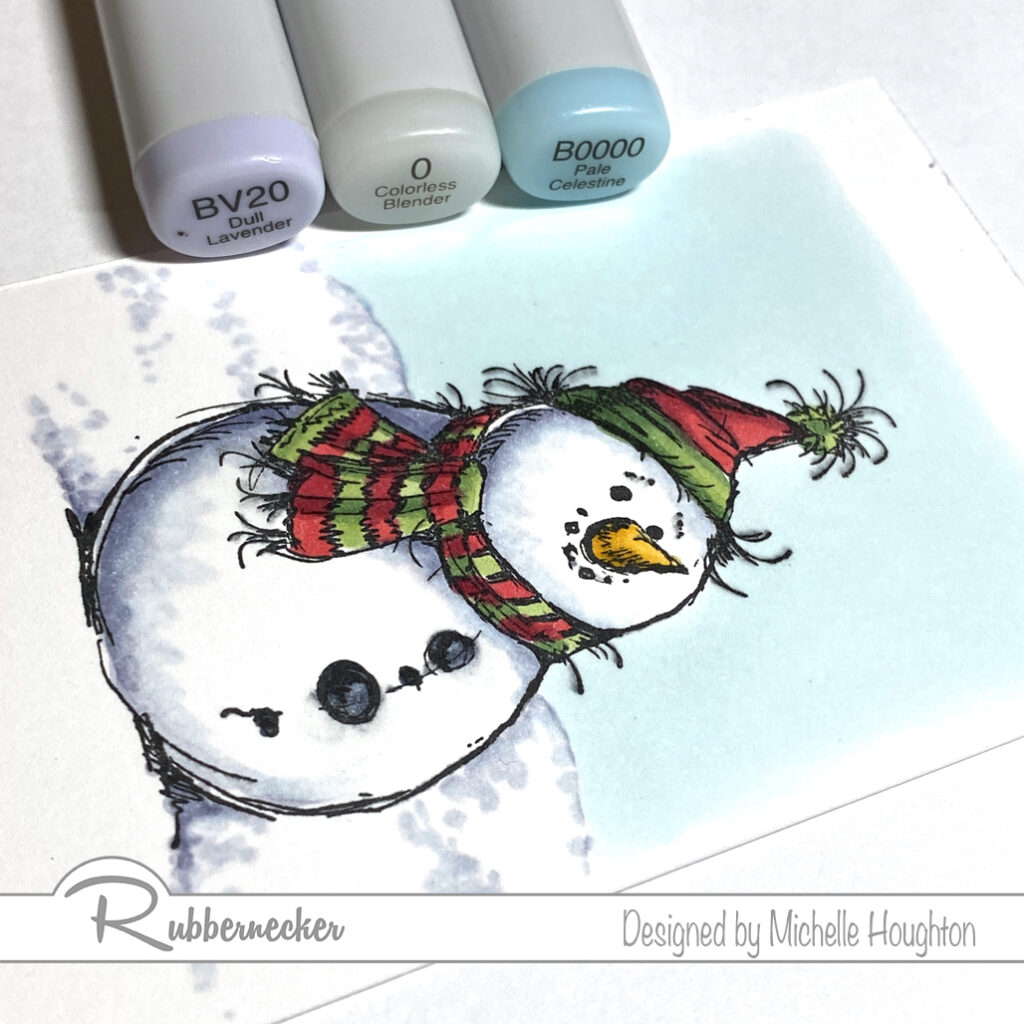
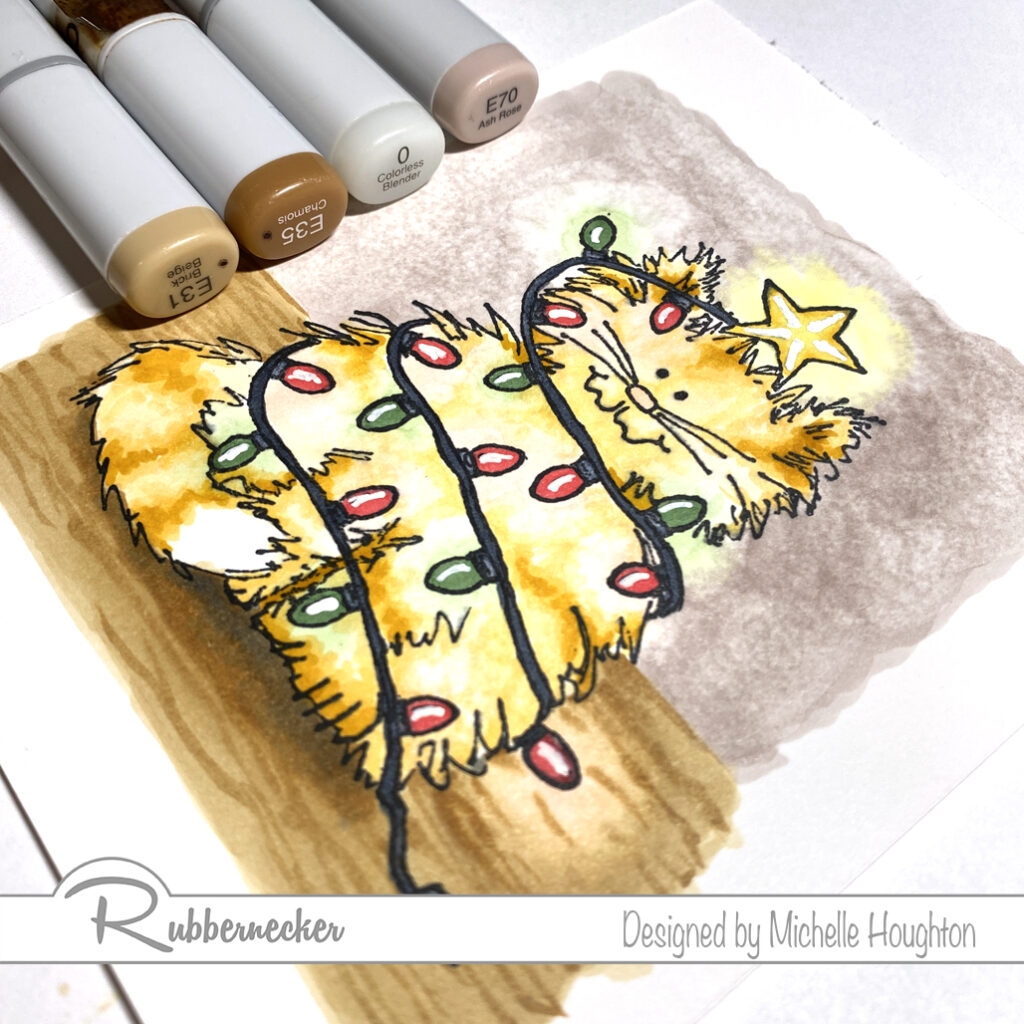
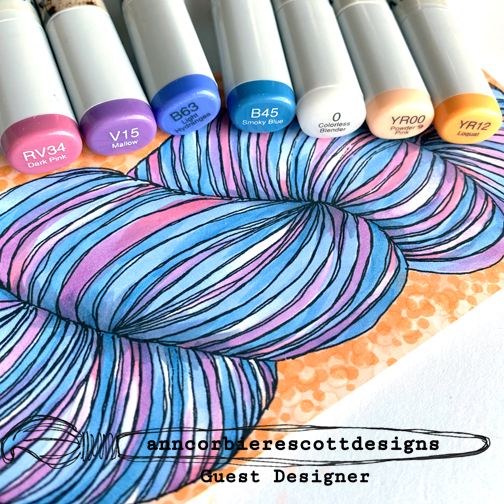
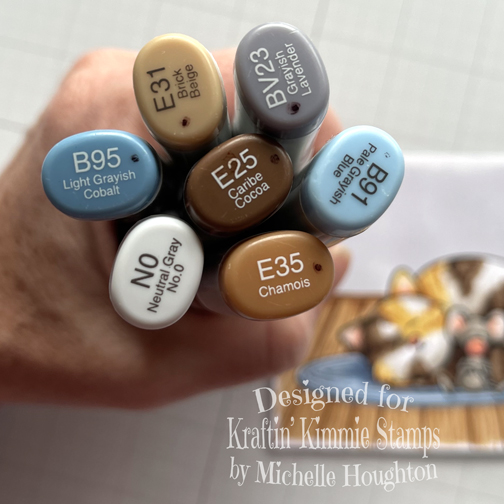
Here are the colors I used on the background:

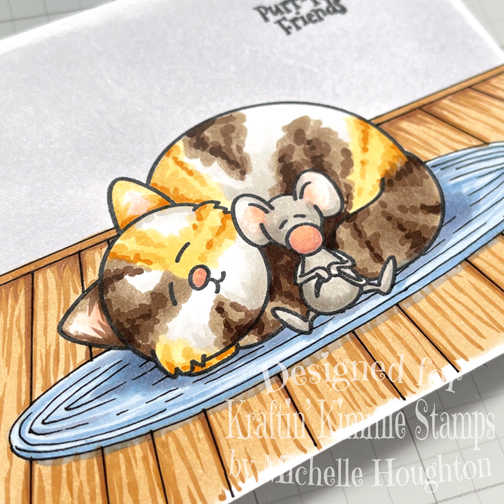
I first sketched the background. I added a wood floor using one point perspective and added a rope rug in an elliptical shape. I started my sketch with pencil, went over the lines with a Copic Multiliner then after letting them dry erased the pencil lines.

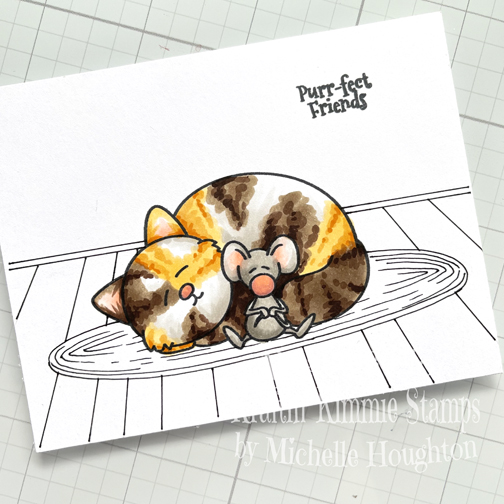
Next was coloring the image I used the exact same steps on the kitty and the mouse as the video. (This is just stamped in black so it is not a no-line finished look.) The background has very basic coloring to let the image shine through.

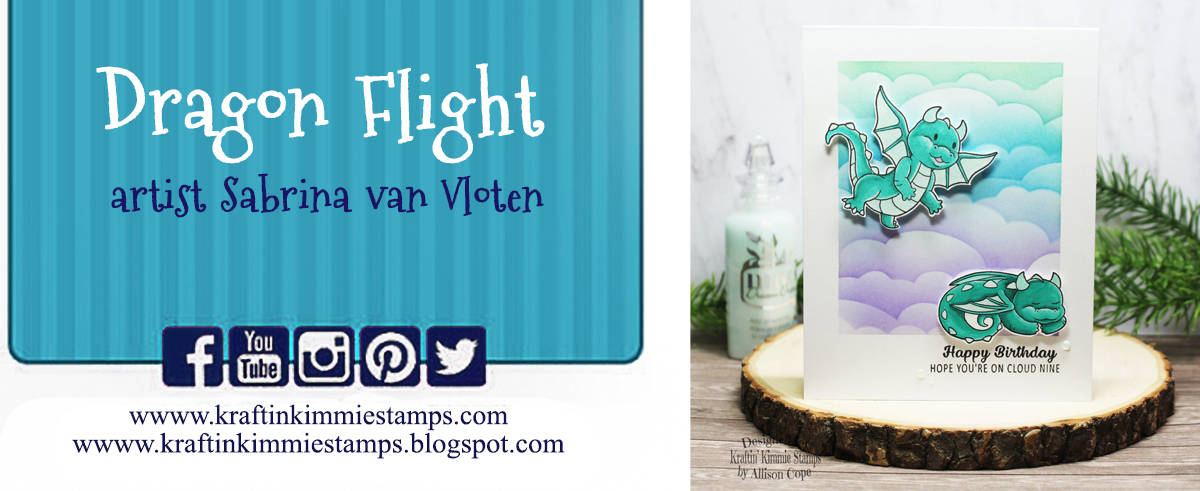
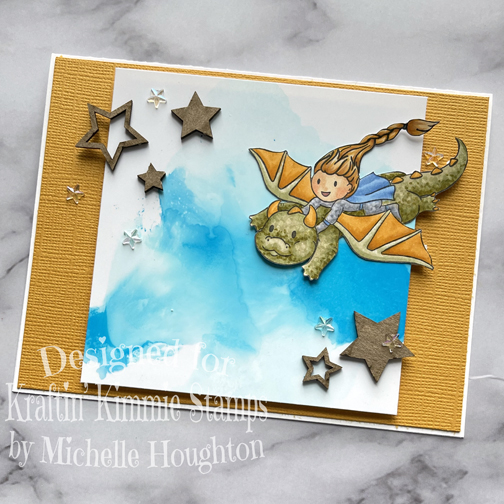
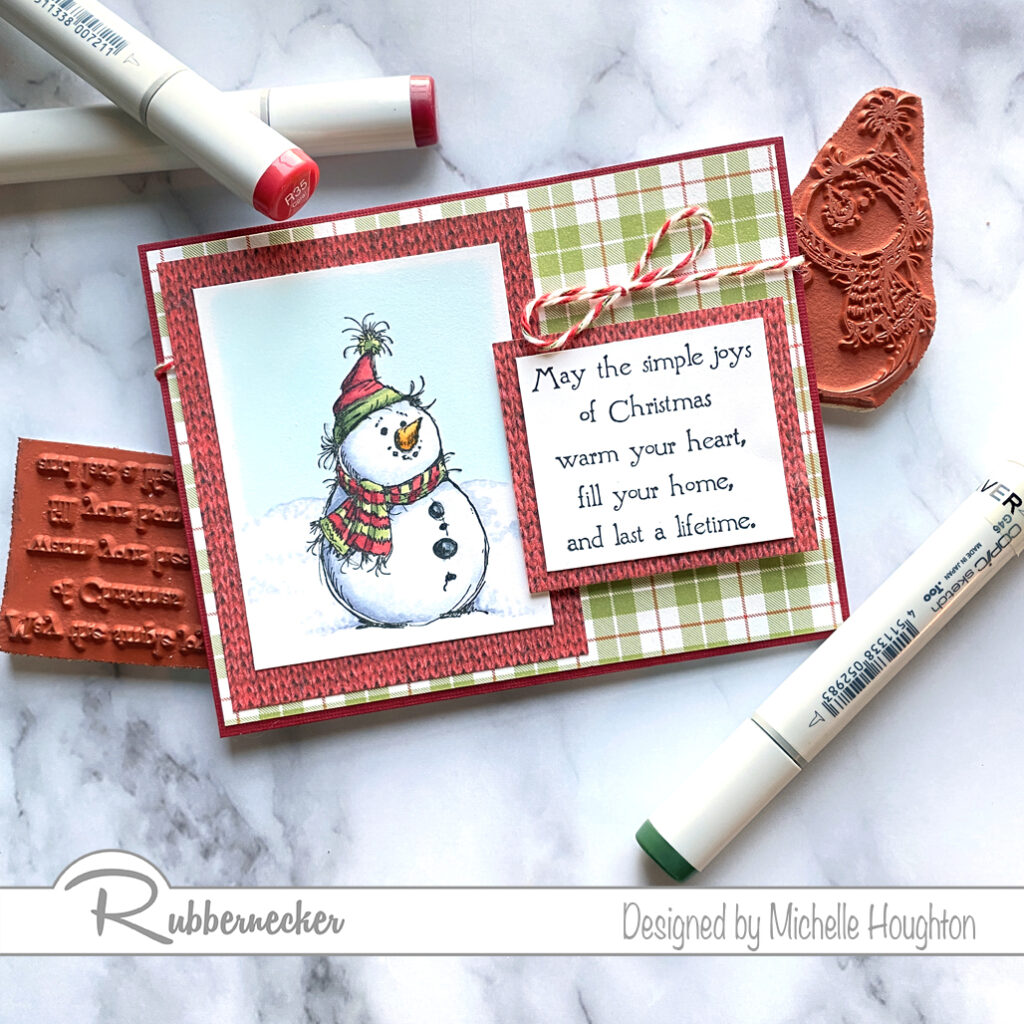
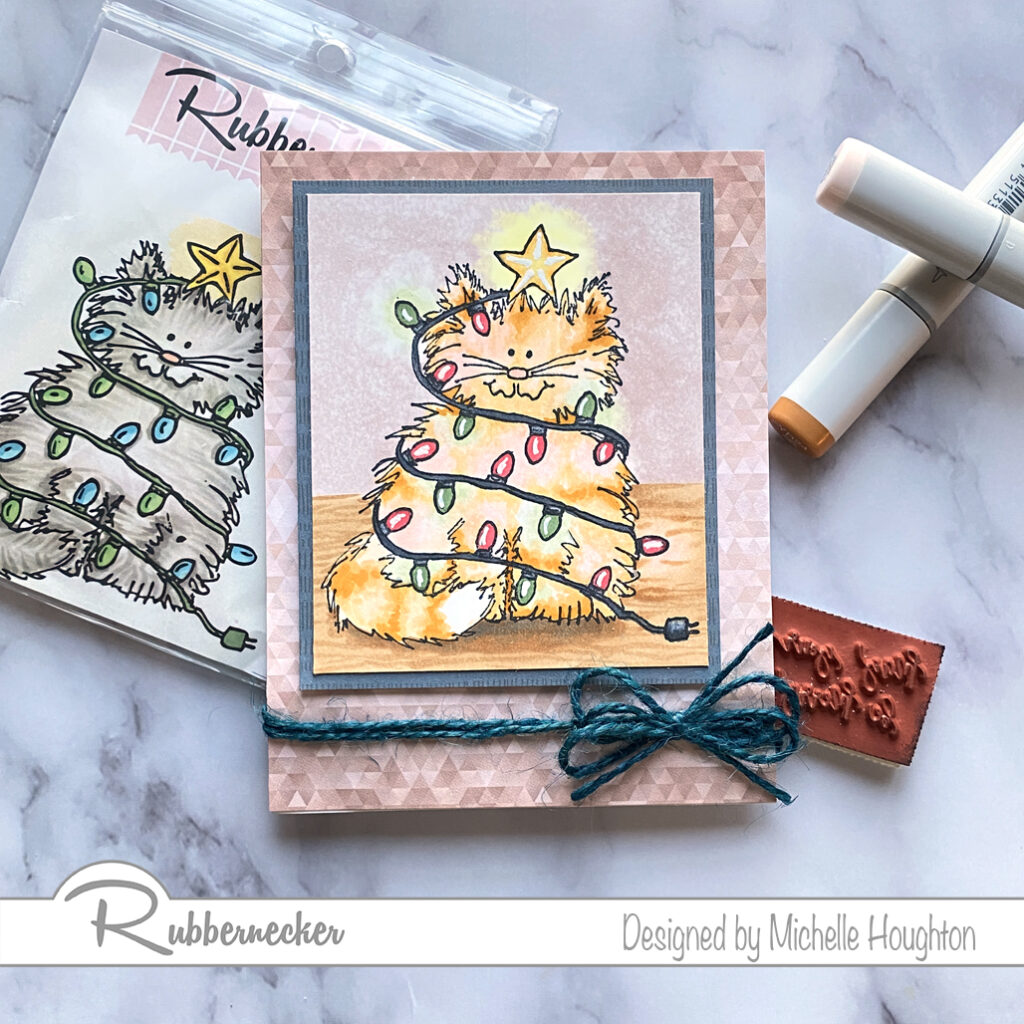
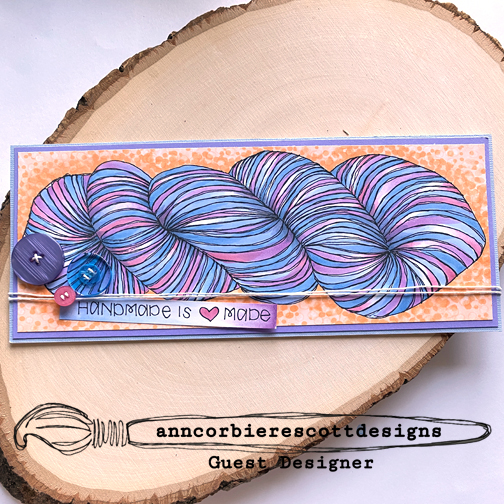
And here is another peek at the finished card!

As always thank you so much for dropping by!

Have a Happy Colorful Day!

Posted on 9 Comments

March Peeks and a Video Too!

   Who’s ready for lots of brand new Krafty goodies?!

It’s time for our March Release Peeks to begin 


Today’s featured set is a fearsome set by Sabrina van Vloten called…..
DRAGON FLIGHT!


This is an amazing set of dragons and knights ready to set flight and create magical scenes! Of course you’re going to find so many ways to use it with the previously released Dream Castle and Royal Family & Sentiments sets!!


As you hop around the design team’s blogs today you’ll be able to check out DRAGON FLIGHT! in action in combination with a lot of our other new March Kraftin’ Kimmie products!  

You will spot our newest addition to the Kraftin’ Kimmie Hybrid Ink rainbow!  It’s a gorgeous new colour…..called 

RICH RUST!  


As always it will be available in full sized ink pads, ink cubes and ink refills!

We’ve got TWO new Krafty Stencils for this month’s release to help add some funky fun to your creations!  They are called….
RADICAL RECTANGLES and ROYAL!

Both designs are perfect for all your cards, scrapbook pages, mixed media and more!

Plus the MARCH ADD ON BUNDLE!

Our exciting Add-On bundle this month features several amazing products which will coordinate with our new goodies and will help you enhance your new creations!! 

This month’s coordinating Add On Kit includes:

  • An Exclusive Mystical chipboard set
  • 5 Yards of Natural Twine
  • A bottle of iridescent Dream Drops (you’ll receive one of 5 gorgeous shimmery colours!)
  • A beautiful package of Shimmerz embellishments

This package is $20.99 CAN and a limited number will be available in the shop on Saturday afternoon after our Live Release Party! Get ready to get krafty!!

You’ll get to see all of our brand new goodies in action over the next few days of the March Krafty Peeks and everything will be released at our LIVE March Release Party on Saturday March 13th @ 2 pm EST!


For now, hop around and check out some amazing creations from the Krafty Team and be sure to leave some love at each stop on the hop!  Your comment could be a WINNER of some krafty $$ to use in the shop!  (Not to mention our designers are incredible and you should tell them so!  😉  )
 

Come on back tomorrow for some more krafty fun and goodness!


I played with this fun stamp set during the last virtual retreat but decided to color another of the images in the set as well as add a personal touch to it! I added a braid to the dragon rider and recorded the whole thing so you can watch if you like! First here is a closer look at the image and the Copic coloring as well as the added hair braid:

And here is a look at the card I completed. I did a simple inky background with Copic refill ink on photo paper.

Lastly how about a link to the video tutorial?! It is all in real time so between the drawing and the coloring it is a longer video but hope you might have a chance to watch a few moments! Thank you for stopping by!

Have a Happy Colorful Day!

You are invited to the Inlinkz link party!

Click here to enter


Posted on

Snowman Copic Coloring

There are SO MANY snowman images out there! And I love them all. Let’s take a peek at one today and I will walk you through how I use Copics to color him up. The beauty is these steps can bee used on all your snow buddies! Let’s get coloring.

  • Use a light blue violet to flick from the edge of the snowman inward. (BV20)
  • Starting from the white area, use the Colorless Blender to flick into the blue violet to soften the edge. (0)
  • To deepen the shadows use a darker blue violet to dab in color at the bottom edge. (BV23)
  • Soften with the lighter blue violet. (BV20)
  • If needed use the Colorless Blender to fade the edge again. (0)
  • Use two yellow reds to color the carrot nose. (YR24, YR21)
  • Use a dark gray to color the coal. (C7)
  • Color every other stripe on the scarf, the bottom edge and pom-pom on the hat with two greens. (G46, G43)
  • Use two reds on the opposite stripes and the rest of the hat. (R39, R35)
  • As an optional step, use the Colorless Blender on the coal to add dimension. (0)
  • Use a light blue green or blue to color the sky. (BG000)
  • Use the light blue violet and Colorless Blender to dot in a snowy ground for your snow buddy. (BV20, 0)

Finish your card with simple patterned paper layers, a wonderful sentiment and maybe a bow of twine. Thank you for visiting Copic In the Craft Room today! Below you will find links to the Rubbernecker Stamp products used in this post.

Have a Happy Colorful Day!


Posted on

Tangled Kitty with Glowing Lights

Ready for some holiday cheer? I have a quick holiday Copic coloring tutorial for you with a fun Rubbernecker Stamp. Tangled Kitty is an image that allows you to make the kitty your own and use colors that remind you of your favorite 4 legged friend. Here are the steps I took to create the look of glowing Christmas lights all tangles around this kitty.

  • Color in the lights with bright saturated colors. (R35, G46)
  • Use a lighter color of each of the lights to create a halo of color around each bulb. (R00, G40)
  • Use a series of colors to color the kitty. As you approach the light halos lighten the colors of the kitty. (Base color – E50 Tabby stripes – YR21, YR24)
  • Use the Colorless Blender to further lighten the halo around each bulb. (0)
  • Work back and forth with the fur colors, halo color and colorless blender to get the desired effect. (E50, YR21, YR24, R00, G40, 0)
  • Fill the cord and bulb bases with a dark gray. (C7
  • Use a series of yellows to light up the star. (Y35, Y21, Y00)
  • Use the colorless blender in a small dot on each bulb base. (0)
  • Base the floor in a light earth tone. (E31)
  • Use a darker earth tone to create wood grain texture. (E35)
  • Soften the wood grain with the lighter earth tone. Then use the Colorless Blender to lighten the area around the lower bulb. (E35, 0)
  • Color in the wall behind the kitty with a light earth tone. (E70)
  • Use the Colorless Blender to lighten the wall color further and create a glow around the upper bulb and star. (0)
  • Use an opaque white pen to add small highlights on the bulbs and star.

Thank you as always for stopping by. You will see links to the Rubbernecker Stamp products below. I am so looking forward to the holidays this year! It feels good to be headed that way!

Have a Happy Colorful Day!


Posted on

Spinning a “Yarn”

Another Copic coloring adventure with Ann Corbiere-Scott Designs. I fell in love with this new image, Joyce Ann, from Ann. I like all of her designs but this one is so stinking fun to color! I decided to try for a multicolor yarn effect with some favorite colors. Surprisingly it was A LOT easier than it looks. And lucky for you I filmed it!

There is one more marker that is not photoed and that is a BV23. I used that one to give a little more dimension to the skien.

I pulled out buttons and twine to finish the slimline card. I can’t remember when I glue dotted a button on a card! I adore buttons. Anyway super fun! Check out the coloring in the real time video! Then hop over to Ann Corbiere-Scott Designs to pick up an image or two.

Have a Happy Colorful Day!