Posted on

Coffee and Tea Slimline

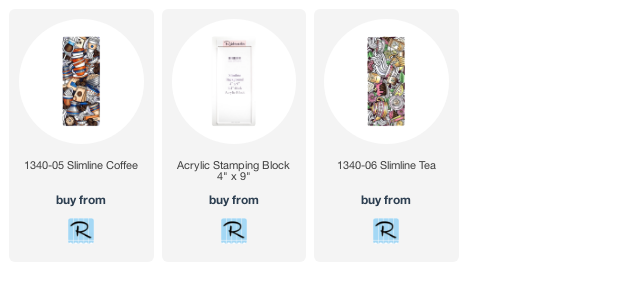
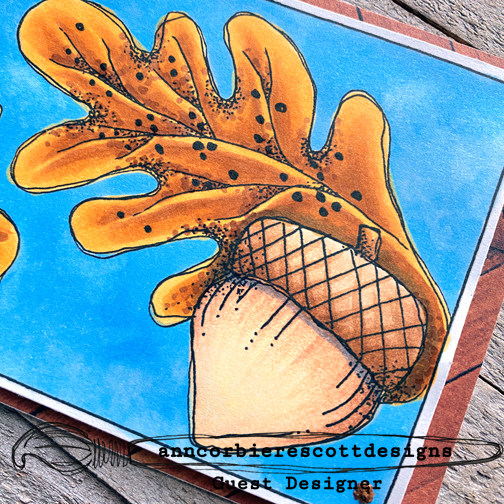
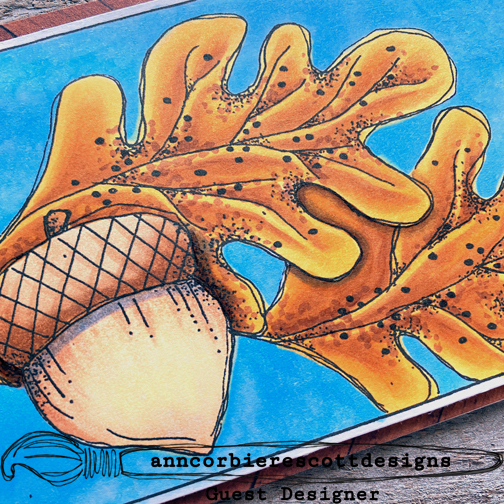
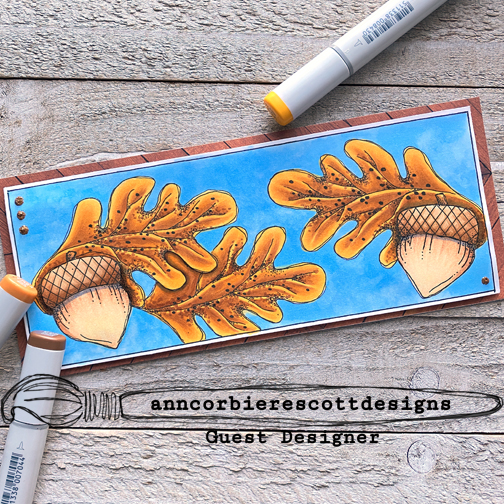
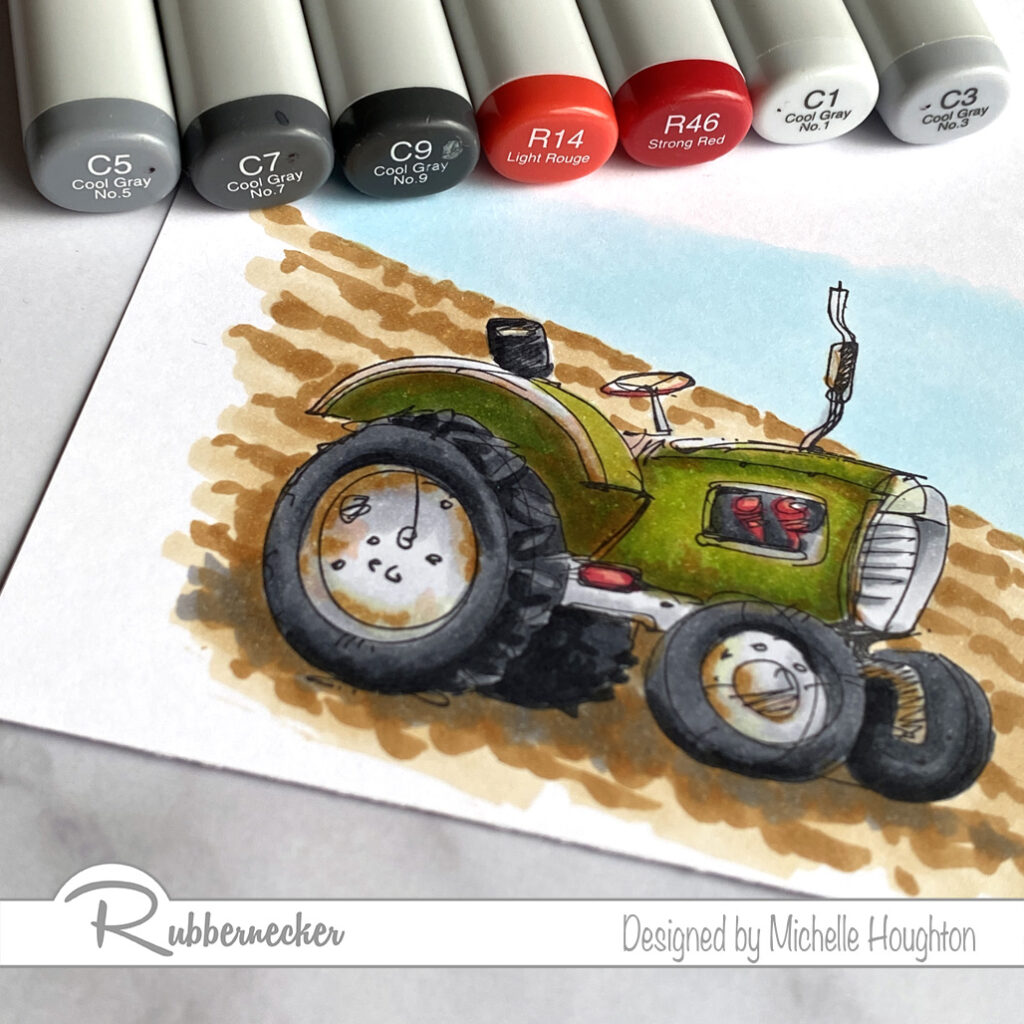
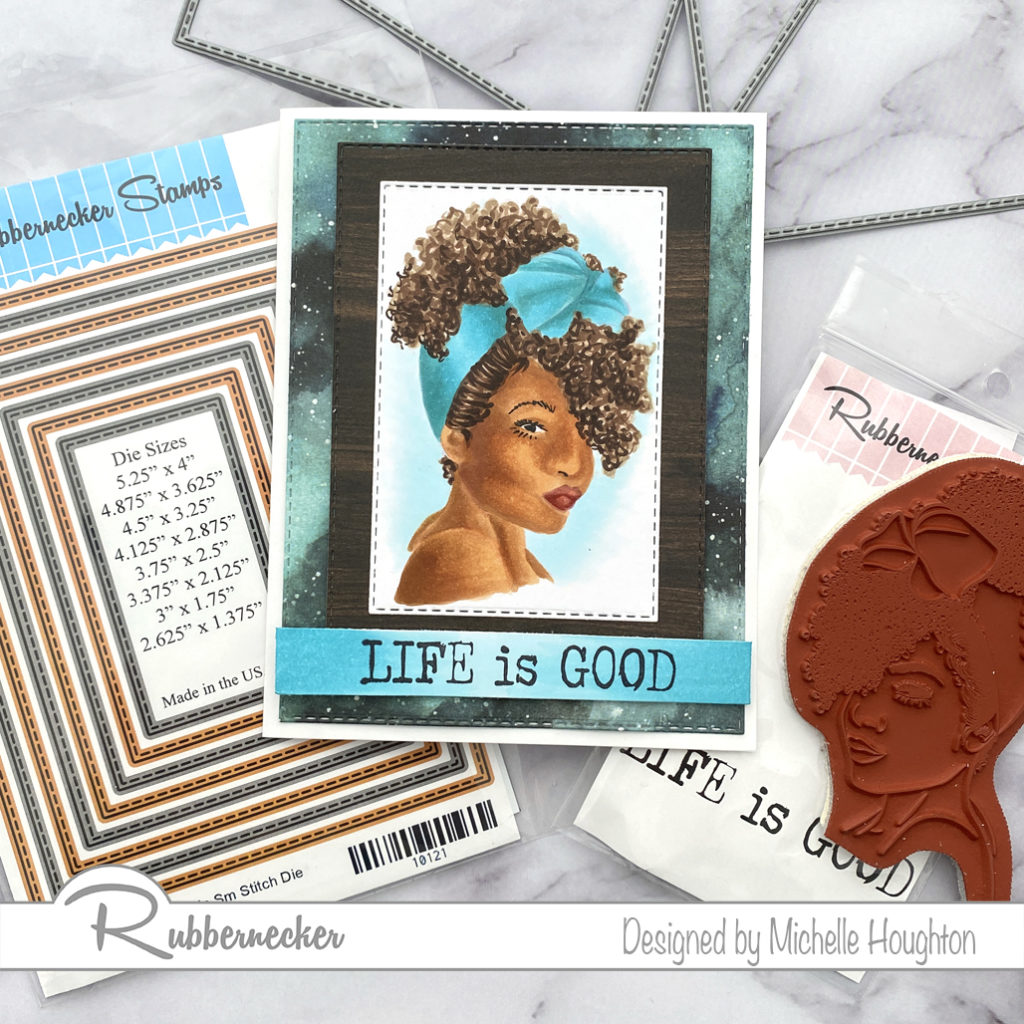
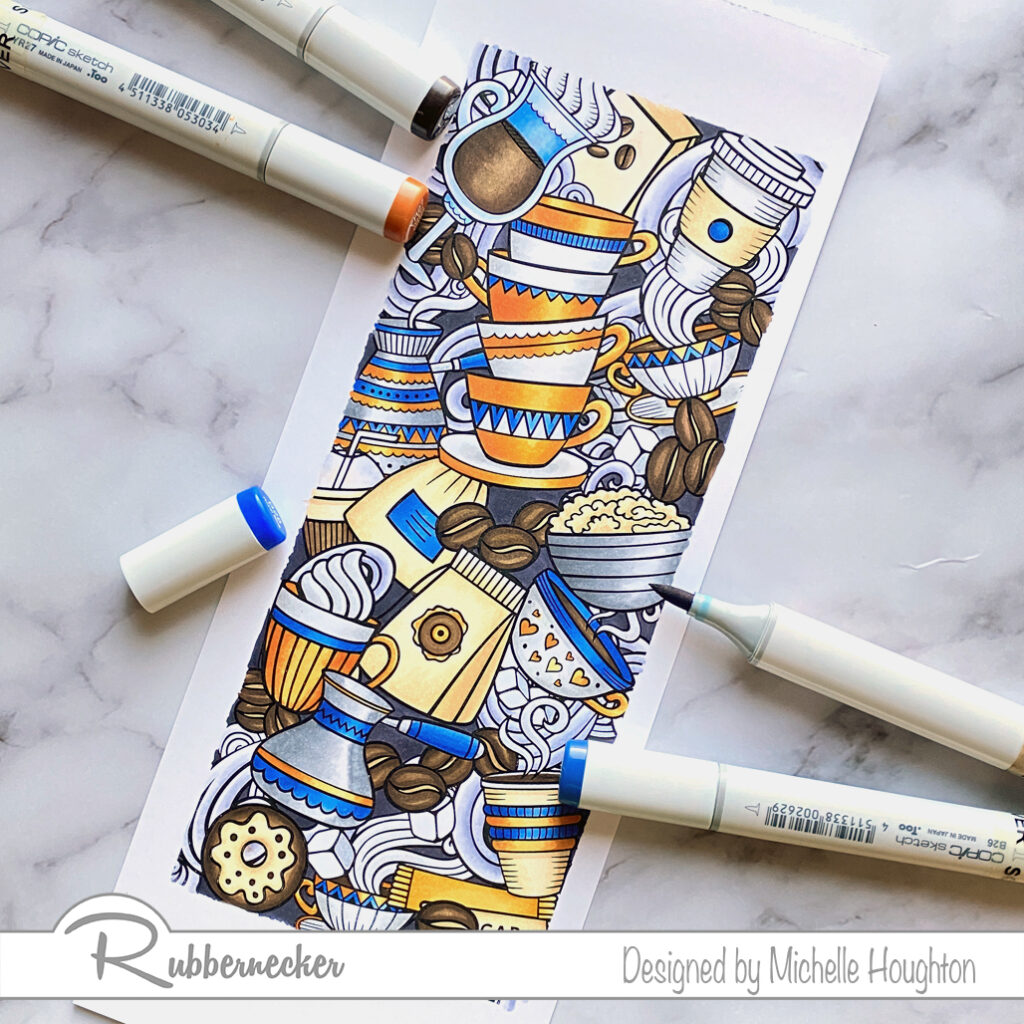
A very quick post today to share two more gorgeous slimline stamps from Rubbernecker. It has truly been a pleasure coloring all of these up for Rubbernecker Stamps. The images and all their detail just scream for coloring. I love both the coffee and tea images. Both have a lot of earth tones and I added a few accent colors to each and I am loving the result on both.

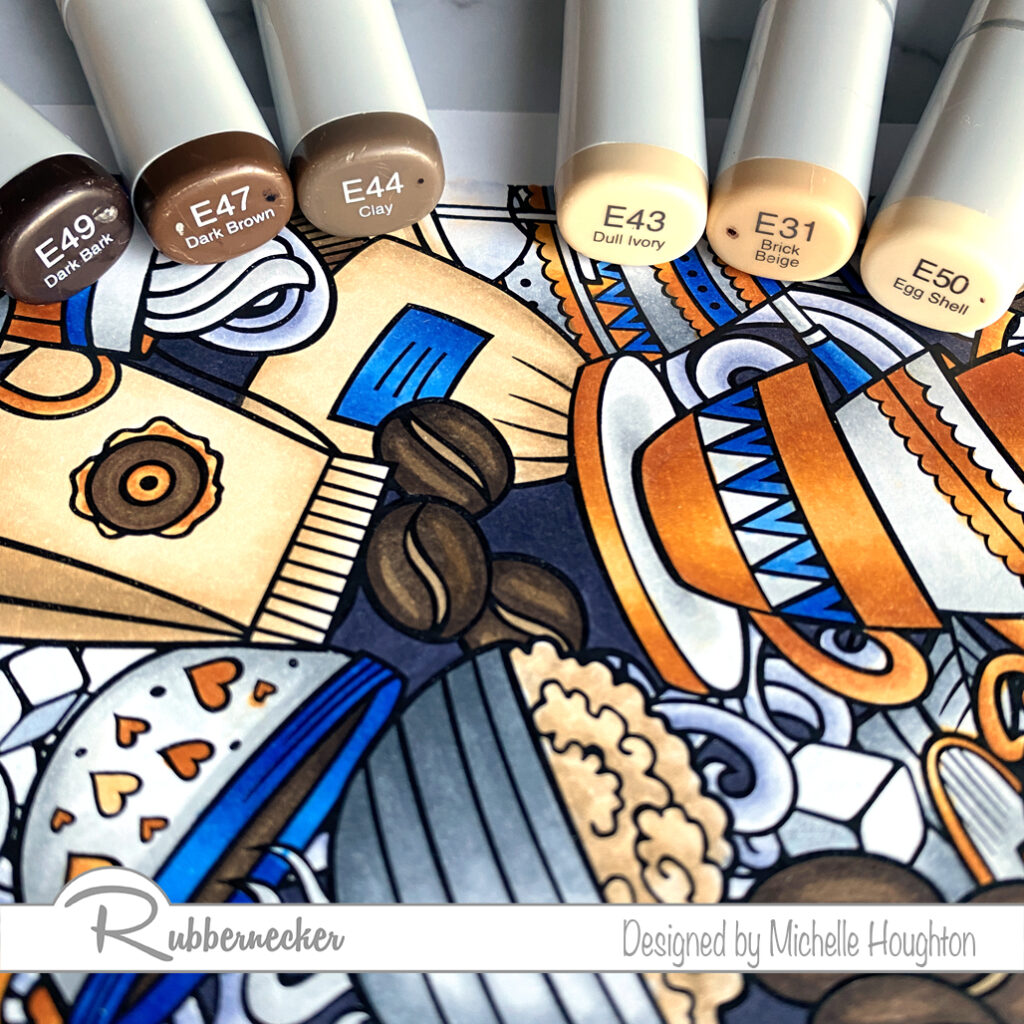
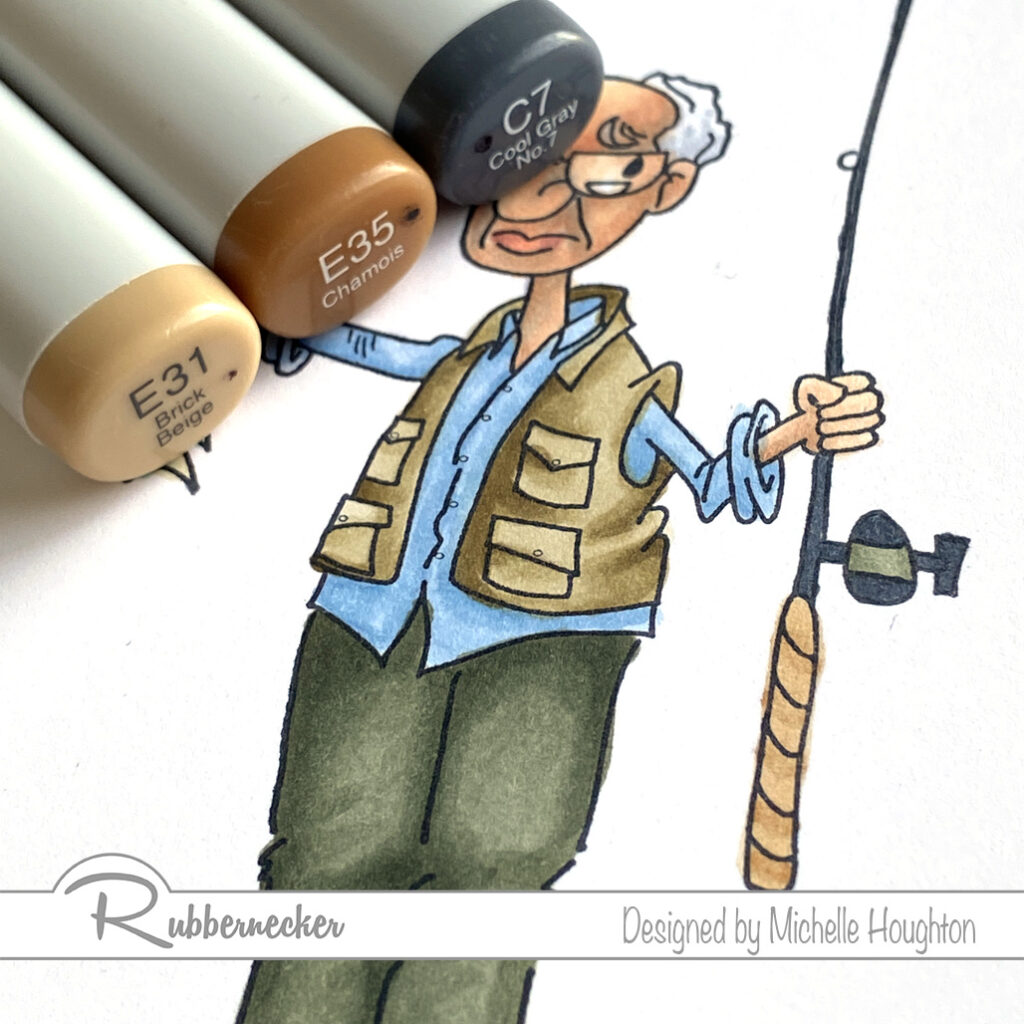
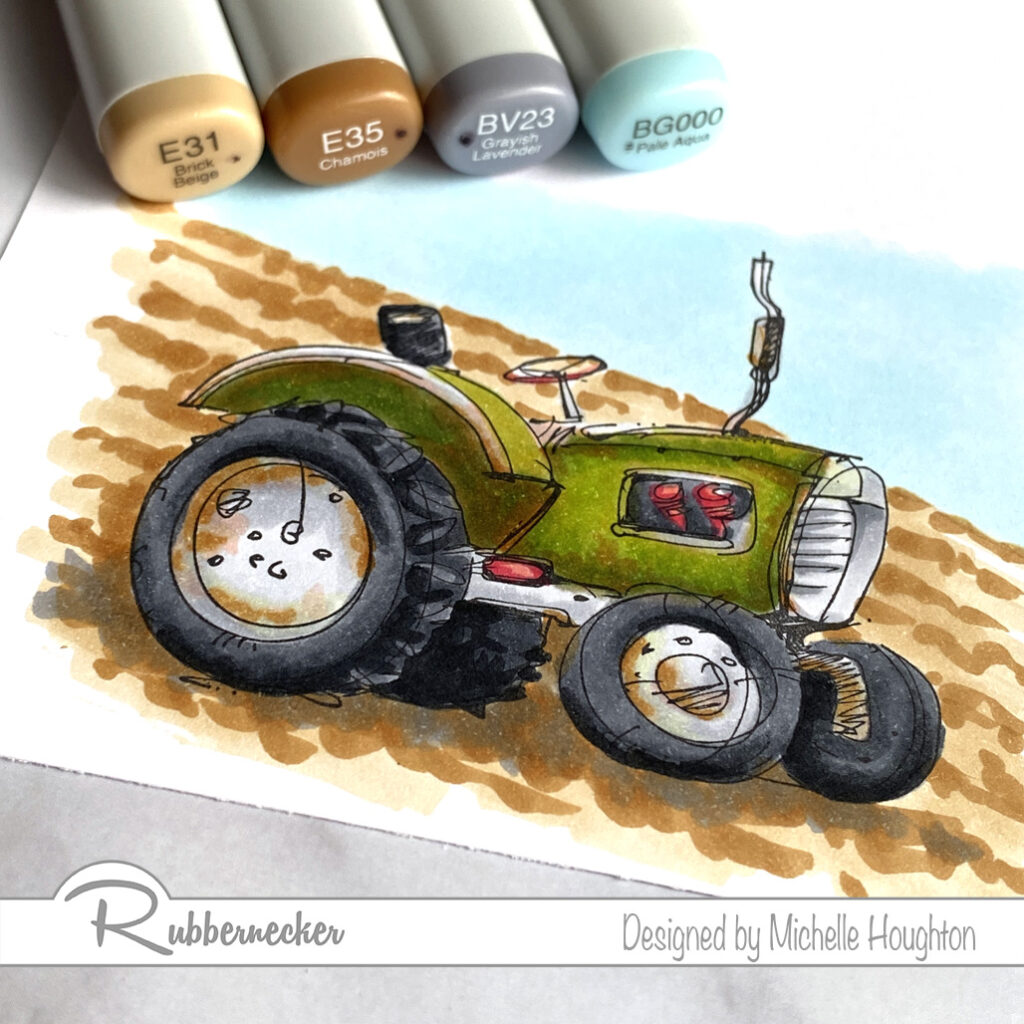
  • For coffee beans, coffee in mugs and other dark brown details use a series of 3 dark earth tones. (E49, E47, E44)
  • For bags, oatmeal and other light brown details find a series of 3 lighter earth tones. (E43, E31, E50)
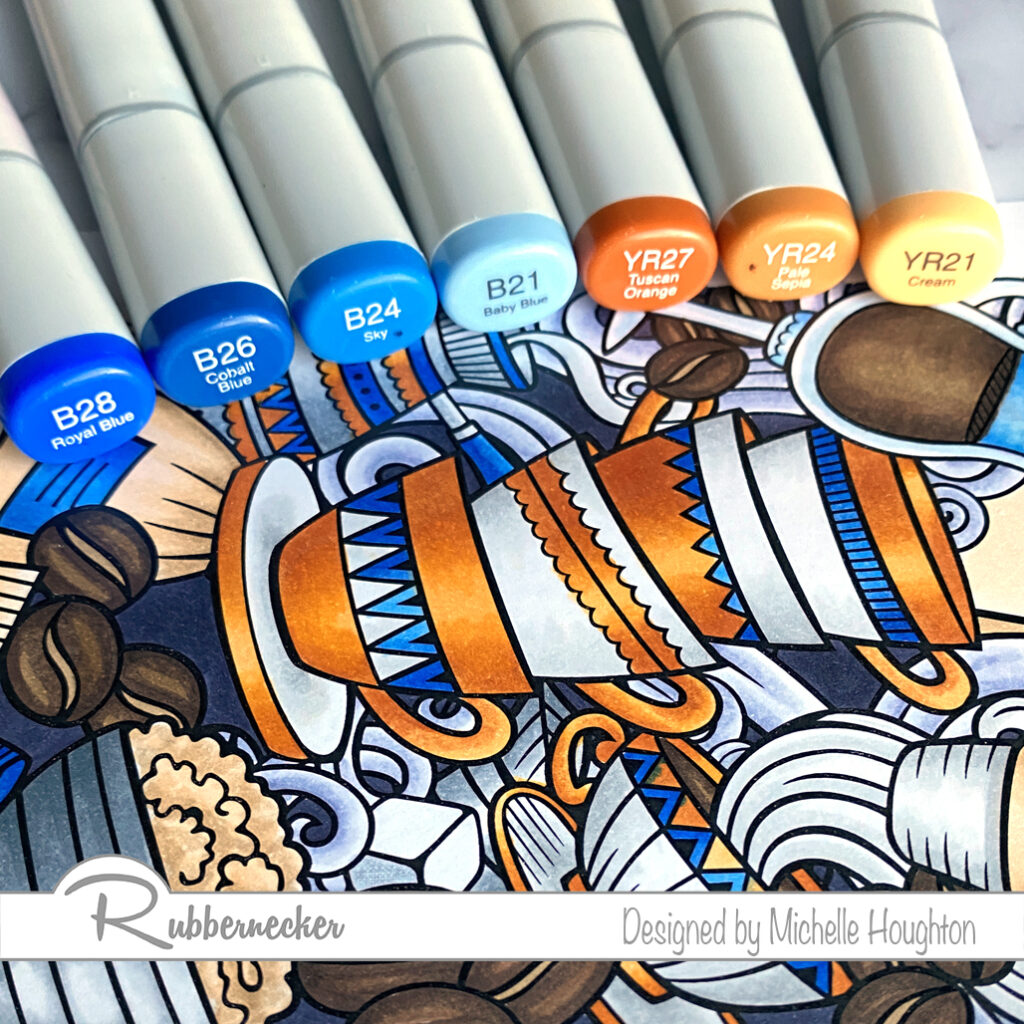
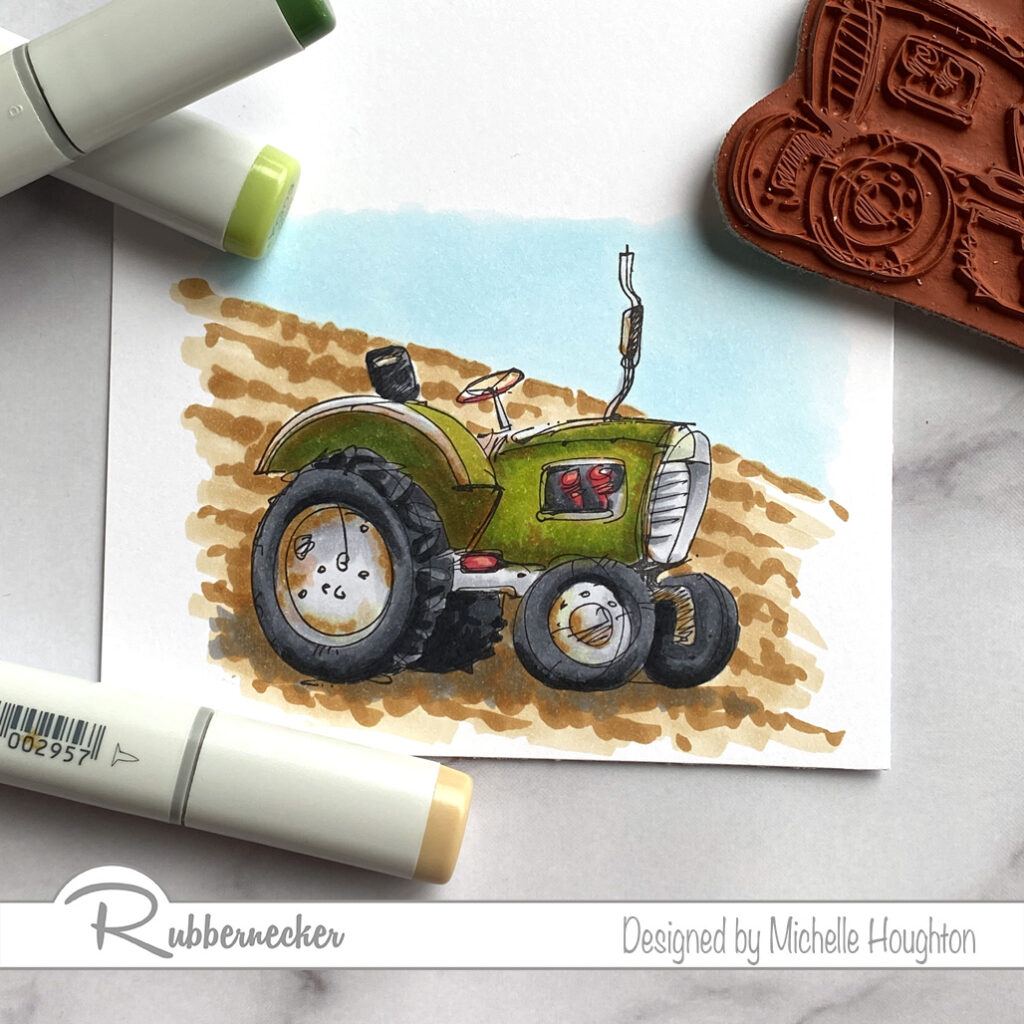
  • For the first of the accent colors use a series of bright saturated blues. (B28, B26, B24, B21)
  • To brighten the image with pops of a second accent color find a series of 3 yellow reds. (YR27, YR24, YR21)
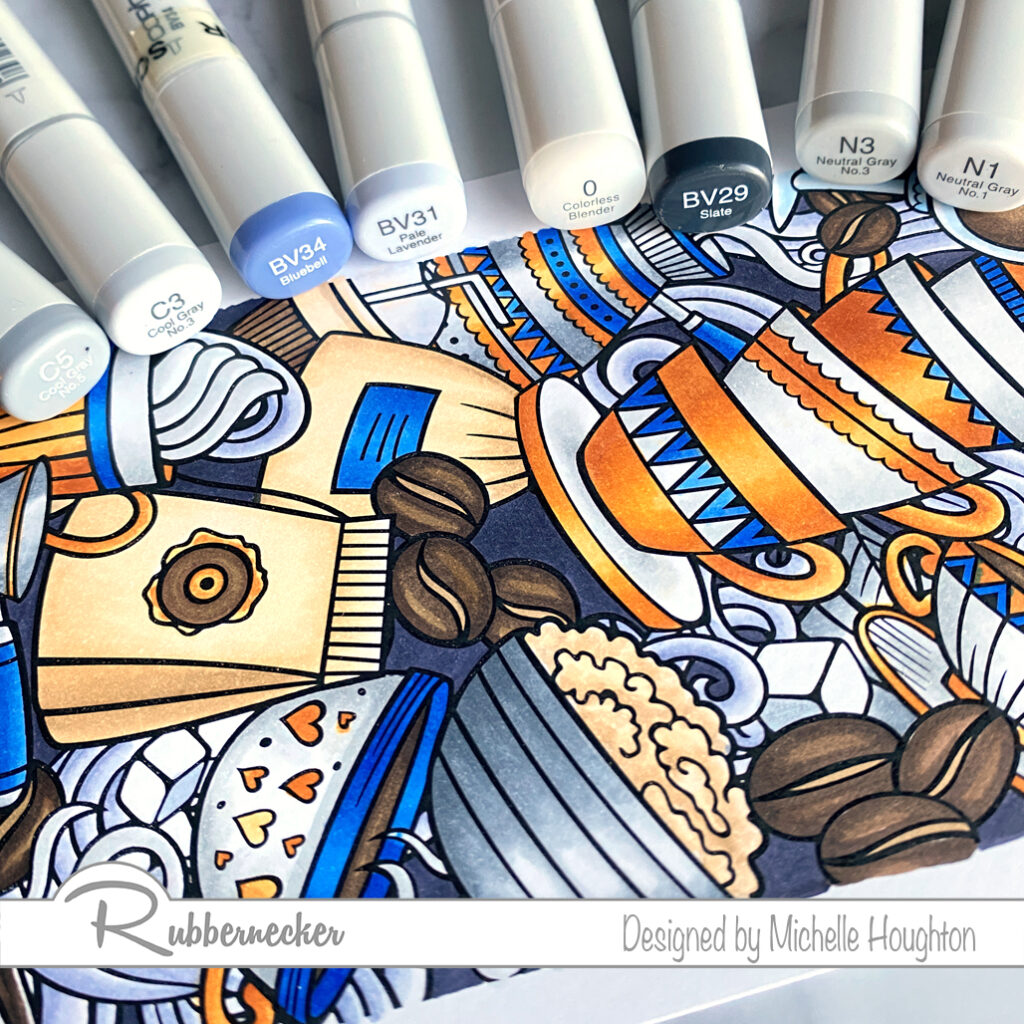
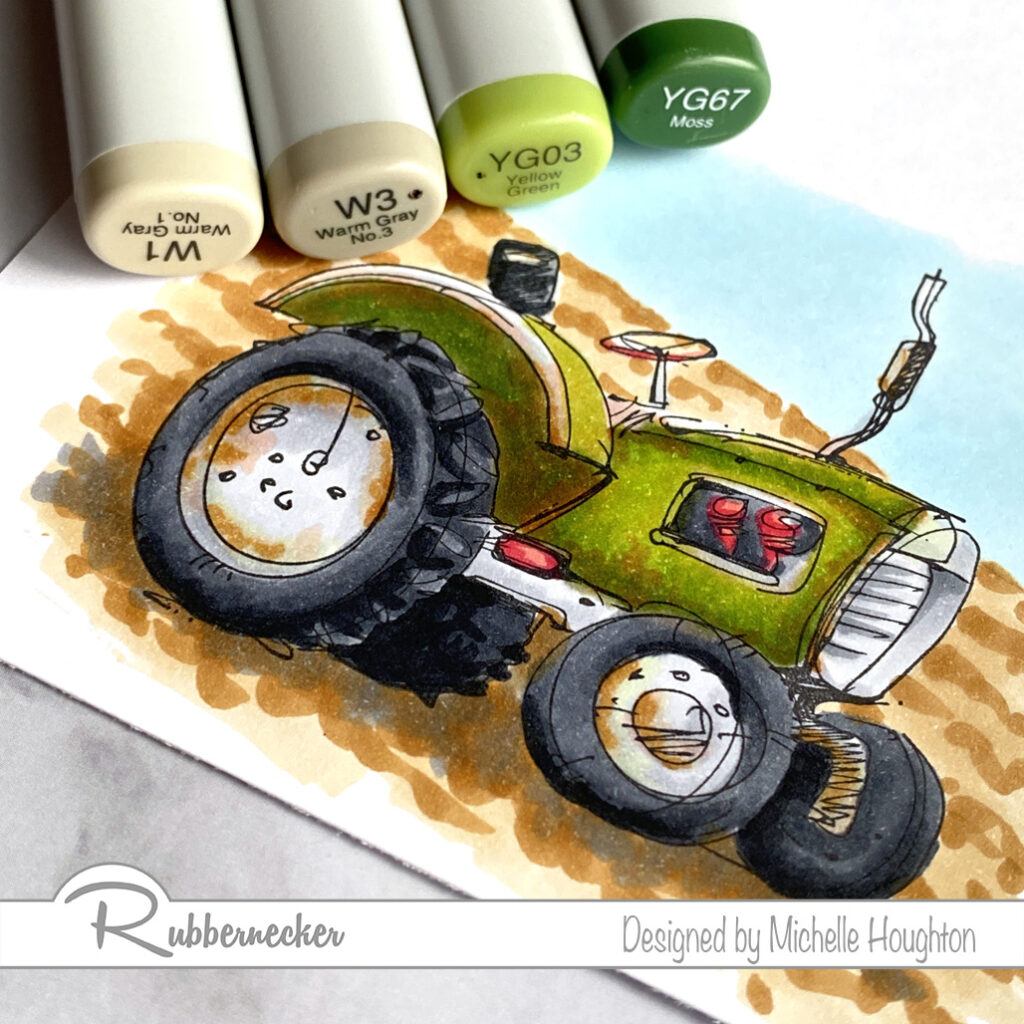
  • For white objects on this image use a series of 2 grays and the Colorless Blender. (N3, N1, 0)
  • On silver areas use two mid-tone grays. (C5, C3, 0)
  • Color the steam with two blue violets and the Colorless Blender. (BV34, BV31, 0)
  • Finish the image filling in the background with a darker blue violet. (BV29)
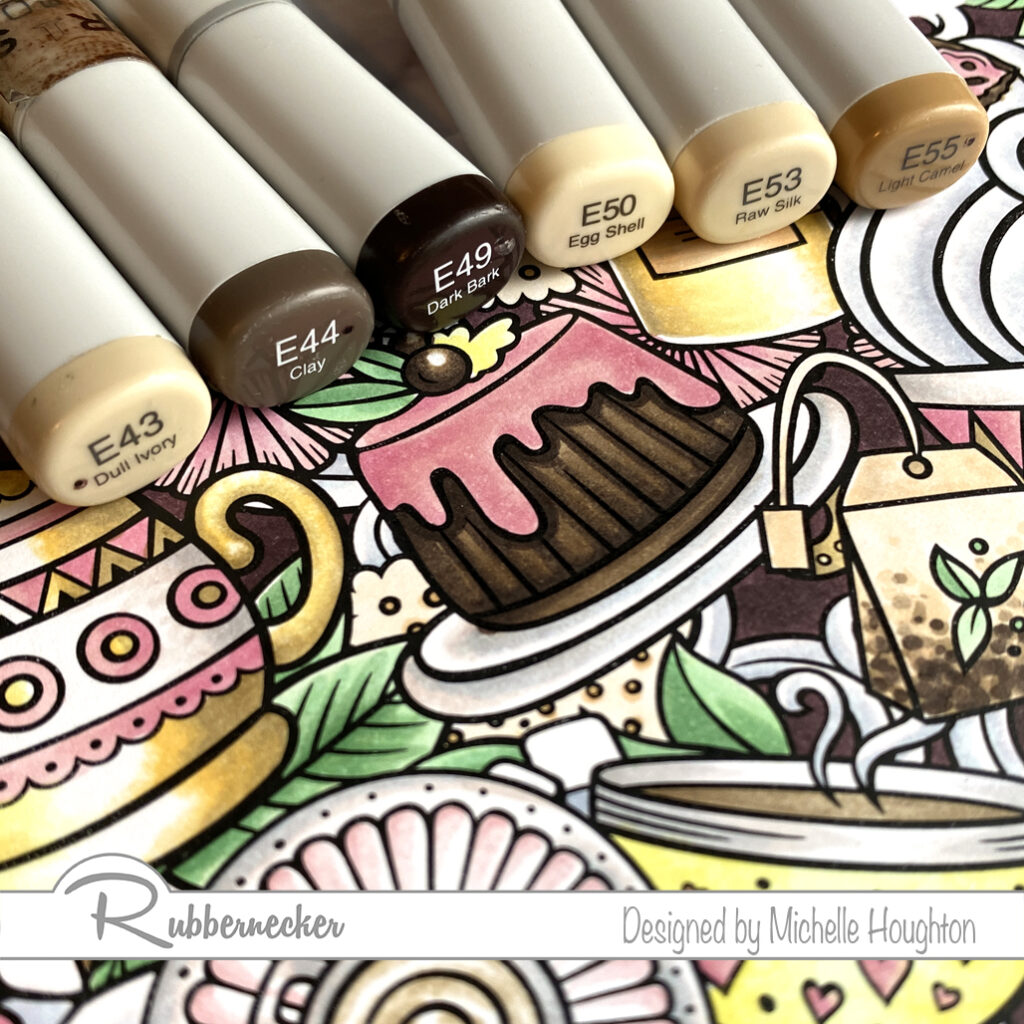
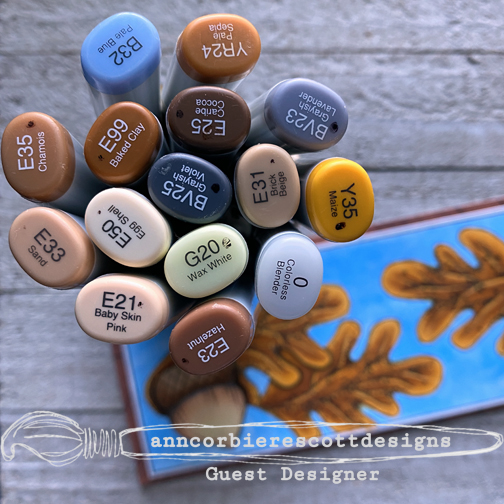
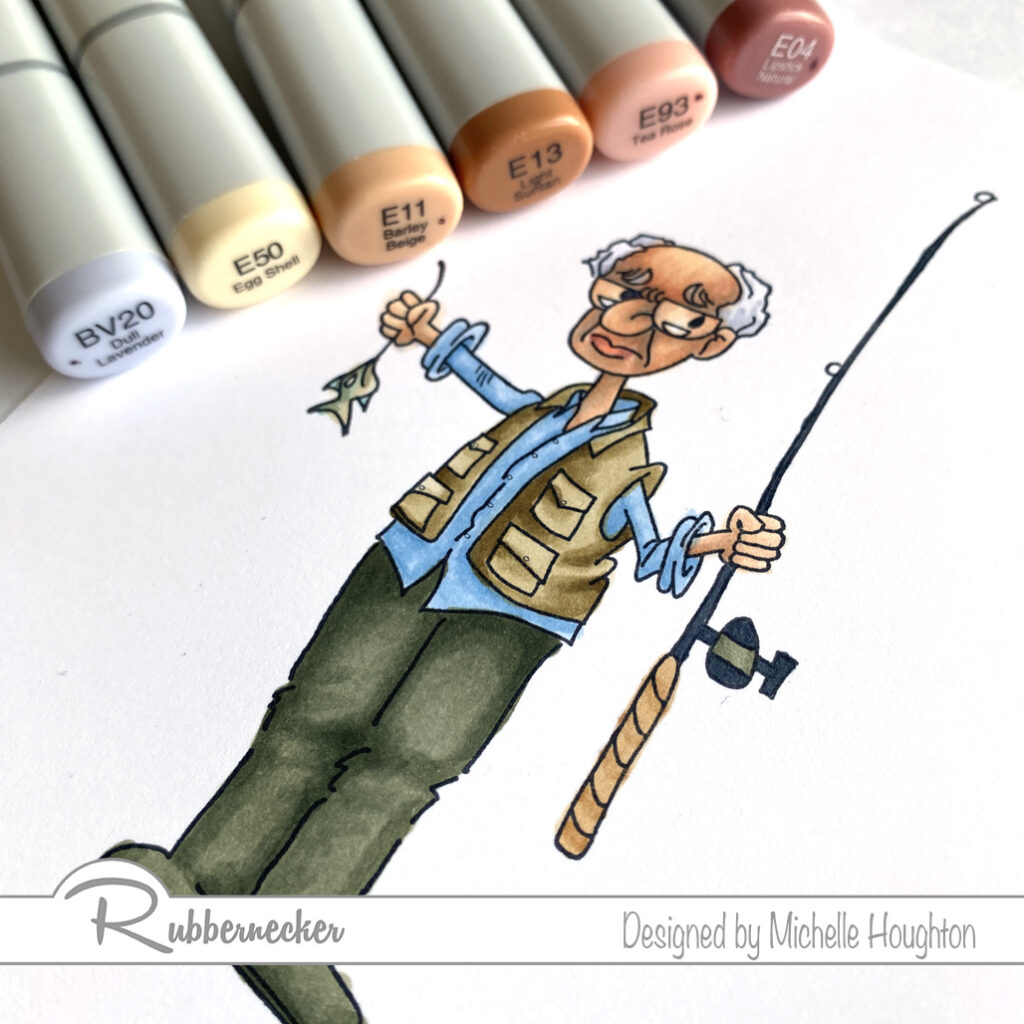
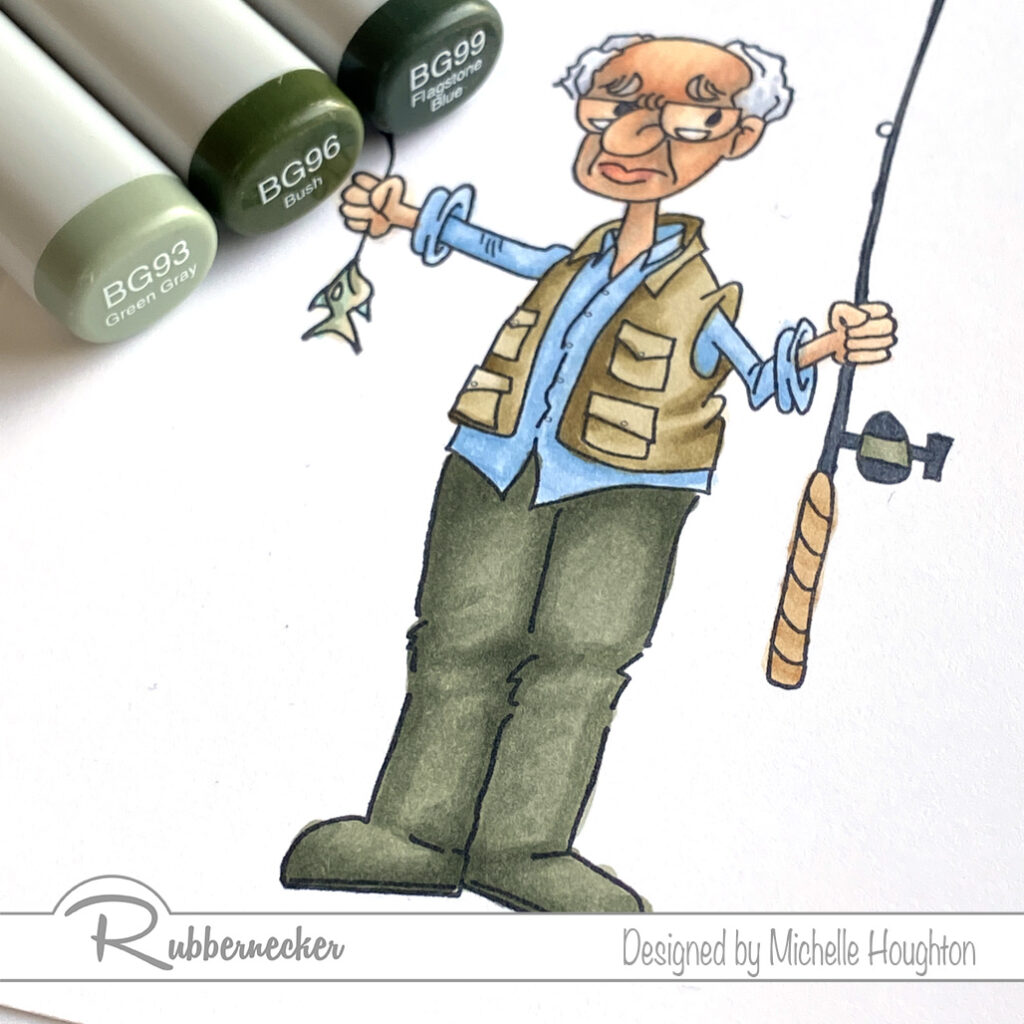
  • For the tea and lighter brown areas use a series of lighter earth tones. (E55, E53, E50)
  • For the deep browns in the image color with 3 darker earth tones. (E49, E44, E43)
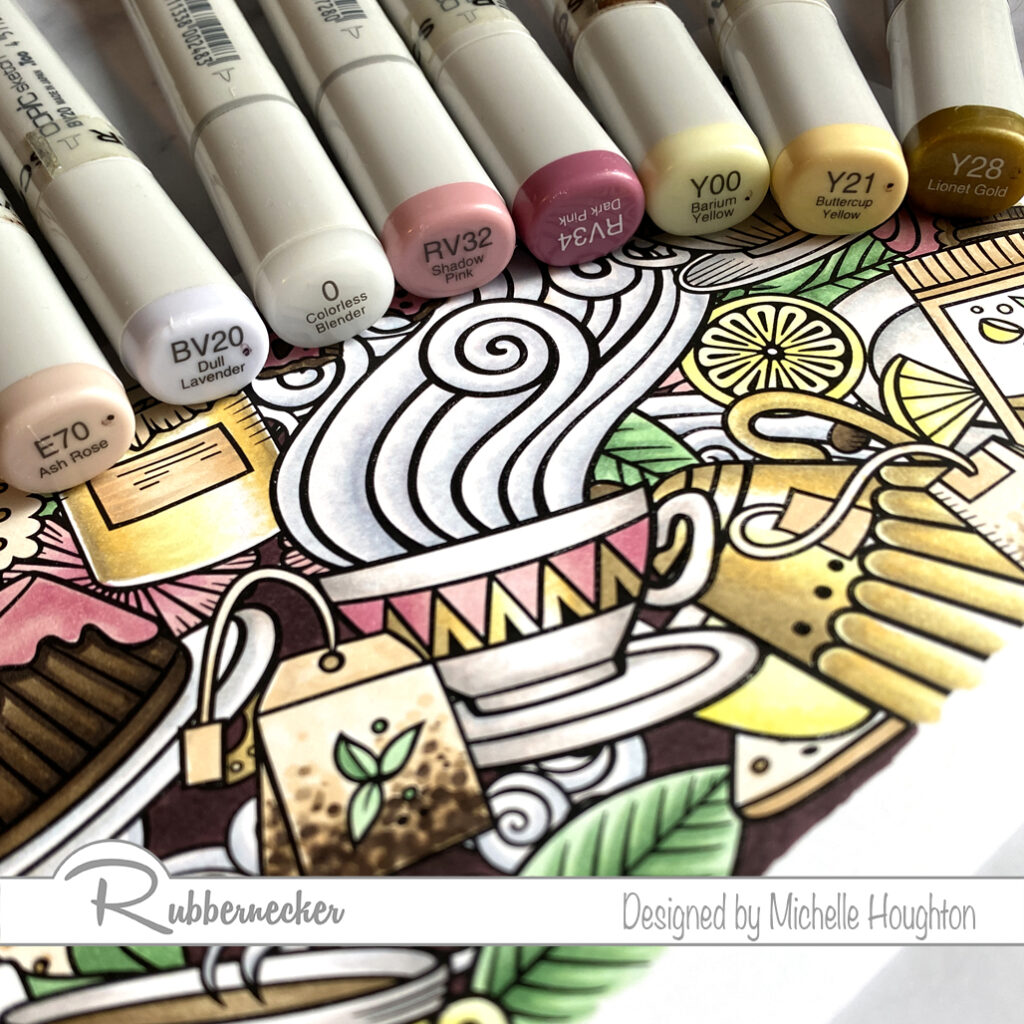
  • For the first accent color on the tea stamp create a gold effect with 3 yellows and the Colorless Blender. (Y28, Y21, Y00, 0)
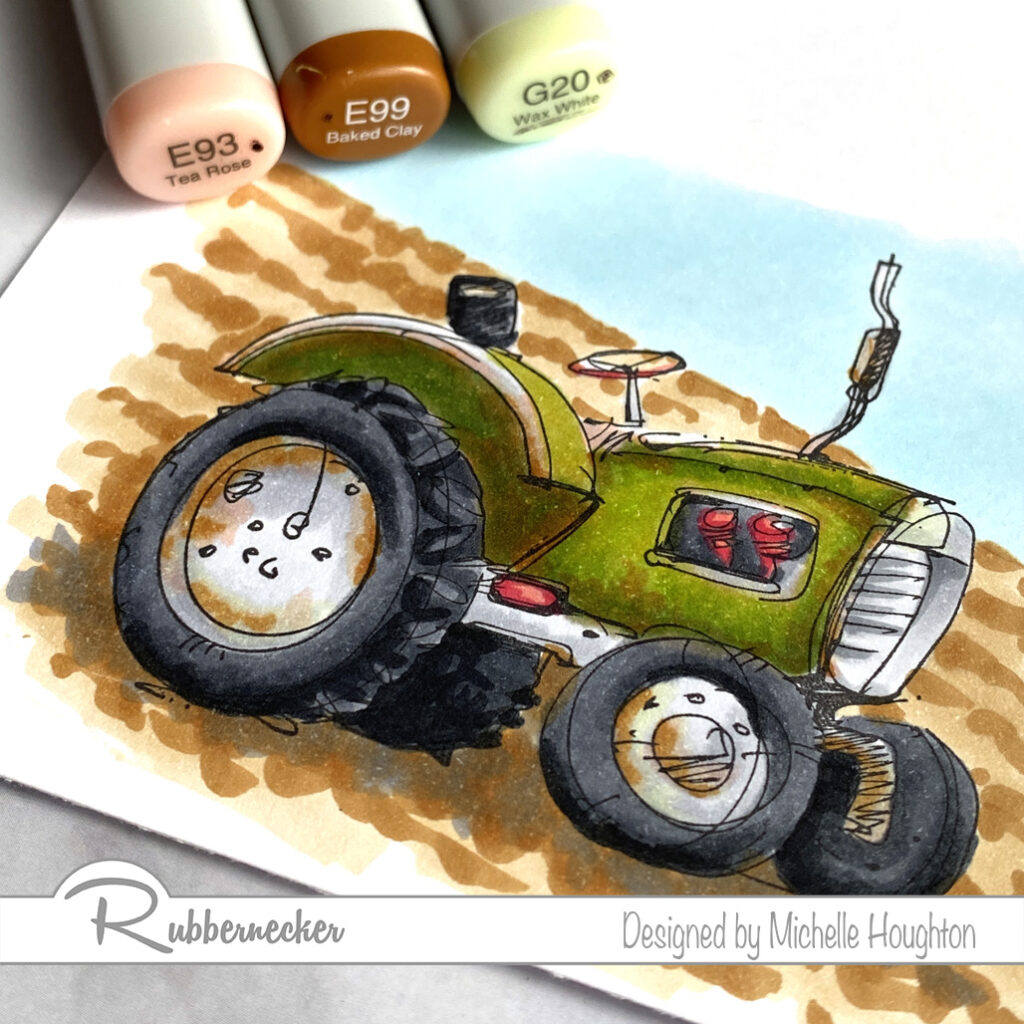
  • Use 2 red violets for a pop of color on the image. (Rv34, RV32)
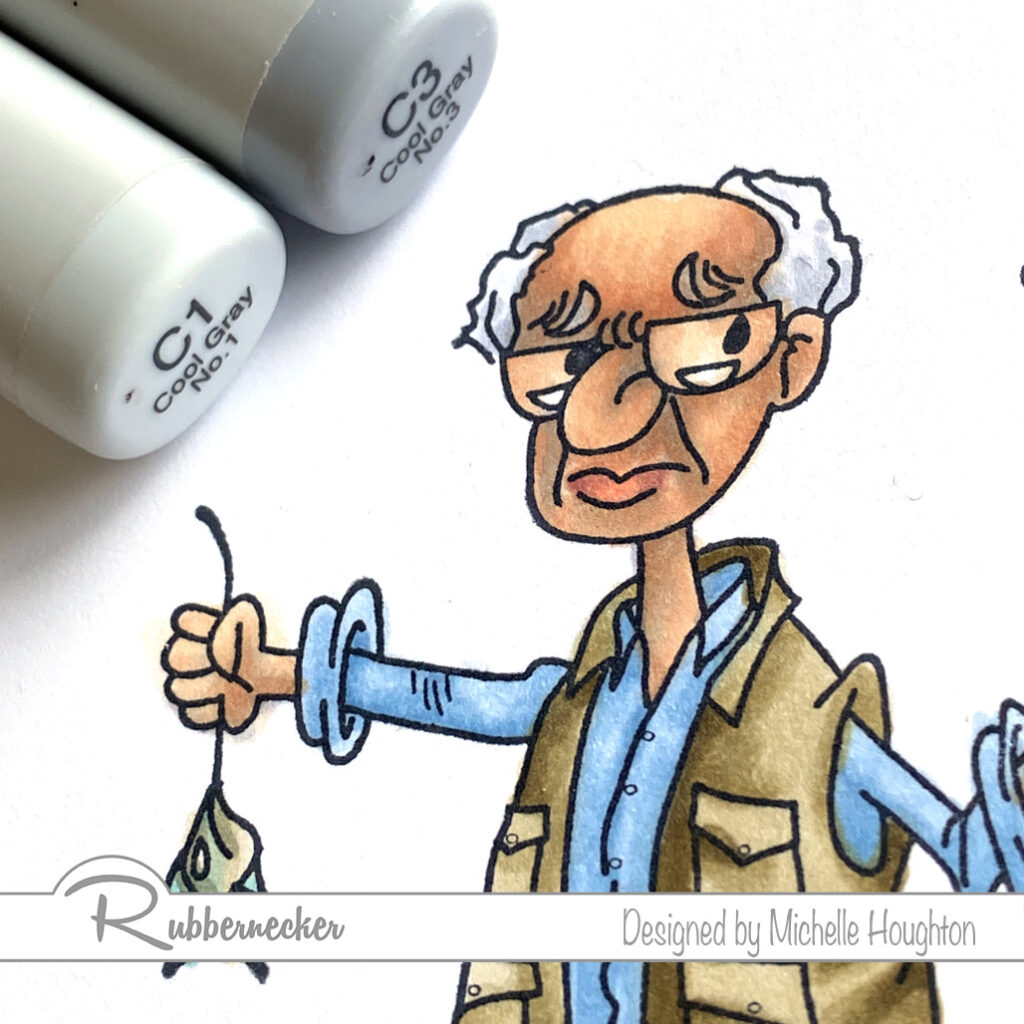
  • Color the white areas with a blue violet an earth tone and Colorless Blender. (BV20, E70, 0)
  • Use a light blue violet to color the steam. (BV20, 0)
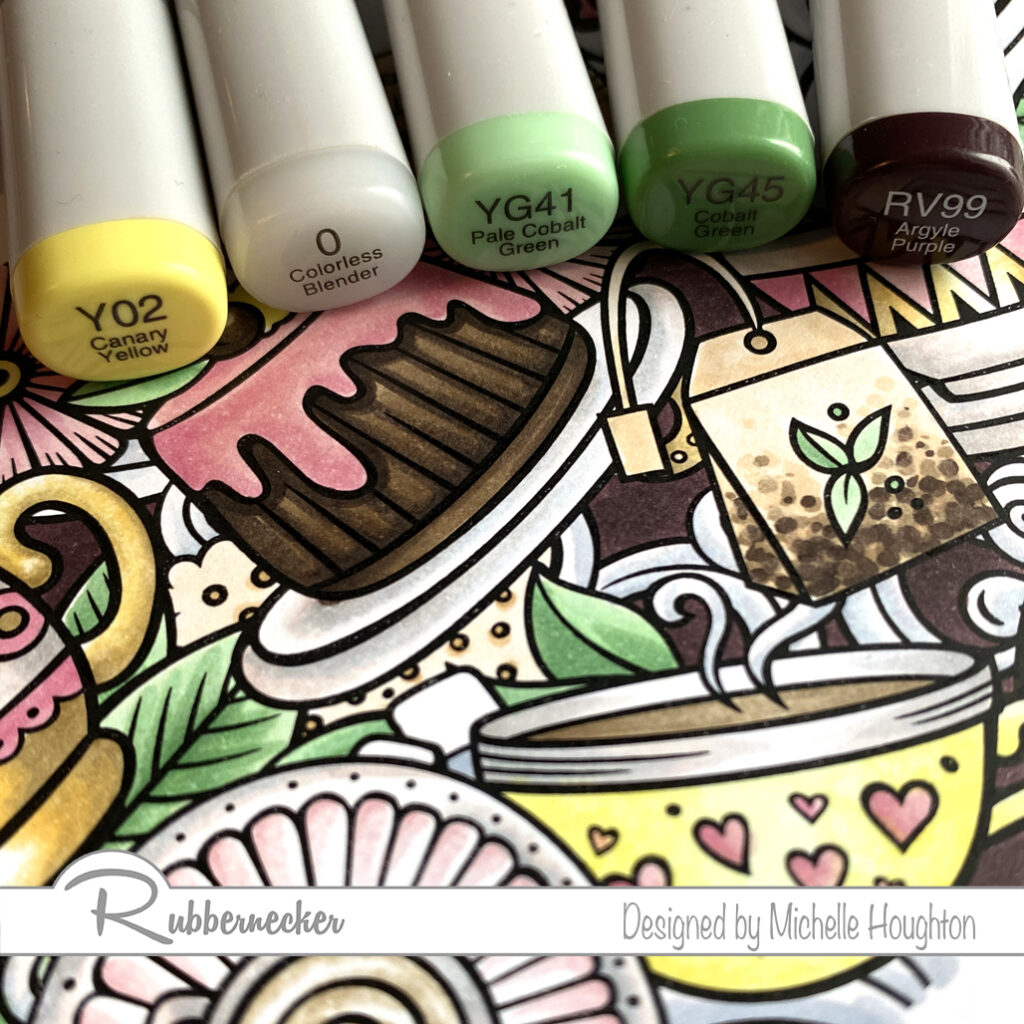
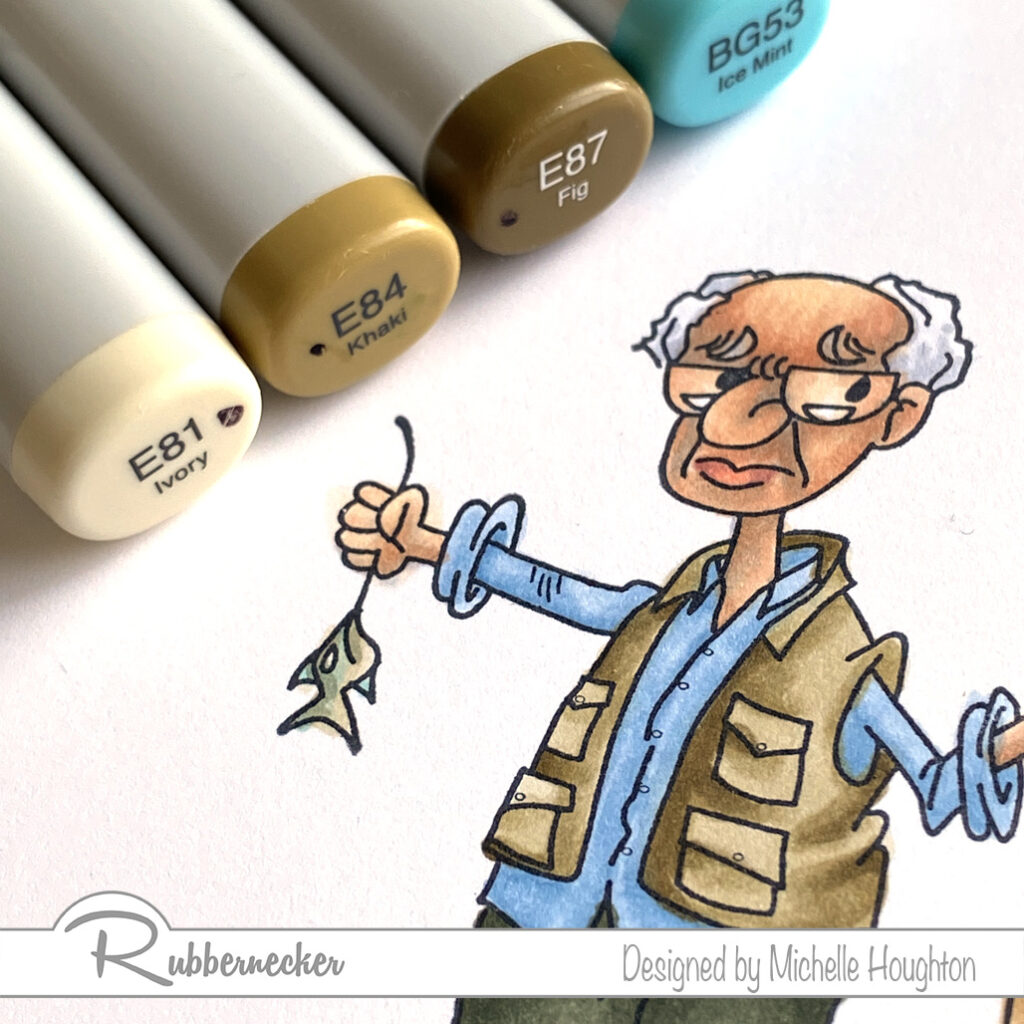
  • For the leaves throughout the image use two yellow greens. (YG445, YG41)
  • Color a few small details left with a light yellow and Colorless Blender. (Y02, 0)
  • Finish the image with a dark red violet to push the background to the back. (RV99)

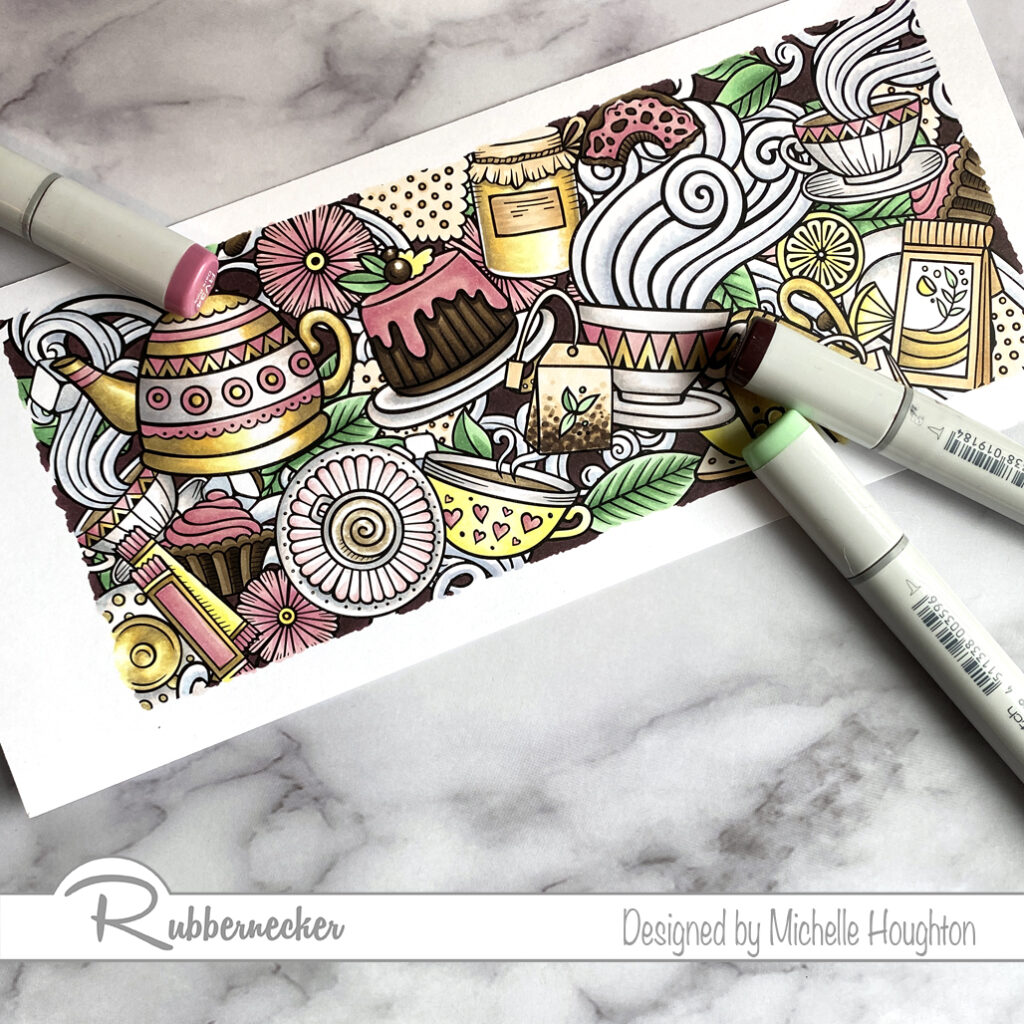
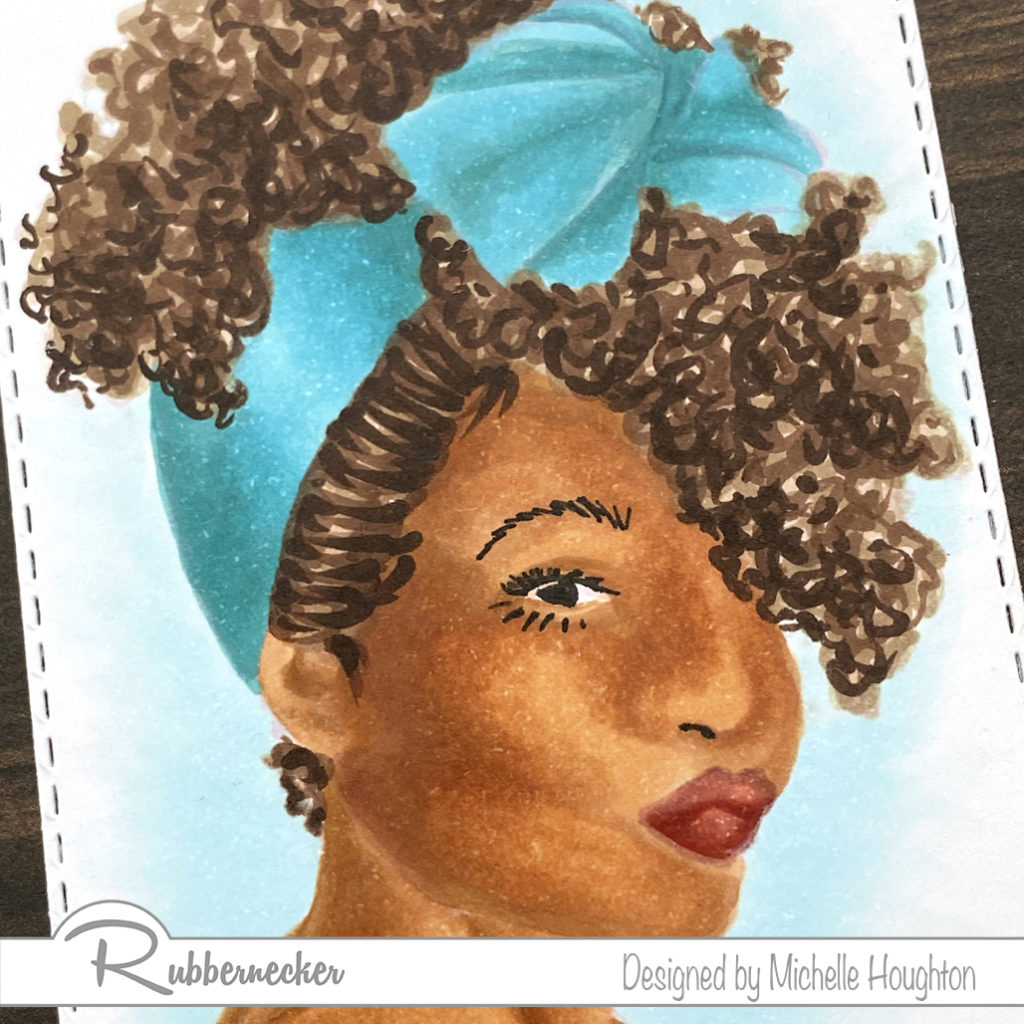
Both images were truly a pleasure to color! There are so many ways to use the slimline stamp collection from Rubbernecker Stamps and if you have time coloring all the little details is well worth it. Thank you for stopping by, links to the Rubbernecker products used can bee found below.

Have a Happy Colorful Day!


Posted on

Copic Coloring Video With Ann Corbiere-Scott

Hello my friends! This past Sunday I shared that I am Guest Designing for Ann Corbiere-Scott Designs this month. Today I am sharing the wonderful Patricia image. I have a Copic coloring tutorial that is going live today over on the Copic In The Craft Room YouTube channel.

These beautiful acorns and leaves are just screaming for fall colors! Here is a list of the colors I used: Acorn G20, E50, E31, E33, E35 – Tops E21, E23, E25 – Leaves Y35, YR24, E99 – Cast Shadows BV23, BV25 – Sky B32, Colorless Blender. Close Ups…

Because Ann has these sized perfectly for card fronts all I did was add a patterned paper that peeks around the edges and a card base beneath the image.

Thank you so much for stopping by today! Make sure to also stop over at the Copic In The Craft Room YouTube channel to check out the new Copic coloring video.

Have A Happy Colorful Day!

Posted on

Copic Coloring With Rubbernecker

Hello my Copic coloring friends! little coloring today on a fun image from Rubbernecker. Murray with Catch is from the “Old Characters” collection. There is a whole team of these silly characters and wonderful phrases and statements to go along with them!

  • Starting with the skin use a blue violet to under-paint the deeper areas of the skin. This will also gray down the skin tones to age Murray a bit. (BV20)
  • Use a light earth tone over all of the skin. (E50)
  • Use a midtown to add shape to the face and arms. (E11)
  • Use a third earth tone in smaller amounts to deepen the shadow areas. (E13)
  • Blend the skin smooth working in reverse through the colors. (E11, E50)
  • Add a touch of color to the lips with a peachy earth tone and a darker rosy earth tone at the corners. (E93, E04)
  • Behind the glasses use the lightest earth tone and the midtone only. (E50, E11)
  • You can see a closer view in the next photo.
  • Use small dots of two cool grays to add texture to the hair. (C1, C3)
  • Use the darker of the two on the eyebrows. (C3)
  • Fishing vest and part of the fish is next. Start with basing the vest and fish with a light earth tone. (E81) Note the E 8’s have a very mossy green to them!
  • Use a midtone earth tone to add shape to the vest. (E84)
  • Use a darker earth tone in smaller amounts to deepen the shadow areas. (E87)
  • Add a touch of color to the back of the fish with a brighter blue green. (BG53)
  • Quick coloring on the fishing pole. Fill the rod and parts o the reel with a dark gray. (C7)
  • On the handle use two earth tones. (E31, E35)
  • Last, but not least his waders and the last section of the rod. Base the waders and the center band on the reel with a lighter blue green. (BG93) I used this same color across the back of the fish to tone down the other blue green.
  • Use a midtone and darker blue green to add shape to the waders and use the midtone on the reel as well. (BG96, BG99)
  • Blend the layers together going in reverse through the colors. (BG96, BG93)

As always thank you for stopping by today! You will find the links to the Rubbernecker products I used below. I will have a video tutorial of this image next Wednesday over at Copic In The Craft Room on YouTube as well as the Rubbernecker YouTube channel. If you have not done so yet, please subscribe to my newsletter over on the right hand side of my blog. Super important right now if you are interested in any of my teaching, live and possibly in the near future, on-line options!

Have a Happy Colorful Day!

Posted on

Rusty Tractor

Good morning, afternoon, evening depending on your location! You are catching me coloring up a tractor from Rubbernecker Stamps today. You might have noted I am not making a lot of cards (or any) right now. I left behind many of my card making TOOLS in Iowa. I am gathering some basics so you will see a few in the upcoming weeks but they will be even more simple than normal Ha Ha!

So Copic coloring is the name of the game right now or at least what you are seeing from me 😁. Here are the steps I took coloring up this tractor. There are lots of colors to get that old working machine look, and this tractor is still looking in pretty good shape your could take this further.

  • Start with the base of the tractor, use W1 and W3 to creat shape on all the soon to be green areas of the tractor.
  • Without blending move onto the YG03 and YG67 right on top of the warm grays. YG03 will cover all areas that have the gray and the YG67 will go in the darker gray areas.
  • Work into the green areas creating areas of rust and dirt. I focused on edges and under the fender.
  • Use the E93 over large areas.
  • Follow that with the E99 in specific rusty, dirty areas.
  • Go over the rust/dirt areas with the G20 this not only will soften the areas and bleach out some areas for wear.
  • Now all the rest of the details. C5, C7, C9 on the tires.
  • small details of the gears, steering wheel and step with R14 and R46.
  • Lighter metal areas with C1, C3 and a little C5.
  • Add a little mud and rust on the wheels and edges with E93 and E99.
  • Go over the dirt and rust with the G20 to soften and bleach some areas.
  • Finish up the background creating rows in the field with a wash of E31 and scribbles of E35.
  • Add extra E35 under the tractor for a cast shadow.
  • Use BV23 in the cast shadow to cool the area and ground the image more firmly.

All done and ready to go! Thank you so much for stopping by today. There will be a video next Wednesday with a real time coloring of this full image. You will find it on the Copic In The Craft Room YouTube channel. Below you will find a link to the images I colored up today!

Have a Happy Colorful Day!

Posted on

Copic Coloring Darker Skin Tones Part 3

Good morning creative friends! Today I have for you the third installment of looking at darker skin tones with Rubbernecker Stamps. If you missed the first two I have been looking at coloring darker skin tones on a series of new stamps released by Rubbernecker. I have been trying to share a variety of tones so that you can see some variation. For this third installment I added another challenge, no-line coloring. Now I will admit of the three I have shared this one has some areas I need to do again. So I am challenging myself to tackle one or more of these images a second, third and possibly more times with no-line coloring. I know it would be a great challenge to push my skills! I will point out a few areas I want to improve on as I walk you through the steps.

  • After stamping in a light Memento pink ink use a Copic Multiliner .1 or smaller to add back in eyelash, pupil and eyebrow detail ** this is one spot I would do differently, I would use a smaller Multiliner, I would also wait and do the eyebrow and nostril with Copic
  • Base the skin in a light Earth Tone E21
  • Use 2 more Earth tones to add shape to the face E35, E33
  • Blend these areas smooth working back and forth between the 3 colors ** I will often work in one section at a time with no-line coloring like the face, then the neck lastly the shoulder and chest, this allows me to hold onto the edges as the lines disappear getting covered in ink
  • Add deeper shades with E04 into the shadow areas
  • Use E93 to add a slight blush to the cheek bones and fill the lips
  • Edge the lips with E09
  • Fill the lips with E04 blending the edge of the E09 as you go
  • Use squiggles and small flicks of E43 to base the hair
  • Using 3 more colors repeat the process, as you get darker use less and less ink with few strokes focusing into darker areas E44, E47, E49
  • Using a series of BG’s color the bow, I worked darkest to lightest so I could see all the detail in the folds BG54, BG52, BG000
  • Finish coloring with a light background of BG000 fading to white
  • Stamp “Life Is Good” on a strip of white cardstock
  • Color the strip with the series of BG’s BG54, BG52, BG000
  • Use rectangle nesting dies to cut the image, and two patterned papers
  • Adhere the largest patterned paper to the card base
  • Adhere the image onto the smaller patterned paper and use foam tape to adhere both to the card
  • Use foam tape to adhere the sentiment to the card

Thanks for stopping in today, if you have questions make sure to ask! And keep practicing, I know I need to keep working and challenging myself. Below you will find links to all the Rubbernecker products I used to create this card.

Have a Happy Colorful Day!