Good morning creative friends! Today I have for you the third installment of looking at darker skin tones with Rubbernecker Stamps. If you missed the first two I have been looking at coloring darker skin tones on a series of new stamps released by Rubbernecker. I have been trying to share a variety of tones so that you can see some variation. For this third installment I added another challenge, no-line coloring. Now I will admit of the three I have shared this one has some areas I need to do again. So I am challenging myself to tackle one or more of these images a second, third and possibly more times with no-line coloring. I know it would be a great challenge to push my skills! I will point out a few areas I want to improve on as I walk you through the steps.
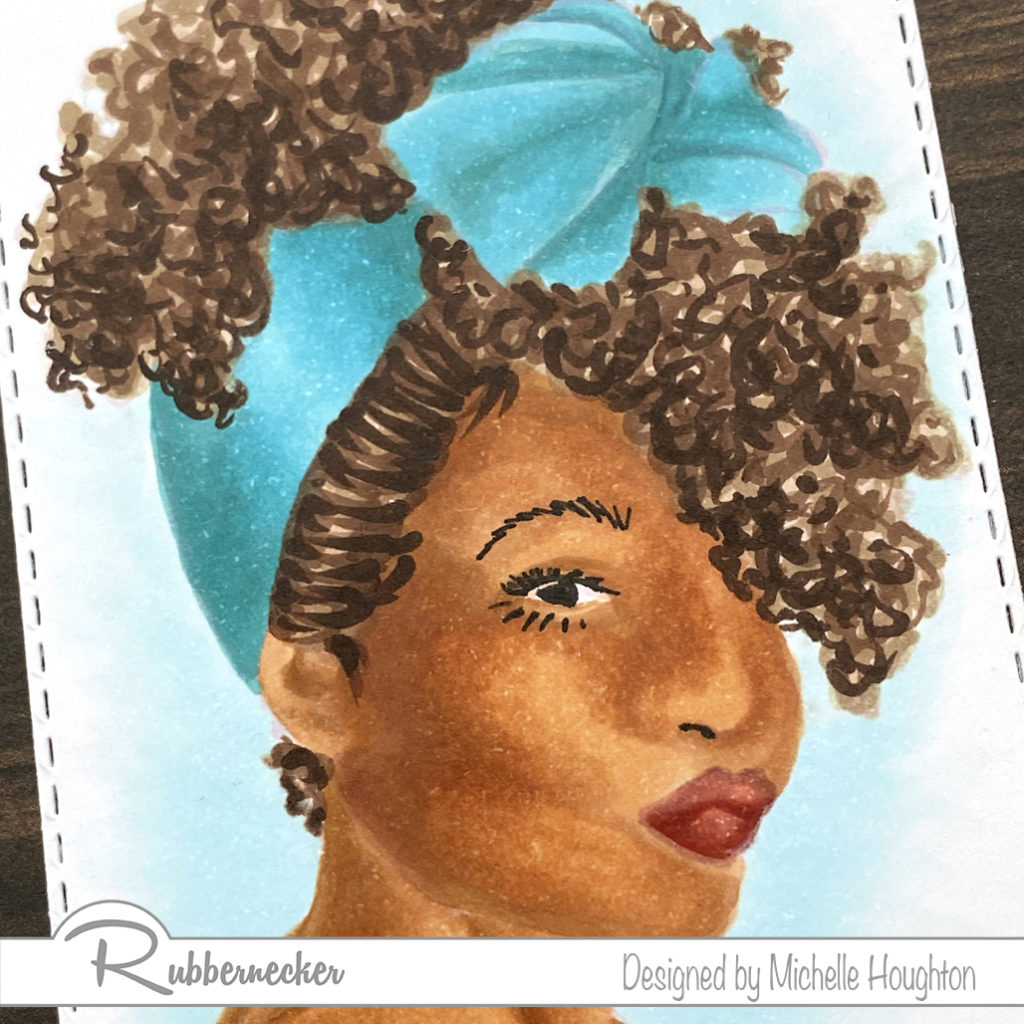
- After stamping in a light Memento pink ink use a Copic Multiliner .1 or smaller to add back in eyelash, pupil and eyebrow detail ** this is one spot I would do differently, I would use a smaller Multiliner, I would also wait and do the eyebrow and nostril with Copic
- Base the skin in a light Earth Tone E21
- Use 2 more Earth tones to add shape to the face E35, E33
- Blend these areas smooth working back and forth between the 3 colors ** I will often work in one section at a time with no-line coloring like the face, then the neck lastly the shoulder and chest, this allows me to hold onto the edges as the lines disappear getting covered in ink
- Add deeper shades with E04 into the shadow areas
- Use E93 to add a slight blush to the cheek bones and fill the lips
- Edge the lips with E09
- Fill the lips with E04 blending the edge of the E09 as you go
- Use squiggles and small flicks of E43 to base the hair
- Using 3 more colors repeat the process, as you get darker use less and less ink with few strokes focusing into darker areas E44, E47, E49
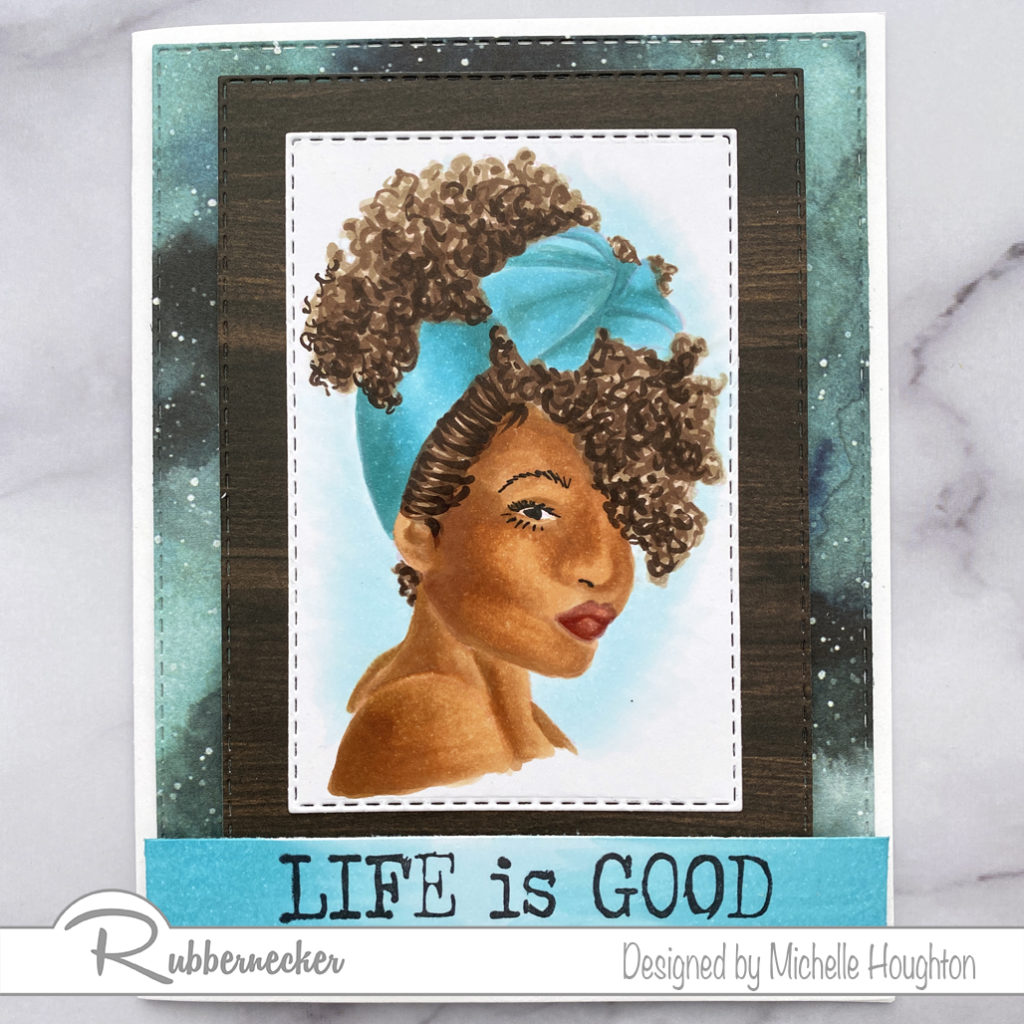
- Using a series of BG’s color the bow, I worked darkest to lightest so I could see all the detail in the folds BG54, BG52, BG000
- Finish coloring with a light background of BG000 fading to white
- Stamp “Life Is Good” on a strip of white cardstock
- Color the strip with the series of BG’s BG54, BG52, BG000
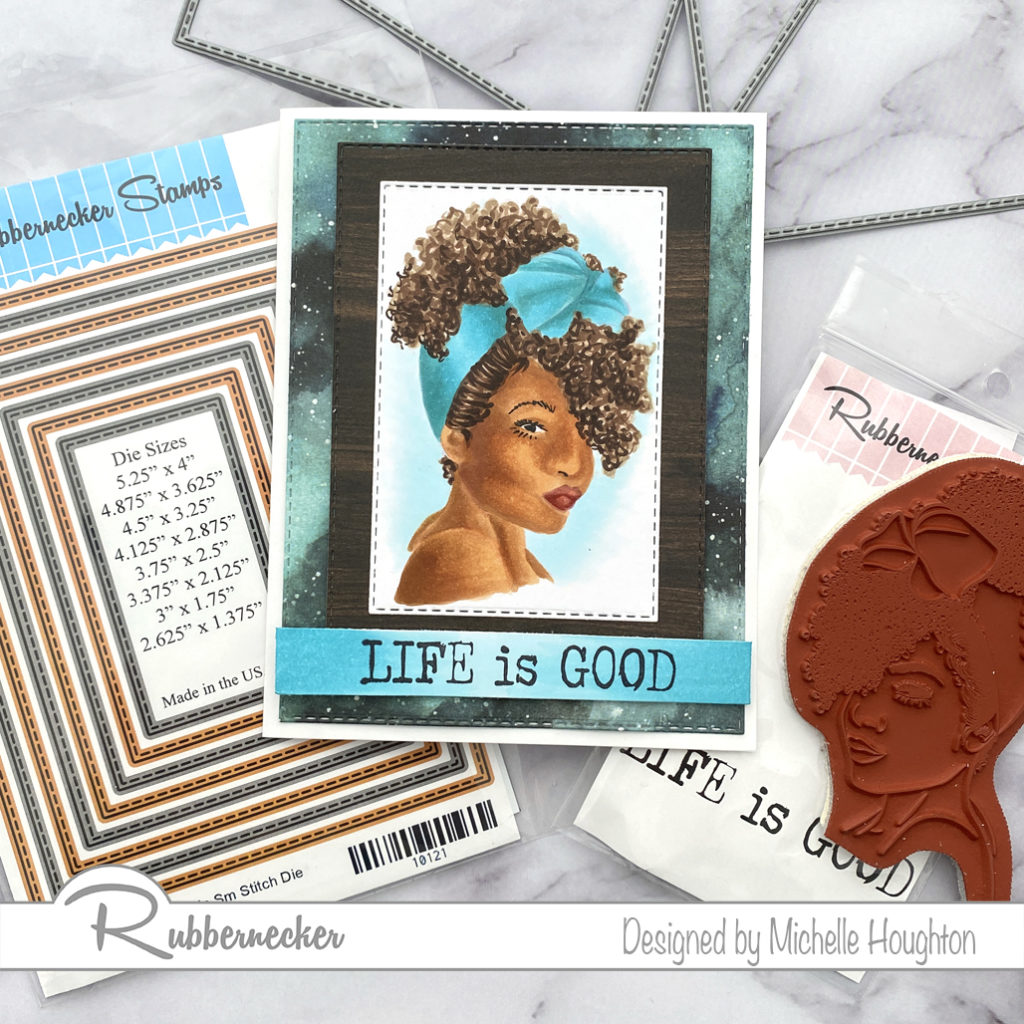
- Use rectangle nesting dies to cut the image, and two patterned papers
- Adhere the largest patterned paper to the card base
- Adhere the image onto the smaller patterned paper and use foam tape to adhere both to the card
- Use foam tape to adhere the sentiment to the card
Thanks for stopping in today, if you have questions make sure to ask! And keep practicing, I know I need to keep working and challenging myself. Below you will find links to all the Rubbernecker products I used to create this card.
Have a Happy Colorful Day!