Posted on 9 Comments

March Peeks and a Video Too!

   Who’s ready for lots of brand new Krafty goodies?!
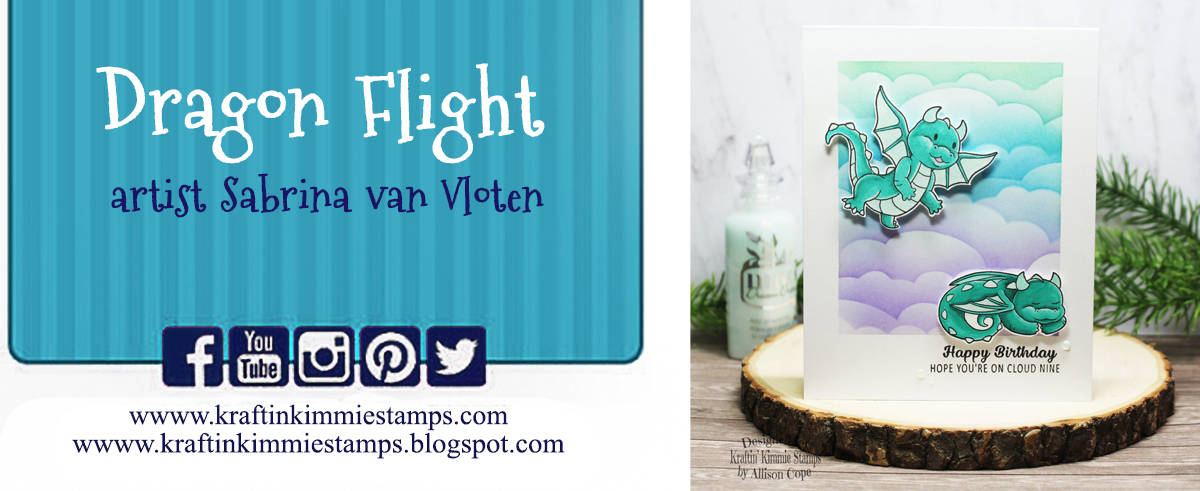
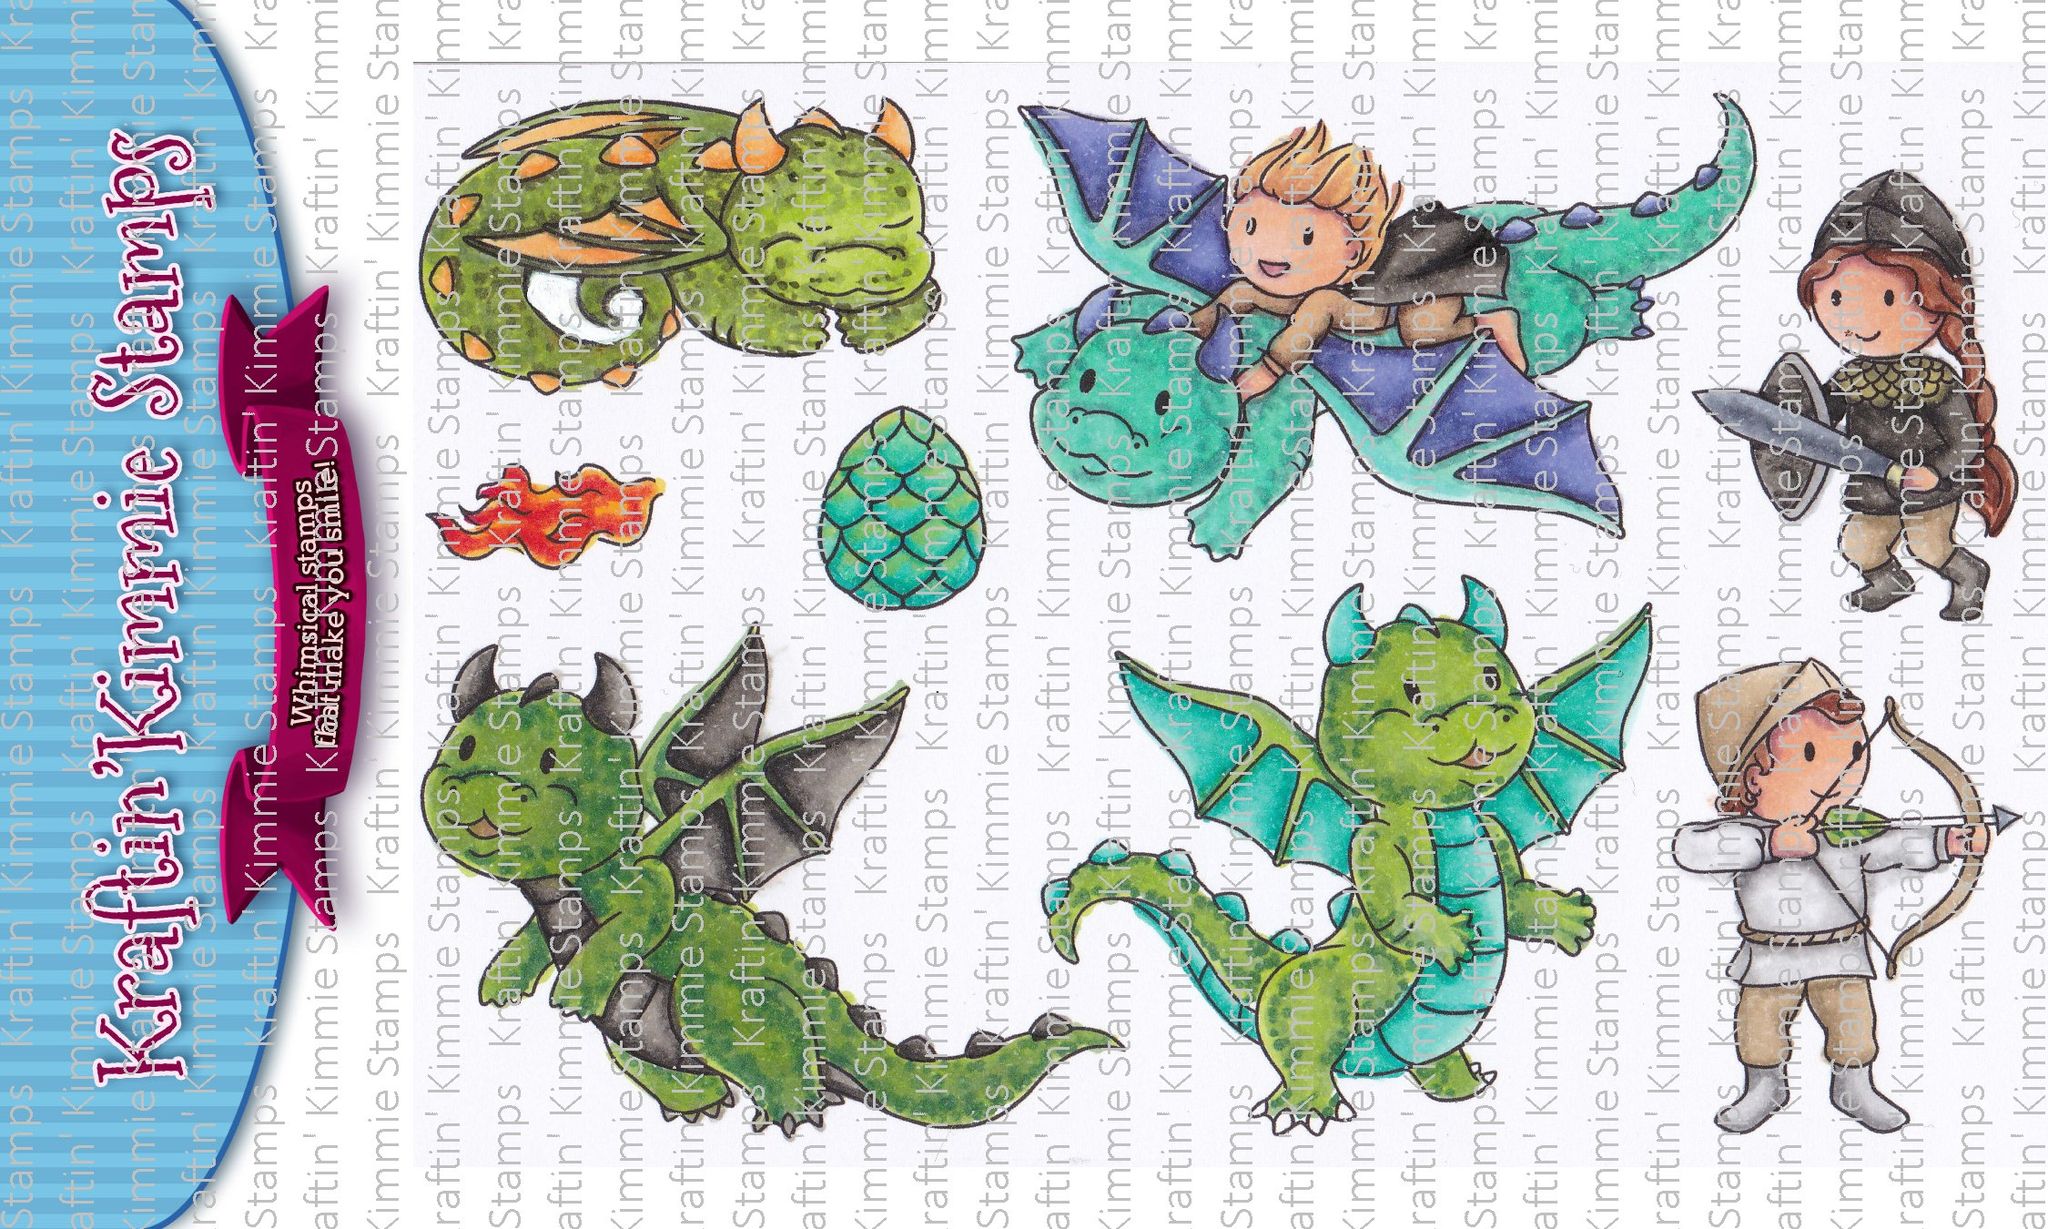
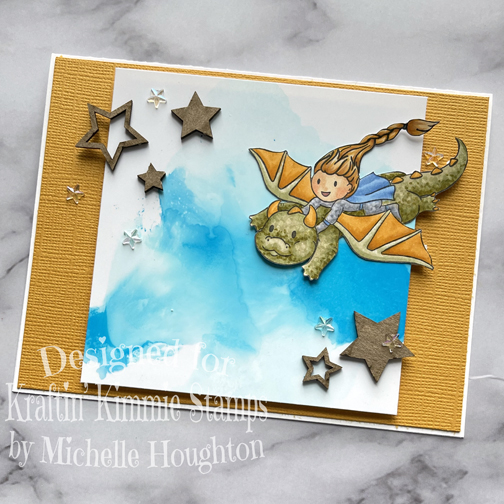
It’s time for our March Release Peeks to begin 


Today’s featured set is a fearsome set by Sabrina van Vloten called…..
DRAGON FLIGHT!


This is an amazing set of dragons and knights ready to set flight and create magical scenes! Of course you’re going to find so many ways to use it with the previously released Dream Castle and Royal Family & Sentiments sets!!


As you hop around the design team’s blogs today you’ll be able to check out DRAGON FLIGHT! in action in combination with a lot of our other new March Kraftin’ Kimmie products!  

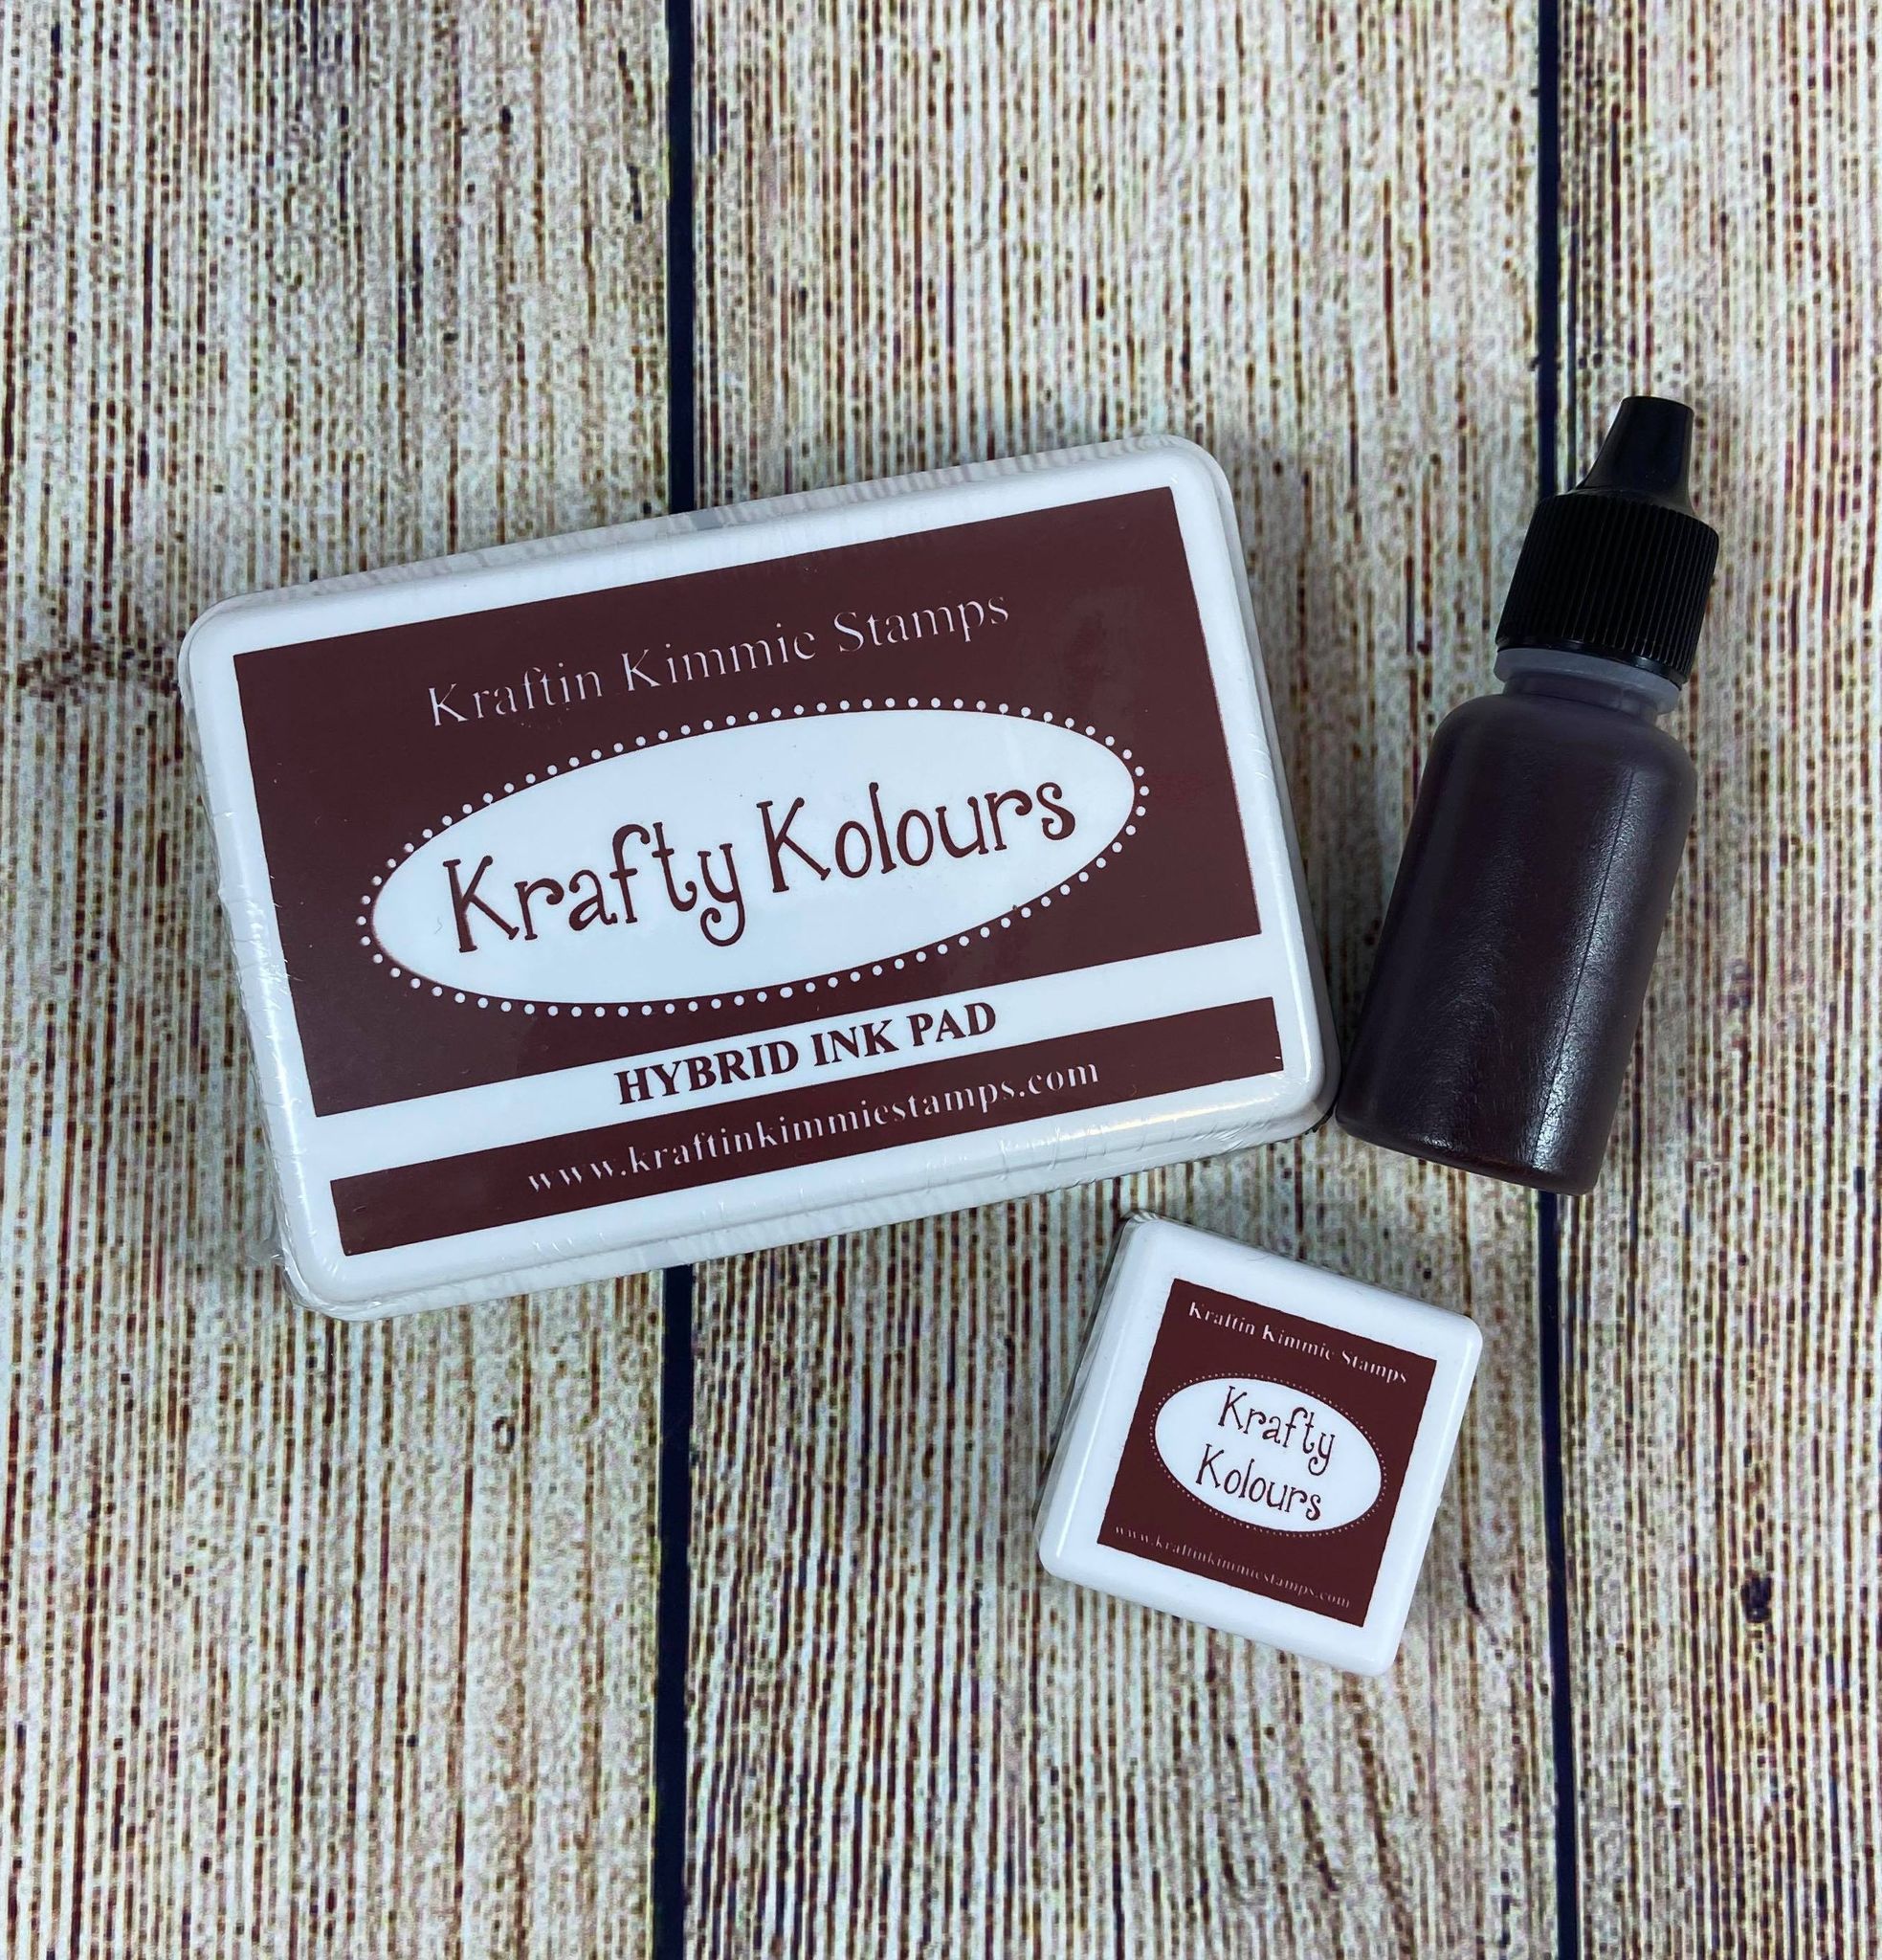
You will spot our newest addition to the Kraftin’ Kimmie Hybrid Ink rainbow!  It’s a gorgeous new colour…..called 

RICH RUST!  


As always it will be available in full sized ink pads, ink cubes and ink refills!

We’ve got TWO new Krafty Stencils for this month’s release to help add some funky fun to your creations!  They are called….
RADICAL RECTANGLES and ROYAL!

Both designs are perfect for all your cards, scrapbook pages, mixed media and more!

Plus the MARCH ADD ON BUNDLE!

Our exciting Add-On bundle this month features several amazing products which will coordinate with our new goodies and will help you enhance your new creations!! 

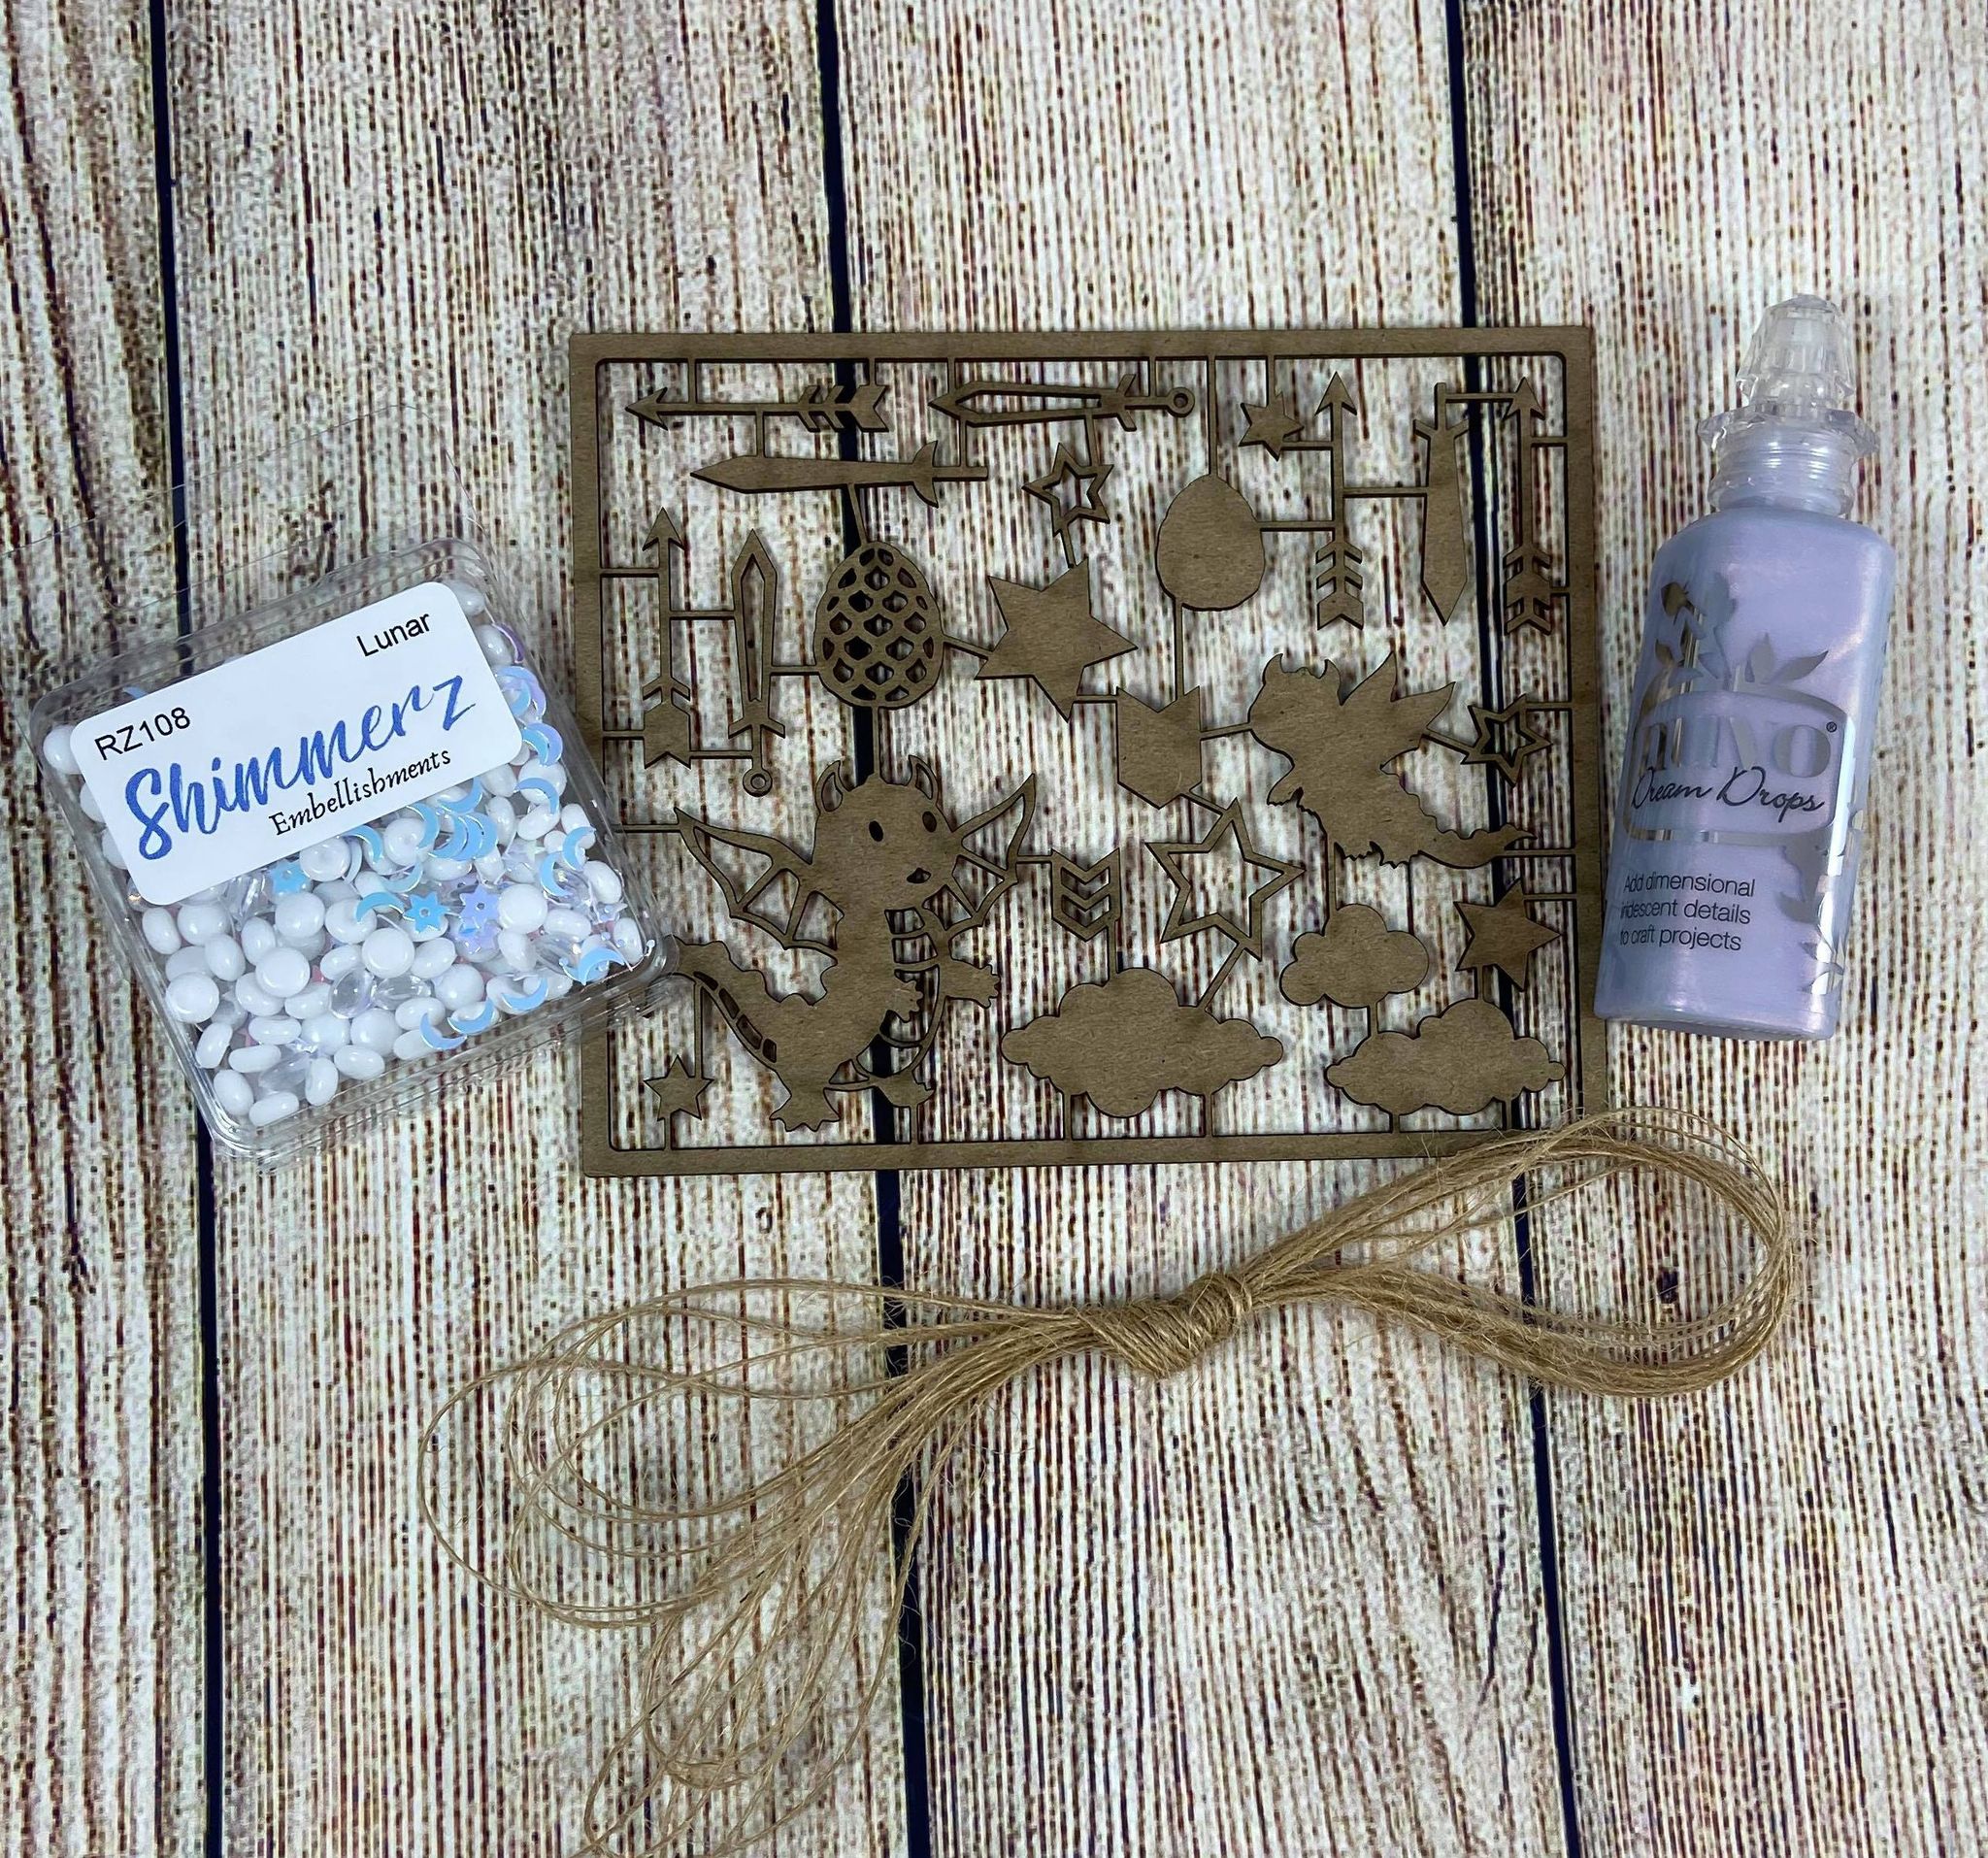
This month’s coordinating Add On Kit includes:

  • An Exclusive Mystical chipboard set
  • 5 Yards of Natural Twine
  • A bottle of iridescent Dream Drops (you’ll receive one of 5 gorgeous shimmery colours!)
  • A beautiful package of Shimmerz embellishments

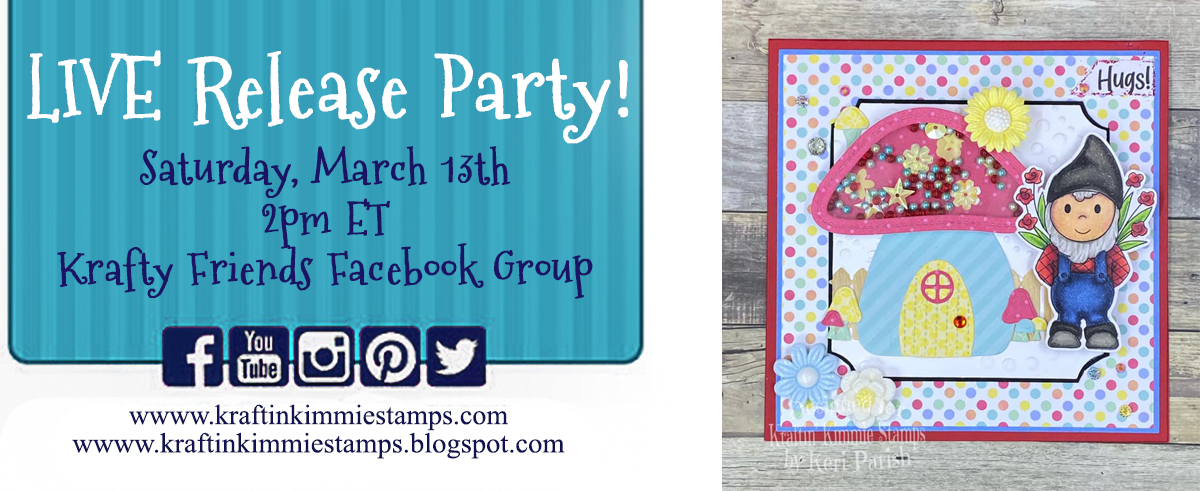
This package is $20.99 CAN and a limited number will be available in the shop on Saturday afternoon after our Live Release Party! Get ready to get krafty!!

You’ll get to see all of our brand new goodies in action over the next few days of the March Krafty Peeks and everything will be released at our LIVE March Release Party on Saturday March 13th @ 2 pm EST!


For now, hop around and check out some amazing creations from the Krafty Team and be sure to leave some love at each stop on the hop!  Your comment could be a WINNER of some krafty $$ to use in the shop!  (Not to mention our designers are incredible and you should tell them so!  😉  )
 

Come on back tomorrow for some more krafty fun and goodness!


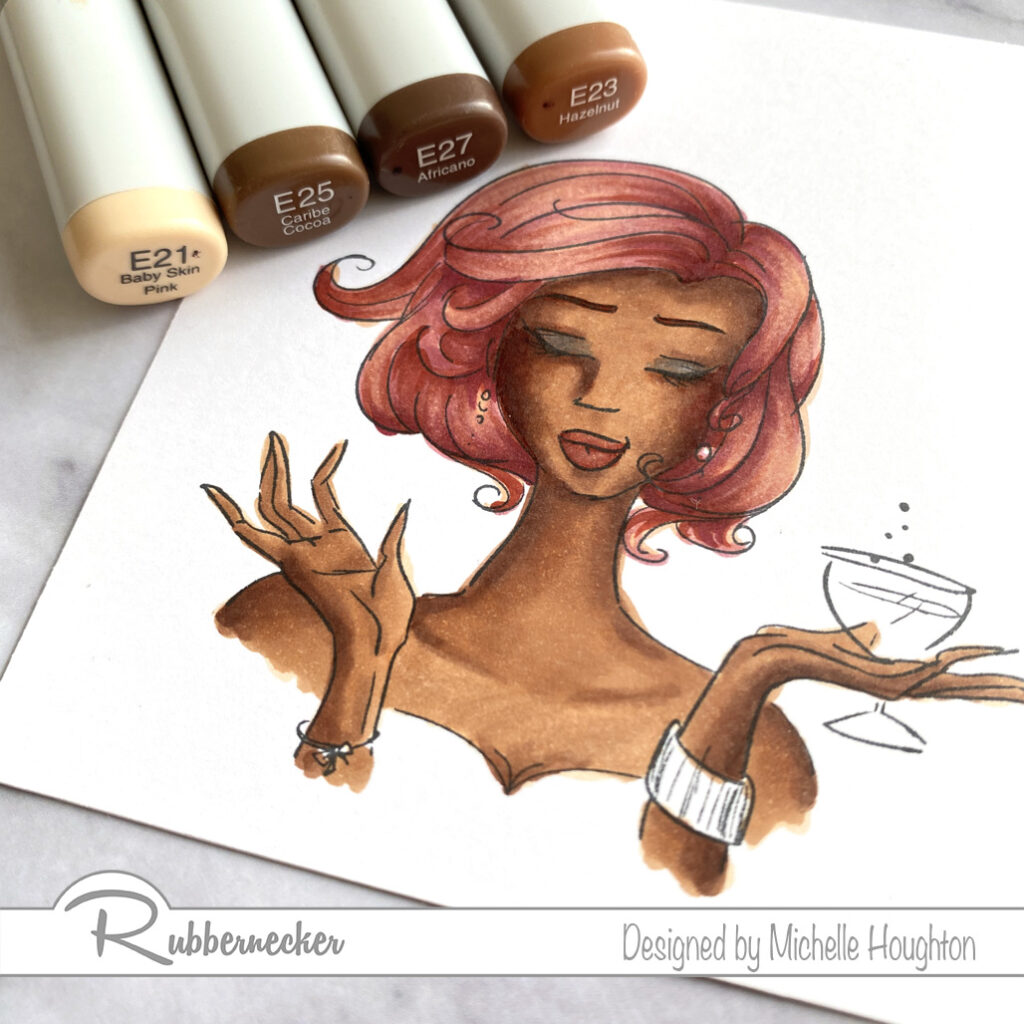
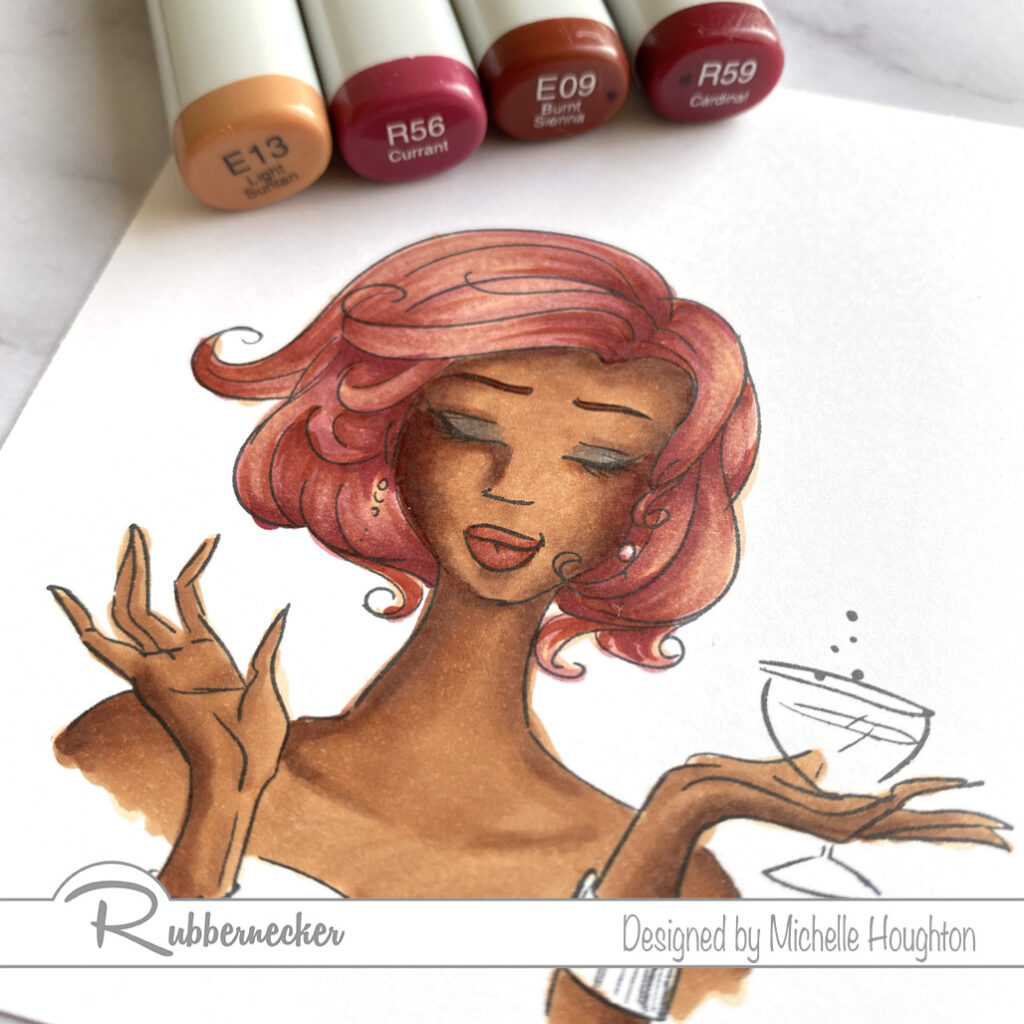
I played with this fun stamp set during the last virtual retreat but decided to color another of the images in the set as well as add a personal touch to it! I added a braid to the dragon rider and recorded the whole thing so you can watch if you like! First here is a closer look at the image and the Copic coloring as well as the added hair braid:

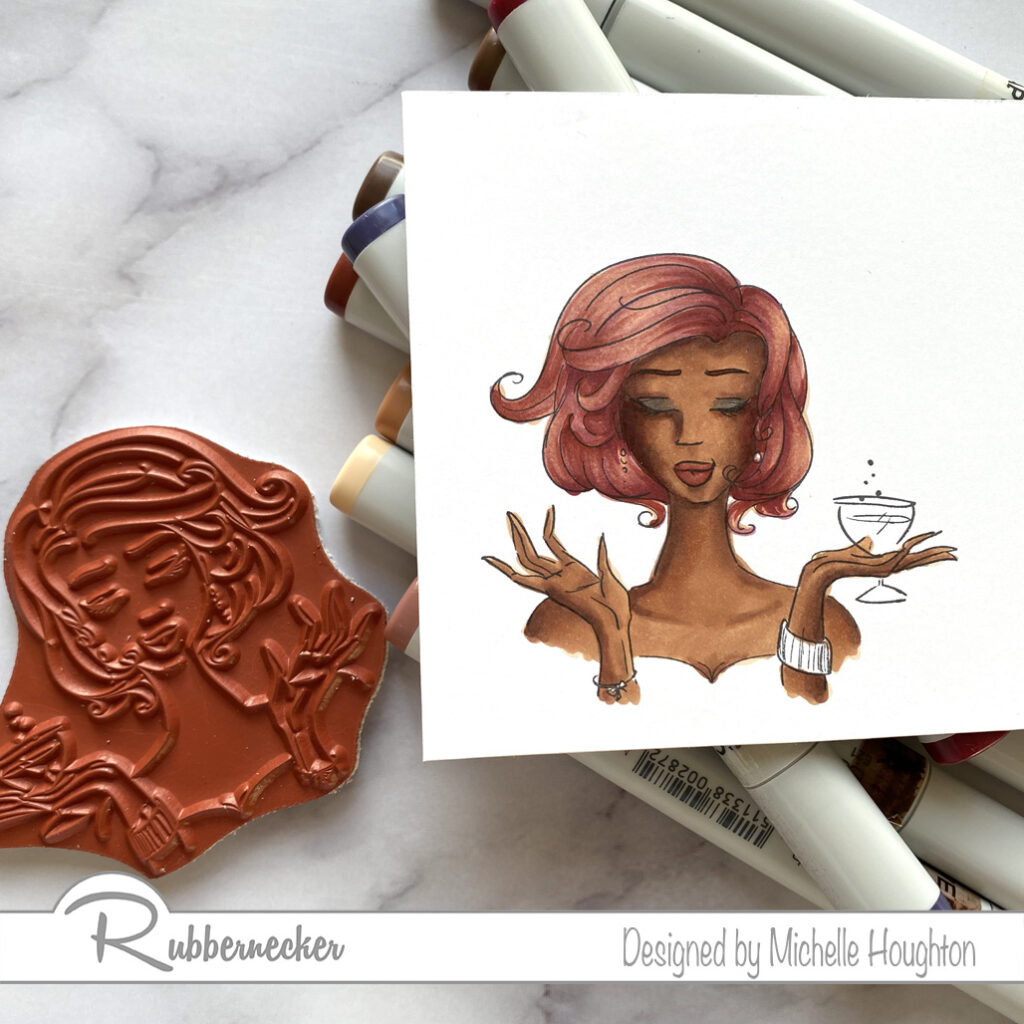
And here is a look at the card I completed. I did a simple inky background with Copic refill ink on photo paper.

Lastly how about a link to the video tutorial?! It is all in real time so between the drawing and the coloring it is a longer video but hope you might have a chance to watch a few moments! Thank you for stopping by!

Have a Happy Colorful Day!

You are invited to the Inlinkz link party!

Click here to enter


Posted on

More Skin and Hair with Rubbernecker

I have a final tutorial with darker skin tones (at least for now). Using one of the beautiful images from Rubbernecker Stamps. You will find the steps and colors I used below and then next Wednesday there will be a video tutorial posted on both the Copic In The Craft Room YouTube channel as well as the Rubbernecked YouTube channel.

  • Starting with the skin base all of the skin areas with E21.
  • Use a darker mid-tone to map out the shading on the skin areas, E25.
  • Use a darker tone in smaller amounts to deepen the shadow areas, E27.
  • Blend the skin smooth working back through the darker mid-tone and then covering the light base color with a light mid-tone, E25, E23.
  • Add a deep red earth tone to add color to her cheeks and blend it in with the skin tones, E09.
  • Base all of the hair with a light earth tone, E13.
  • Use a series of red and earth tones to create texture and volume to the hair with small thin flicks, R56, E09, R59.
  • Work with the 4 hair colors to smooth and enhance texture to your personal desired effect, E13, R56, E09, R59.
  • For lips use two earth tones to create shape and color, E09, E04.
  • Use a rich color to add a touch of color to the lids, V28.

Thank you so much for stopping by and checking in on my art. If you have not done so take a second and subscribe to my newsletter up to the right on my blog. I only send a few notes out a year and there will be news about Copic College and live events coming out in the next week!

Have a Happy Colorful Day!

Posted on

Gingerbread! Copic Coloring Tutorial

Hello  friends! Yesterday over on the Stamp AnnieThing Facebook fan page I did a live coloring tutorial of a new SAT digital image, Gingerbread!

You say you missed the live tutorial?! How can that be? I know you all have 7:30pm Eastern wide open on your planners, ha ha. Actually I know all of us are crazy busy and this time of year often gets even more frantic than normal. Luckily for ALL of us when we teach a live tutorial on Facebook it get’s recorded and now it is on the Facebook page for those small moments here and there that you manage to catch for yourself. I enjoy watching tutorials when I am doing other things like folding laundry or prepping dinner. I can’t color along, but I get lots of info just listening and watching when I can. Hope you will have the chance to take a peek later if you did not get to join me yesterday.

Here is a peek at the finished card.

One of the things that is unique about this particular SAT digital image is the size. Now with digital images you have control over the size so you can change this if you want, but if you use the Gingerbread! stamp as is it is a full card front. Yep, fills your 4.25 x 5.5 card front. Now because I use Copics I still place this on a card base, remember that Copics will bleed through your cardstock. You could also fussy cut her out and put her on a different colored base or patterned paper, but I like letting the coloring shine and this image just fits the card front so well it doesn’t need anything else.

Here is a close up of our gingerbread master. If you notice a little or a lot of shine I added Stickles on the gumdrops and Glossy Accents on the peppermint and lollipops. 

Thanks for stopping by today! If you did not have time last night to check out the live FaceBook tutorial head over there when you have a chance to check out the coloring. And make sure to take a peek at all the fun digital images Ann has in the store!

Have a Happy Colorful Day!