There are SO MANY snowman images out there! And I love them all. Let’s take a peek at one today and I will walk you through how I use Copics to color him up. The beauty is these steps can bee used on all your snow buddies! Let’s get coloring.
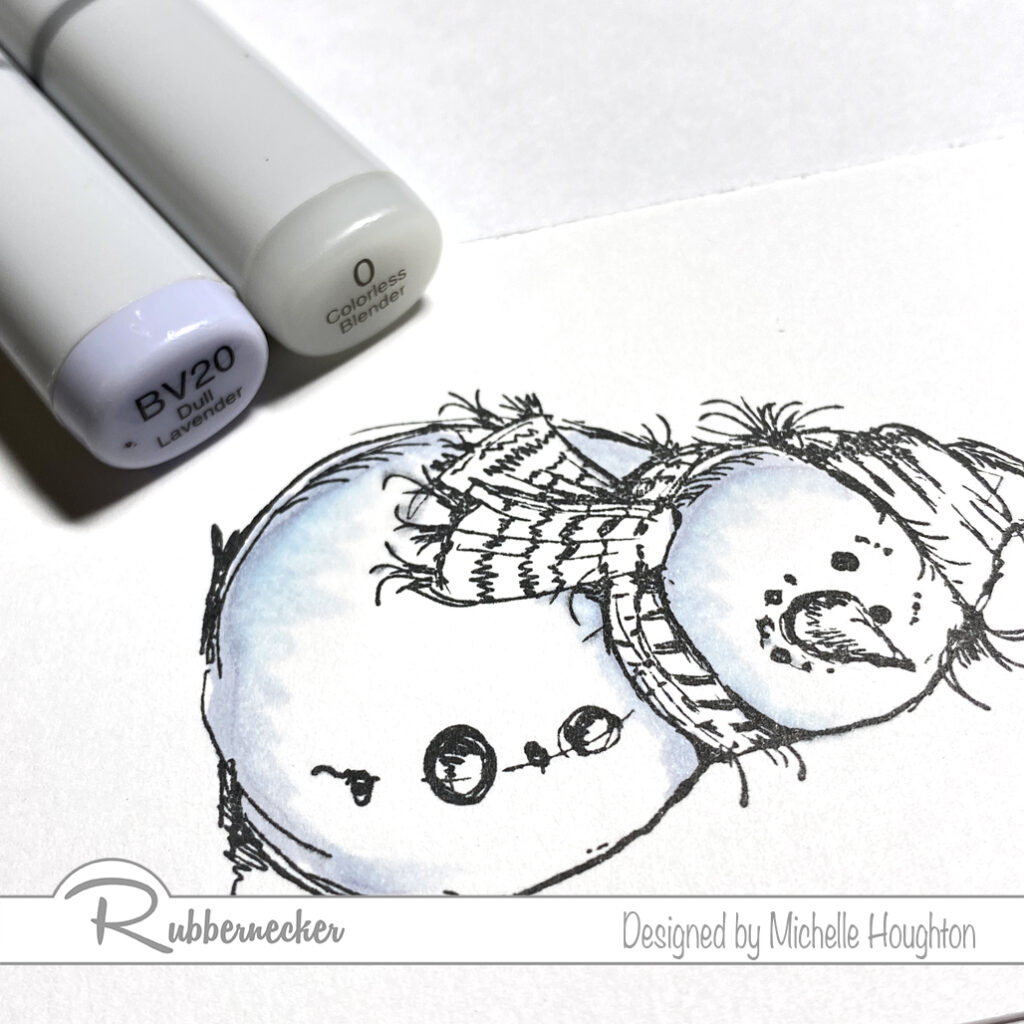
- Use a light blue violet to flick from the edge of the snowman inward. (BV20)
- Starting from the white area, use the Colorless Blender to flick into the blue violet to soften the edge. (0)
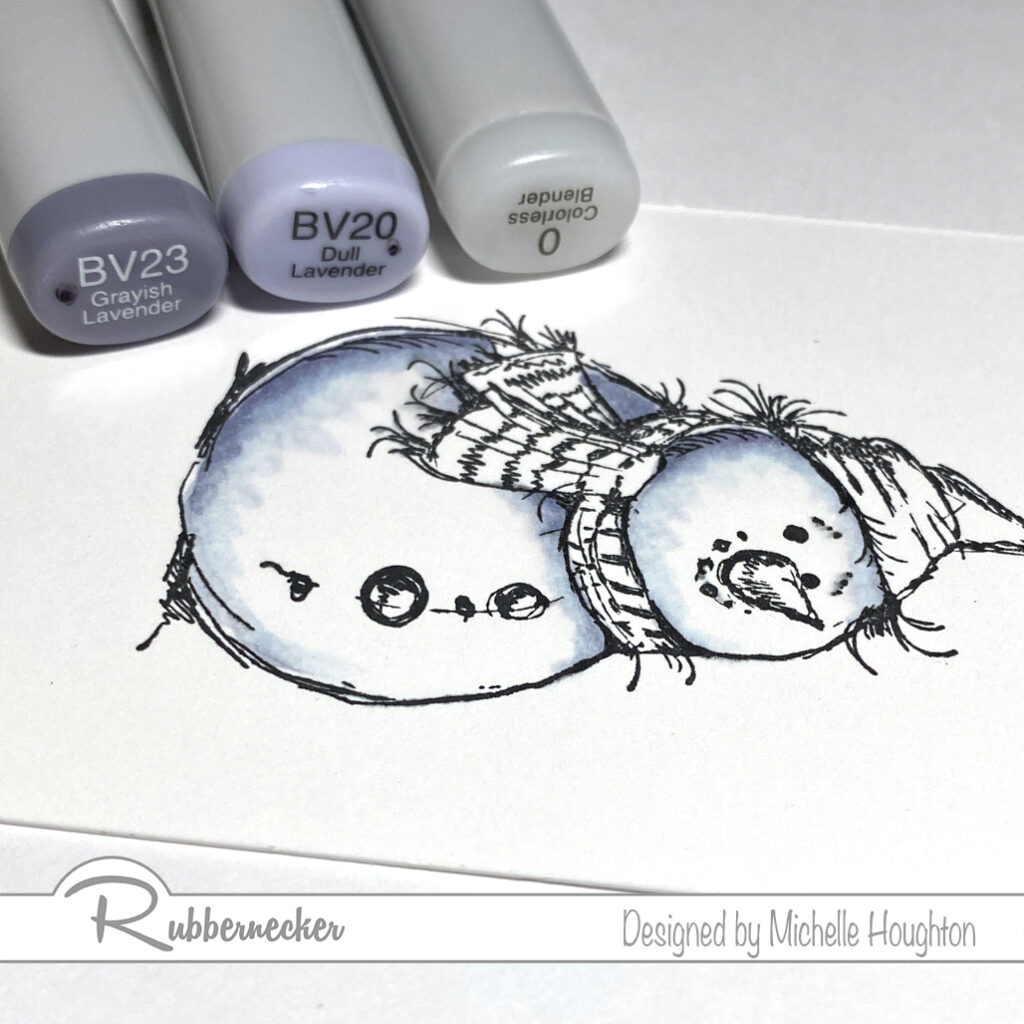
- To deepen the shadows use a darker blue violet to dab in color at the bottom edge. (BV23)
- Soften with the lighter blue violet. (BV20)
- If needed use the Colorless Blender to fade the edge again. (0)
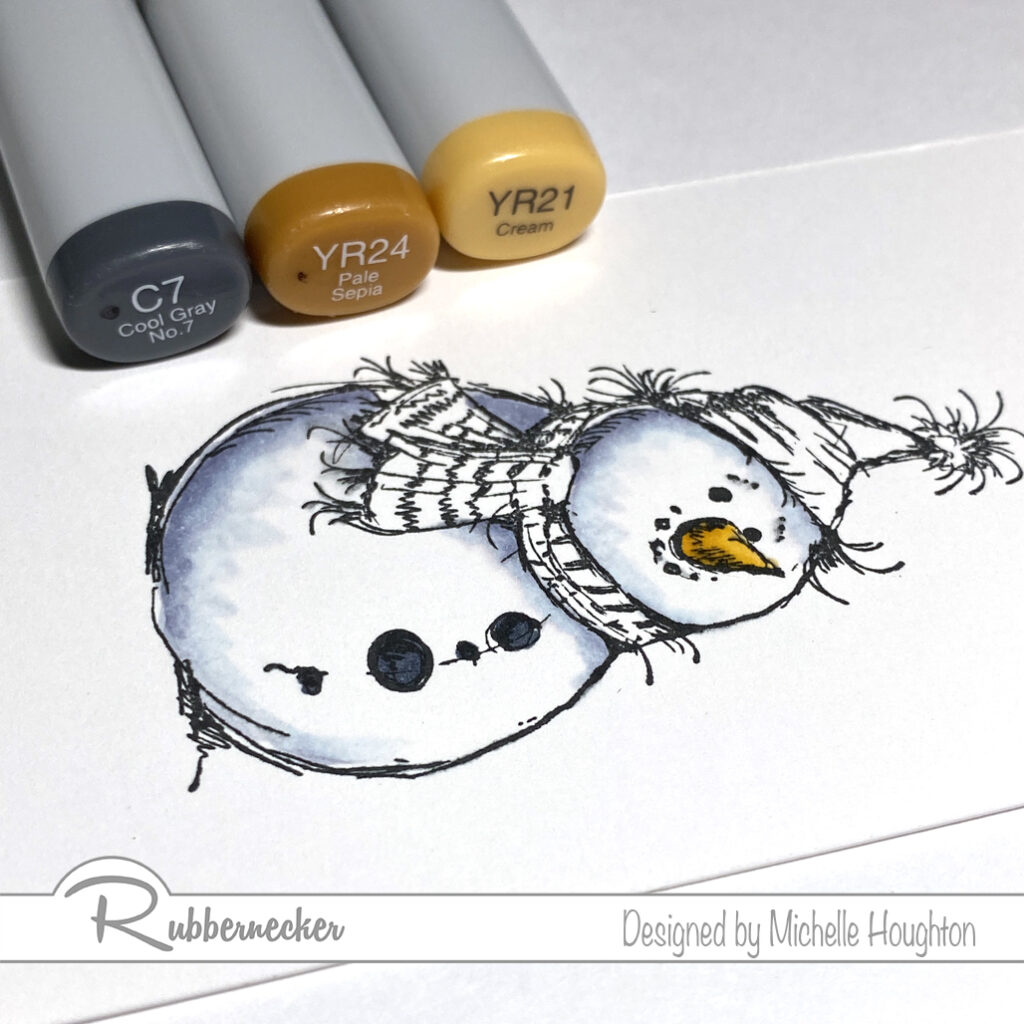
- Use two yellow reds to color the carrot nose. (YR24, YR21)
- Use a dark gray to color the coal. (C7)

- Color every other stripe on the scarf, the bottom edge and pom-pom on the hat with two greens. (G46, G43)
- Use two reds on the opposite stripes and the rest of the hat. (R39, R35)
- As an optional step, use the Colorless Blender on the coal to add dimension. (0)
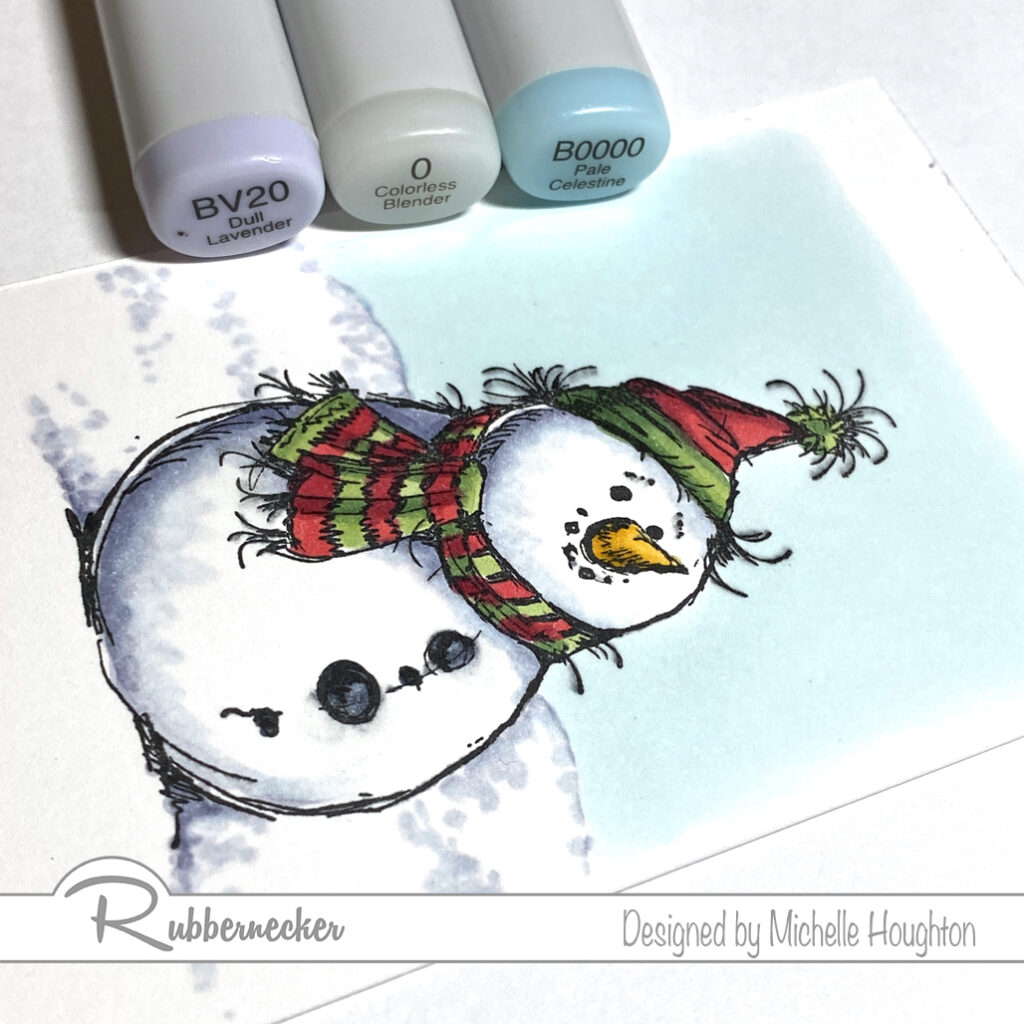
- Use a light blue green or blue to color the sky. (BG000)
- Use the light blue violet and Colorless Blender to dot in a snowy ground for your snow buddy. (BV20, 0)
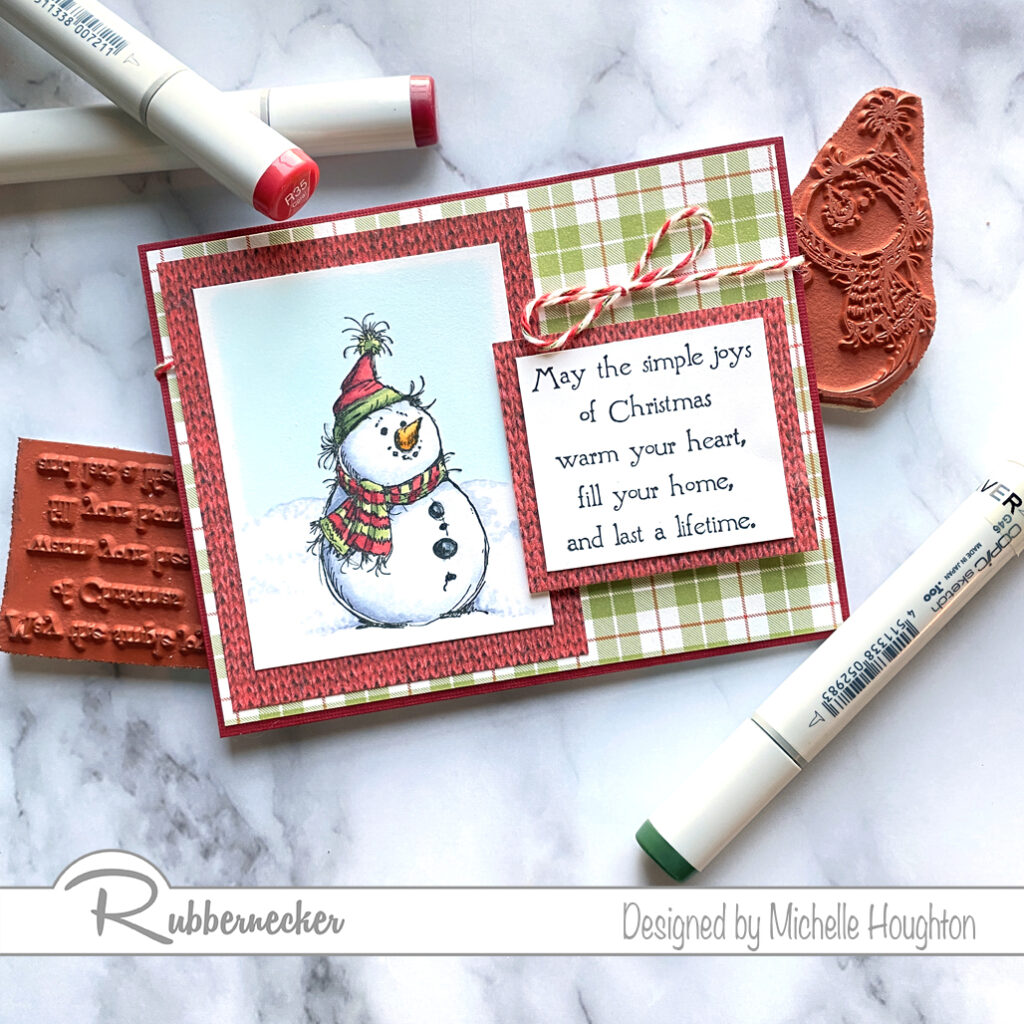
Finish your card with simple patterned paper layers, a wonderful sentiment and maybe a bow of twine. Thank you for visiting Copic In the Craft Room today! Below you will find links to the Rubbernecker Stamp products used in this post.
Have a Happy Colorful Day!