Ready for some holiday cheer? I have a quick holiday Copic coloring tutorial for you with a fun Rubbernecker Stamp. Tangled Kitty is an image that allows you to make the kitty your own and use colors that remind you of your favorite 4 legged friend. Here are the steps I took to create the look of glowing Christmas lights all tangles around this kitty.
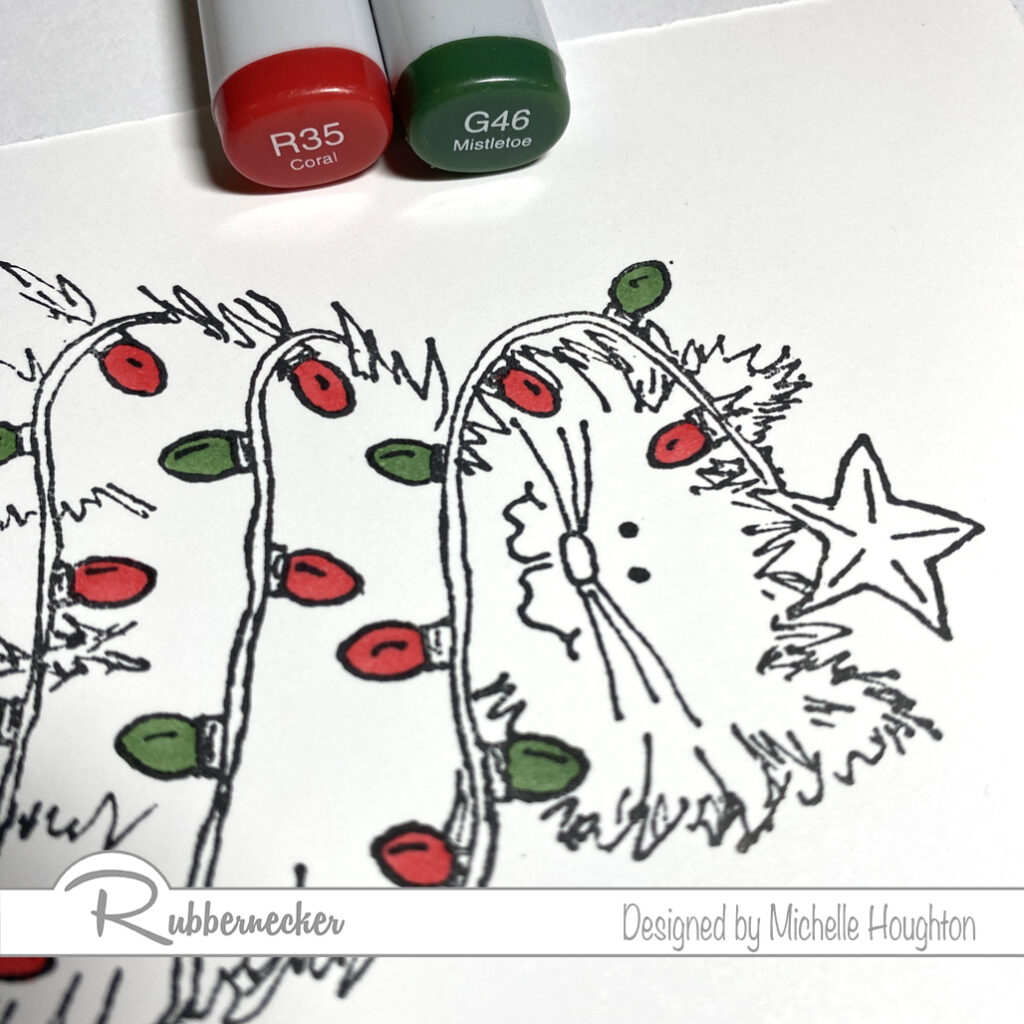
- Color in the lights with bright saturated colors. (R35, G46)
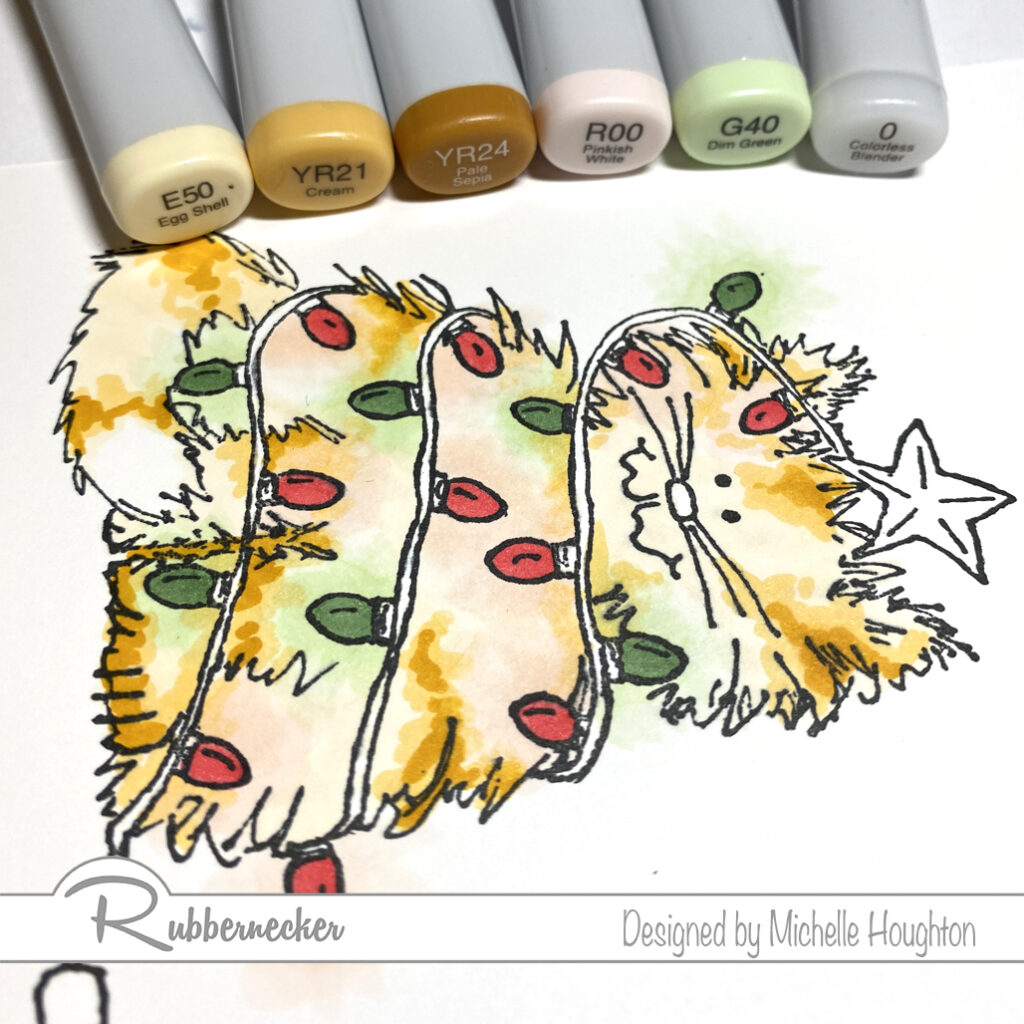
- Use a lighter color of each of the lights to create a halo of color around each bulb. (R00, G40)
- Use a series of colors to color the kitty. As you approach the light halos lighten the colors of the kitty. (Base color – E50 Tabby stripes – YR21, YR24)
- Use the Colorless Blender to further lighten the halo around each bulb. (0)

- Work back and forth with the fur colors, halo color and colorless blender to get the desired effect. (E50, YR21, YR24, R00, G40, 0)
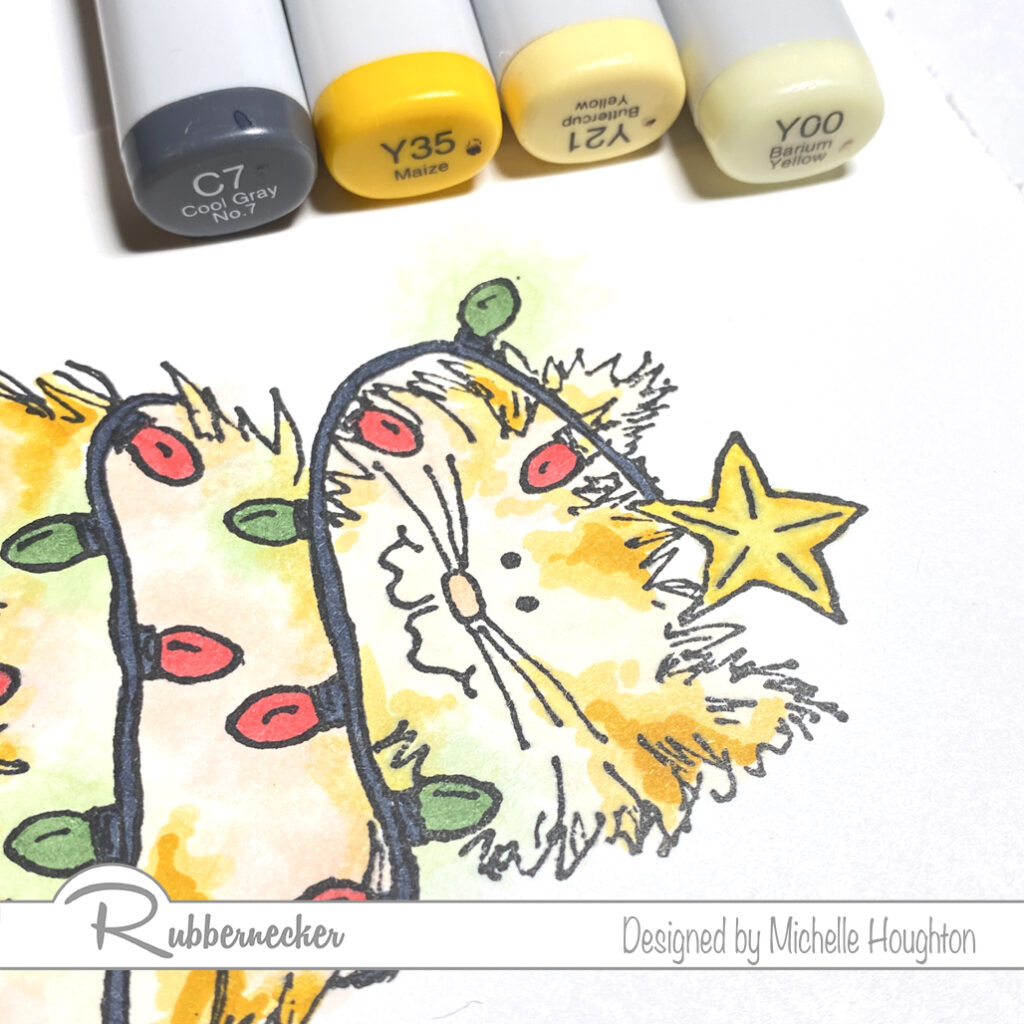
- Fill the cord and bulb bases with a dark gray. (C7
- Use a series of yellows to light up the star. (Y35, Y21, Y00)
- Use the colorless blender in a small dot on each bulb base. (0)
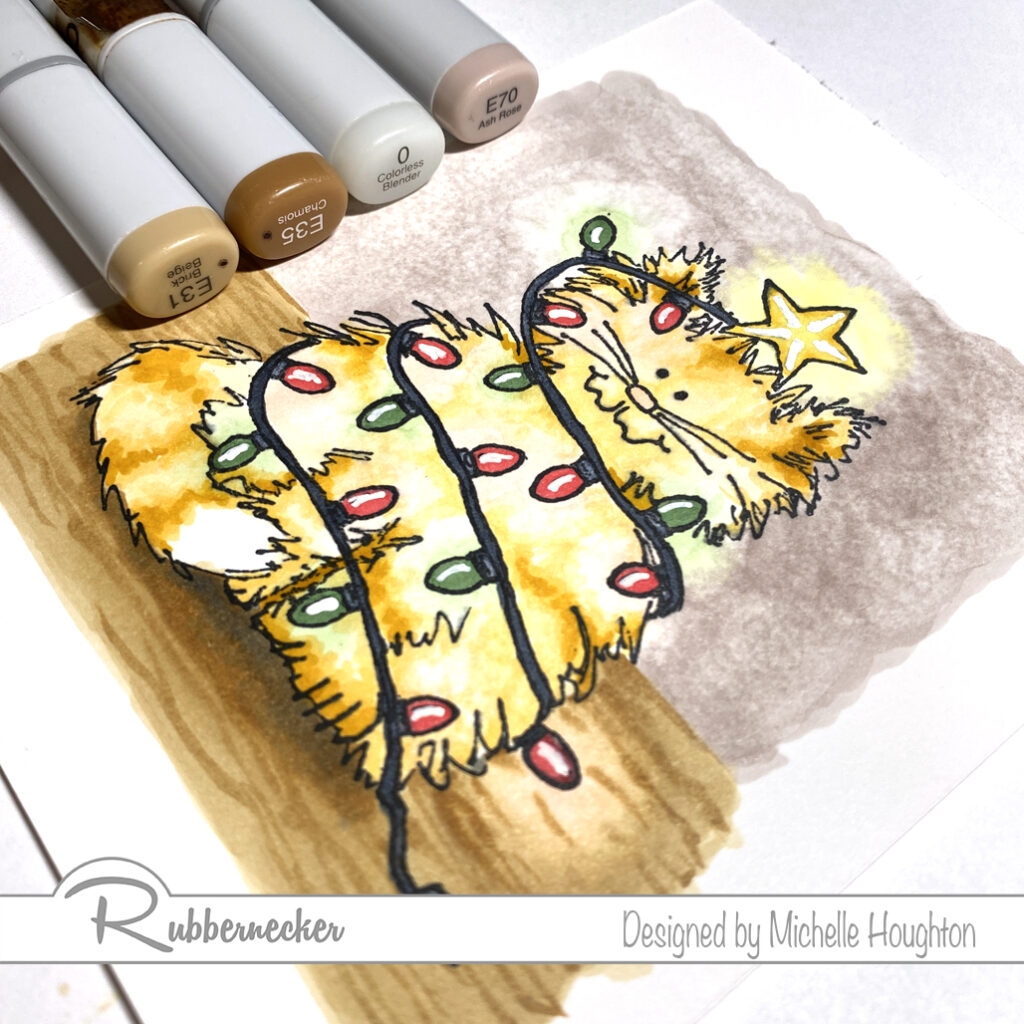
- Base the floor in a light earth tone. (E31)
- Use a darker earth tone to create wood grain texture. (E35)
- Soften the wood grain with the lighter earth tone. Then use the Colorless Blender to lighten the area around the lower bulb. (E35, 0)
- Color in the wall behind the kitty with a light earth tone. (E70)
- Use the Colorless Blender to lighten the wall color further and create a glow around the upper bulb and star. (0)
- Use an opaque white pen to add small highlights on the bulbs and star.
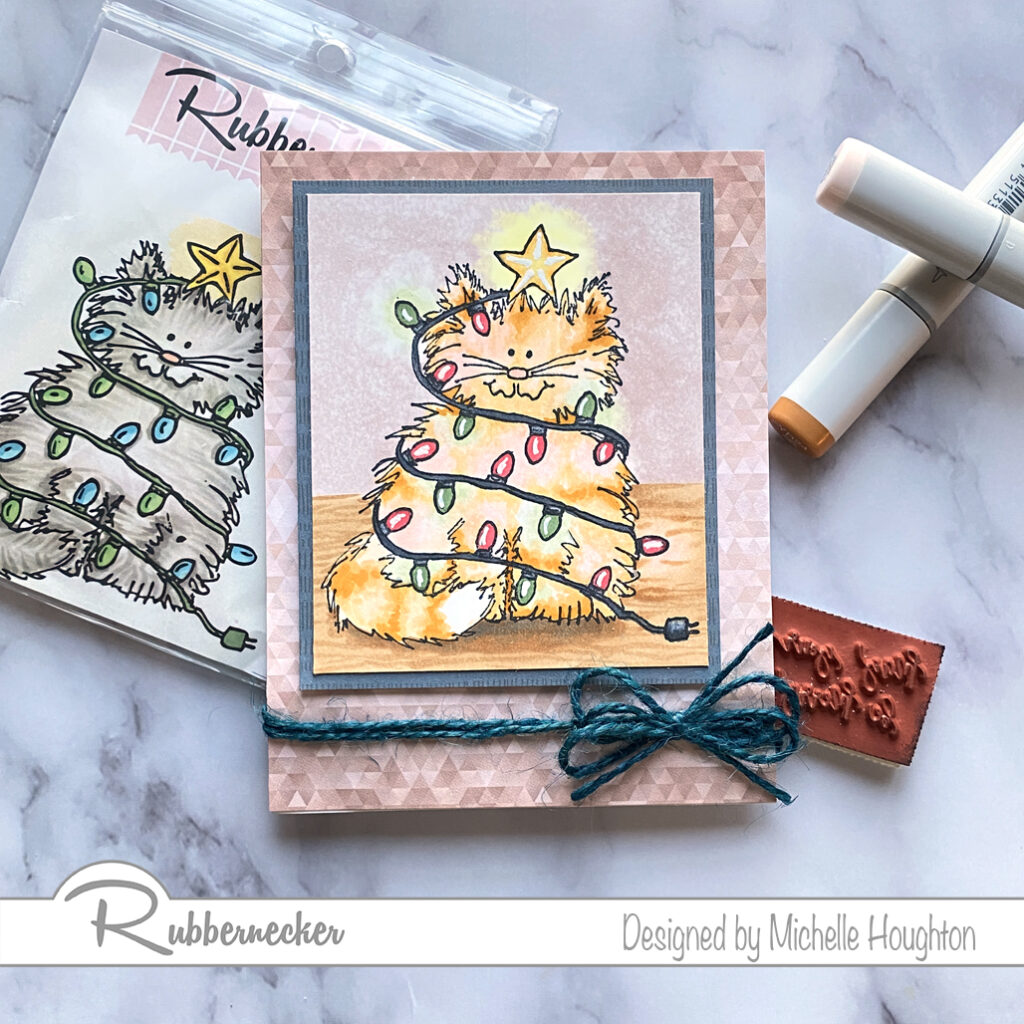
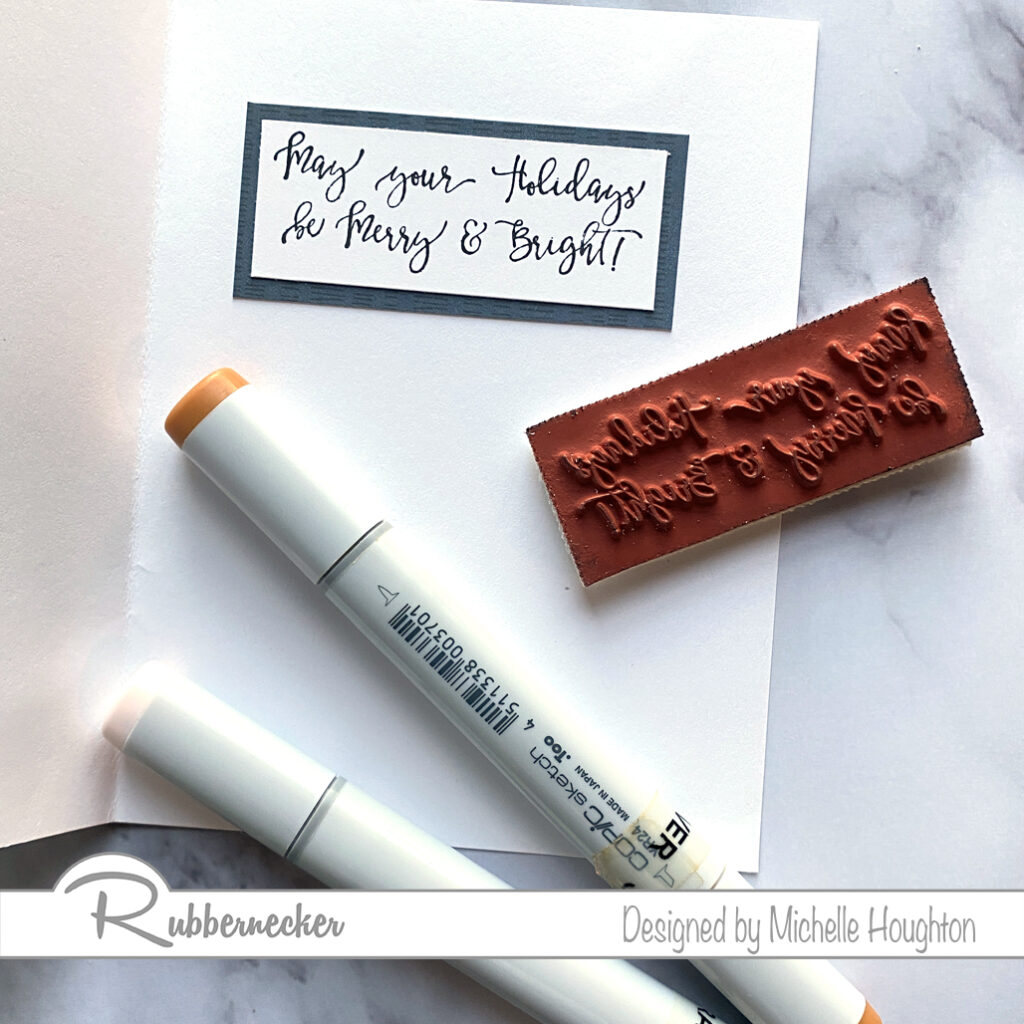
Thank you as always for stopping by. You will see links to the Rubbernecker Stamp products below. I am so looking forward to the holidays this year! It feels good to be headed that way!
Have a Happy Colorful Day!