Posted on

More Slimline Stamps!

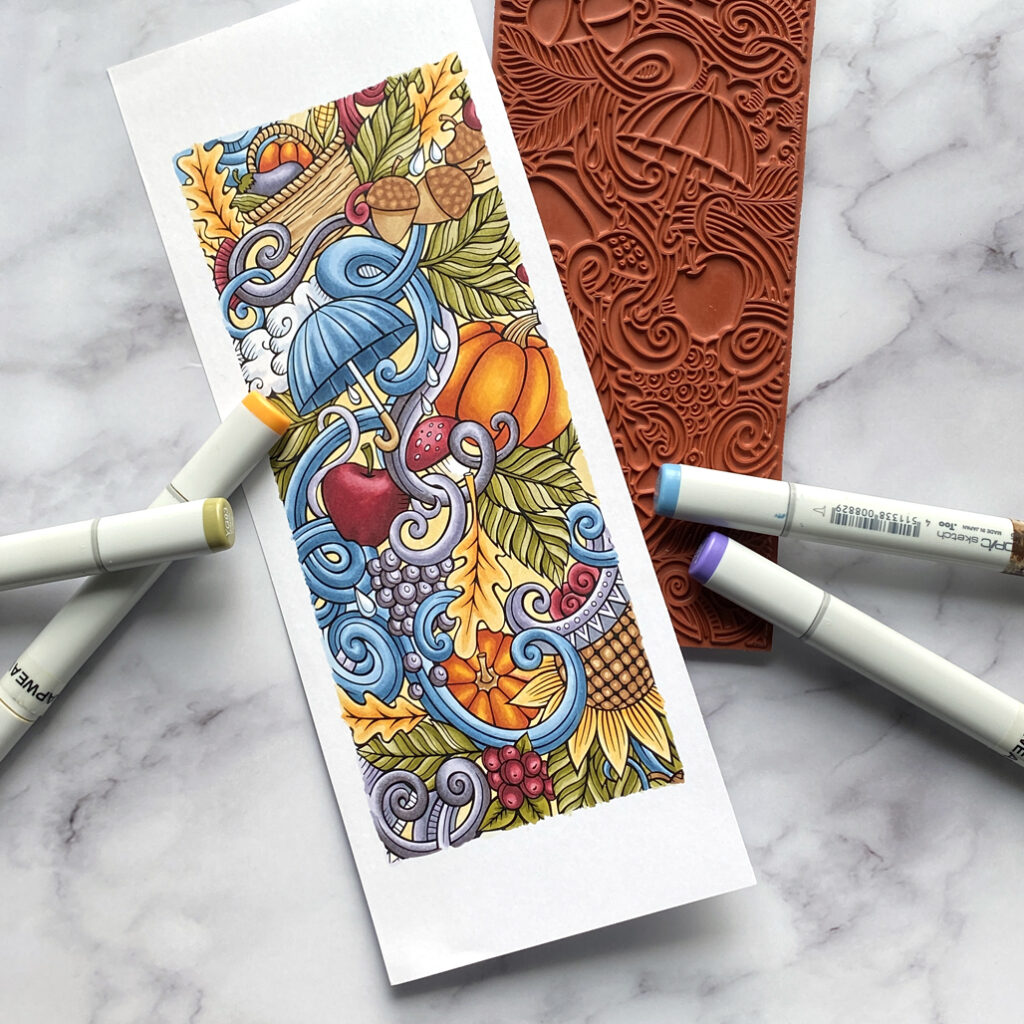
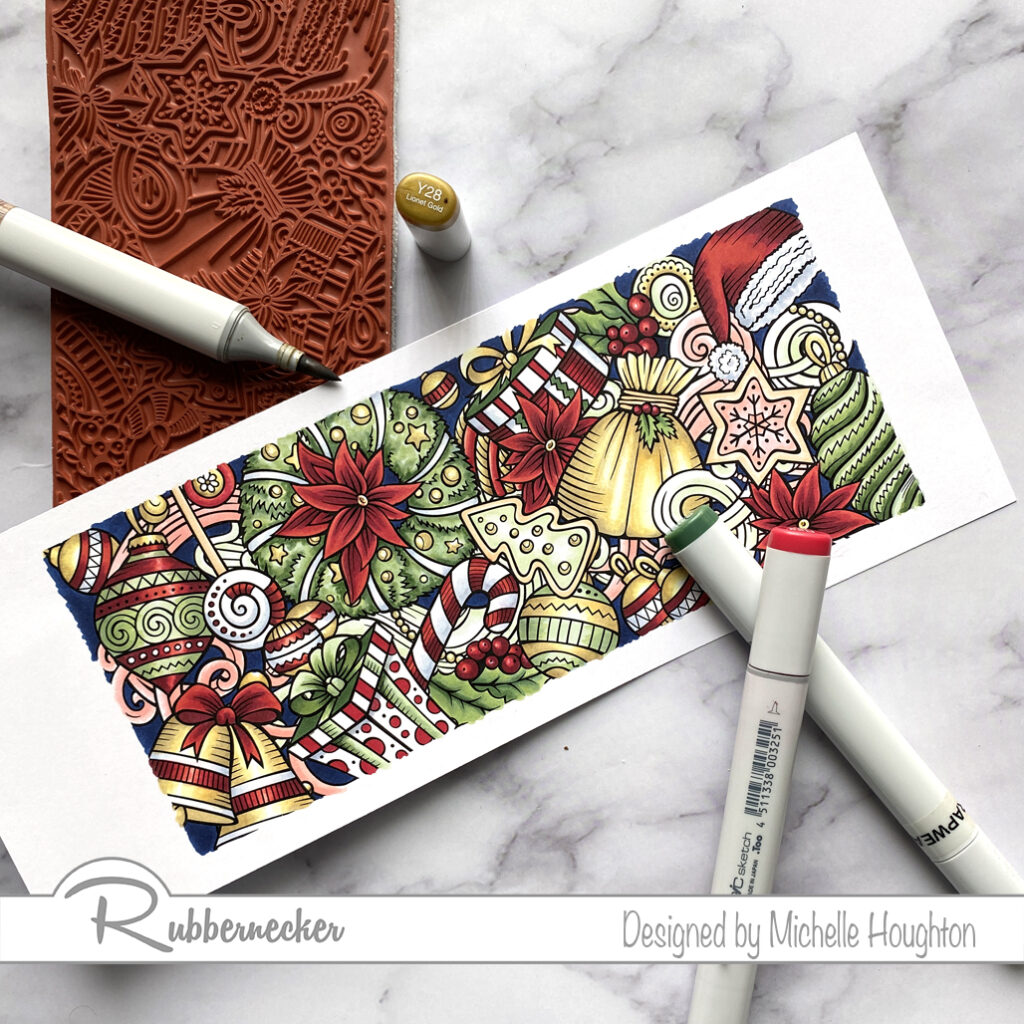
Rubbernecker Stamps has more slimline stamps and I want to make sure you see them all! Today I have a quick run through of the Copic Colors I used on the Christmas and the Birthday Slimline stamps. I think you will love both of these. Let’s start with the Christmas stamp.

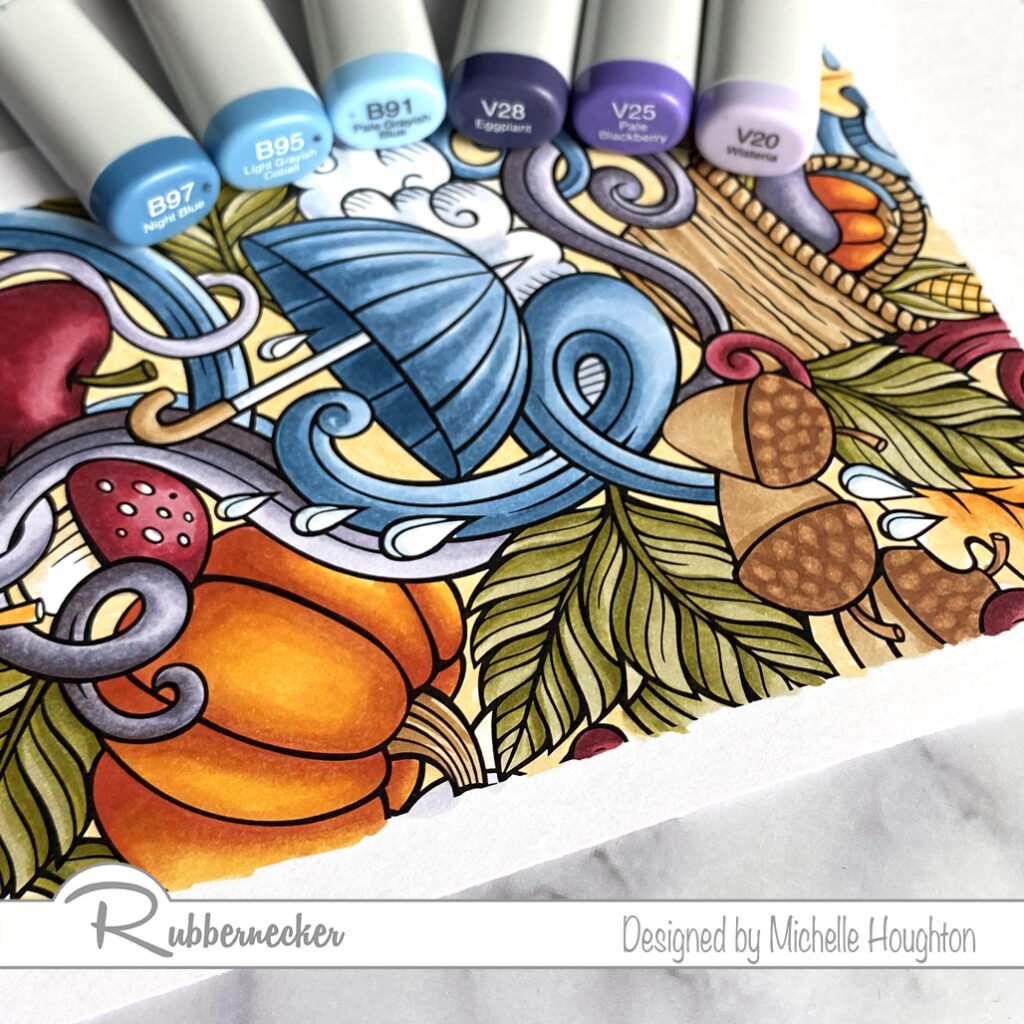
Work through the full image with one color family at a time. You will find other small areas to come back to with each color group at the end, but this system helps me keep a more complex image like this balanced.

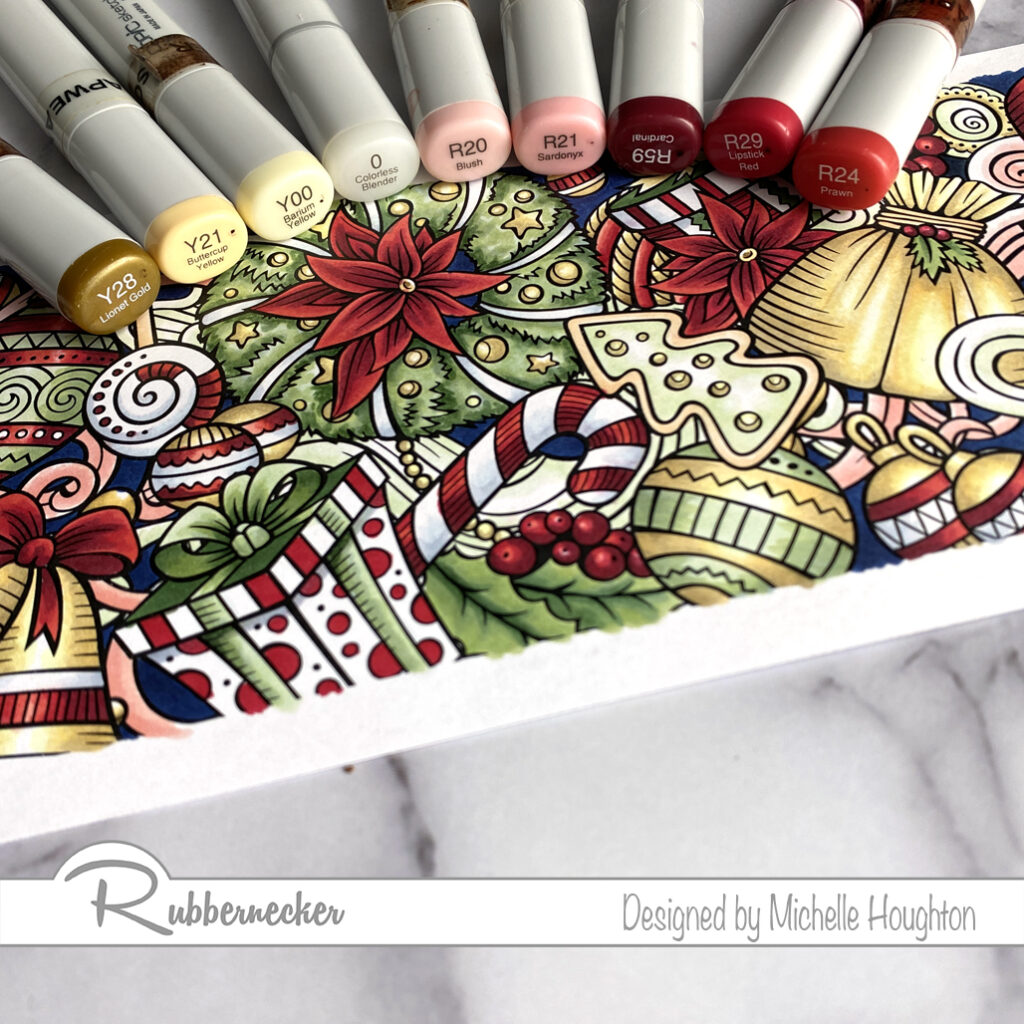
  • The darker red Copic group I used for this image consists of 3 reds that I used from dark too light. R59, R29, R24
  • The lighter red group I used consists of 2 reds and the Colorless Blender. R20, R21, 0
  • The yellow/gold group also uses the Colorless Blender with 3 yellows. Y28, Y21, Y00, 0
  • On both the lighter and darker green areas I used a combination of blue green and green colors to get the evergreen feel to the image.
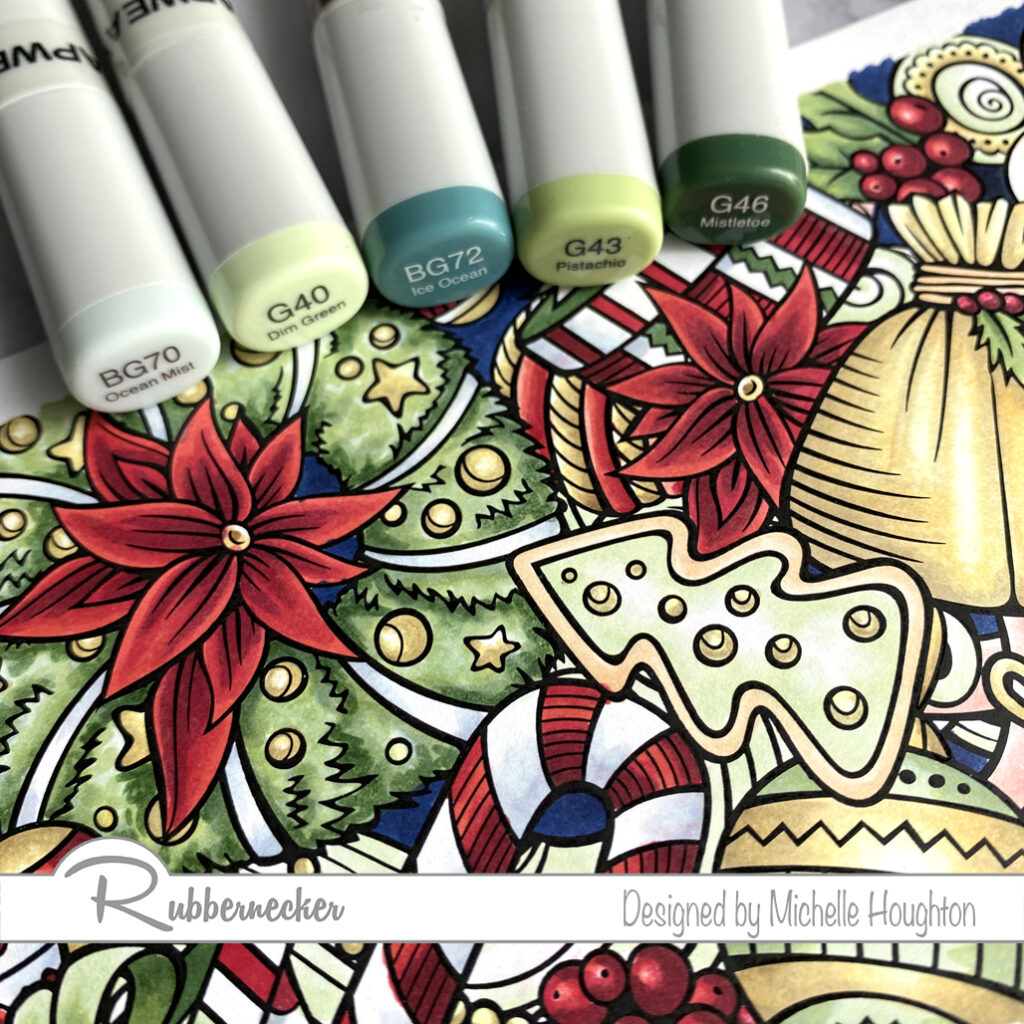
  • For the lighter green areas I used a blue green and green as well as the Colorless Blender. BG70, G40, 0
  • The darker green areas use 2 blue greens and 3 greens. BG70, G40, BG72, G43, G46
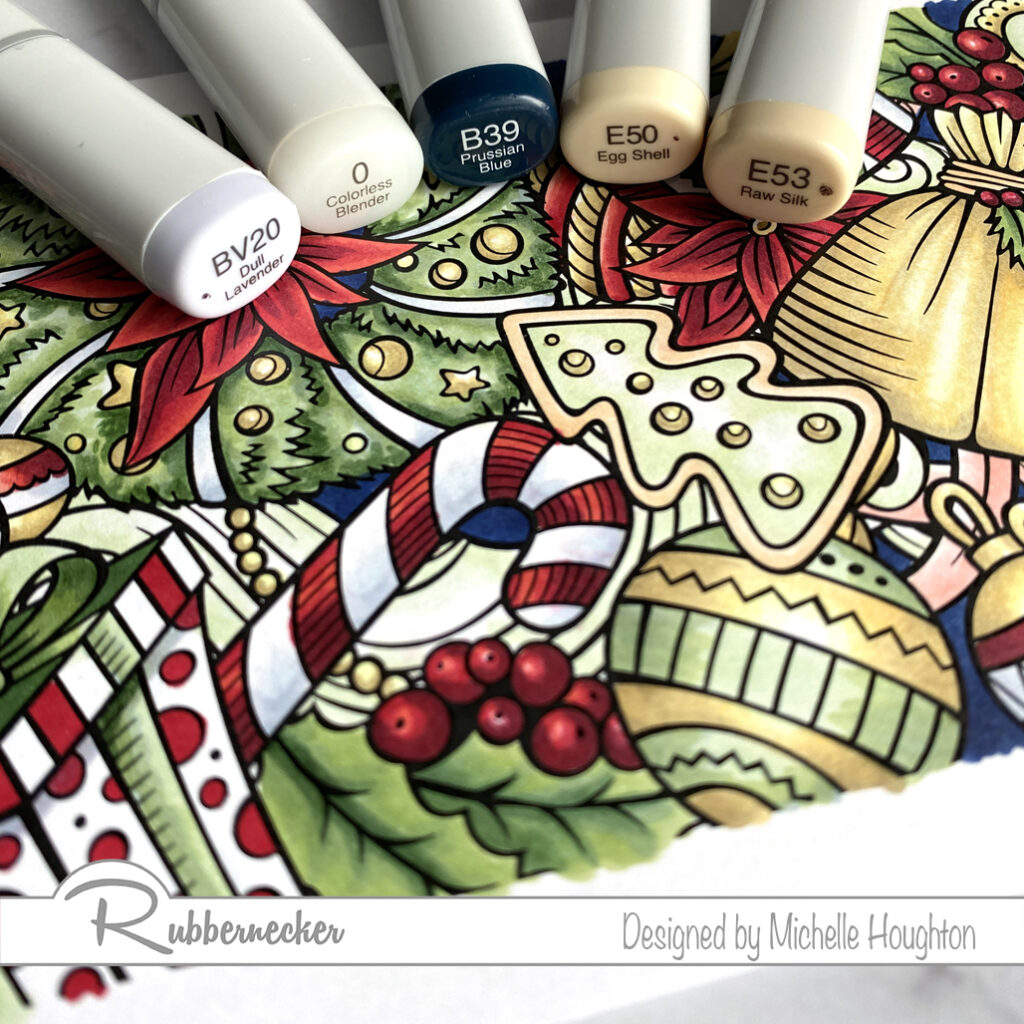
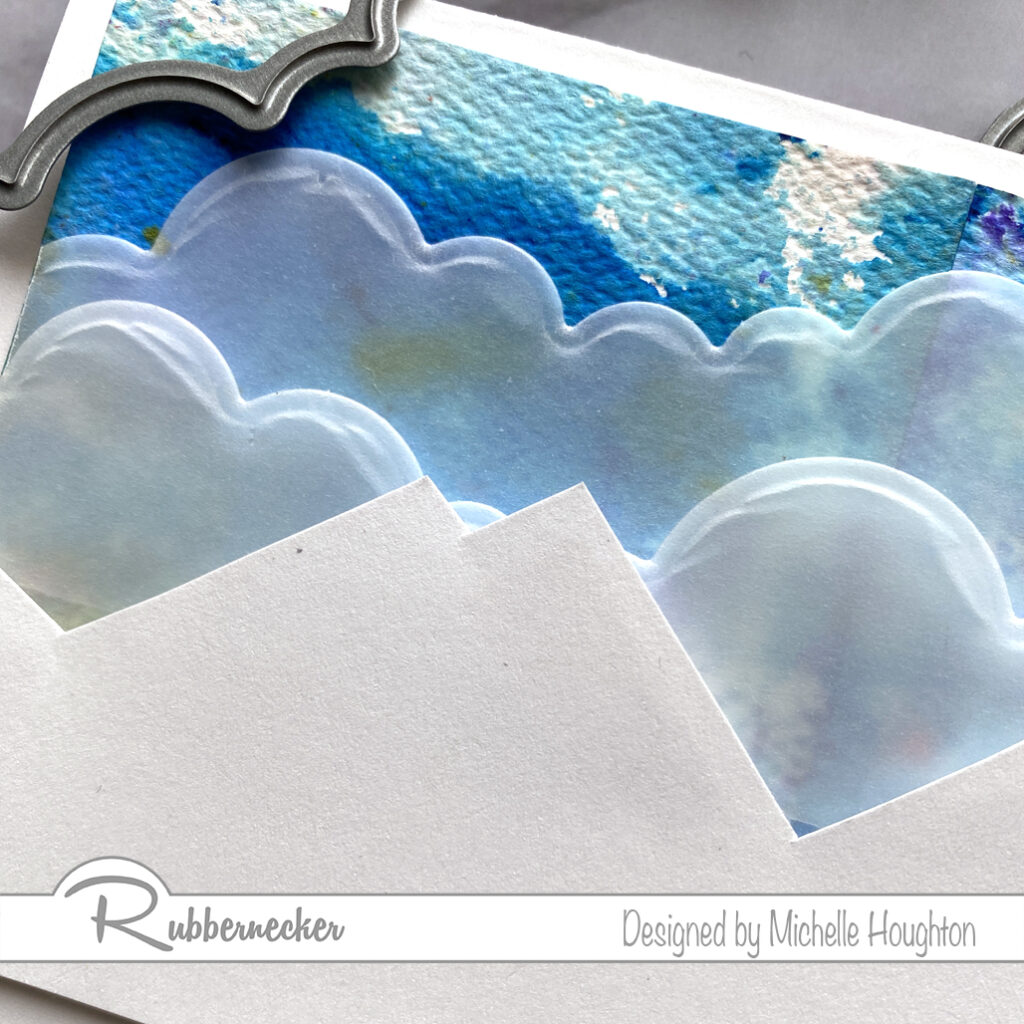
  • The white areas use a light blue violet and the Colorless Blender. BV20, 0
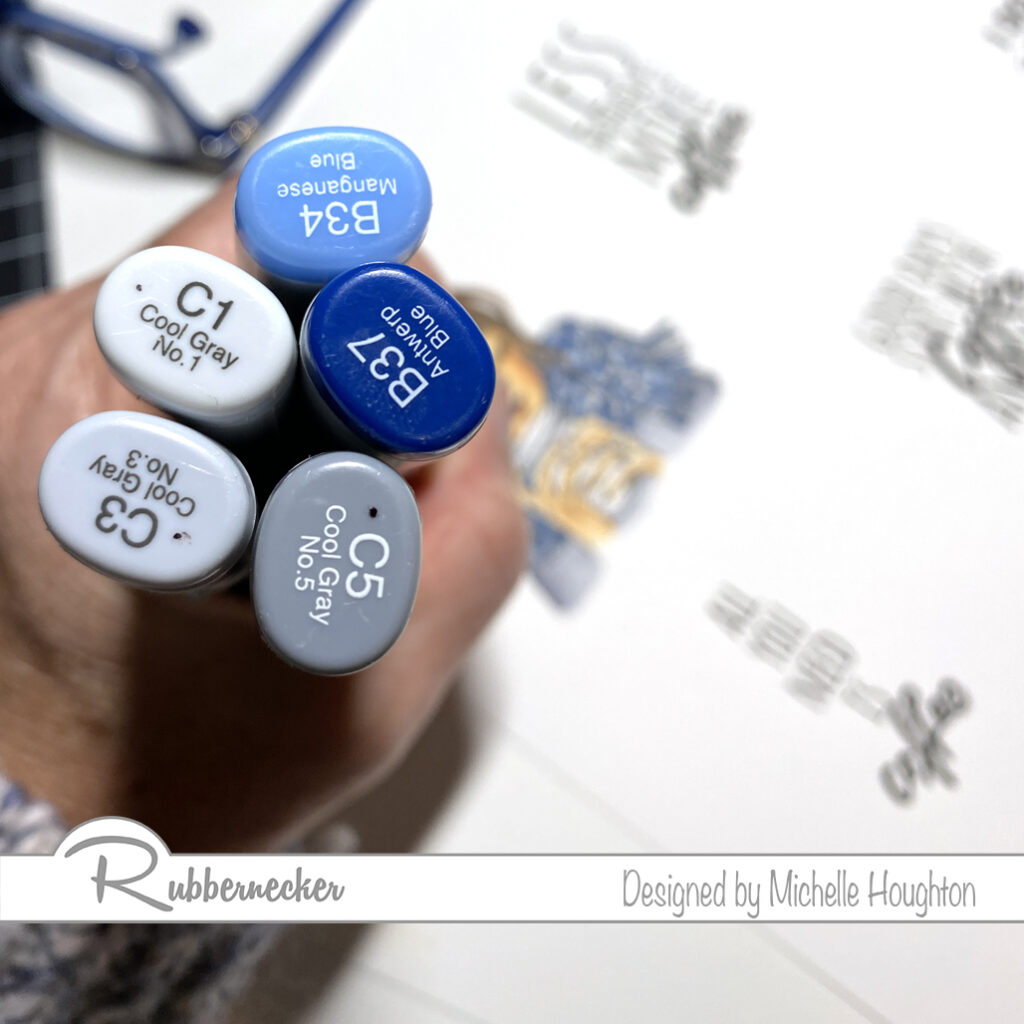
  • The background areas are filled in with a dark blue. B39
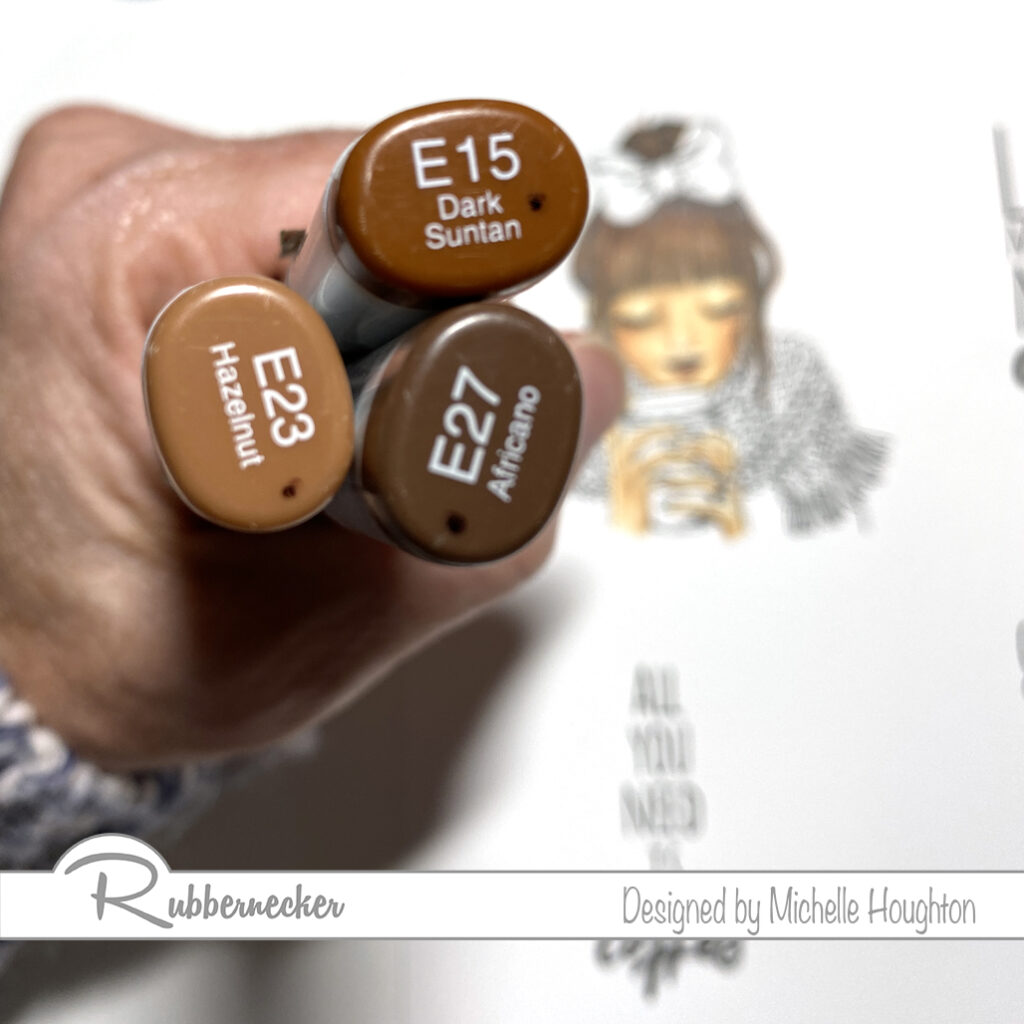
  • There are a few light brown areas including the cookie edges and twine, these areas got two light earth tones. E50, E53

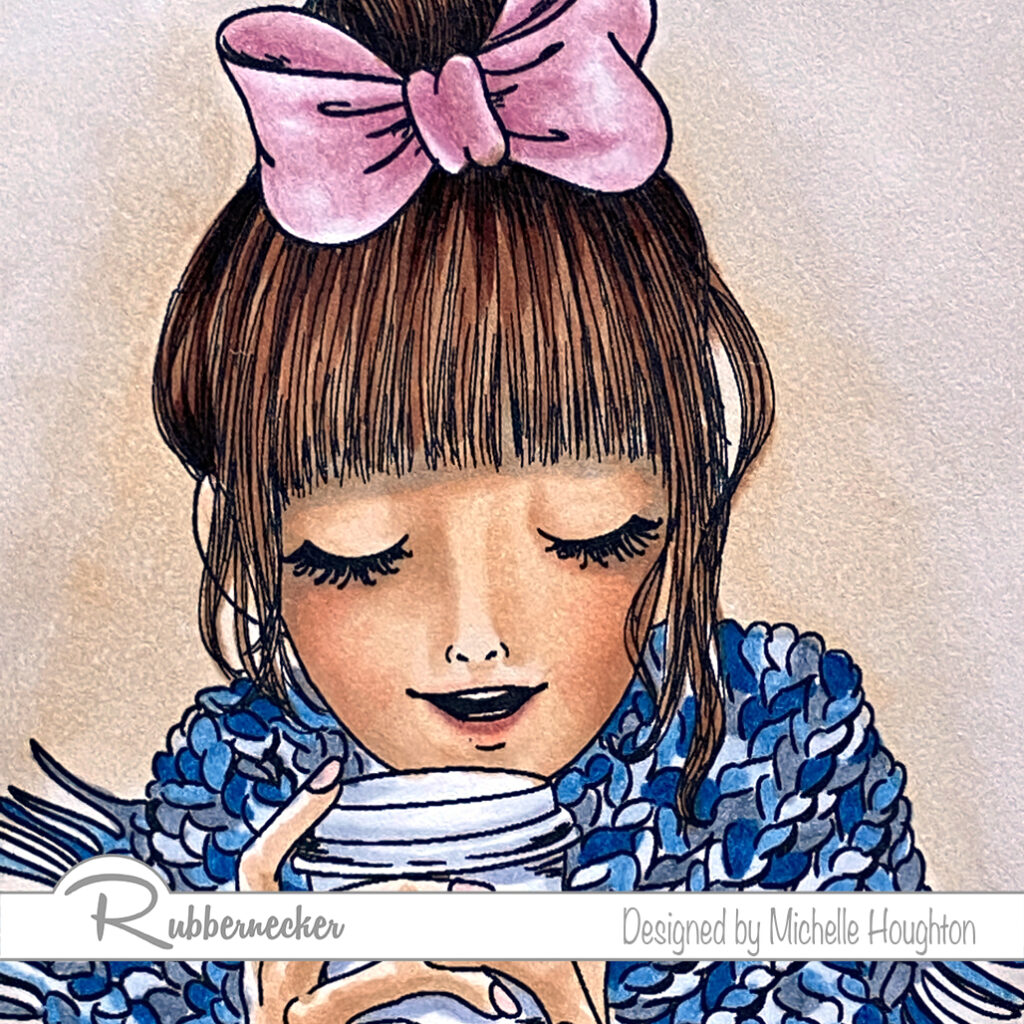
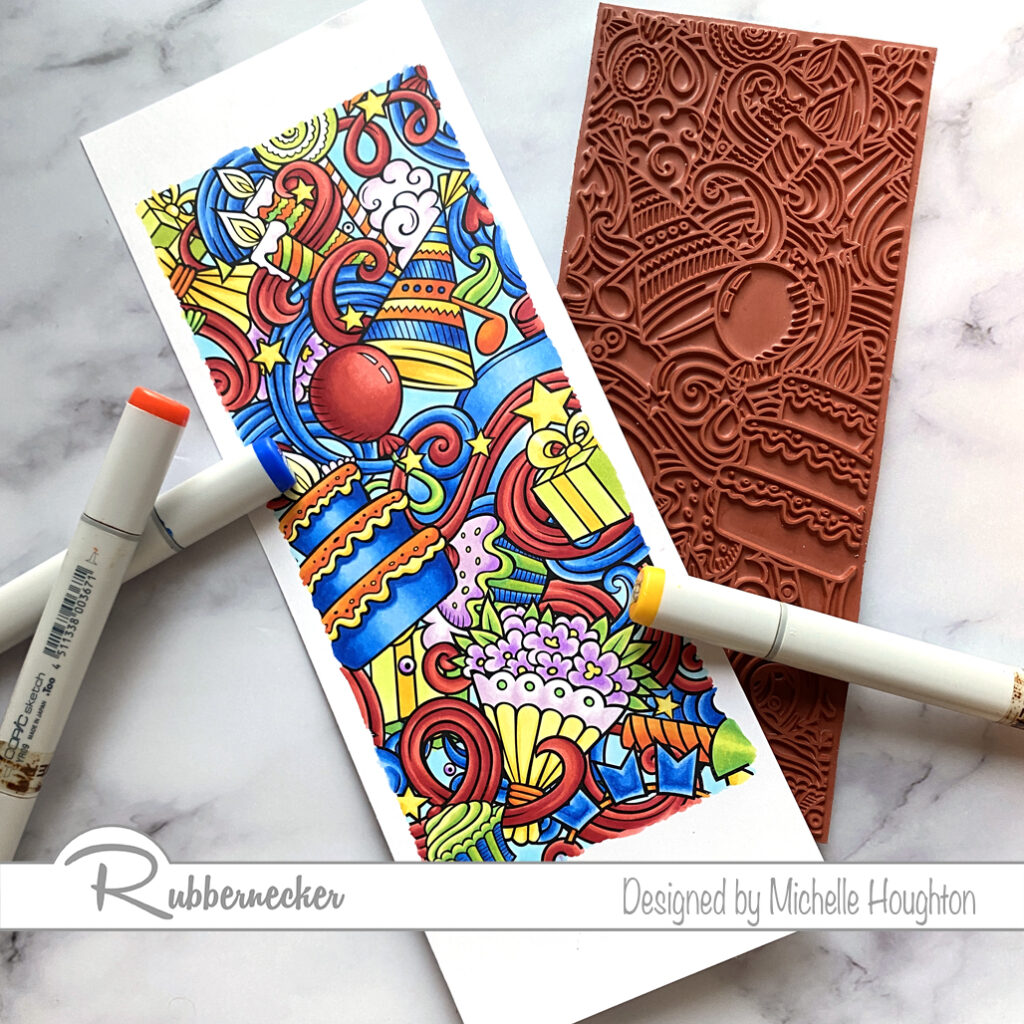
Then I colored up the Birthday Slimline. I used the same technique working through the entire images one color family at a time. Some I colored light to dark and others dark to light. I will list them in the order that I used them. I also switched gears to bright primary and secondary colors for this image.

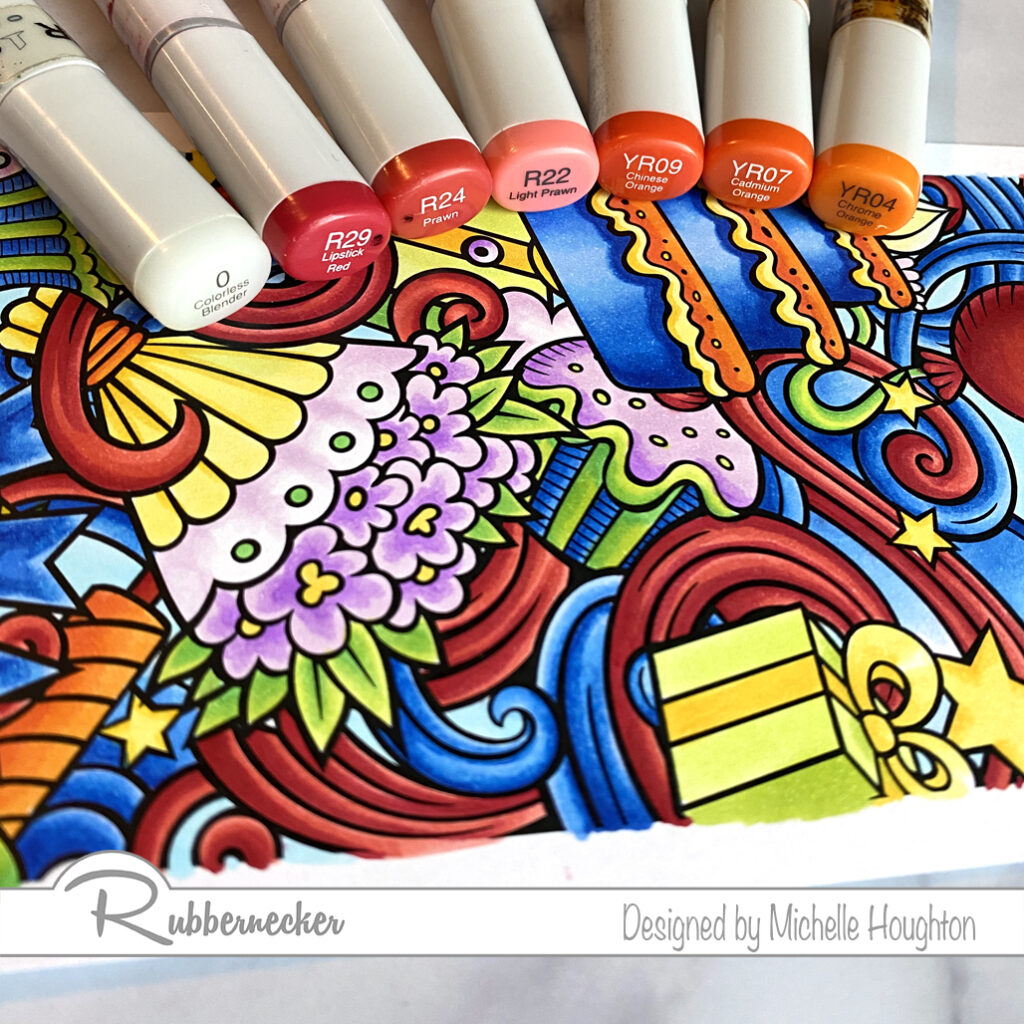
  • Starting with the reds I used a very common 3 color natural blending group for the red sections. R29, R24, R22
  • I used a set of 3 yellow reds for the orange sections that I colored. YR09, YR07, YR04
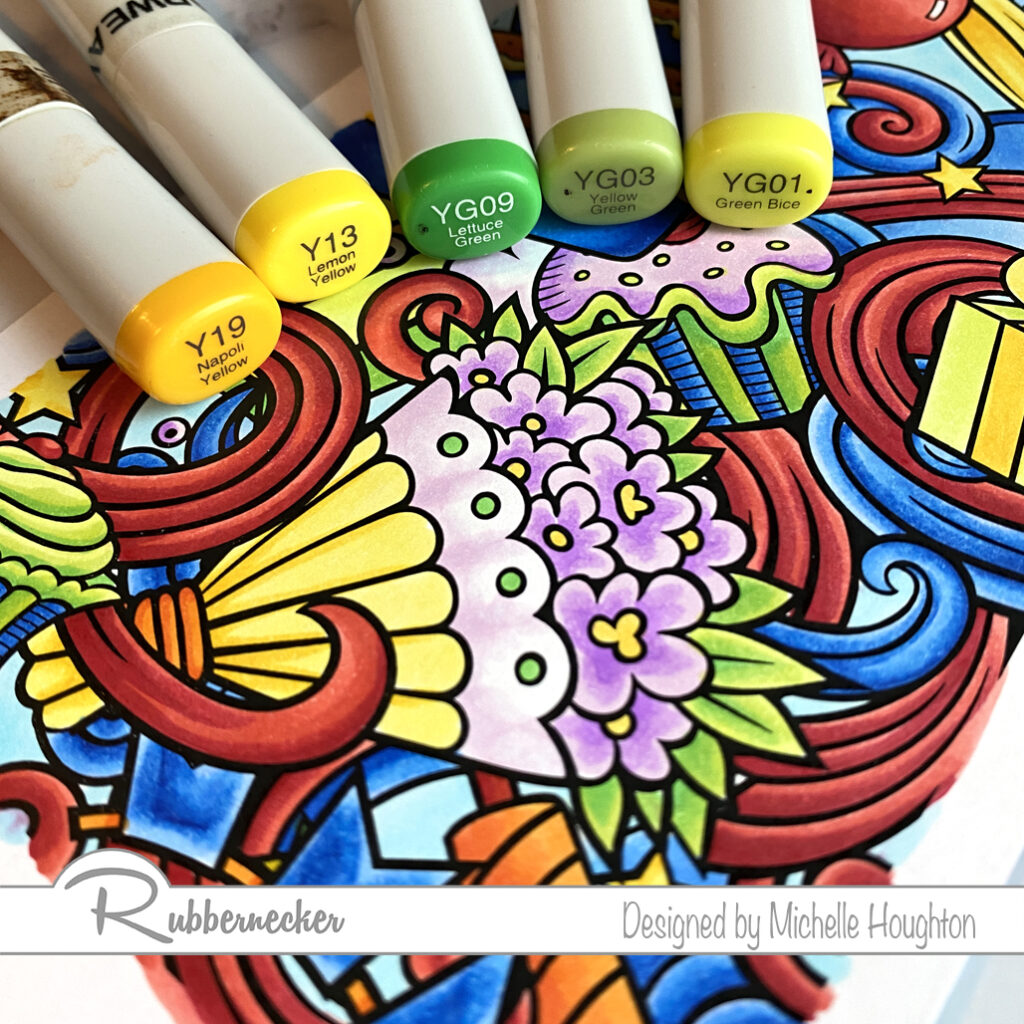
  • The bright yellow sections I kept simple with two yellow Copics. Y19, Y13
  • I wanted the greens to stay bright and cheery so I used 3 yellow greens. YG09, YG03, YG01
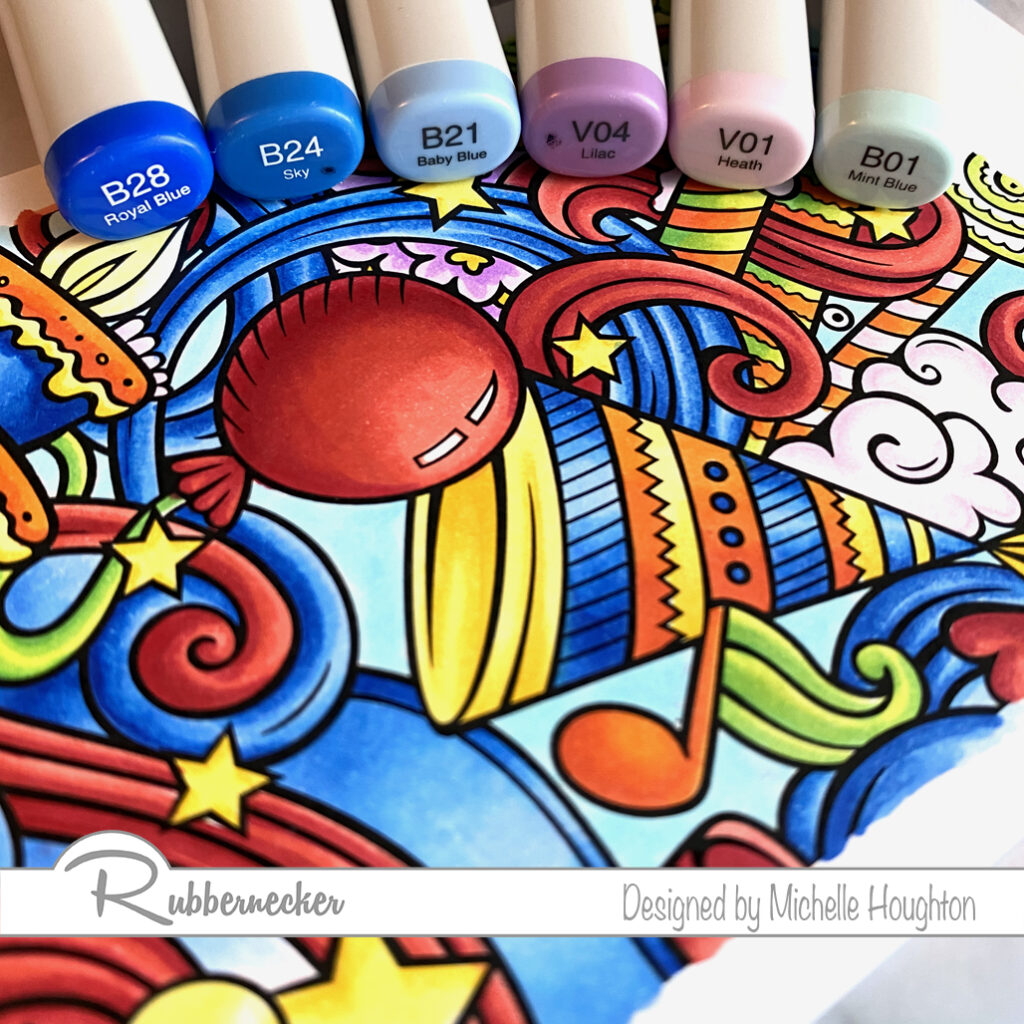
  • Bright blue sections have a group of 3 blues. B28, B24, B21
  • I kept the purple sections lighter with two lighter violets. I also used the lighter color and the Colorless Blender in the white areas. V04, V01, 0
  • I used a light blue and the Colorless Blender in all the background sections to keep this image bright and cheerful. B01, 0

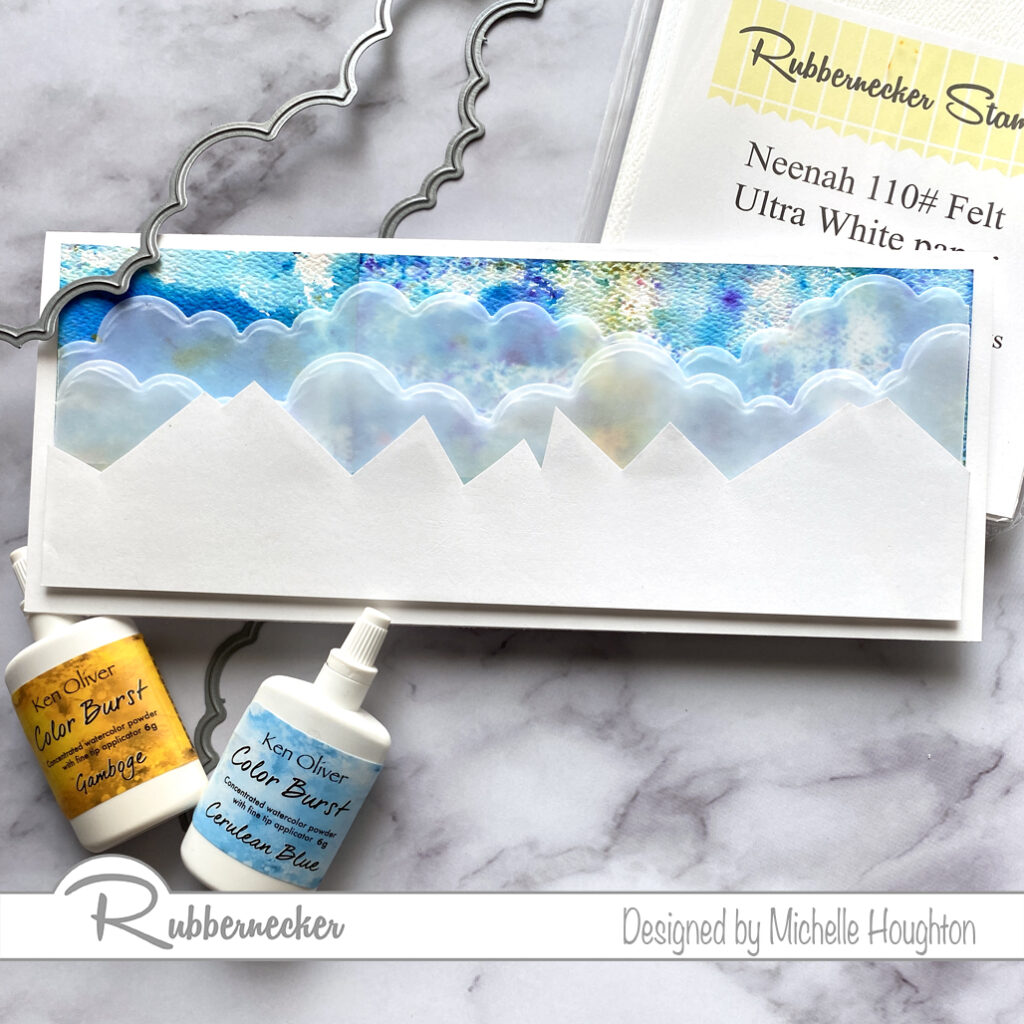
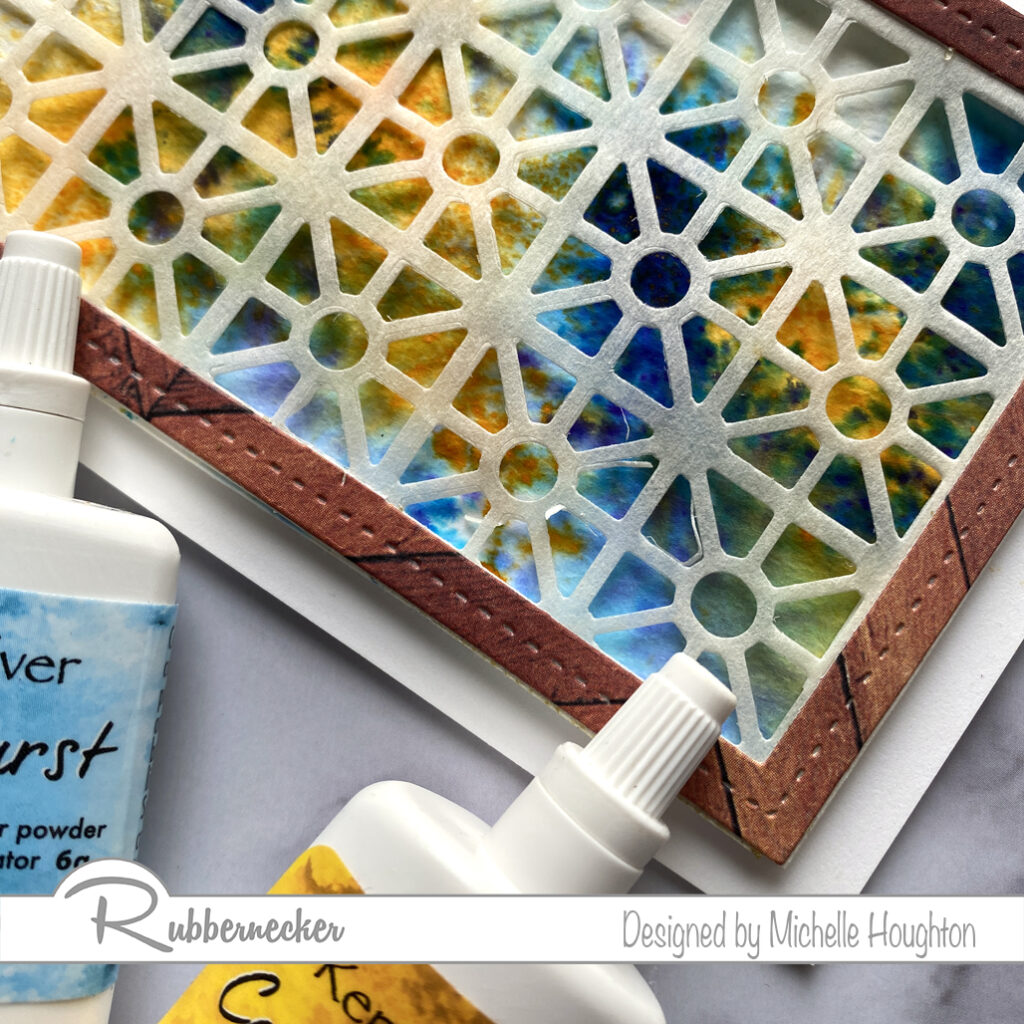
Thank you as always for stopping by and checking out what I am up to! Below you will find links to the Rubbernecker Stamp site where you can find all the RN products I used on the two card fronts above.

Have a Happy Colorful Day!


Posted on

Slimline cards with Color Burst and new Slimline dies

Good morning! A couple SIMPLE new cards today using Color Burst and a couple new dies from Rubbermoon! I am new to both Color Burst as well as slimline cards so fun fun! I started with a couple backgrounds withColor Burst and watercolor paper, then used some dies to create some simple layers. Check out the steps I used below:

  • Sprinkle Color Burst Cerulean Blue and Gamboge on Neenah Felt Ultra White paper.
  • Spritz the paper with water.
  • Let paper dry.
  • Split the paper in half lengthwise.
  • Attach the watercolor paper onto a slimline card base leaving a quarter inch border.
  • Use the cloud slimline die to cut 2 or 3 cloud layers out of vellum.
  • Trim a sheet of white cardstock to be a silhouette of mountain tops (there is a die for this as well, I just don’t have this one😉).
  • Attach the clouds directly to the Color Burst background .
  • Pop up the mountains on top with foam tape.
  • Same start for this card, use two sheets of the Neenah Felt Ultra White Paper and sprinkle Color Burst Cerulean Blue and Gamboge on both.
  • Mist the paper with water.
  • Let the papers dry.
  • Trim the two sheets so they fill a slimline card base leaving a quarter inch border.
  • Use the new OPC Geo Squares die on a rice paper then used the OPC Wavy die on a patterned paper.
  • Trim the waves out of the Wavy die cut so only the frame is left.
  • Attach the patterned paper frame to the edge of the rice paper.
  • Use foam tape to pop up the rice paper and frame above the Color Burst background.

Hope you enjoyed seeing a little of my creative process! Sometimes it is more about making messes and playing with fun colorful materials. This was one of those creations for certain! Thanks for stopping by, all of the Rubbernecker products I used can be found with the links below!

Have a Happy Colorful Day!


Posted on

Happy Halloween from Rubbernecker

We are celebrating Halloween for 13 days over on the Rubbernecker blog and I am up for day #1! I decided to play with Fall/Halloween colors. I have not had the opportunity to play with Color Burst before and decided this would be a super fun day to do it. I created three cards with Color Burst backgrounds, beautiful silhouette stamps from as well as dies and Neenah Felt Ultra White Paper all from Rubbernecker. Let’s take a look.

I tried three different techniques with the ColorBurst so let’s look at each card.

  • Wet a sheet of Neenah Felt Ultra White paper with water. You can do this with a mister or paint brush.
  • Shake small amounts of Color Burst onto the wet surface.
  • Set the page aside to dry.
  • Once dry, use a background stamp and silhouette stamp in black to create a dramatic image.
  • Use nesting rectangle dies to create a black frame out of cardstock.
  • Layer the card front, frame and a few black sequins or dots on a card front to finish.
  • Shake Color Burst directly onto a sheet of Neenah Felt Ultra White paper.
  • Use a mister to spray water on top of the dry Color Burst.
  • Set the sheet aside to dry.
  • Once the page is dry use a silhouette stamp and black ink for a dramatic effect.
  • Use rectangle nesting dies to trim down the Color Burst page and create a black cardstock frame.
  • Layer a black card base, Color Burst background, black frame and black sequins or dots to finish the card.
  • Sprinkle dry Color Burst onto a sheet of Neenah Felt Ultra White paper.
  • Use a wet paintbrush to lightly run over the Color Burst creating a watercolor background.
  • Set the sheet aside to dry.
  • Once the paper is dry use a stamp with a lower quote or a detailed background through the watercolor.
  • Use a mountain die and cut a thin mountain outline by running it through your die cut machine twice.
  • Use nested rectangle dies to trim the watercolor background and cut a black frame out of cardstock.
  • Layer a black card base, the watercolor background, the slim mountain silhouette and a black frame.

Thank you so much for stopping by today and make sure to keep watching Rubbernecker for the next 12 days to see heaps of Halloween inspiration!

Have a Happy Colorful Day!

Posted on

Coffee Lovers Hop

Hey Crafty friends. I am hopping along with Rubbernecker Stamps for the Coffee Lovers Blog Hop today. I am a little late getting my post up so I will miss a few that hopped through early, but will catch a few of you later in the day and into the week 😉. I am sharing a new image from Rubbernecker stamps!

I have colored her up with Copics and below is a list of what I used and where.

Skin and Hair
Sweater and Scarf
Bow

Then I created a few layers using patterned paper, cardstock and dies from Rubbernecker.

Putting it all together was just a matter of adhering all the layers.

  • 5.5 x 5.5 card base
  • Dark blue patterned paper card front
  • Light blue patterned paper circle and ring from stacked die set
  • Earth tone patterned paper rectangle nested die
  • Light blue square frame (or square) from stacked die set
  • Tie soft twine in one or two colors near the bottom on the light blue square
  • Lastly pop up the image with foam tape

Thank you so much for stopping by! Make sure to check out some of the other designers from Rubbernecker as well as the Design Teams from the many sponsors of the Coffee Lovers Hop!

Have a Happy Colorful Day!


Posted on

Copic Coloring Fall Slimline Stamp

Welcome back I am coloring up a second of the Rubbernecker Slimline stamps. This one features all things fall. Next week there will be a video of the coloring process again at a faster speed so we can get through the full thing in a reasonable amount of time. Here are the colors used on the different sections of the image.

  • On the areas that are orange work from dark to light with a range of a red, two yellow reds and a yellow. (R24, YR18, YR14, Y35)
  • For the golden yellow areas work from dark to light with a series of three yellows. (Y38, Y35, Y32)
  • Areas that are brown use a series of four earth tones. (E31, E33, E35, E25)
  • For areas that are light gray like the clouds and umbrella use a blue violet and the Colorless Blender. (BV20, Colorless Blender)
  • After the sections are all colored use a light yellow red to fill all the background areas. (YR31)
  • Green areas are colored with a desaturated set of yellow greens. Work from dark to light on these areas. (YG97, YG95, YG91)
  • All the red areas get colored dark to light with a series of three reds and a dark desaturated violet. (V99, R59, R37, R85)
  • Violet areas are colored dark to light with a series of three violets. (V28, V25, V20)
  • Use a series of blue working from dark to light in the blue areas. (B97, B95, B91)

Love how this image turned out! You’ll notice that most of the colors are desaturated. that means that they are colors that have some gray added into them. You can know which Copic Markers are desaturated by the first number on the end. The number right after the letter represents the saturation level of the marker. The higher the number is the more desaturated, or in other words the more gray that has been added.

Have a Happy Colorful Day!