Welcome back I am coloring up a second of the Rubbernecker Slimline stamps. This one features all things fall. Next week there will be a video of the coloring process again at a faster speed so we can get through the full thing in a reasonable amount of time. Here are the colors used on the different sections of the image.
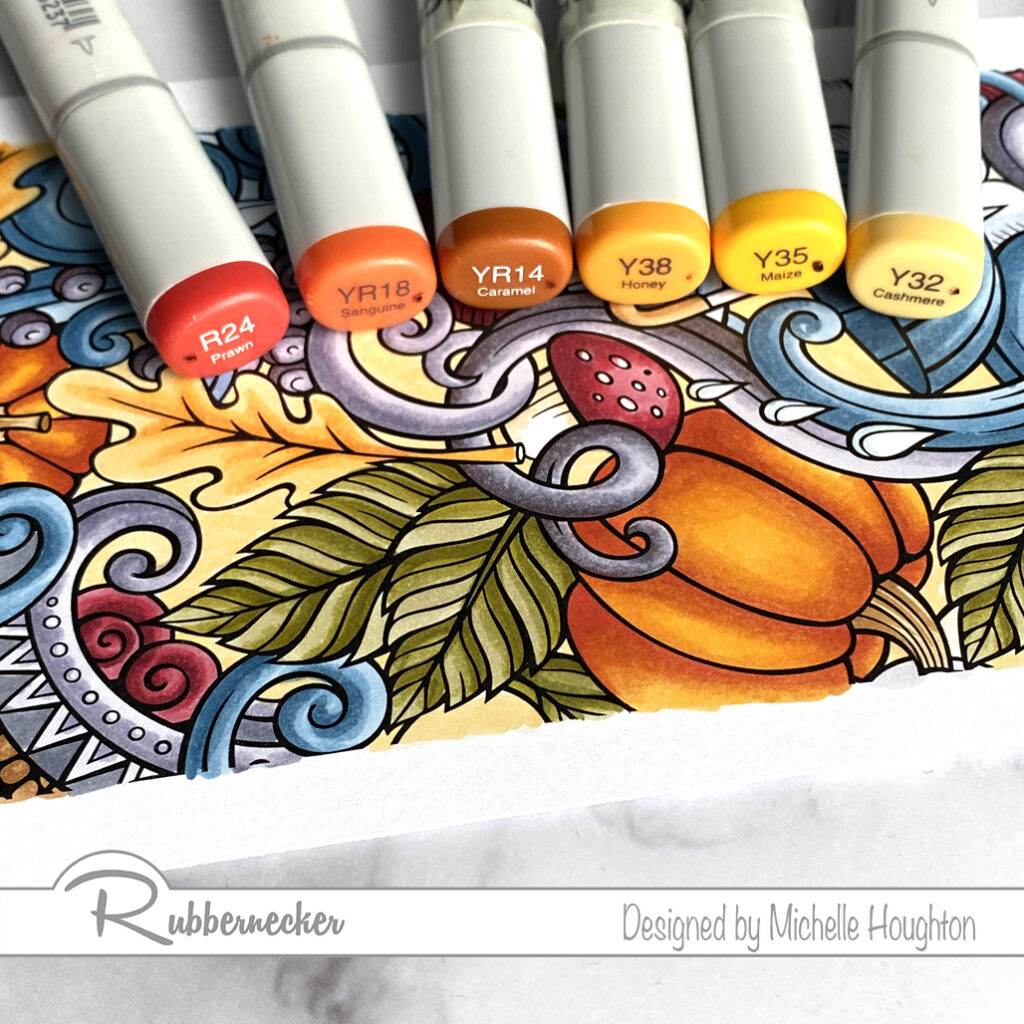
- On the areas that are orange work from dark to light with a range of a red, two yellow reds and a yellow. (R24, YR18, YR14, Y35)
- For the golden yellow areas work from dark to light with a series of three yellows. (Y38, Y35, Y32)
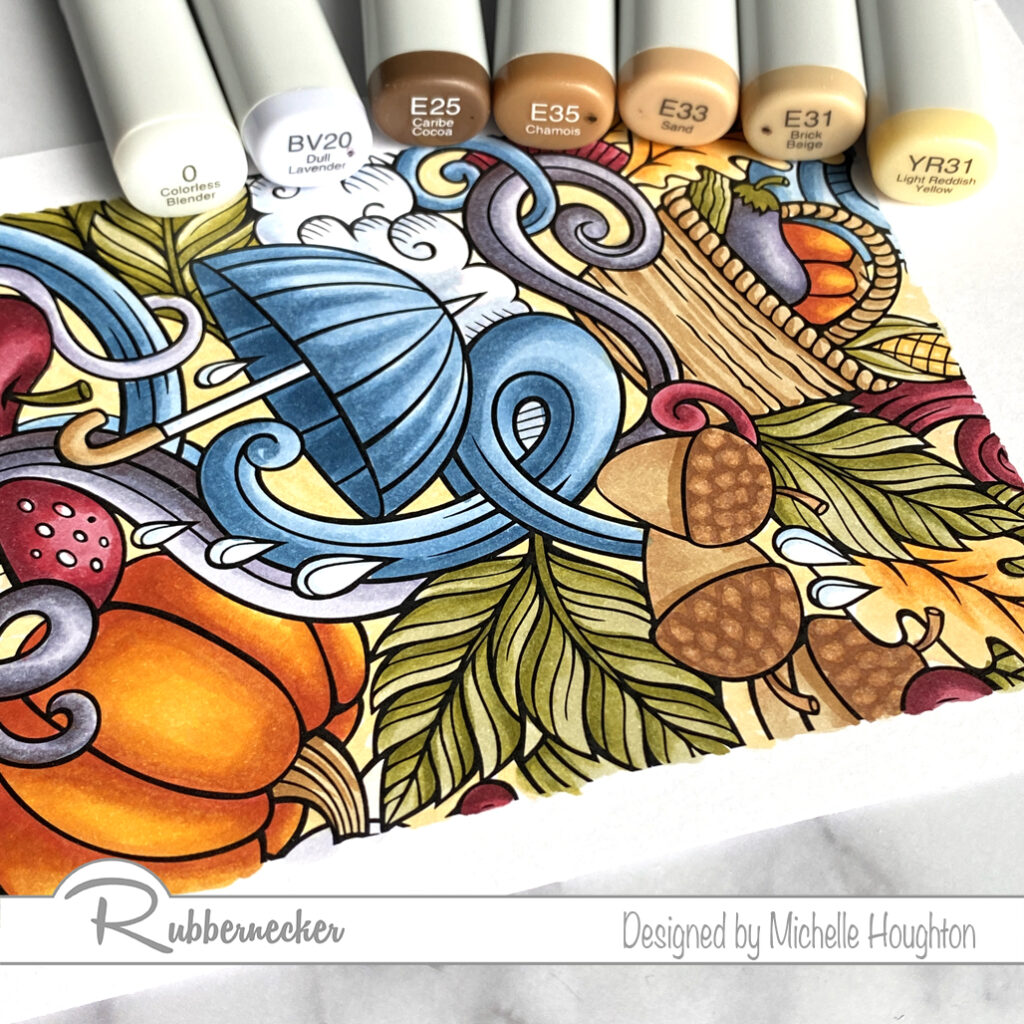
- Areas that are brown use a series of four earth tones. (E31, E33, E35, E25)
- For areas that are light gray like the clouds and umbrella use a blue violet and the Colorless Blender. (BV20, Colorless Blender)
- After the sections are all colored use a light yellow red to fill all the background areas. (YR31)
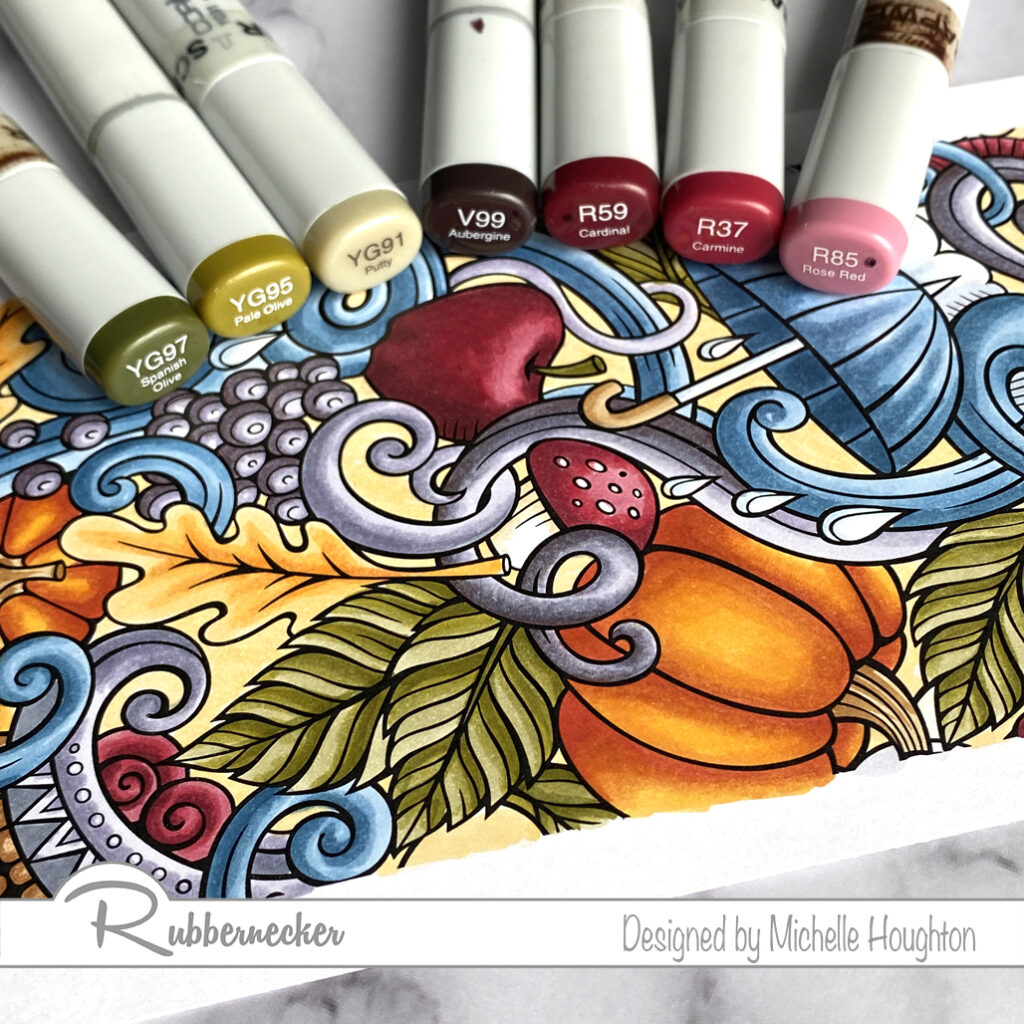
- Green areas are colored with a desaturated set of yellow greens. Work from dark to light on these areas. (YG97, YG95, YG91)
- All the red areas get colored dark to light with a series of three reds and a dark desaturated violet. (V99, R59, R37, R85)
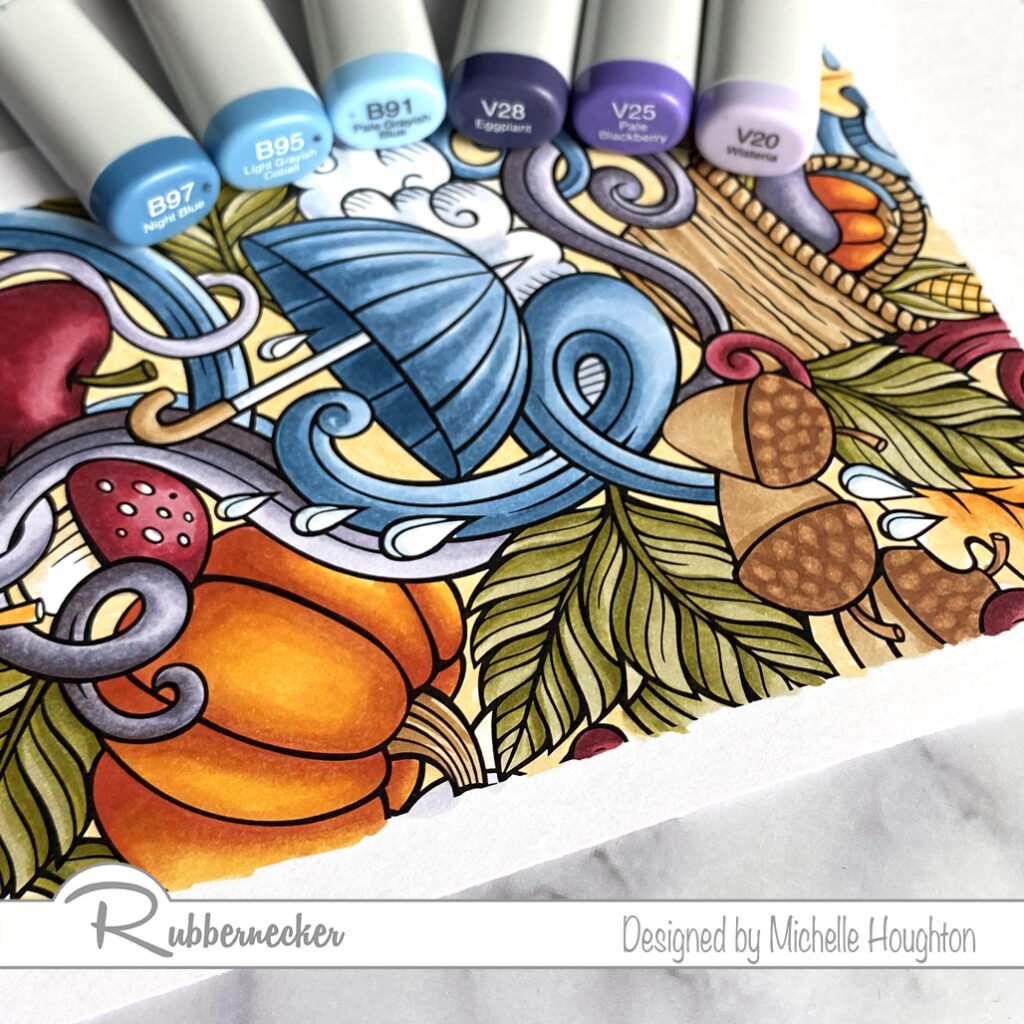
- Violet areas are colored dark to light with a series of three violets. (V28, V25, V20)
- Use a series of blue working from dark to light in the blue areas. (B97, B95, B91)
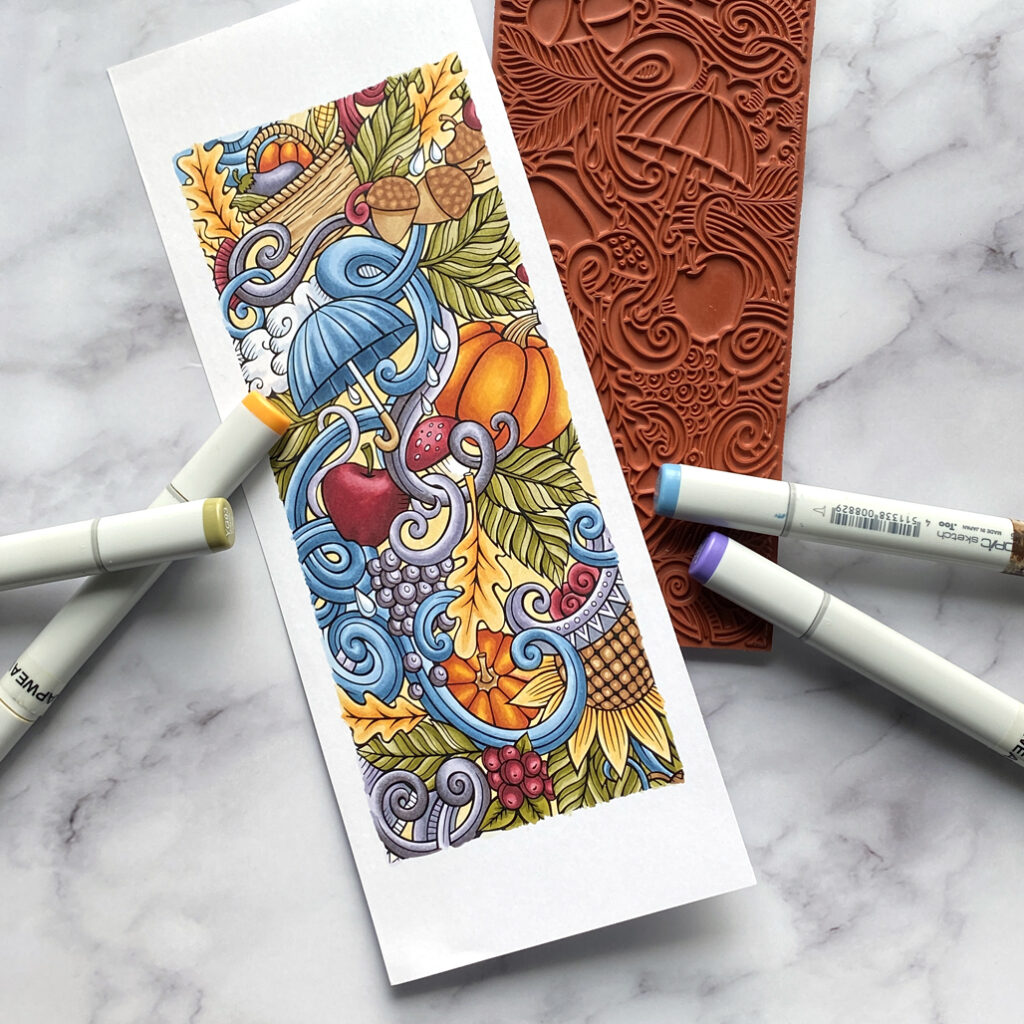
Love how this image turned out! You’ll notice that most of the colors are desaturated. that means that they are colors that have some gray added into them. You can know which Copic Markers are desaturated by the first number on the end. The number right after the letter represents the saturation level of the marker. The higher the number is the more desaturated, or in other words the more gray that has been added.
Have a Happy Colorful Day!