Goodness! When it rains it pours! I have two more layouts to share from Get It Scrapped this week AND my next installment of guest designer work is up at JBS Mercantile. Tomorrow I have an article posting at GIS that I have written so I better get caught up!
Here is my art that I am sharing at the JBS Mercantile:
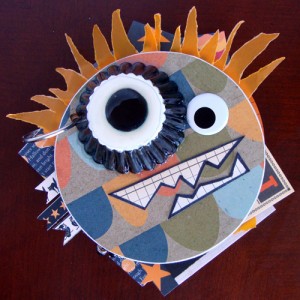
This is a crazy little mini album that I created with the mini album kit and some additions from the Papercrafting kit. (I cheated and did not follow the instructions but I love my little monster!) If you would like to see the inside, it is filled with A LOT of doodling and Copic love, head over to the inspiration page at JBS and check out the pages.
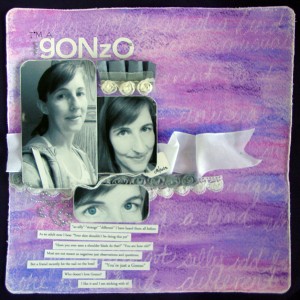
 I also added 4 more layouts to the inspiration page! Here is one of the pages, I will let you click HERE and go peek at the other pages at JBS Mercantile.
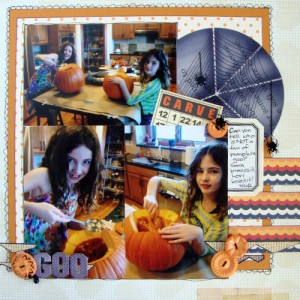
JBS…check! On to Get It Scrapped! On Monday or Tuesday Debbie posted a fun article with TONS of inspiration for adding chalkboard elements onto your scrapbook layouts. Here is my contribution:
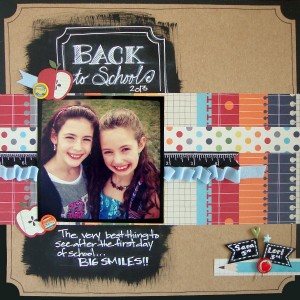 Back to School by Michelle Houghton | Supplies: cardstock; Kraft and Core’dinations, patterned paper and chalkboard tape; Fancy Pants, chalkboard paint; Americana, chalk; General’s, ink; Ranger and Sharpie, brads; Stemma, trims and stick pins; unknown
I have to say this is one of my very favorite layouts as of late. I LOVE this photo of the girls and the layout turned out just perfect, at least I love it 🙂 The chalkboard element on my page is done by painting on chalkboard paint then transferring my hand lettering with tracing paper and chalk and going over my letters with a Sharpie paint pen. I used the exact same steps on another layout that I gave step by step instructions for HERE. Check out more amazing chalkboard inspiration HERE.
Then on Wednesday Debbie posted a fun article about adding hand crafted elements onto your layouts. Here is my contribution:
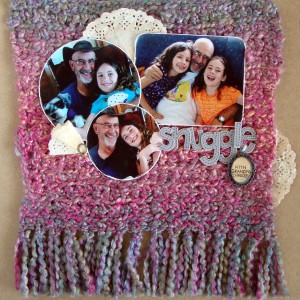
Snuggle by Michelle Houghton | Supplies: cardstock; Kraft, ink; Copic, doilies; Bo Bunny, chipboard letters and twine; American Crafts, stick pin; Tim Holtz, metal charm, yarn; unknown
This was such a fun page to complete and really once I added the section of crochet work there was not a lot more to do. I added the title, added doilies that I colored lightly with Copic, the bright white was a little too stark for the warm layout. I searched a little for the charm to add the touch of journaling, I knew what I wanted but had to do a little shopping to find it, OH DARN! This little metal charm is just right, I added cream cardstock, my note and then filled it in with Glossy Accents to hopefully make it look a little like an antique broach.Make sure to go look at the other wonderful had crafted elements HERE
OK deep breath, I think I am caught up for about 8 hours he he! I am having so much fun and getting a lot of scrapping done. I will have another post tomorrow so if you are checking in keep checking back, I even have a few fun posts next week with layouts from my lovely scrapping weekend with Brenda!
Happy Thursday all!

