Posted on 3 Comments

RubberMoon and Copic Background

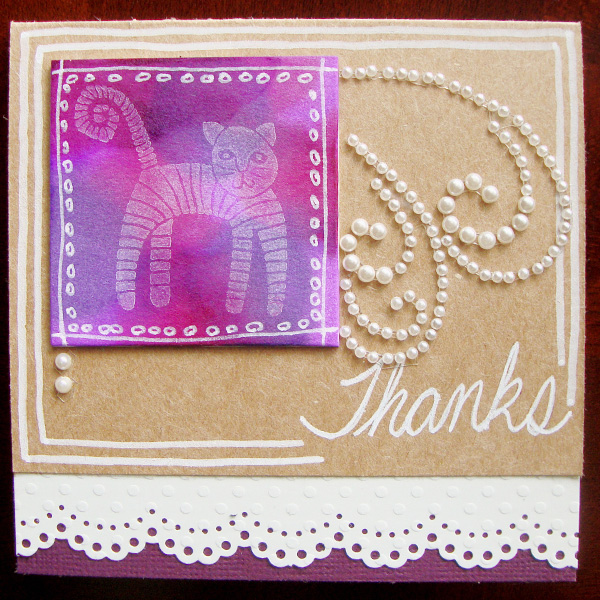
Hello RubberMoon fans!  Welcome to my blog!  As promised I have a second tutorial using Gretchen Ehrsam’s  Striped Cat  I created another card but this time wanted a completely different look to show you the versatility of one stamp and a fun different technique with Copic Various Inks (the refills).  The supplies I used are:

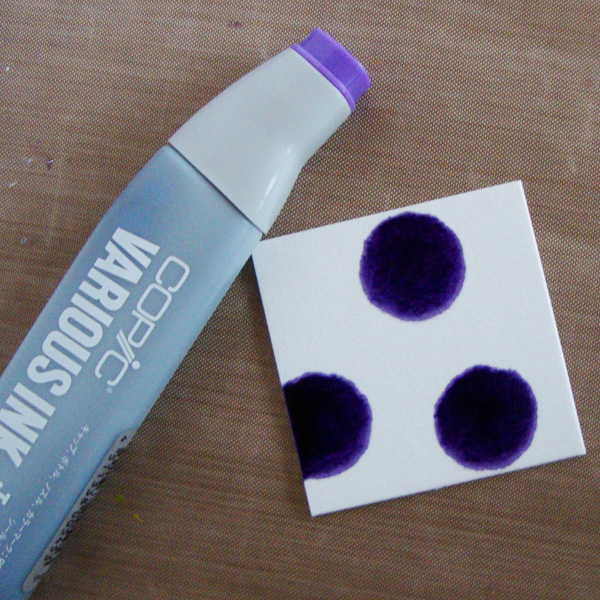
Striped Cat stamp by Gretchen Ehrsam, a white Sharpie paint pen, Copic Various ink in V04, V17 and RV66, a 2″ Art Square, and StazOn opaque white ink.

RMb1

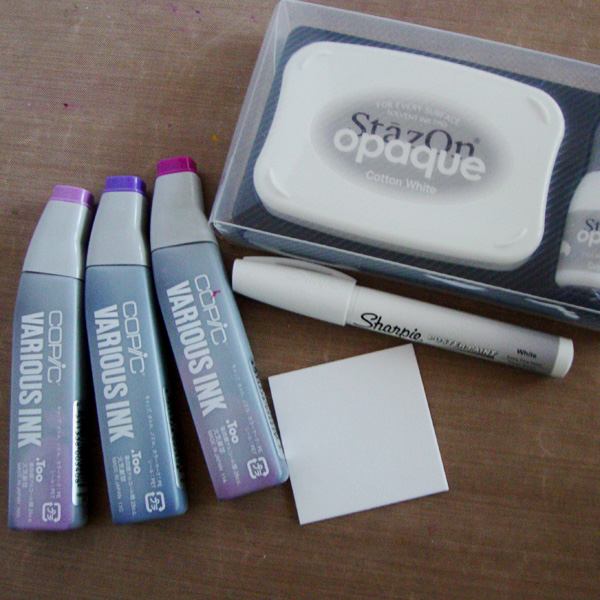
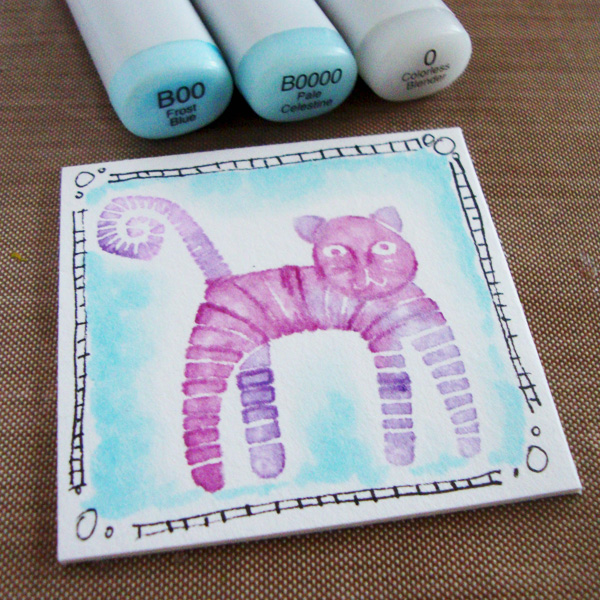
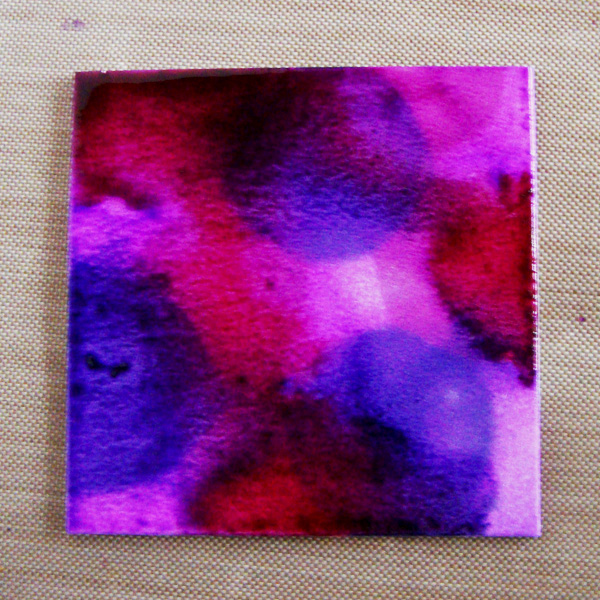
Step #1 – Drip Copic Ink directly onto the art square.  The colors will bleed quite a bit so you will only need 3 or 4 drops of 3 colors.

RMb2

RMb3

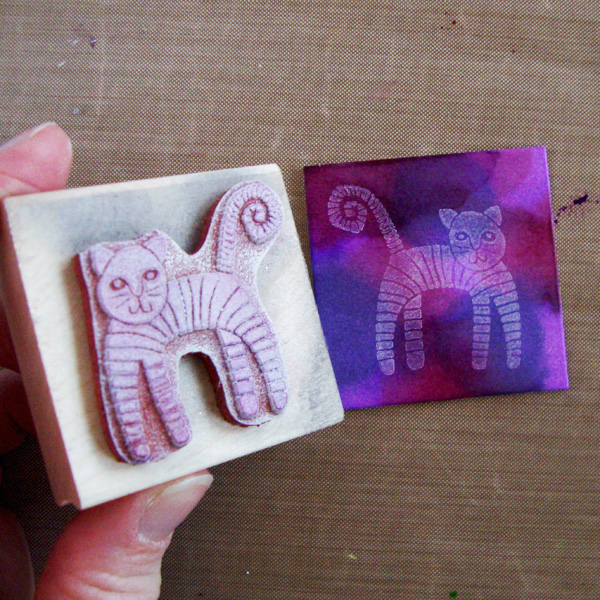
Step #2 – After the ink is completely dry, use StazOn opaque white ink to stamp your image onto your square.

RMb4

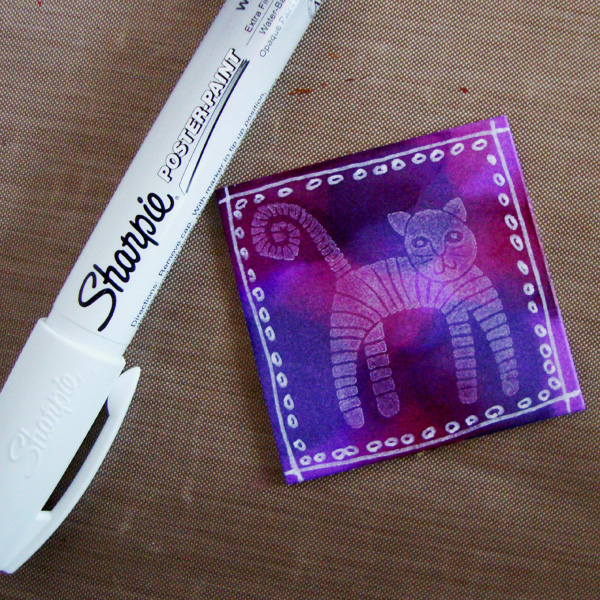
Step #3 – Use an opaque white pen to add doodles onto your square, my FAVORITE white marker is a Sharpie poster paint pen.

RMb5

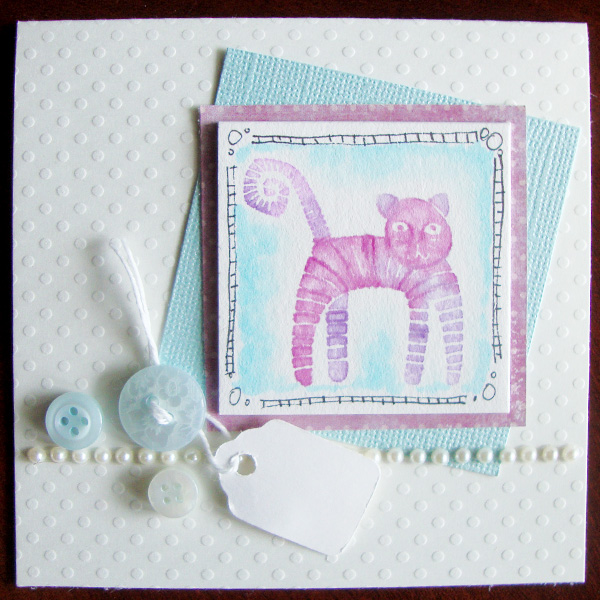
Step #4 – Add your square onto your card base, I used a wine colored card stock and white Swiss Dot Cardstock from Bazzill and a small piece of Kraft card stock, I added pearls and more doodling with my Sharpie.

RMb6

Thank you so much for stopping by today to take a peek at my RubberMoon creation.  Make sure to stop by the RubberMoon blog as well if you have not had a chance to this week!  Nancy posted an amazing inky tutorial there Monday!

Happy Wednesday!


Posted on

Pintrest Inspiration

Monday at Get It Scrapped I shared how I was inspired by a specific Pintrest board, a collection of woodland animal pins.  Woodland animals are quite the hot item right now in the crafting world.  Check out the article HERE to see what I pulled from the Pintrest board and the layout I created!  Here is a peek:

blog woodland motif


Gotta love a fox these days :-).

Happy Tuesday!

Posted on

Papercrafter Crayons

Have you seen Faber Castell’s Papercrafter Crayons?  They are a newer product and have not made a huge splash, but I have to tell you these things do some cool effects.  This month at Get It Scrapped I explored how to use them with heat and different melting techniques.  You can check out all the how to’s HERE

Here is a close up of one of the effects I played with:

blog crafter crayon

It just gives you one more option for adding hand colored effects onto your layouts, cards and more.

Happy Monday!

Posted on

Stamping with Copic

My first tutorial posted over at RubberMoon today!  It is a quick fun technique using Copics and stamps, but not the way you normally would 🙂

Check it out HERE

RM6Hope you have time to check it out!

Happy Friday!

Posted on

Brush Strokes

Check out the new article at Get It Scrapped all about using fonts with broad brush strokes.  It is a hot new trend and fun and easy to add to your scrapbooking.  Here is the layout I created:

brush writing


Snow Pile by Michelle Houghton | Supplies: papers and stickers; SEI, ink pad; Tskukineko, ink pens; Sharpie, gesso; Golden

I had fun creating all the doodled swirls by drawing, scanning and then cutting them with my new Scan and Cut machine.  For the title I sketched the lettering with pencil then using a smaller brush and gesso to create the broad lettering.  When it was dry I added a black outline with a Sharpie. I honestly was not sure originally where I was going to add the title so I drew my title on tracing paper then moved it around on the page.  I even changed the size and color before I was done so the tracing paper came in handy!

Here is a close up of the title:

blog brush writing

It is amazing how many ways the Creative Team came up with to add brush stroke lettering to their pages, check it out HERE!

Happy Wednesday all!