Posted on

Get It Scrapped Creative Team 2014

2014-15_CTAnnouncement


Thanks for helping us to celebrate our announcement of the 2014-2015 Get It Scrapped Creative Team.  Here’s a list of the things we have going on in conjunction with our Creative Team Announcement:


GUESS WHO CT TRIVIA (May 30-Jun 2)

Join us in the forums and help us celebrate the announcement of our awesome new team! We’ll have a few rounds of CT trivia going on throughout the weekend to help you get to know our team a little better. And thanks to current team member Amanda Robinson of Amanda Robinson Studio and team alumni, Jana Morton of Pixels2Passion we’ve got some fabulous prizes for a few lucky winners.


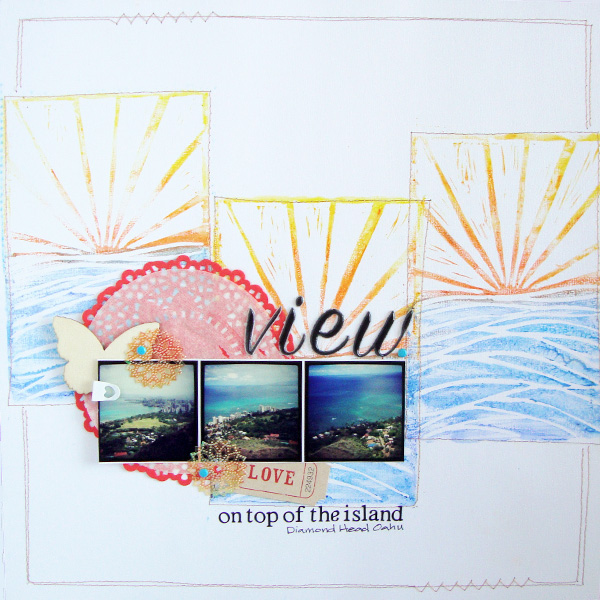
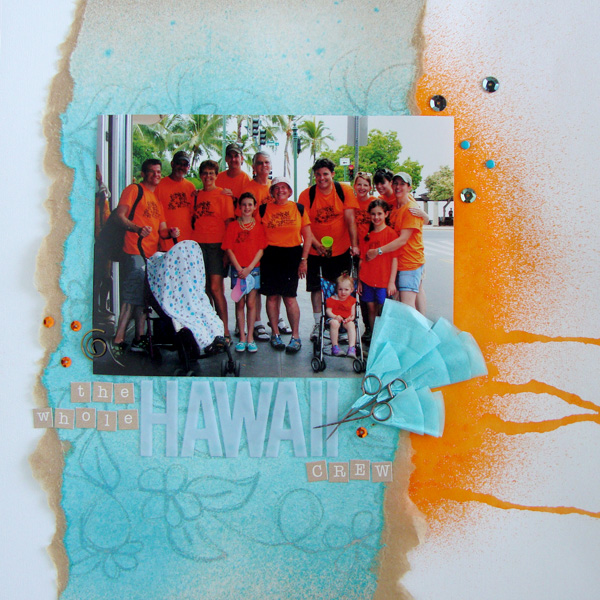
INSTAGRAM PHOTO CHALLENGE (May 30-Jun 30)

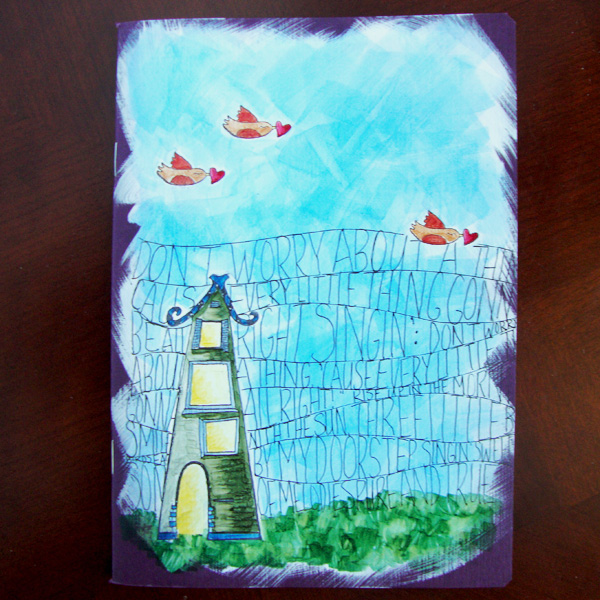
That’s right Get It Scrapped is now on Instagram and we’re kicking things off with our first ever photo challenge! We’re providing you with 25 prompts based on some of our favorite Get It Scrapped articles from the past year. Use the prompts to inspire some fun photos or even your next scrapbook page, then share it with us on Instagram using the prompt’s hashtag as well as #getitscrapped.

All photos uploaded before July 1, 2014  will be entered to win a lovely handmade camera strap cover from team alumni Leah Farquharson of Bluebird Chic, LLC!

Click here to print the list of photo prompts + contest rules and get snappin’!


GIS MEMBERSHIP PROMO (May 30-Jun2)

All who have signed up for a free membership at Get It Scrapped by June 2nd, will also get Scrapbook Your Story free. Register today and look for “Scrapbook Your Story”  added to your Get It Scrapped membership on Wednesday, June 3rd at 9am ET. It will be in the last column of the Your Materials page of the Get It Scrapped membership.

Register here: http://masterfulscrapbookdesign.com/free-membership-at-get-it-scrapped/

Happy Instagraming and Trivia Hunting!

Posted on 2 Comments

Rubbermoon and Copic Journal Cover

Welcome to my blog for another quick peek at some beautiful Rubbermoon stamps and coloring with Copic markers.  I am going to give you all the steps and the colors I used but remember you can always substitute and if you have questions about what might work you can post a question in the comments and I will let you know!

I started with a simple paper journal that I painted with Gesso.  This is going to change my coloring surface and make the Copics look very different.  Then I used Momento ink to stamp both “Lovely Loft House” by Dave Brethauer and “Spread the Love” by Kae Pea.  When stamping on Gesso you will want to heat set your ink OR wait several hours before working.  You will see on my art where I did not wait and ended up with some smearing.
journal01

Here are all the Copics I used B95, B99, R83, R89, E15, Y11, Y17, Y35, BG93, BG99, G24, G28, E07 and a 0.3 Multiliner.

journal001

Then I added one more marker, a wide Copic B32.  I decided to keep it very loose and color the sky with this broad Copic.

journal03

Next are the little birds, I started with Both the R83 and R89 I colored in the small hearts.

journal04

Then I went back in with the R83 to create a little smoother blend.  On the Gesso it won’t be totally smooth but more painterly.  ** Special note when using Copic markers on top of other mediums or surfaces you might pick up other inks, paints or mediums on your nibs.  It is easy to take of, just scrub them off on scratch paper as you work.  If they happen to dry you can always change them, but is easy to clean as you go and not ave the extra cost.

journal05


The rest of the little birds get colored with E15 on the bodies and E07 for the bellies and wings.  The tiny beaks get a touch of Y35.

journal06

The Loft House is next and I am starting with the bulk of the building and working with BG99 to start.

journal07


Coming in from the opposite side with BG93 and flicking the color into the darker shade.  It is easy to see how easily the Copics blend on top of the gesso on this step.  Even with colors that are extremes from light to dark.

journal08


Use Y11 and Y17 to add light and welcome to the windows and door.  I started with the dark first and flicked in the lighter color.

journal09


Small brick, roof and shutter details with B99 and B95, no blending here just coloring.

journal10


I wanted to add a chorus and verse from the song “Three Little Birds”  by Bob Marley.  For a fun easy lettering technique I added wavy lines with a Copic Multiliner.

journal11

Then I remembered I wanted to add ground under my house so it is not floating so I added scribbly grass with a G28.

journal12

I added some G24 in the same scribbly fashion into the grass as well.

journal13

To finish I added the words to the song.  I allowed the letters to stretch and shrink according to the lines.

journalfinished


My journal is ready for creating or for gifting.  Someone might need a smile and a “don’t worry” message today.  Thank you so much for stopping by today!  Make sure to check the recent art work at Rubbermoon as well.  There have been some amazing posts over the past week with paper dolls made from pieces of stamped images with doodling, intuitive painting, and shrinky dink jewelry that I guarantee my daughter’s and I will be trying this summer!

Happy Wednesday!


Posted on

Bracket and Criss Cross Foundations

At Get It Scrapped, Debbie Hodge has created an AMAZING class series called Scrapbook Coach that goes through different foundation styles for scrapbooking and how to use each of them in different layouts.  The classes include video and written materials and like everything else Debbie does are exceptionally well put together and contain loads of valuable information and inspiration.

The Creative Team at Get It Scrapped has explored one page layouts using many of the foundations covered in Scrapbook Coach but this month we tackled creating two page layouts using two of the foundations, criss cross and bracket.  I chose to work with a bracket foundation for my two page layout and came up with this:

2 Page Bracket

Omaha Zoo by Michelle Houghton | Supplies: card stock; Kraft and American Crafts, twine and chipboard banner; American Crafts, sticker letters; Heidi Swapp, labels; K and Company, markers; Sharpie Paint Pen and Faber Castell Big Pit Pens, colorant; Faber Castell Papercrafter Crayons

The fun part for me of course was creating the brackets out of my papercrafter crayons and big brush pens from Faber-Castell.  I used a small crafting iron to melt the crayon and get it onto my page first.  You can see how I did that HERE, then I added the detail by doodling and coloring with my big brush pens.  These pens stay wet for a little bit so you can do a little smearing and blending with them which I did in the leaves.

Make sure to check out the rest of the gorgeous work at Get It Scrapped HERE.

Happy Wednesday!

Posted on

Linocut Layouts

I had the pleasure of doing a craft I have not done in MANY years for a recent Get It Scrapped article.  Just a couple days ago an article all about using Lino cut looks was published at Get It Scrapped and I decided of course to cut my own stamp!  I had done several true linoleum cut stamps through my years as an art student and really enjoyed the process and the end results so I jumped right on it.

I created a stamp using a newer product by Speedball that has a softer material to cut into instead of the linoleum that I used to have to heat and be extremely careful not to cut myself while carving.  This newer material cut easily and smoothly and resulted in the same wonderful linoleum cut look.  Here is the layout I created with my new link-cut stamp:

linocut


View by Michelle Houghton | Supplies: cardstock and “view” stickers; American Crafts, doily and tissue; SEI, wood butterfly; Studio Calico, large sequins; Jenni Bowlin, small letters; Pioneer, brads, heart clip and ticket; unknown, linocut; kit by Speedball, colorant; Faber Castell Gelatos

In June I am going to do an entire “how to” that will post at Get It Scrapped so you can find out exactly how I made my ocean sunset.  In the meantime check out the amazing inspiration for link-cut looks at Get It ScrappedHERE!

Happy Friday and Weekend!


Posted on 1 Comment

Resist techniques at Get It Scrapped

My latest media tutorial is up at Get It Scrapped.  This month I was continuing to work with Faber-Castell’s Papercrafter Crayons this time experimenting with resist techniques.  Take a peek and see if there is a technique there that you would like to add to your bag of tricks.

Read all the details HERE

With all these tutorials and the end of the school year looming I am not doing very well with the page a day challenge going on at Get It Scrapped but I am hoping to get a little more in this upcoming week!

Happy Wednesday!