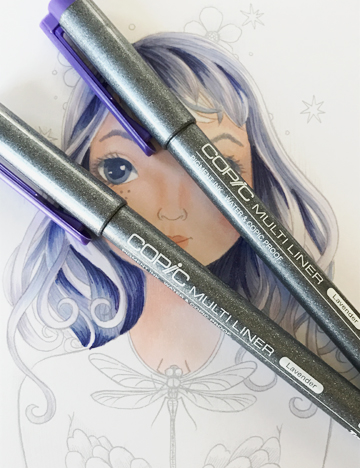
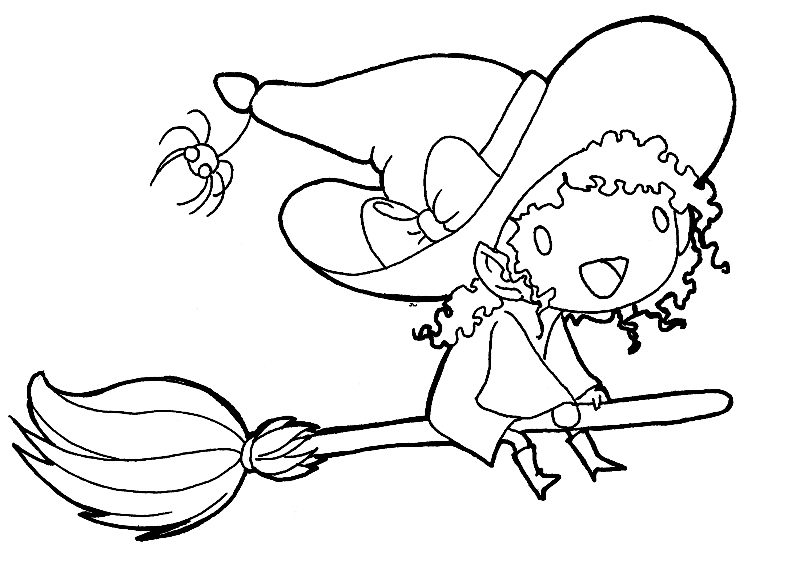
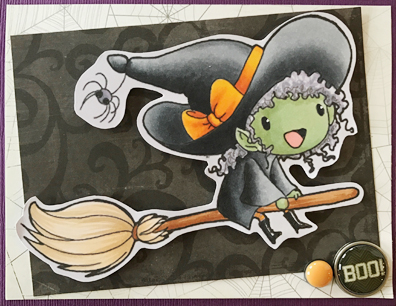
So I color A LOT! Like really A LOT! I create a video and photo tutorial each week, I travel and teach a weekend full of classes most months as well as teach classes locally about once a month. To tip it off I am creating new manuals and then of course I just like to color so I try to squeeze in some fun coloring just for me every once and a while!
Then I end up with a mountain of images just sitting. So I finally break down and mass produce cards. I have a process and thought you might get a giggle to see how I do it. My cards are not always the stunning works of arts that I would like them to be, but I get’er done and besides they have pretty art work on them right? That counts right?
1 – I start by pairing a large group of images with a card base color and then at least one or two coordinating papers to go with it.
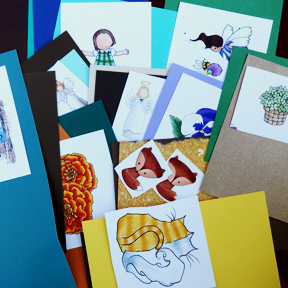
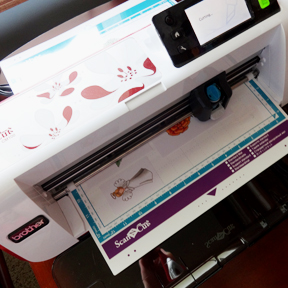
2 – I run my images through my Brother Scan and Cut if I want them fussy cut. Some will just get trimmed down, but lots will get fussy cut and the Brother scan and cut can do a whole group all in one pass!
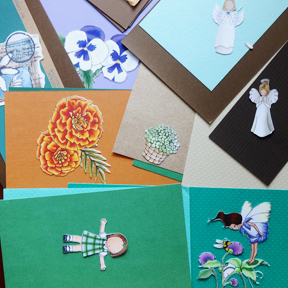
3 – Then I am ready to start assembling cards, I try to find a couple trims and patterned paper sometimes to go with images.
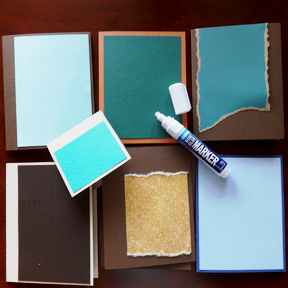
4 – I fold all the card bases and attach all the patterned paper or card front layers. I often will use the X-Press It broad tip glue marker because it is easy, fast and a great adhesive.
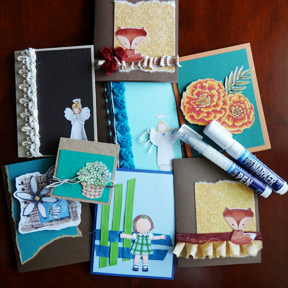
5 – Then comes the fun part I add the images and just one or two little details to add a little life to the card. I often find myself reaching for both the broad and fine tip X-Press It Glue markers since they are quick and easy and can get into all those small little details. Again I keep my cards SIMPLE. But then I have a stack of cards for any occasion and can pull them out for happy mail at any time! If you are interested in the X-Press glue pens they come in 3 sizes and can be found right HERE on the Imagination International, Inc. web page.
Hope you have had time recently to be crafty no matter what you created!
Have a Happy Colorful week!


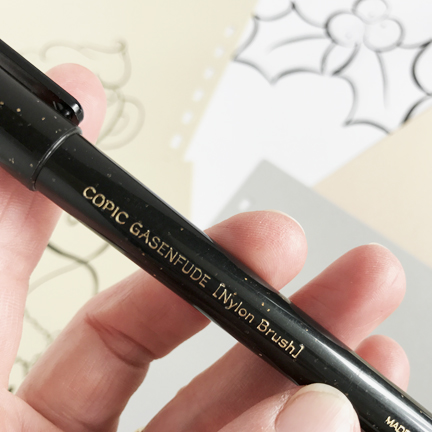
 Here is a close up so you can see the detail of the Multiliner work: