Posted on

Holiday Stamp #4! Merry Christmas!

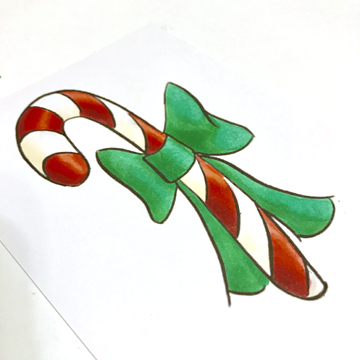
We have reached the 4th week of my mini giveaway and the fourth stamp in the series that I created for all of you. This week has a Candy Cane for your coloring fun. 

kmh-candy-cane-stamp

I colored it up and photoed all the steps, you can find the tutorial at Pinterest HERE OR grab the link over at Copic In The Craft Room.

Color away Copic Friends!

candy-cane

Have a Happy Colorful Day!

Merry Christmas and Happy Holidays! 

Posted on

The 2017 Copic season has posted

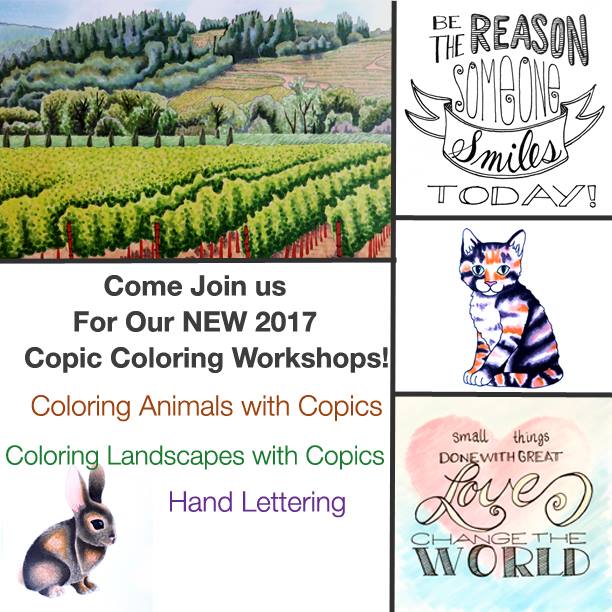
I know I shouted the news that the 2017 classes had been announced and that the first classes are currently available for registration. Our first round of Standard Certification, Intermediate certification, Copic Coloring Flowers, Hand Lettering, Copic Coloring Animals and Comic Coloring Landscapes are filling up FAST! 

I happen to know that a few of them only have one or two spots left! 

2017-copic-workshops

The Phoenix classes run Wednesday January 18th through Saturday January 21st. I would love to see you there! For full descriptions of each of the Certification and Workshop Classes make sure to check out the Imagination International, Inc. page HERE

What you may NOT know yet is that the ENTIRE 2017 class season has posted! You can see the full schedule now at Imagination International, Inc. Remember that classes open for registration 60 days prior to the event. If you want to make sure not to miss your location check back here, I continually update my class openings in the sidebar of my blog OR sign up to be on the mailing list at III.

Find out if one of our FAB-U-LOUS instructors will be in a city near you this coming year and save the date!

Have a Happy ColorFull Week!

Remember to check back Thursday for the fourth and final free digital stamp for the holiday season!

Posted on

Holiday Stamp #3

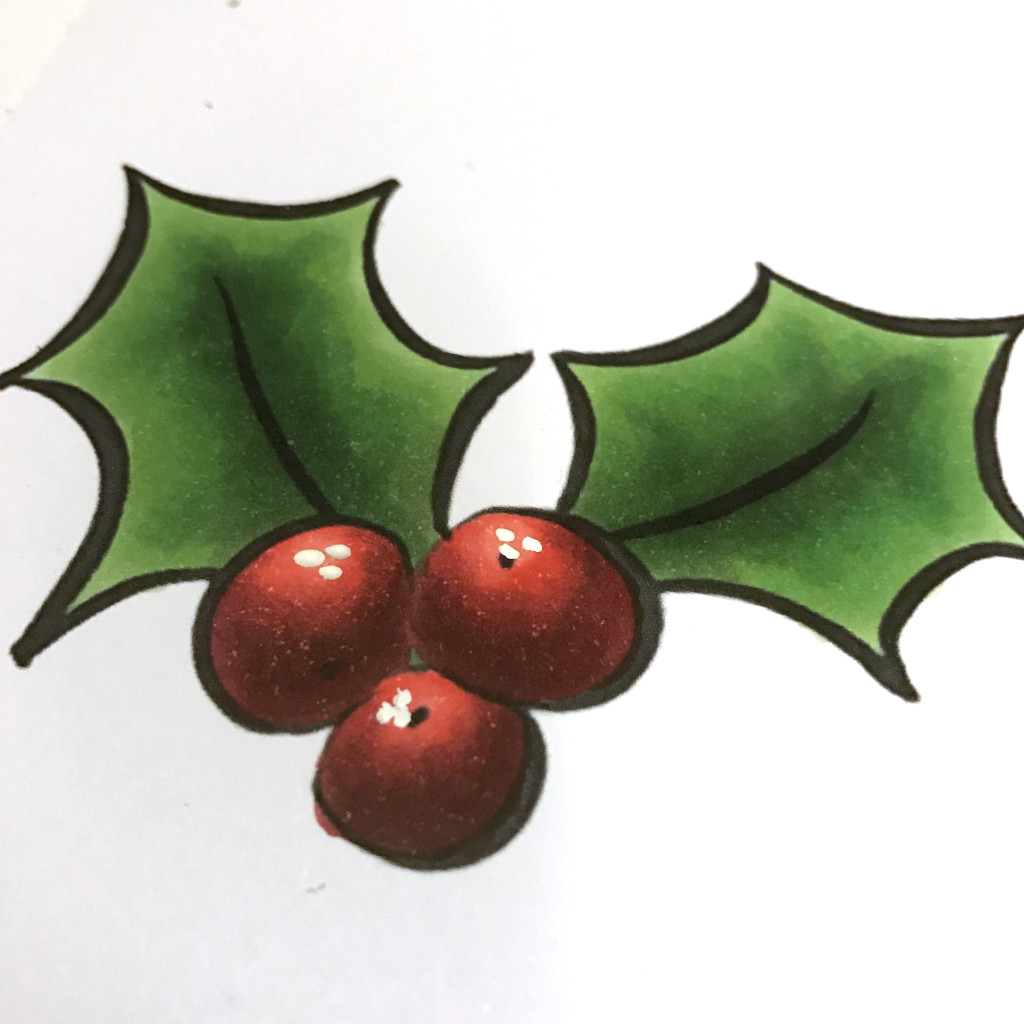
Here is the third digital stamp for your use this holiday season. Remember to please direct people back to my blog if you decide to share this image on your social media outlets!  Thank you!

kmh-holly-stamp-2

If you would like to see the steps I used to color the holly check them out at this Topic In The Craft Room Tutorial over at Pinterest! HERE

holly-9

Have a Happy Colorful Day!

Posted on

More Glitter can only be GOOD!

One more new product from X-Press It for glittery goodness. Glitter Deco Tape is not new BUT how about wide tape? 1 inch wide to be exact. It tears easily by hand, is acid free, 10 meters per roll and available in gold and silver. 
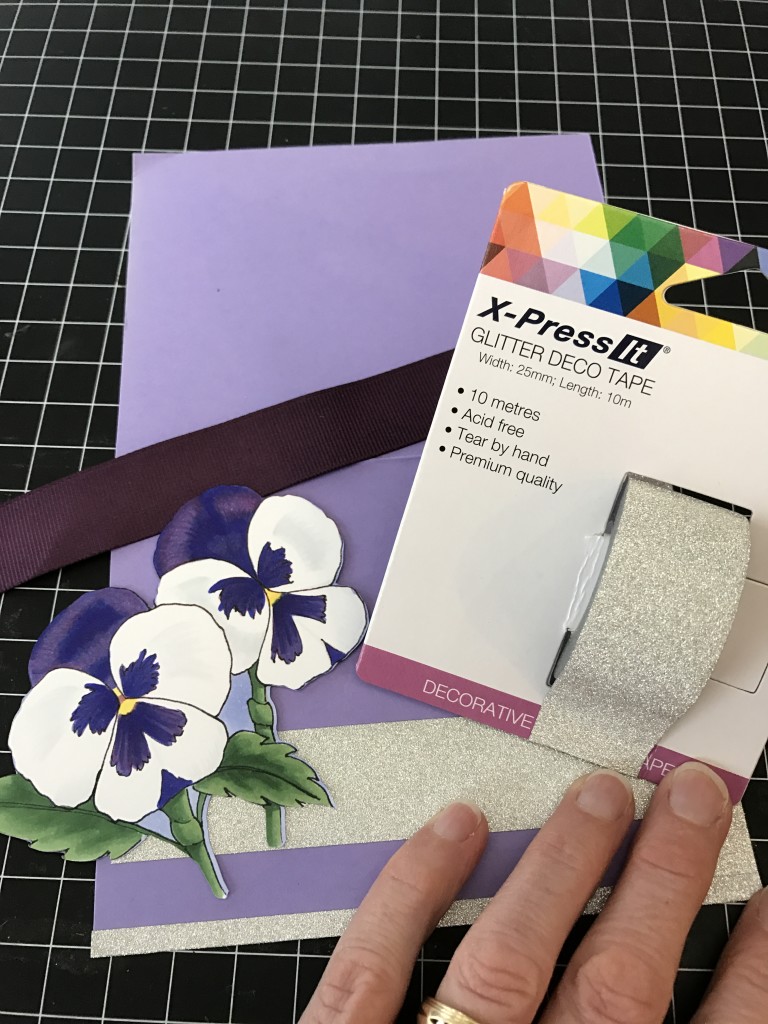
img_3619

I stepped away from the holiday creating to add some glitter to an image I created several years back and had yet to add to a card.

I edged the card base with the Glitter Deco Tape and the wide width made it so easy to wrap around all the edges. I laid the tape half on half off the edge of the paper:

img_3620

Then trimmed the tape right to the corner, I used scissors to keep the line crisp, but if I was adding this tape to a scrapbook page or journal page I would tear it for a nice uneven edge.

Then I clipped the inner corner so that it will not crumple in the fold of the card.
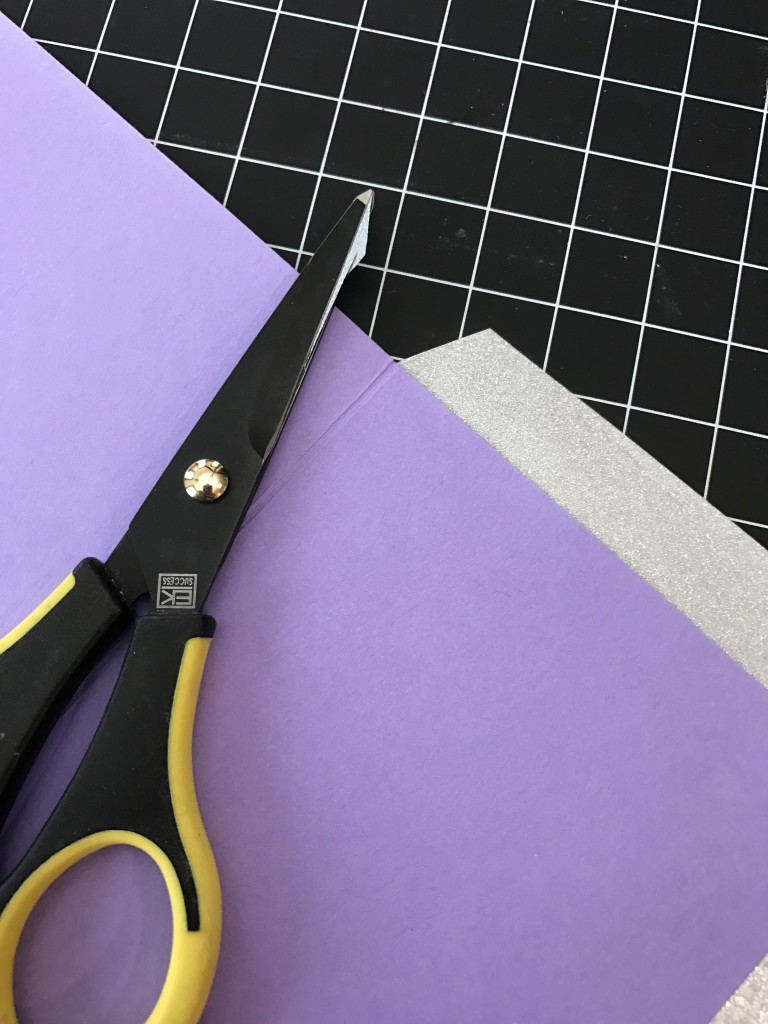
img_3622

I finished the card with some ribbon and attaching the flower. I’ll be honest I am not sure how I feel about the finished card. But I am a firm believer that completing the card and having it ready to mail off to a friend is the important part!
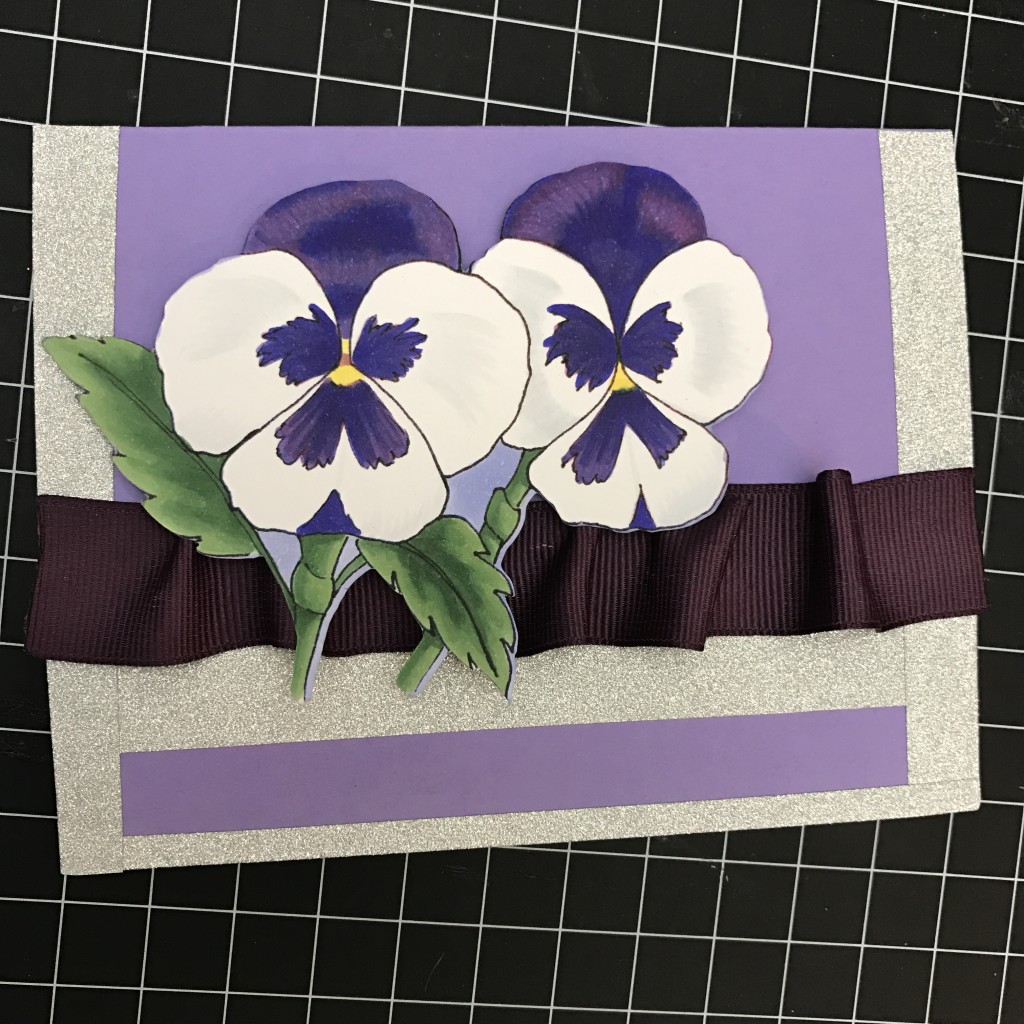
img_3654

The Glitter Deco Tape is a fun addition to my crafting tool box. If you would like to see a little more or add some to your collection check it out at Imagination International, Inc.

Have a Happy Colorful Day!

Posted on

Shiny new stuff YAY!

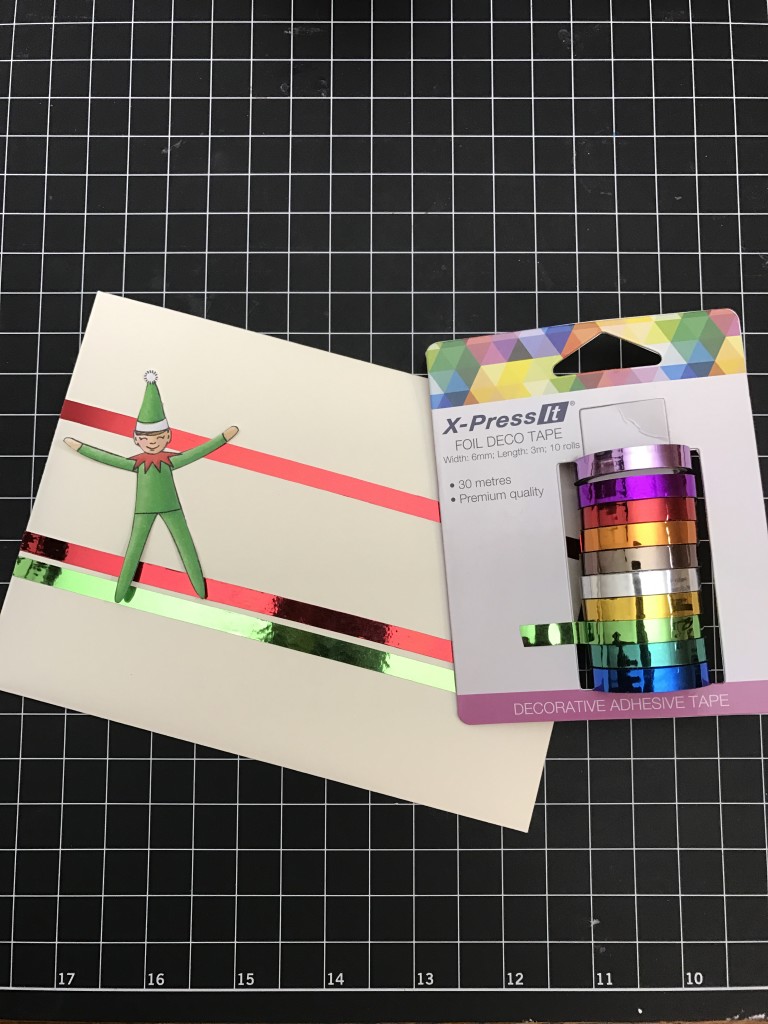
New products that glitter and shine from X-Press It! Just in time for the holidays and adding a little sparkle to your handcrafted gifts! The first product is a new line of Foil Deco Tape. It comes in a set of these 10 BEAUTIFUL colors and shines up even simple projects. It is narrow and flexible for easy application not to mention repositionable. There is 9 feet of tape per each roll and the tape adheres smoothly with no bubbles. Even the packaging is well though through, you can take the rolls off and then slide them all back on for easy storage!

img_3627

I created these fun envelopes with a simple stamp from Essentials by Ellen. I colored this little guy on front with Copic Sketch markers. I fussy cut around him and then added him to my envelope, but FIRST I added three simple stripes of Foil Deco Tape. It just makes the image shine!

img_3625

The foil is so clean and crisp! The address will look so cute riding between the stripes!

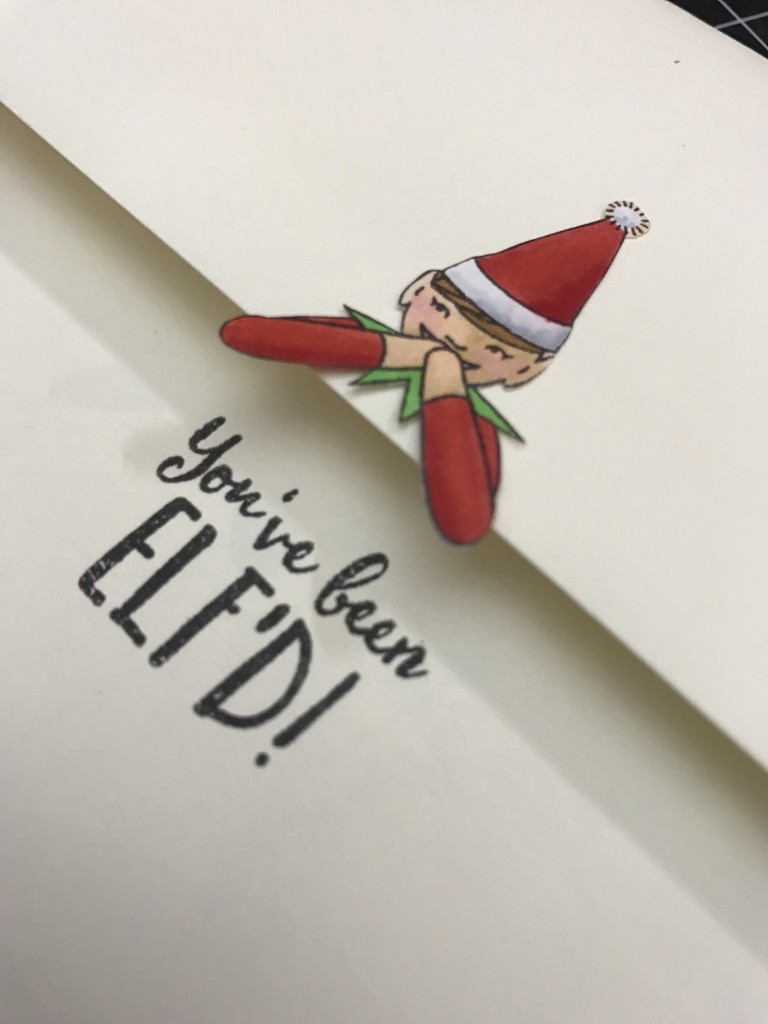
On the back of the envelope I added another little elf and “you’ve been elf’d” from the stamp set. 

img_3626

This was fast and easy and the Deco Foil Tape added so much to the design. You can check out more about this new product at Imagination International, Inc.

Have a Happy Colorful Day!