Posted on

X-Press It Glue Markers

So I color A LOT! Like really A LOTI create a video and photo tutorial each week, I travel and teach a weekend full of classes most months as well as teach classes locally about once a month. To tip it off I am creating new manuals and then of course I just like to color so I try to squeeze in some fun coloring just for me every once and a while!

Then I end up with a mountain of images just sitting. So I finally break down and mass produce cards. I have a process and thought you might get a giggle to see how I do it. My cards are not always the stunning works of arts that I would like them to be, but I get’er done and besides they have pretty art work on them right? That counts right?

1 – I start by pairing a large group of images with a card base color and then at least one or two coordinating papers to go with it.
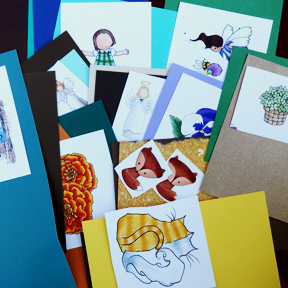
blog-cards-1

2 – I run my images through my Brother Scan and Cut if I want them fussy cut. Some will just get trimmed down, but lots will get fussy cut and the Brother scan and cut can do a whole group all in one pass!
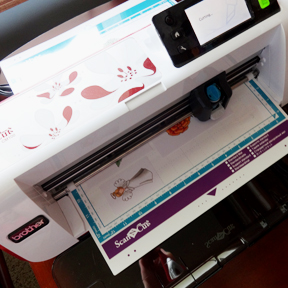
blog-cards-2

3 – Then I am ready to start assembling cards, I try to find a couple trims and patterned paper sometimes to go with images.
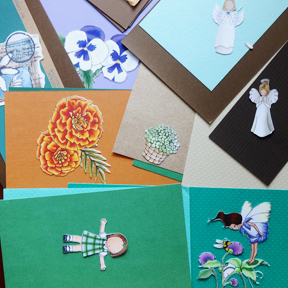
blog-cards-3

4 – I fold all the card bases and attach all the patterned paper or card front layers. I often will use the X-Press It broad tip glue marker because it is easy, fast and a great adhesive.
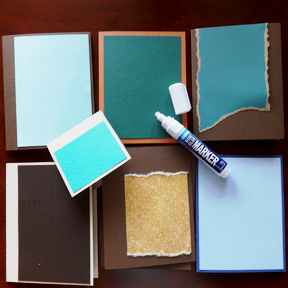
blog-cards-4

5 – Then comes the fun part I add the images and just one or two little details to add a little life to the card. I often find myself reaching for both the broad and fine tip X-Press It Glue markers since they are quick and easy and can get into all those small little details. Again I keep my cards SIMPLE. But then I have a stack of cards for any occasion and can pull them out for happy mail at any time! If you are interested in the X-Press glue pens they come in 3 sizes and can be found right HERE on the Imagination International, Inc. web page.
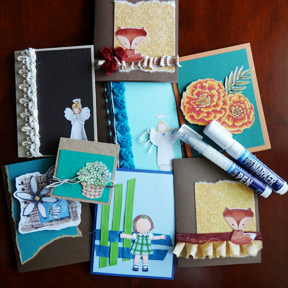
blog-cards-6

Hope you have had time recently to be crafty no matter what you created!

Have a Happy Colorful week!

Posted on

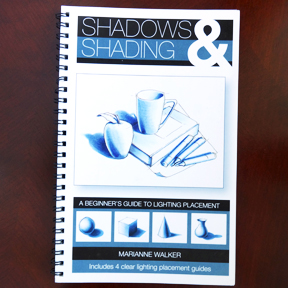
Shadows and Shading by Marianne Walker

One of the questions we get asked most often in Copic classes is how do I shade things? Where do I put the light source, then where do I go from there?

If you are person who likes a simple straight forward guide to have on hand this book is for you!

blog-book-1

Marianne Walker created this book with those questions in mind. She focuses in on the essentials and give you a compact guide to creating shading and shadowing. It is a great how, and why book that can become your go to reference when facing tricky lighting situations.

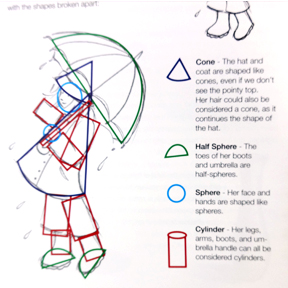
One of the pages I love the most is a reminder of how to break a complex shape, like a person, into the basic shapes for shading.

blog-book-2

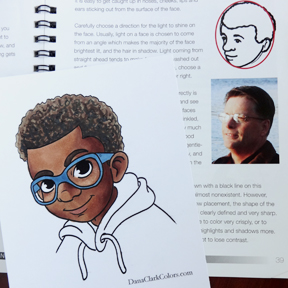
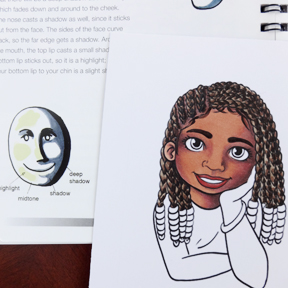
I can even use the tips and tricks on shading faces. It is all in there. The images used below are from DanaClarkColors.com

blog-book-3

blog-book-4

I love how straight forward and no nonsense the book is and how easy it is to find a plethora of useful tips and information on lighting, shading and shadowing.

This week at Copic in the Craft Room I colored the boys face above and talked about how I used the book as a reference as well. Here is that video if yo are interested:

You can get the book right from the Imagination International, Inc site.

Hope you have a happy colorful week!

Posted on

Just a few opportunities left! Copic Coloring Workshops 2016

Did you know that there are only 6 Copic Coloring Workshop weekends left in the 2016 season? Make sure not to miss these fun, informative classes when they hit your vicinity!

I will be in Sacramento, California in just 3 short weeks and I still have spots left…SO COME PLAY WITH ME!

All three classes are a blast and have amazing techniques to learn and tips to take with you to use on your Copic coloring projects.

Advertising image 2016

The dates I will be in Sacramento are Friday, September 23rd and Saturday, September 24th. We have a great group shaping up and I would love for you to join us! Sign up right HERE! Scroll down to Sacramento and get yourself on the list 🙂

Hope to see you soon!

Have a Happy Colorful Day!

Posted on

New Tape Runner!

I will admit I am slightly addicted to tape runners. I have tried the best and the worst, the biggest and the smallest, permanent and movable, reusable and disposable. Some have been very successful others have been disasters. Many of my scrapbooking friends know that pinching pennies for about 6 years during med-school and residency I created hundreds of pages with a double sided tape that after about 5 years had started to loose it’s tack. Yes I have HUNDREDS of pages that are literally falling apart! I have not yet braved the process of going through and trying to re-attach EVERYTHING. I know it will all eventually fall off the page, but I just can’t bring myself to do it.

So I have settled into some better brands and was thrilled this past January, while working at CHA to discover that X-Press It has come out with a tape runner. I love their glue pens and their foam tape so I was very excited to see what they had come up with. (I like their double sided tape as well, I just prefer a dispenser.) Lucky me Imagination International, Inc. is carrying them so I get to play!

Copic-ColoringFlowersManuelArt-9-24-1521169

So here is what they thought about AND why I am loving it!

  • Extra-strong permanent adhesive – so far so good, adhering paper, ribbon twine…
  • Acid and Solvent Free – a must have for crafting
  • Heat Resistant – added bonus if embossing or ironing is needed
  • Smooth application that doesn’t “gum up” – no gummy lumps, yes please!
  • 1/3″ wide x 13 yards – for a tape addict gotta love the longer length
  • cover for runner is attached, swings and locks out of the way – no loosing it on my desktop or in my bag
  • lift and break tape – no stopping and pulling, no holding a trigger, just happy where you want it and lift away, no brainer
  • solid strip of tape – no dots or dashes and still breaks away when you int away from the paper

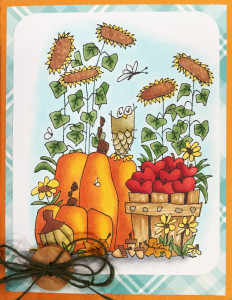
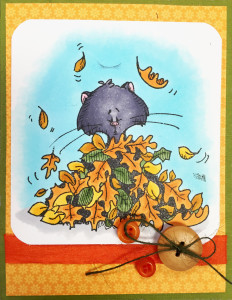
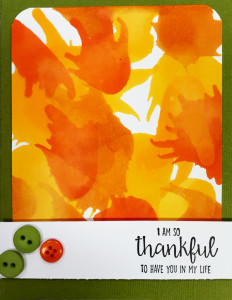
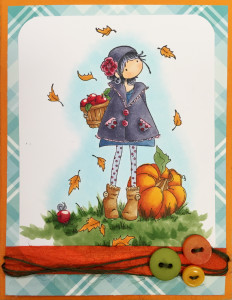
Today I was busy making cards for a local class and the new X-Press It the runner came through with flying colors all 4 cards are ready to go. Nothing fancy but all together and check off the to-do list. Thank you X-Press IT!

card 1

card 2


card 4

card 3


If you are interested in the tape runner check it out HERE. If you are interested in my local class check it out HERE.

Have a Happy Colorful Day!

Posted on

Pen and Ink taking me back to high school!

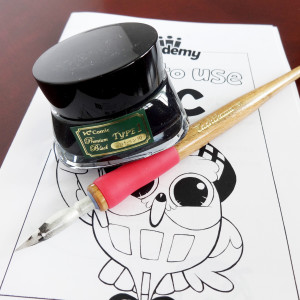
Imagination International, Inc. as many of you know not only carries Copic. (gasp) Yes I know hard to believe that there is OTHER art mediums worth playing with, but I am an equal opportunity artist and I LOVE to play! One of the newer additions over at III is dipping pens and ink.

I have to tell you this takes me back to my high school days! No Sharpie markers for us, no sir! We had to use dipping pen’s and ink for cross hatching, pintails and doodling, really anything that was rendered in ink. I’ll be honest the extra time it took to dip the pen every 30 dot or so of a larger pointillism piece was a little wearing at times but the results…magnifique! I was really excited to be given the opportunity to play with an pen and ink set again. Especially now when I can appreciate the value of the quality ink and wonderful pen nib.

blog ink1

I ended up with two styles of nibs or more specifically the same style but in two different materials, ink and a very fun instruction manual. The instructions served as wonderful reminders and I learned quite a bit about the carrying nibs and why I might what a few more in different styes. The ink also comes in a wide range so if I really continued to explore I could do more there as well.

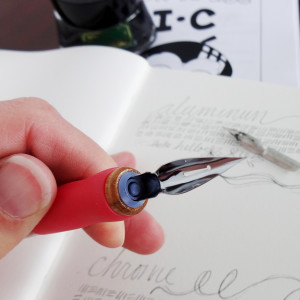
So I started by hooking up one of my nibs into the holder and doing some experimenting with the two different nibs that had arrived.

blog ink 2

The holder has a slot in the end that the nib slides down into easily and then is just pulled out and changed when needed. (The instruction manual talks about how deep to dip the nib, how to hold the pen and how to clean the nibs as well.

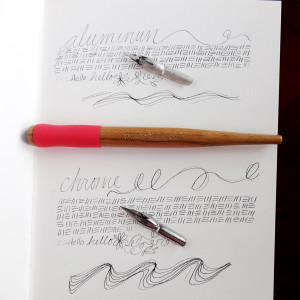
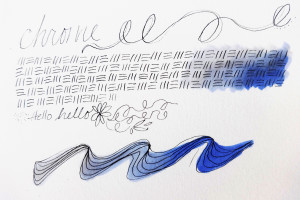
I started with the aluminum nib, both of mine are “spoon” nibs No. 600EF by Tachikawa. I dipped and started doing some writing and then dipped a second time to see how long I could go with a single dip. I did cross hatching until the ink ran out, you can see here how long it lasted. Then I dipped again and added a few doodles.

I did the same with chrome nib in the very same size and style to see if there are differences. Just as a note I am working on a rough sketch paper today, not a smooth cardstock, so you will see some bleeding of lines that would not be there on a paper with a tighter tooth.

blog ink 3Next I wanted to experiment a little with color so the chrome sample got some Copic love. I did have a little bit of bleeding with my lightest color. This could be because I did not wait quite long enough for the ink to dry. It could also be because of the toothy paper I am using. It would need a little more testing on my part if I want to use it regularly with Copic.

blog ink 5

Then the aluminum sample received some watercolor. It held fast and was really what I figured would be what I worked with today anyway.

blog ink 4

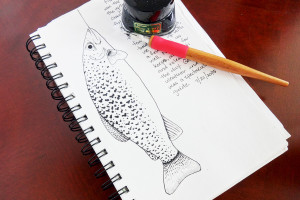
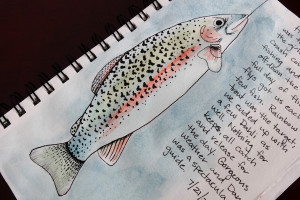
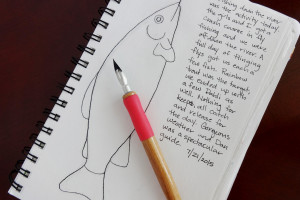
On to my project, this is a page I started 2 years ago on a trip to Alaska with my family. I created a short art journal that I shared on-line but have never completed the last 3 days/pages. I started with a very light sketch in pencil, and then I went over my lines with the dipping pen and ink.

blog ink 6

I erased the pencil and had no smudging (Yay) then added all the detail to my Rainbow trout with the pen and ink.

blog ink 7

I could have left him here, I really do like him just as he is, but I wanted the effect of the gorgeous colors on the fish so I added water color over my ink.

blog ink 8

TA-DA! All complete. I do love how he turned out and loved working with pen and ink again! Thank you Imagination International, Inc. You can find more information about the complete line of products available HERE.

Have a Happy Colorful Day!