Posted on

Inky Fingers and Fun!

Look out Atlanta here I come. In 5 and a half weeks I will be flying my way to (another new destination for me) Atlanta, Georgia! I will be teaching the Copic Standard and Intermediate Certification as well as the brand new Copic Flower class. All three classes have been open for registration a couple weeks now and are filling fast so if you would like to come play get signed up today!
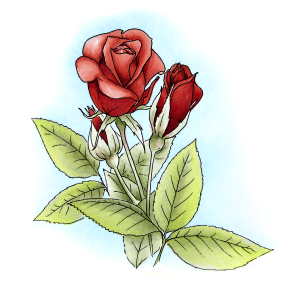
Copic-ColoringFlowersManuelArt-9-24-1521087

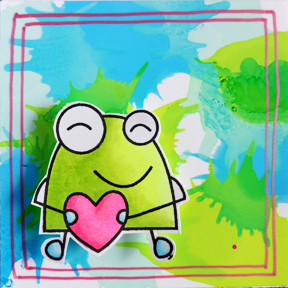
In the mean time here is a little inky fun for today! I created a VERY SIMPLE background for a little Valentines card for my Doodlebug. I used my Copic Various Ink and created the background on a shiny photo paper. I also used a straw for this particular technique, mine happens to be a milkshake straw so don’t let the size throw you of 🙂
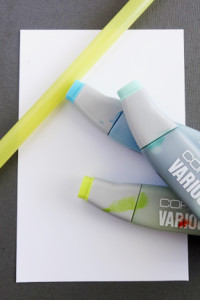
blog ink 1

Step #1 – I dripped 3 dots of one of my colors onto my paper.
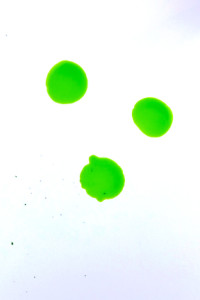
blog ink 2

Step #2 – I blew through the straw quickly splattering the ink.
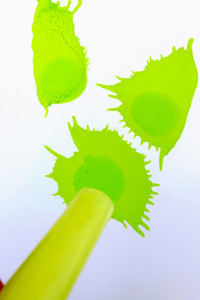
blog ink 3

Step #3 – I repeated the process with 2 more colors.
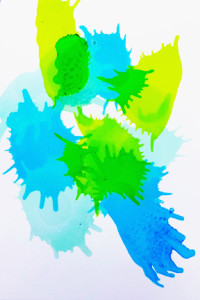
blog ink 4

Like anything else you might have to play a little with colors that work well together!

Step#4 – Patiently wait for the ink to dry (ha ha) and attach your new paper onto your card!
blog ink 5

I used Various inks in BG00, YG01, B02 for the background, the stamp is by Taylored Expressions and the Copic colors used are FYG1, YG01, FRV1, RV04, BG000, Boo. I also use my Kirarina Wink to create the doodled outline on the card. It worked great over the ink and on the slick surface!

Hope you have a Happy Colorful Week!


Posted on

Sparkle Sparkle Making Poppies Pop!

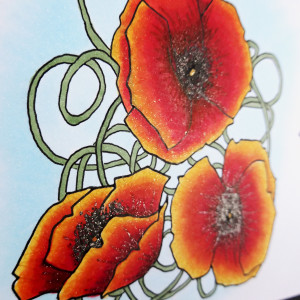
I am playing again and isn’t it fun! I am adding a little bling to my image today with atyou Spica pens on top of my coloring. I started with a beautiful image from Day For Daisies:

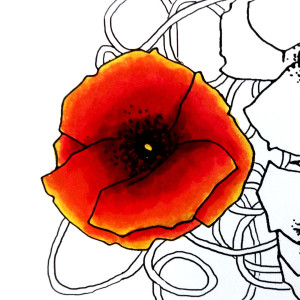
blog poppy 1

1 – I used Y17, YR14, YR18, R24, R29, R59 to color the bloom.

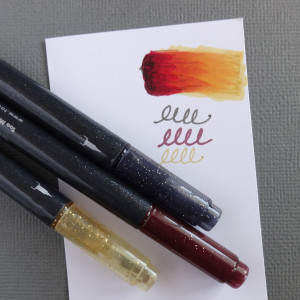
blog poppy 2

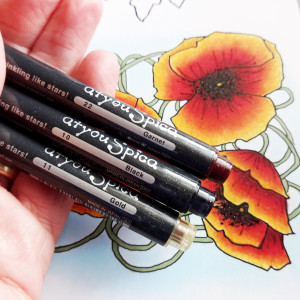
2 – Then I tested on a scrap the effect I was going for. I decided on 3 atyou Spica pens in Gold, Black and Garnet.

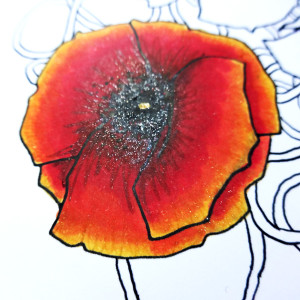
blog poppy 3

3 – I added the atyou Spica right on top of my Copic coloring when the ink was dry. This photo is taken at an angle so you can see the beautiful shimmer. Spica pens are made with very fine glass so the shimmer effect is super settle and absolutely stunning.

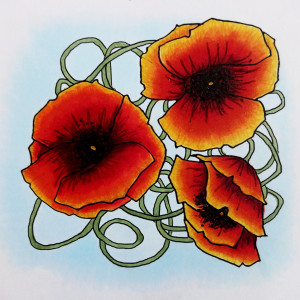
blog poppy 4

4 – I finished coloring the flowers and then added the vines and a background that fades to white. (G94, B000)

blog poppy 5

5 – And of course added the sparkle on all the flowers.

blog poppy 6

If you want to add just a touch of sparkle and shine to your images, Copic or otherwise atyou Spica pens are a great option.  They feature 24 colors, micro glass flakes, waterproof ink when dry, Pigment based ink, a non-clog tip, they are non-toxic and acid free, even archival for all your crafting projects.

Check them out at Imagination International, Inc. or your nearest crafting store.

I will be updating my class info in the sidebar today as well so if you are looking for classes make sure to check in there to find Certification classes or Workshops near you!

Have a Happy Colorful Week!
Posted on

Scrapbooking at last and where have I been?!

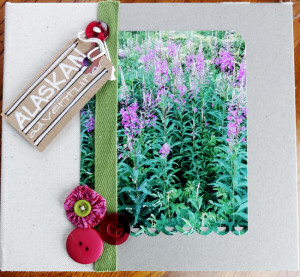
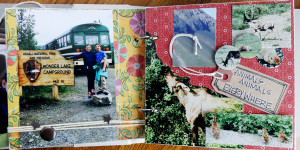
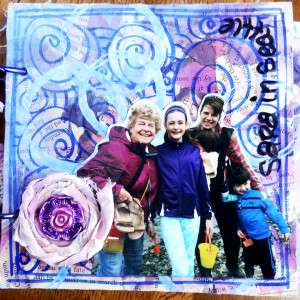
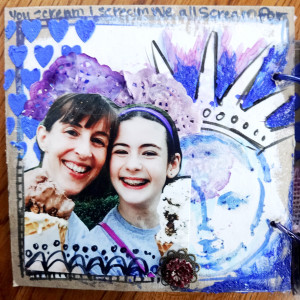
I actually did a little scrapbooking before Christmas this year! It had been almost a year since i had had time or the energy to scrapbook and it really felt decadent to squeeze it into the holiday crush. I made two mini albums, one for each set of grandparents, featuring things we had done together over the past summer.

I have to qualify this and say that the album I made for the Houghton GPs had the paper glues down and sanded to the chipboard and so I just needed to crop, add photos and do-dads. The Weaver GPs got the Mini Album I have been slowly creating over the past 7 months for Copic In The Craft Room. I had all the bases to the pages and do-dads made it was gluing it all down. Not that all that did not take time it just was not a start to finish project all crammed into the week before we left for Arizona.

mini Album blog 1

Mini album blog 2

mini album blog 3

mini album blog 4

Then the four Des Moines Houghton’s tromped off to Arizona for a fabulous time roaming the desert mountains for another holiday.

I had 3 days at home and off to Anaheim, CA for CHA, Craft Hobby Association’s annual convention. Our team had a very successful CHA with lot’s of spectacular classes, demonstrating in the booth, meeting with our team to keep things running smoothly in 2016 and plan ahead for 2017. Overall I had an amazing trip and came back one whipped puppy with a smile on my face. I really do LOVE my job!

CHA 2016

I am cranking away at new videos, curriculum for local and national classes, photo tutorials and you know keeping a house and family running like a well oiled machine, ha ha!

I hope this note finds anyone readying it, happy, healthy and well, tucked in and warm!

Have a Happy Colorful Week!
Posted on

CHA 2016

Well a week away and my head is swimming with Copic ideas and my fingers are itching to coloring new samples, color new images and think ahead to new projects.

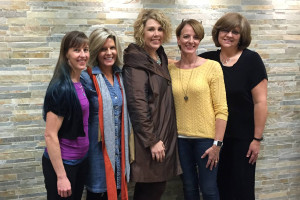
I have spent an amazing week with the Copic Certification team and I love these ladies it is amazing the talent in this photo, I am privileged to be a part of the group!

CHA 2016

I am excited to go home to see John and my girls, but not real excited to head back the the freezing cold in Iowa. But I will be headed to Atlanta in March and hopefully will be able to thaw my bones while teaching the Certification Classes.

I have added the Periscope app to my phone and when I get a little set up for my phone I will try to post a couple art sessions :-). If you want to follow me now look me up “Michelle Houghton” and you will be all set up to peek in on my crafting table.

Don’t forget to keep track of ALL our Certification classes and coloring flower classes that are opening up over the next few months, the workshops will start up in May!

Happy Colorful Week!

Stay warm out there! 

Posted on

Hot Ribbon Hot Hot Hot!

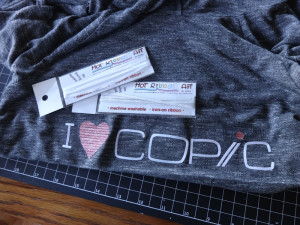
OK I was not totally sure what I was going to do to show you the new Hot Ribbon that Imagination International, Inc. is carrying. It is a very thin ribbon that has adhesive on the back that sets with heat.  III also sells a small clover iron that you can use to tack the ribbon in place on your project.  I really figured that I would iron it onto a card and call it good.  BUT then I asked the crew over at Copic In the Craft Room and they came up with AMAZING ideas and oh so creative so I back peddled quickly and decided I better get my rear in gear and”go for it”!

So instead of ironing the ribbon straight onto a card or a paper craft project (which you could do) I decided to try the glass transfer method and create my own t-shirt!

Here are the steps I took and some tips I learned along the way.

ribbon blog 1

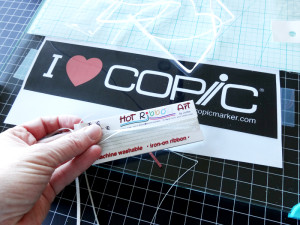
First I attached the image I wanted to recreate on the back of a sheet of tempered glass. It needs to be tempered so it can withstand heat. I used a Copic sticker and blew it up 200%.

ribbon blog 2

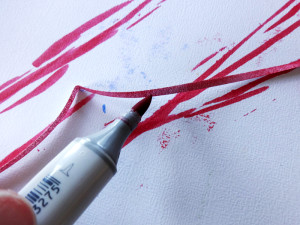
I colored some of my ribbon with Copic ink, this particular one is silver that I colored red with a R29.

(Sorry no photo!)

Then you tack the ribbon directly onto the sheet of glass with your craft iron. This does not adhere it permanently it just tacks it in place. Trim the edges as you go and get the ribbon lined up tightly. You can do a little wiggling here meaning lifting and re-tacking if you need to.

ribbon blog 3

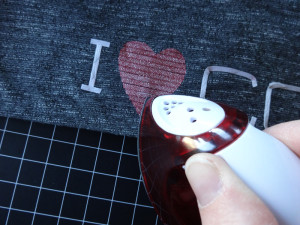
Next using a metal palette knife or even a table knife lift each piece carefully of the glass and re-tack it onto it’s final surface. I lifted the heart in one large piece all together. I only had to go back for two small strips from the top hump on one side.

ribbon blog 4

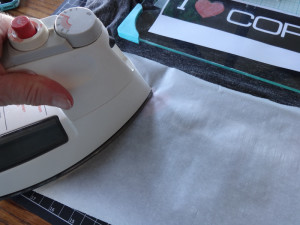
Lastly cove the entire piece with an iron safe material (I used parchment paper) and go over the area with a medium to high iron for about 45 seconds.

ribbon blog 5

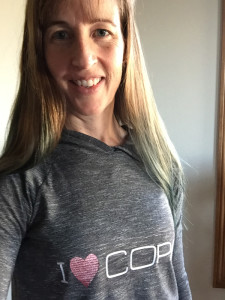
Wa-La a fun new one of a kind t-shirt or craft of your creating!

ribbon blog 6

Some things I learned along the way:

  •  The heart and small circle did great on the glass! I could line up the strips and they lifted perfectly onto my t-shirt.
  • The lettering however was extremely difficult to bend around and tack down. BUT when I went free hand on to the fabric it adhered perfectly. So as intimidating as freehand is it seems to stick better when you are trying to go around bends on the fabric.
  • I am not sure yet how long the Copic color will stay since it is not meant for washing so we will see, but the Hot Ribbon comes in tons of colors so you can choose colors that work if it is going to be wearable, washable art.

There is a lot of information on the Hot Ribbon at the III site as well so if this does not answer all your questions give a quick check HERE.

Have a Happy Colorful week!

Oh by the way, I will have a video tutorial of this project coming out in January! You can see it in action!