Posted on

New Plan of Attack

So if you follow my blog at all you will have realized by now that I have fallen off the deep end and have not been posting regularly for quite some time.

My new position at Imagination International Inc. has kept me creating none stop and posting on the Facebook page for Copic In The Craft Room 5 days a week.  So I am out here in the cyber world just have not been visiting my own little corner often enough.

Time to change that!

I am hatching a new plan and we will see how it goes.  My plan is to hook you up to some of the posting I am doing at the CCR Facebook page and to also be better about sharing my own creating.  Monday I will post a link to my video tutorial, mid week will be my own doings weather it is family, art or life in general and Friday will be a link to a photo tutorial.

To start it off right I have a link to yesterday’s video post and then In the next few day’s I am going to be sharing some fun new products that you can find at Imagination International Inc.!

Monday’s Video Link

Click Here to check out all the fun at Copic In The Craft Room

Make sure to check back the next few day’s for more art and inspiration and thanks for hanging in here waiting for me to get my act together.

Happy colorful days!

Posted on

Tutorial at Get It Scrapped – Mono printing with a Geli Plate

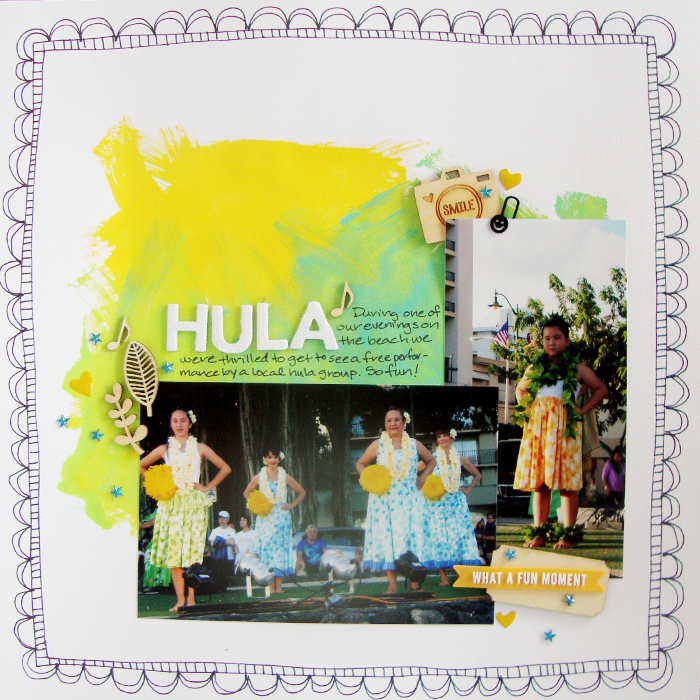
This month’s tutorial is up at Get It Scrapped.  If you were not aware I have been doing monthly tutorials all related to adding artistic techniques onto your scrapbook pages.  This month I decided to break out a gift that I had not used yet, a Geli Plate that my super duper friend Tami Taylor gave me at least a year ago.  I just touched the tip of the iceberg in the tutorial so I will be back with more advanced techniques next month if all works out.  Here is another one of the layouts I completed in the tutorial.

geli10

You can find the full article at Get It Scrapped HERE.

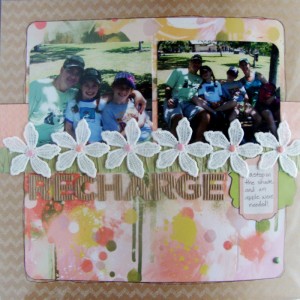
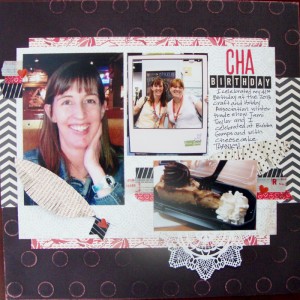
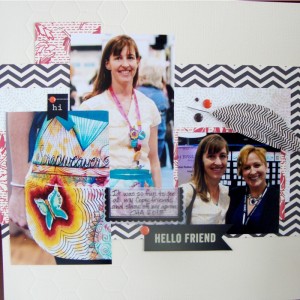
Here is the next round of layouts I created at last weekends crop!  I figure it is fun to share 🙂

blog 5 blog 6 blog 7 blog 8

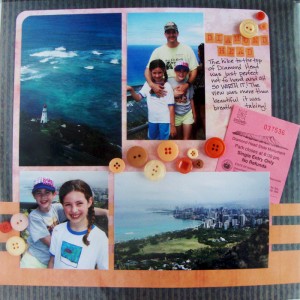
The bottom 2 pages you will note are NOT from our Hawaii trip!  Yeah that album/mountain of photos is complete!

Happy Scrappy day and weekend to you!  I will be continuing to add more pages over the next few days and some work I am doing with Copic markers for fun!

Posted on

Media with Michelle

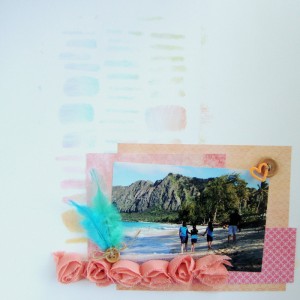
Have you seen my latest series of articles over at Get It Scrapped?  Over the past year I have been writing short tutorials demonstrating how to get some of the current medium trends onto scrapbooking layouts.  I have looked at Gelatos, Paper Crafter Crayons, stamp making, weaving, and more.  This month I was going to take a month off and then I found a tutorial on line that I just had to share!  A fun technique using Copics that I have not seen before.  If you have even 1 or 2 Copic markers you will want to check this one out.  So simple and beautiful.  The color in the background of this layout is created with Copics!

copicchalk7

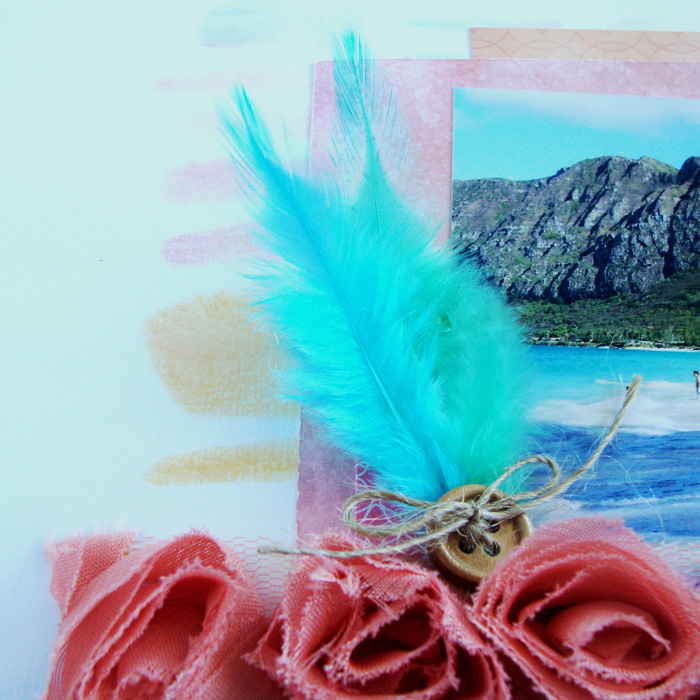
Layout by Michelle Houghton | Supplies: cardstock; Colorbok, feathers, flower trim and patterned paper; SEI, ink; Copic, acrylic heart; Freckled Fawn, button and twine; American Crafts

Every time I find a new use for my markers and a new technique I am blown away by their versatility.  And this time was no exception.  I love the chalky look that this technique brings to the markers!  Make sure to check out the full tutorial HERE!

Happy Friday, hope everyone is getting a few minutes of crafty time this long weekend!

Posted on 1 Comment

RubberMoon and Copic

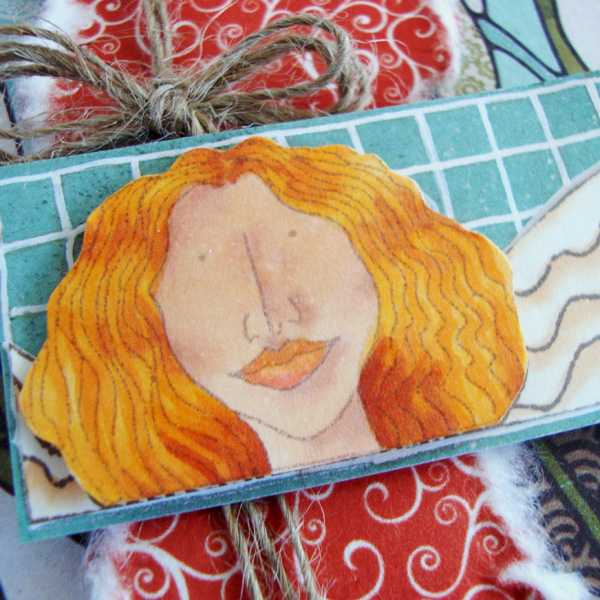
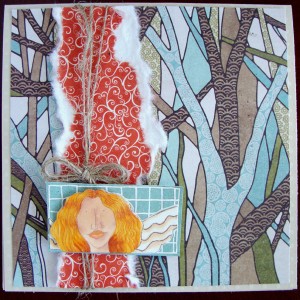
Welcome RubberMoon and Copic fans!  Officially this is my last post for RubberMoon, but I am not done yet I have more beautiful stamps to share so over the next few weeks I will continue to share them.  I realized when I put this card all together that I did not plan all my colors very well and that the image clashes a bit with the red hair BUT I do love the pieces separately.   I like the card and I love the image just not sure about them all together.  The beauty is I have never claimed to be a master card maker and the person I extend to send it to will love it all the same!
RM 4


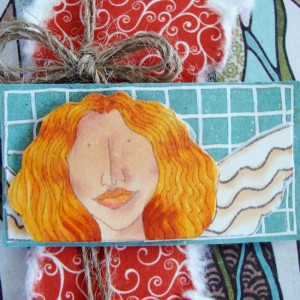
I used Bazzill Swiss Dots cardstock and cut it to 5 1/4″ x 10 1/2″ then scored and folded it.  The patterned paper is by Prima and is cut to 5″ x 5″ the mulberry paper is also by Prima.  I stamped the “alter ego” image by Marylinn Kelly 3 separate times, the first in white on a Prima paper then in brown twice on a cream cardstock.  I colored over the white lines with a Sharpie paint pen, and then colored the two other images.
RM 1

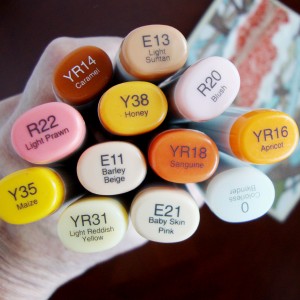
I colored only the wings on the first image and used E21 and my colorless blender.  Then on the second image for the skin I used E21, E11 and E13, on the lips I used YR14, R20 and R22 (the YR14 I used as a base coat changing the rosy reds to a shade with more flesh tone to it) I used YR31, YY35, Y38, YR16 and YR18 for the hair.
RM 3

A special Thank You to the entire RubberMoon stamp team!  I have LOVED working with their beautiful stamps.  You will see more from me!  This is not goodbye just see you later.

Happy Wednesday!