Good morning all! I am so excited to have you stopping by for my fun new images and some Copic “how to” to go along with one of them. I am assuming a lot of you are stopping by from Amy Kingsford’s wonderful blog. But if you are just peeking in and discovering this post make sure to head her way next! Amy is hosting a 12 Days of Christmas Blog Grand Opening. She has all sorts of great ideas and fun holiday inspiration going on right now! If you pay close attention she even has lots of prizes up for grabs!
I have three images to share with you, all with a holiday feel, the presents could certainly be used elsewhere.

Here is a PDF to get the images for yourself
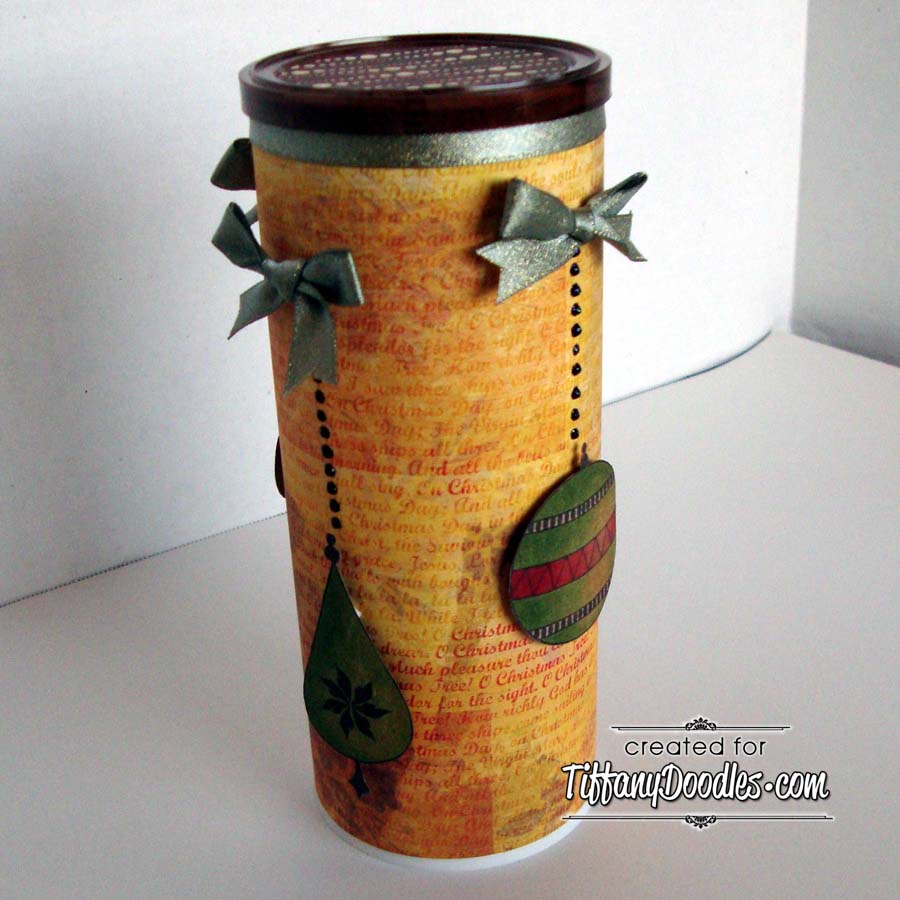
Please make sure to refer people back to my blog if you share my images on one of your projects. I would love to see what you come up with so make sure to hook me up with a link! I have not had time to play with the stocking yet but I am planning on coloring the sock and adding some sort of fluff to the top edge. The bow I colored with Copics and added to a Christmas layout that is ready to hold pictures and have finishing touches added.


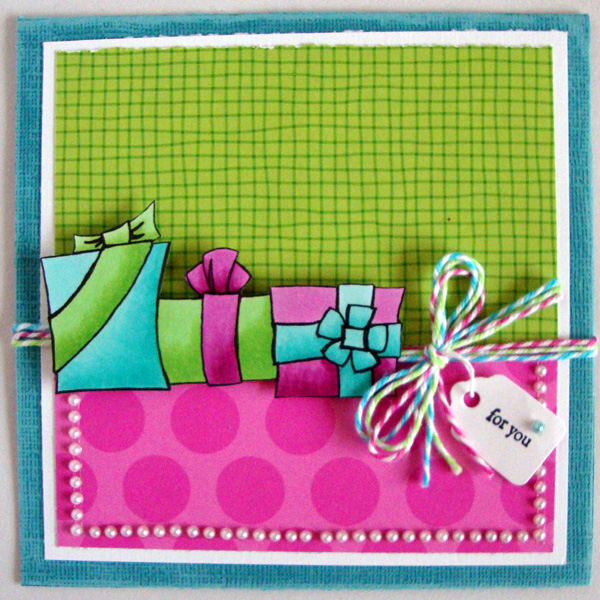
With the presents I created a little card that already has been mailed off to a sweet friend. But if you are interested in the “how to” here you go:
Supplies Used –
- Cardstock – Bazzill Basics-White, Core’dinations and X-Press It Blending card for the image
- Twine – Doodlebug Design’s – Santa’s Workshop
- Patterned Paper – Doodlebug Design’s – Santa’s Workshop
- Tag – Walmart
- Pearls – Elements by Mark Richards
- Copic Markers – RV63, RV66, YG11, YG13, BG11, BG13
I made the card base with the Core’dination cardstock. I cut it down to 5 1/2 x 11” and then scored and folded it in half. I sanded the edges of the front and then adhered my white cardstock that is cut to 5 x 5”. I cut my green patterned paper to 4 3/4 x 3” and my pink to 4 3/4 x 2 and adhered these to my card overlapping them slightly. I wrapped three strands of twine from the inside of the card to the outside and tied a small bow with the tag tied into the bow as well. I stamped the small tag with it’s greeting and added one small pearl that I colored with my BG13 Copic. I added my pearls all around the border of the pink then added a pop dot under the tag to adhere it. To finish I colored the image and popped it up on the card as well. Here are the coloring directions:
Step #1 – Color in the left box and the far right bow with BG11.

Step #2 – Using BG13 add shading to both areas.

Step #3 – I used my BG11 to smooth the blending and then colored the right box and middle bow with RV63.

Step #4 – Add shading in these two areas with RV66.

Step #5 – Blend the RV66 in with your RV63 and then add YG11 to the middle box and left bow.

Step #6 – Add shading to the box and bow with your YG13.

Step #7 – Blend the colors together using YG11. Your image is ready to fussy cut and pop dot onto your card!

Again thank you so much for stopping by, if you are new to my site and would like to hear more about my upcoming classes or doings make sure to sign up for my newsletter over to the right! Thanks Amy for including me in your festivities! I know Amy is doing an AMAZING job with loads of inspiration at her site this week so make sure to check in if you haven’t!
Merry Christmas and Happy Holidays!