Posted on

Kraftin’ Kimmie November Release!

WOOHOO! Today we are celebrating all thenew goodies that will be available at 3pm EST TODAY from our NOVEMBER Release at Kraftin’ Kimmie Stamps! All THREE new clear stamp sets will soon be available over at the Krafty Shop, along with our new WHIMSICAL WISTERIA inks, TWO new Krafty Stencils and our new POLAR Krafty Dots! Yaaaay!So let’s have a fun hop around the Krafty Team’s blogs and check everything out in action! Grab a nice hot (or cold) beverage, sit back and relax while you enjoy this kreative tour! 

First up we have a krafty new set from artist, 
Neda Sadreddin called….LET’S GET KRAFTY!

The second set is ALSO by Neda and it’s just absolutely BEAST-iful!
It’s called…..YETI OR NOT!

And our last stamp set is a set of roly poly snow peeps from our newest artistSabrina van Vloten called….
JOLLY HAPPY SNOWMEN!

Available today is our brand new Hybrid Ink colour in the large ink pad, mini cube and ink refill and it’s called….WHIMSICAL WISTERIA!

We have two new stencils that are perfect for all your new creations called….KRAFTY SCENERY 2 and STAINED GLASS!

And lastly we’ve got new coordinating embellishments for you called…
POLAR DOTS!

Everything will be available at the krafty shop at 3pm EST today (Sunday)! All the new products are available individually but if you HAVE to have it ALL this month, you can pick up our GIMME KIMMIES KIT which contains one of EVERYTHING we released this month and at a discount but for a limited time!

And don’t forget to grab the INK OF THE MONTH!
This month all in stock products in the MERMAID MELODY colour are on SALE 15% OFF while supplies last! And it coordinates SO WELL with our new Whimsical Wisteria and Polar Krafty Dots!

Happy hoppin’ and happy shoppin’!
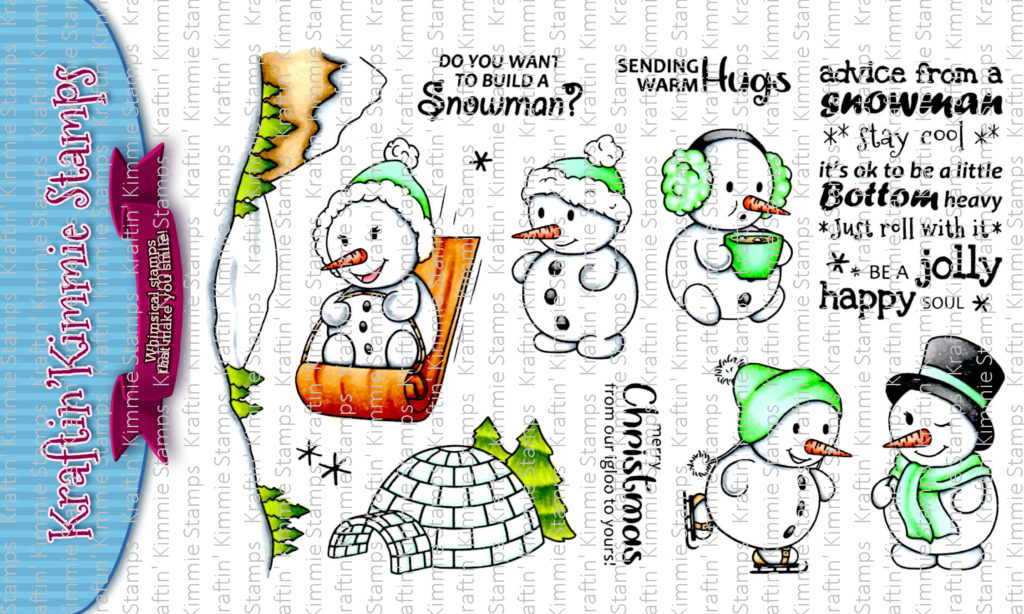
I decided to play with the Jolly Happy Snowmen set shown above and experiment a little with using my Copics on glitter paper. I colored up three forty friends with very simple Copic coloring.
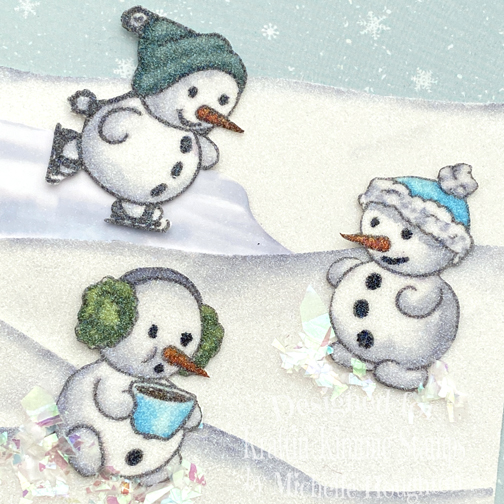
Then added them into a shaker card!
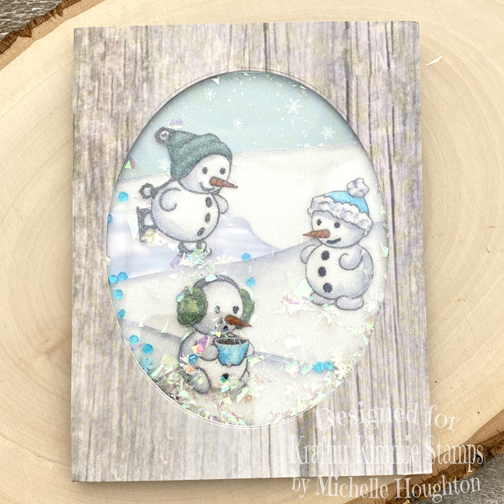
As normal from me there was a little unsticking a restocking to try to get it all working and what I realized was the thickness of the stacked glitter papers made it difficult to make this a shaker. I probably needed a double layer of foam to add more depth. But it is working 😁
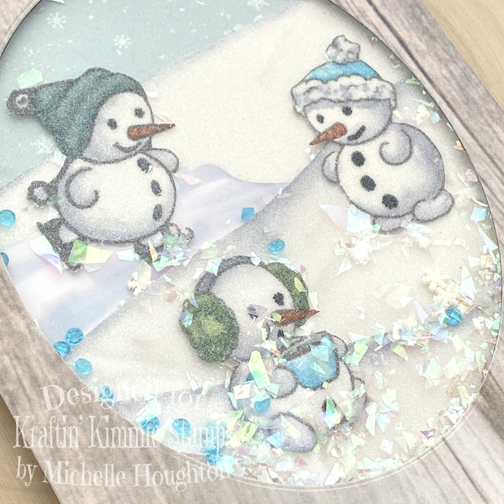
Tune in this coming Wednesday to see a short video on the Copic In The Craft Room channel and you can see me color up these cuties and play with a few different glitter papers!

Thank you so much for stopping by today! Click the link below to head to the shopping party!

Have a Happy Colorful Day!


You are invited to the Inlinkz link party!

Click here to enter
Posted on

Rubbernecker Fabulous Darling!

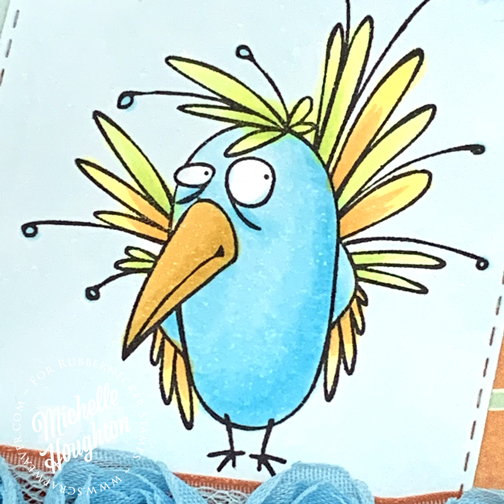
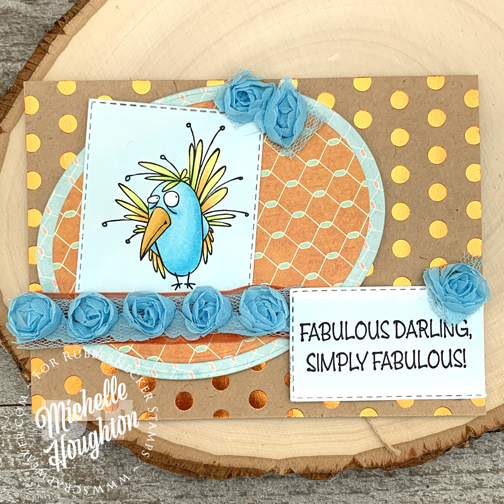
Hi all popping up this Friday morning to share a little Rubbernecker and Copic inspiration. RN has a whole series of these funny animals that are just too cute. They look a little frazzled which is completely appropriate for me most days! I started with this little bird and got him all colored:

You’ll notice I broke out a couple fluorescents for this one!
So fun and frazzled. An image like this is so quick to color. I could add more detail, but it just isn’t needed and keeps the craziness.
I used a sentiment that seemed appropriate 😉. Rubbernecker has a whole bunch of separate sentiment stamps for all sorts of occasions. Then used two different nesting die sets from RN and fun patterned paper and embellishments I have had in my stash for ages!

Simple and fun, great to send a quick note to a friend just because! Thanks as always for stopping by today! To find your way to the Rubbernecker store click the banner below and it will take you straight away!

Have a Happy Colorful Day!

Posted on

Winter Ready Bear!

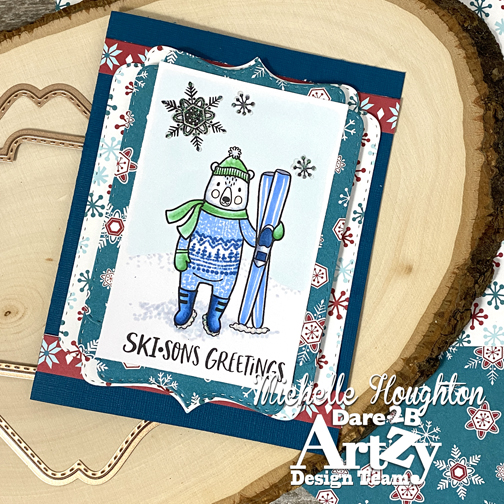
Hello friends! I am here to start your week off right with a little Dare 2B Artzy inspiration. I played around with the Skisons Greetings Stamp set and a new technique creating a sweater pattern! This. is not my idea I saw another brilliant Copic artist giving this a go so I am excited to share it here as well!

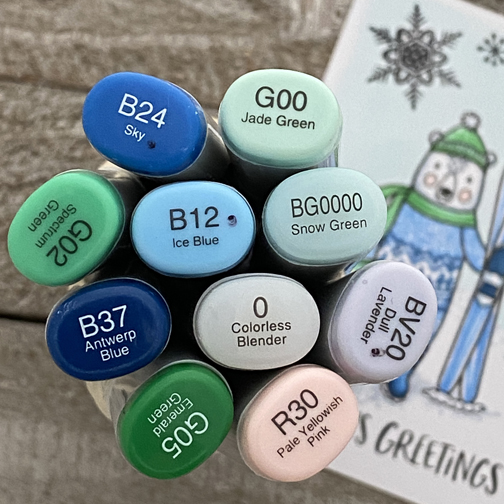
Here is a look at the markers I used:

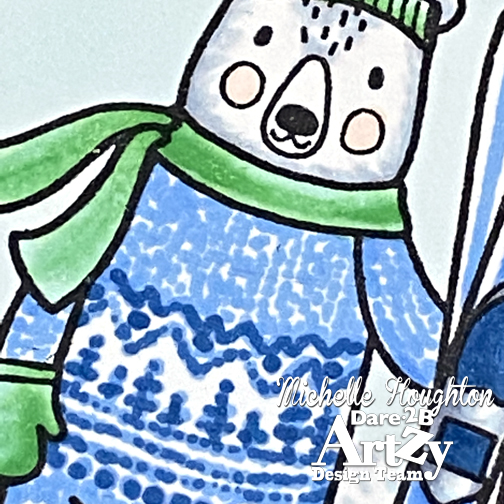
And here is a look at what I came up with!

His whole jump suit is little dots so easy and fun! I added layers of D2BA papers from the new Snow Much Fun line and also used D2BA dies to add a little shape. If you look close you will see I stretched one of the dies a little longer by doubling up to fit the length of my image.

I recorded how I created all that fun texture and pattern with my markers, but the video is not quite ready to go! I promise I will get it to you in the next few weeks.

Thanks for stopping by today and

Have a Happy Colorful Day!

Here are a few items I used for today’s card:

Thanks for stopping by today! And make sure to check out some of the products I’ve used here in the D2BA store!

Posted on

Fly Away Butterfly

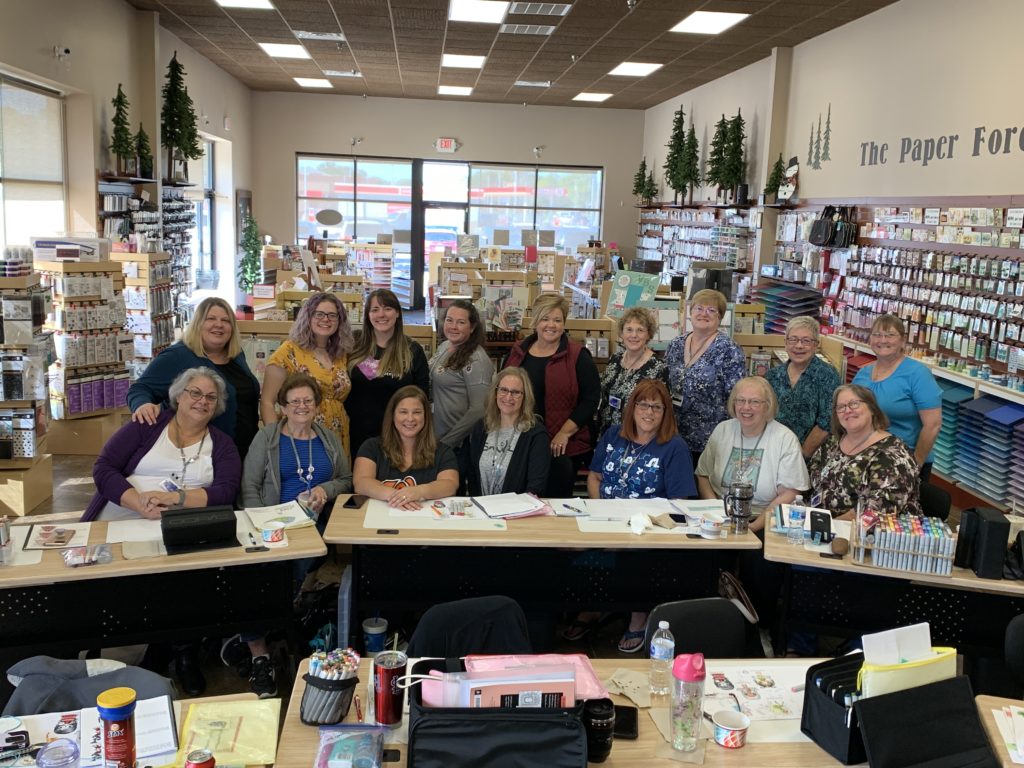
Just want to say thank you so much to my next group of Copic College attendees! The ladies of Washington, Il and surrounding areas rocked the Copic weekend! And special thanks to Tami and The Paper Forest for hosting the event. Your store is a true pleasure to return to each year!

There is only one Copic College remaining in the 2020 season if you are near to Sacramento or more specifically Dixon, CA or are itching for a weekend away check out the details and join me for an incredible weekend of fun!

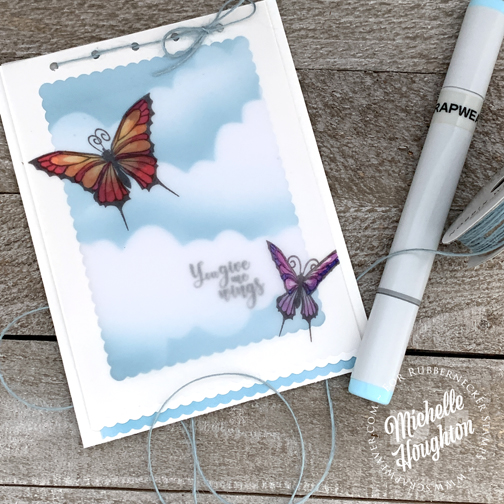
I also want to share my latest creation using stamps and dies from Rubbernecker Stamps. I decided to keep this one simple as usual, but I love when a group challenges you to push your normal. Like using a certain number of dies or adding sentiments which is not always the easiest. Sometimes the results turn out just right!

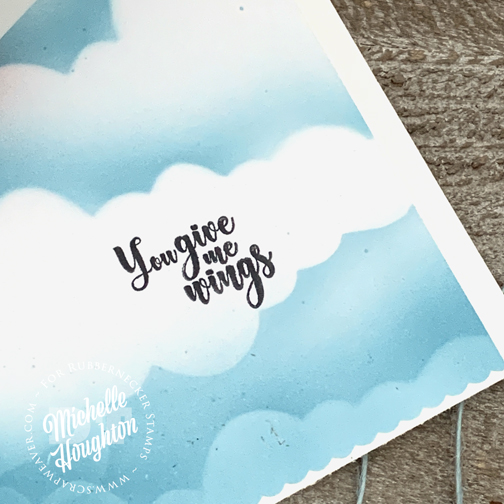
On top of the card base there are 3 separate layers this is the first, a Copic Airbrushed, cloud filled sky and sentiment from the Brush Butterflies set.
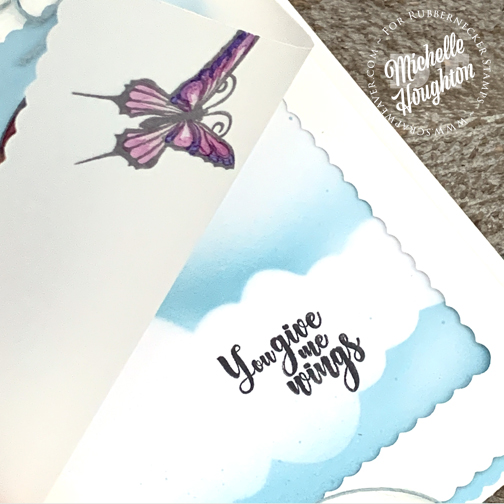
The next 2 layers consist of a white cardstock framed then a sheet of vellum with Copic colored butterflies also from the Brush Butterflies stamp set. All of those scalloped edges including the bottom edge on the velum and the first layer of airbrushed sky are cut using the Nested Rectangle Scallop Die set.
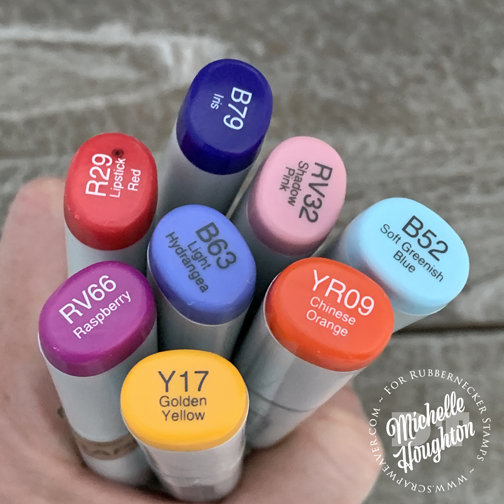
Before I show you the final card here are all the colors I used the B52 is what I used on the sky and the others are for the butterflies. Remember if you color one vellum you will need to stamp your image on one side and then color on the opposite side.
I kept the layers loose and tied them at the top with a blue twine. I love how it turned out

Thank you so much for stopping by today! If you are interested in any of the Rubbernecker products I used in my post today make sure to stop by the shop using the link below, just click on the banner!

Have a Happy Colorful Day!

Posted on

Stamp AnnieThing September Release Day 3


More Halloween Fun!
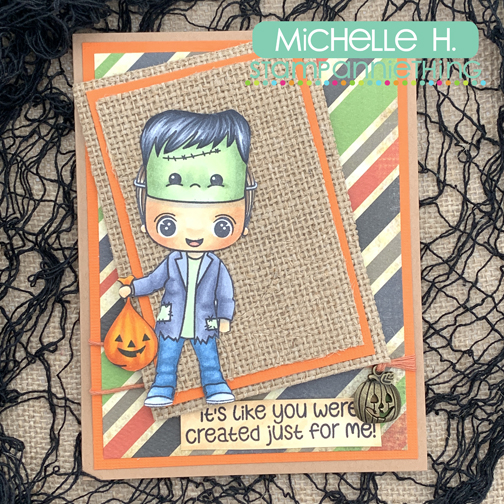
Check Out Stephen in his Frankie costume!!

`~*~*~*~*~*~*~*~*~*~*~*~*~*~*~*~*~*~*~*~*~*~*~*~*~*~*~*~*~*~*~*~*~

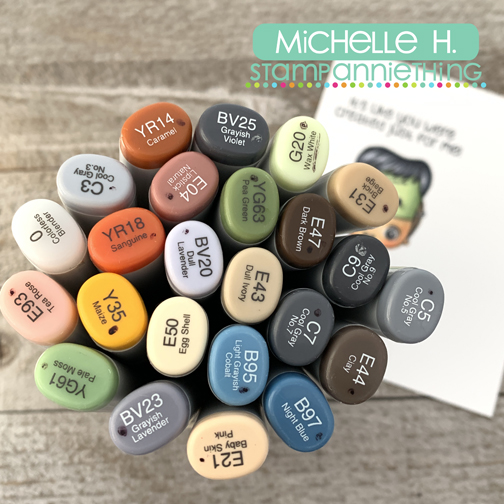
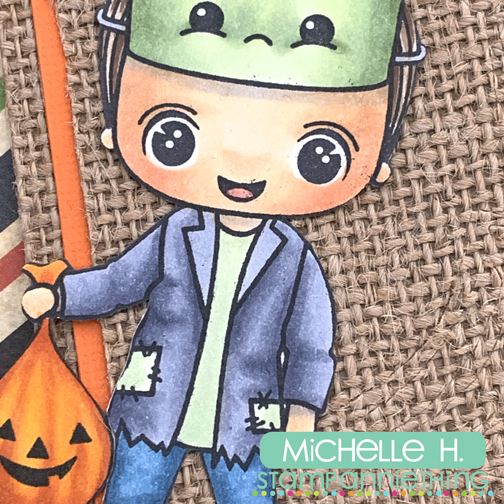
One last image for this month! These are all so amazing and SUPER fun to color so sweet! I colored up Stephen with my Copics of course.

Using some more traditional colors for skin and hair on Stephen and then having fun with his mask and costume.
Love that goody bag too!
Onto a card he goes I used the burlap from a SAT Grab and Go box and then grabbed the adorable jack-o-lantern charm from this month and twine from SAT as well.

Have a Happy Colorful Day!
Thanks for stopping by today! And make sure to take a peek at all the fun stamping products Ann has in the store!