Posted on 1 Comment

Show your Love :-)

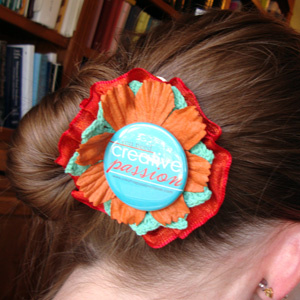
I recently decided to put together a little hair do-dad for myself for when I go to crops, conventions and for when I am teaching.  I want everyone to know about Creative Passion and the amazing classes we have there and I figured what better way to show that love then to walk around with it displayed on my head!  He he.  So here is what I did…

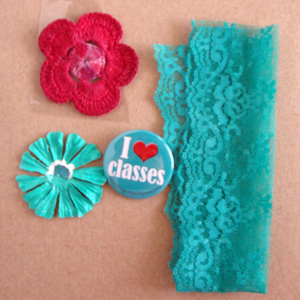
The supplies I used can be exchanged and played with a lot.  Use what you have in your stash and find a button that shows your love!  I colored a paper flower, a crocheted flower and lace with my Copics so they would match perfectly with my Creative Passion button.  I also used a Gluber to hold things together, needle thread and a large hair clip.

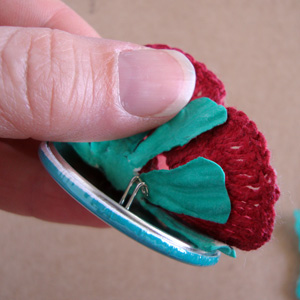
Step #1 – I used the pin on the back of the button to attach the button onto the paper and then crocheted flowers.

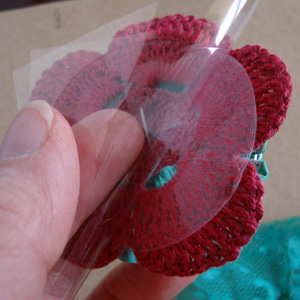
Step #2 – Next I added the Gluber on the back of the crocheted flower.  (You could skip this step and sew it all together instead, I just love using Glubers)

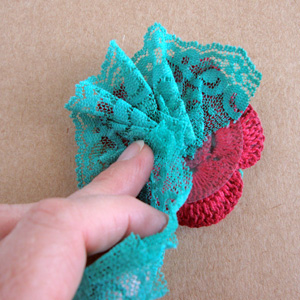
Step #3 – Take the lace and gather it along one edge, adhering it to the center of the Gluber.  Work your way all the way around the Gluber.

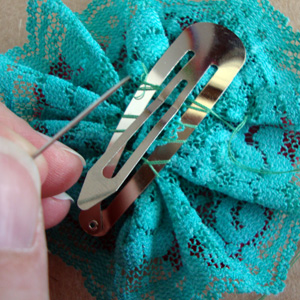
Step #4 – Sew the hair clip onto the lace.  Make sure it is facing the way you want so you can get the button right side up in your hair!

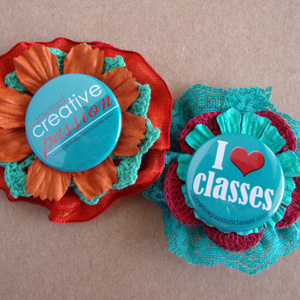
All done!  Here are the two that I made.  A friend NEEDED one as well.  Any way fun and sweet and oh so easy!

TUNE IN THIS FRIDAY, OCTOBER 19TH FOR A MAJOR BLOG HOP AND GIVEAWAY!

Then next week I will show you some layouts I created at CKC and the amazing Copic/doodly apron I wore around 🙂

Posted on

Perfect Doodly Weekend

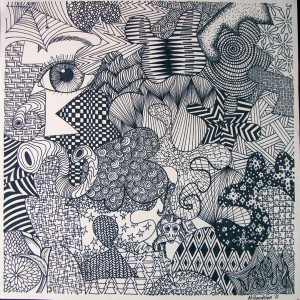
I spent the last weekend at the Kansas City, Creating Keepsakes Convention.  I got to visit my FABULOUS friend Brenda, take a few classes, shop way too much, scrapbook way too late and I even got to teach two classes.  I taught “Inky Doodle Journal” and “Oodles of Doodles”  Both groups worked on a mini album.  We got a lot done but did not quite complete the albums.  One of the participants in Oodles asked if I would post my big collection of repetitive pattern doodles here so here it is!

I hope I will see several of them over at Creative Passion as well.  Many seemed interested.  Anyway it was a huge success all in all and I plan on returning next year to play, shop, scrap and teach again!

I hope everyone else had as equally as nice a weekend.  Happy Monday!


Posted on

Two Tutorials

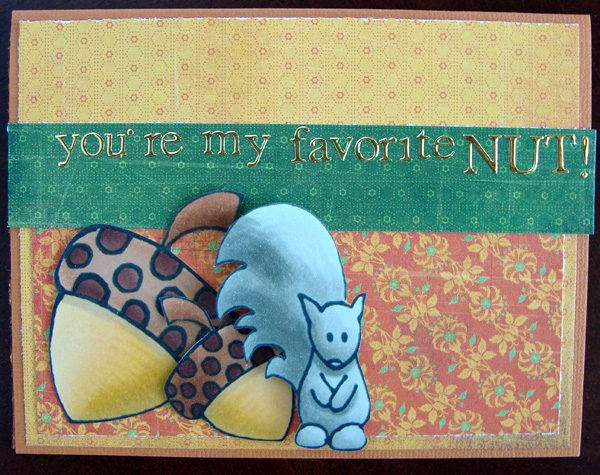
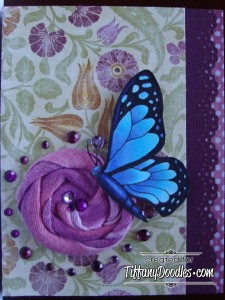
I have two new tutorials out there.  The cute squirrel is over at Get It Scrapped and comes with a printable.  The Butterfly can be found over at Tiffany Doodles.  Make sure to check them out!

Make sure to tune in next week.  I am going to be posting a fun mini tutorial here on making a hair clip or flower out of a button and then I should have a big post later in the week that will have a prize attached!

Happy weekend all!

Posted on

Layout I love

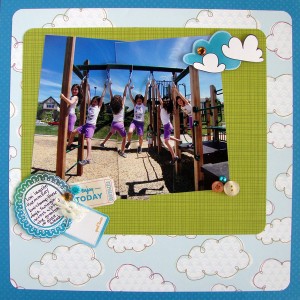
Another great article up over at Get It Scrapped with some amazing layouts. This time we are scrapping places around town.  The everyday, the places we pass and are a part of often.  My layout is about park going and features Lori

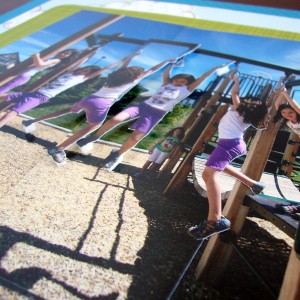
Here is a close up of the collage image

This layout is VERY similar to one I did about Sara a couple years ago and I love how this one turned out as well.

Not much else to report as of this moment I will have another tutorial out on Friday and I’ll post it then.  Hope  I will get to see a few of you in Kansas City in 2 weeks!

Posted on

Can you hear me now?

Would you like to hear my lovely voice?  LOL I just did an interview with Debbie Hodge for Get It Scrapped’s This Memory Keeper’s Life.  You can here my interview HERE.  While you are there check out some of the other scrappers.  I have to say it has been really fun turning the interviews on while I scrapbook and color.  It is like having crafty friends with me in the room that are visiting near me.  Check it out!

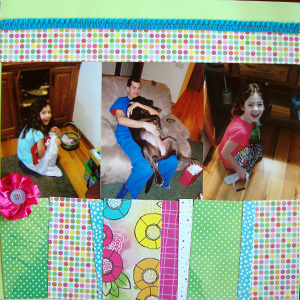
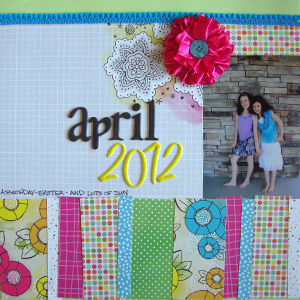
Here is a layout I completed with my scrapping friends live and in person here in Iowa.  It is based on a sketch from “One Month at a Time”  by Tami Taylor.  Here is the left hand side.

And here is the right…

The color is a bit off but you get the idea, think lime green when you see the mint 🙂  The flowers were made with ribbon and glue dots (for the larger one a Gluber, a ginormous glue dot but I just like saying the word)

Happy crafty day!