No I am not learning a new language, believe it or not there is a brand new pen out from Copic! It is a nylon brush pen that is compatible with Copic inks! Yippee Skipee, let’s play!
Now let me share first and foremost that the new Gasenfude pen has it’s own learning curve and needs as much practice to master, maybe even more then your Copics depending on what yo would like to do with it.
Here are the details before I show you my play time:
- Archival
- 9 mm long bristles
- 3.1 mm diameter at brush base
- Water based, black pigment ink
- Sturdy, genuine nylon bristles
- Superfine point for detail work
- Long, flexible bristles for dry-brush effects
- Copic compatible ink (will not bleed with Copic markers)
Good stuff right?! So I decided to challenge myself and try my hand at some brush script. It is all the rage you know and really how hard can it be? (She says to herself with some confidence) I’ll be honest, harder then it looks, and took more practice then I anticipated. But like any new adventure oh so very fun! Here is the breakdown of what I ended up with.
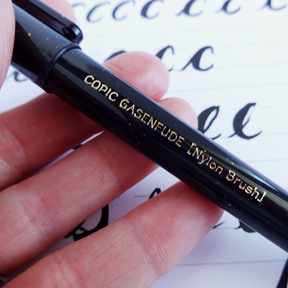
Take a closer look at the pen, I’ll check the spelling 🙂
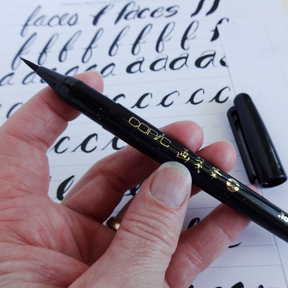
This shot gives you a closer look at the long nylon brush nib.
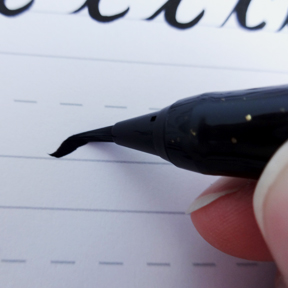
It flexes even further then the Super Brush Nib on the Copic Sketch markers. Practice Practice!This style of lettering is ALL about pressure. Press down to get thicker lines, ease up to get thinner lines. Speed is a HUGE factor as well, keep it slow, I mean SUPER SLOW!
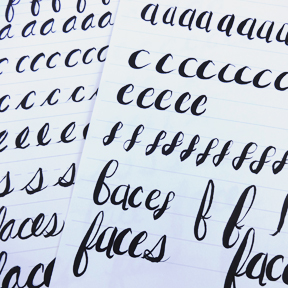
I started with a lot of individual letters. For time, I focused on letters I knew I wanted to use. I looked up a couple different styles on line to get some ideas, but ended up using a style that is mostly my own handwriting.
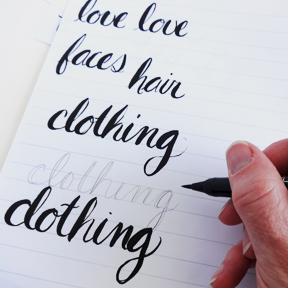
Yep more practice! and now focusing in on words. Some of my letters link like a cursive style others do not connect, like a standard print. I worked on lined paper and also did some work in pencil first to look at where I wanted thicker areas on each letter.
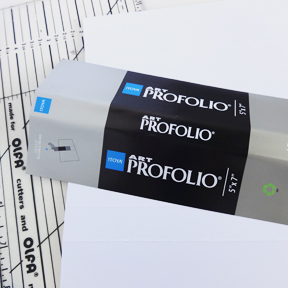
Now on to a project. I am going to add labels to my Copic portfolios. I pulled out the paper from the sleeve around the binding to get measurements. I used a pencil, clear ruler, paper trimmer and bone folder.
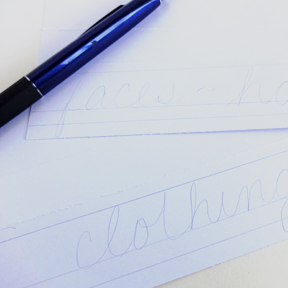
Here are my labels cut, folded, with guide lines and very light writing to give me a better shot at spacing.
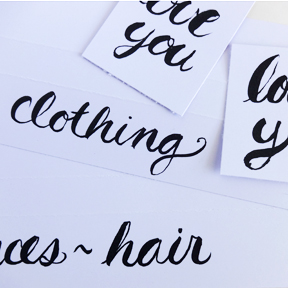
Next ink it up with the new Gasenfude and erase all the pencil lines after the ink drys. I couldn’t resist making a couple of extra little tags with the scrap paper.
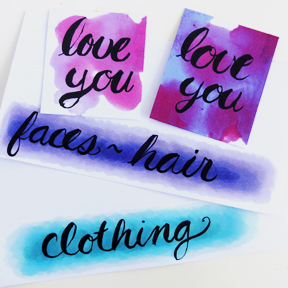
Best part of Gasenfude…compatible with Copic ink! Yay! Color, color, color!
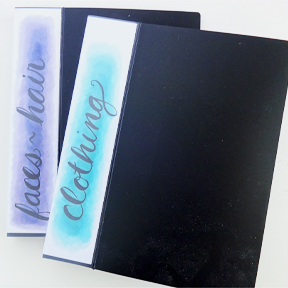
Yep loving it, takes practice and patience, I am not there yet, but I am loving it!
have a happy colorful week!


