Posted on

More Glitter can only be GOOD!

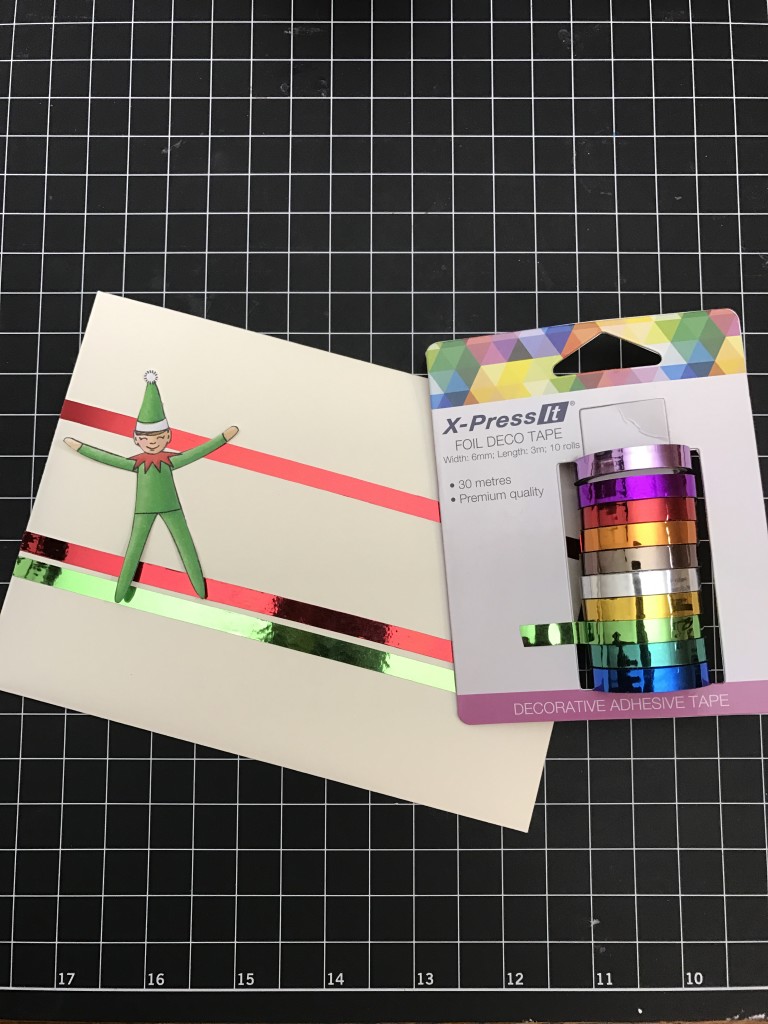
One more new product from X-Press It for glittery goodness. Glitter Deco Tape is not new BUT how about wide tape? 1 inch wide to be exact. It tears easily by hand, is acid free, 10 meters per roll and available in gold and silver. 

img_3619

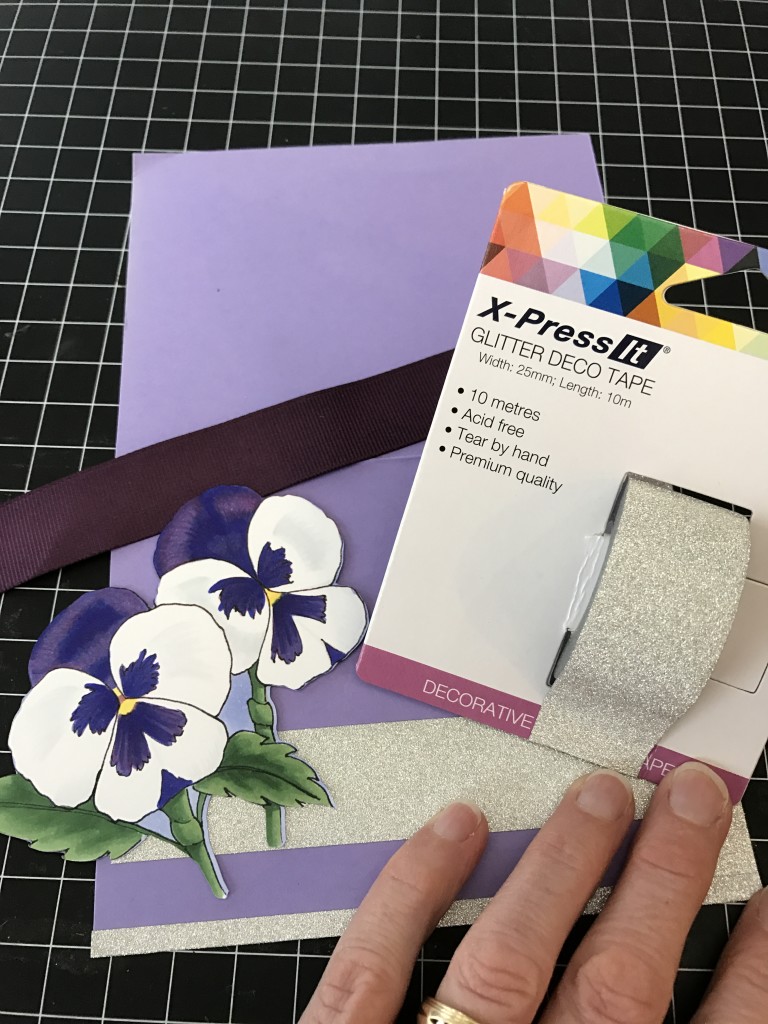
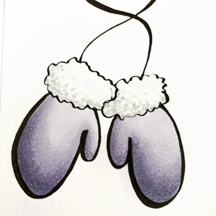
I stepped away from the holiday creating to add some glitter to an image I created several years back and had yet to add to a card.

I edged the card base with the Glitter Deco Tape and the wide width made it so easy to wrap around all the edges. I laid the tape half on half off the edge of the paper:

img_3620

Then trimmed the tape right to the corner, I used scissors to keep the line crisp, but if I was adding this tape to a scrapbook page or journal page I would tear it for a nice uneven edge.

Then I clipped the inner corner so that it will not crumple in the fold of the card.

img_3622

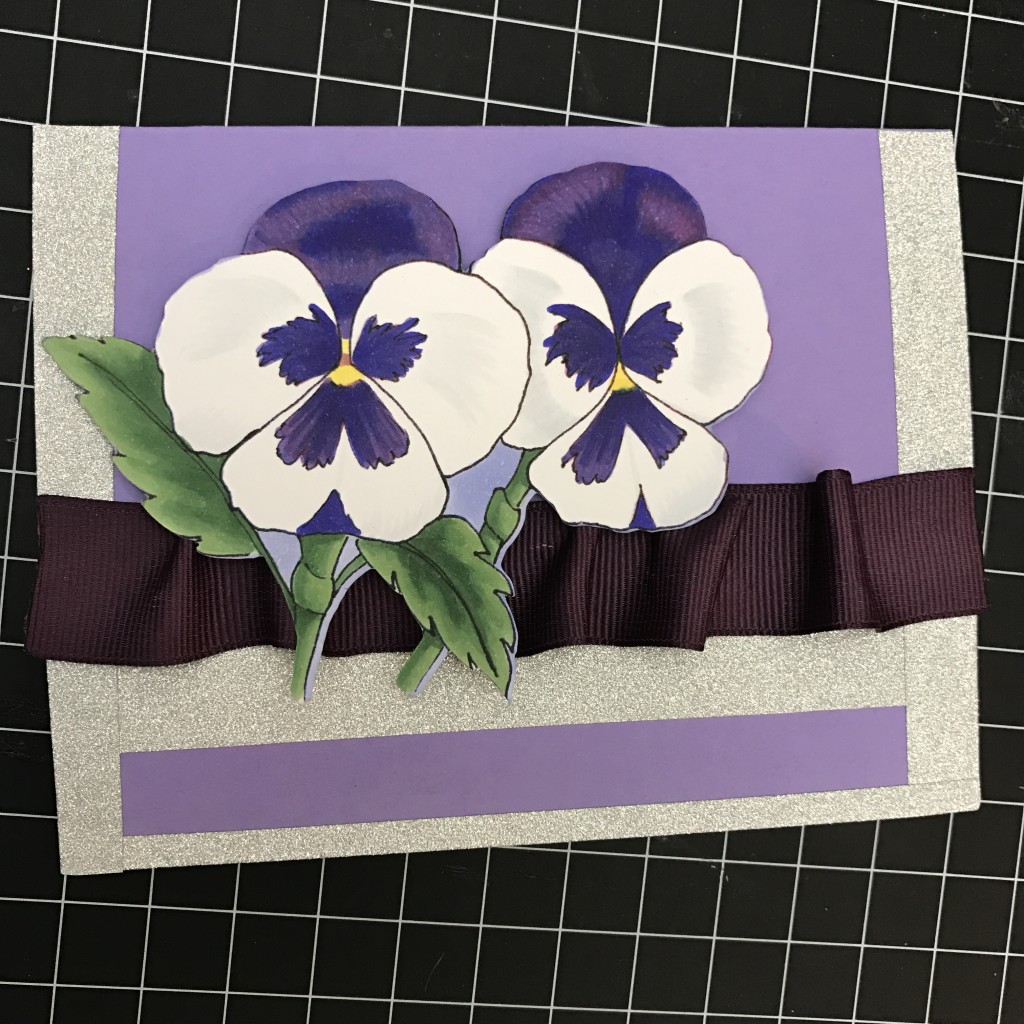
I finished the card with some ribbon and attaching the flower. I’ll be honest I am not sure how I feel about the finished card. But I am a firm believer that completing the card and having it ready to mail off to a friend is the important part!

img_3654

The Glitter Deco Tape is a fun addition to my crafting tool box. If you would like to see a little more or add some to your collection check it out at Imagination International, Inc.

Have a Happy Colorful Day!

Posted on

Shiny new stuff YAY!

New products that glitter and shine from X-Press It! Just in time for the holidays and adding a little sparkle to your handcrafted gifts! The first product is a new line of Foil Deco Tape. It comes in a set of these 10 BEAUTIFUL colors and shines up even simple projects. It is narrow and flexible for easy application not to mention repositionable. There is 9 feet of tape per each roll and the tape adheres smoothly with no bubbles. Even the packaging is well though through, you can take the rolls off and then slide them all back on for easy storage!

img_3627

I created these fun envelopes with a simple stamp from Essentials by Ellen. I colored this little guy on front with Copic Sketch markers. I fussy cut around him and then added him to my envelope, but FIRST I added three simple stripes of Foil Deco Tape. It just makes the image shine!

img_3625

The foil is so clean and crisp! The address will look so cute riding between the stripes!

On the back of the envelope I added another little elf and “you’ve been elf’d” from the stamp set. 

img_3626

This was fast and easy and the Deco Foil Tape added so much to the design. You can check out more about this new product at Imagination International, Inc.

Have a Happy Colorful Day!

Posted on

Holiday digital stamp #2

Happy Thanksgiving!

I have another digital stamp for you today! A silly sheep for you all dressed up in a winter hat. You can make yours a holiday sheep or just a snow ready one!

kmh-santa-sheep-stamp

If you would like to see how I colored him up you can check it out at Copic In The Craft Room. This is my finished wooly friend! If you decide to use the sheep and post it somewhere please share my blog as well so others can find the image and the information!

sheep-8

I pray you are spending this Holiday weekend with family and friends.

Have a Happy Colorful Day!

Posted on 1 Comment

Holiday Stamp #1

Happy Holidays to all my family and friends! Today and the next three Thursdays I have a holiday gift for those who love Copics and coloring. Today’s image is a pair of winter mittens. I created them fairly plane figuring that many would enjoy adding their own designs and patterns.

kmh-mitten-stamp

You can find the tutorial over at Pinterest Here

I colored mine very simply, but feel free to decorate! I would love to see your finished mittens. You can post them over at Copic In The Craft Room!

mitten-10

Happy Holidays Part 1!

Have a Happy Colorful Day!

Posted on 2 Comments

Gasenfude, Yep I like this pen!

So a while back I introduced the Gasenfude pen from Copic. It is a nylon brush pen that has a rich black ink that is compatible with Copic markers. Yay! Since then I have been doing a lot of brush lettering practice with it.

gasenfude-3

If you have not yet heard we are introducing a hand lettering workshop for the 2017 season and I am trying to “brush up” on my lettering skills ha ha. The Gasenfude is a great practice tool for me because it takes A LOT of pressure control to get the lettering right. or at least somewhat presentable. Mine a certainly not perfect, but the Gasenfude is helping me get better!

I am thinking of trying to do a gratitude journal through November and only allowing myself to use the Gasenfude to keep me progressing and practicing!

Then I was TOTALLY inspired by both Jennifer Dove and Michele Boyer and there creative use of the Gasenfude pen. They both created images and colored them in with their Copics. Jen even shared the image she created with all her viewers (over at her blog linked above hint hint)

I figured what a spectacular idea so I created a small pile of 5 winter/holiday images that I will debate weekly at my blog and have a photo tutorial to go with each over at Copic In The Craft Room. Here is a sneaky peek of what I came up with.

gasenfude-2

Nothing fancy, just quick easy and fun. I love the varying thicknesses that the Gasenfude creates and the hand drawn look that it showcases on the images. So the first of these will debut Thursday November 17th and run 4 Thursdays in a row, yes even Turkey day. There might be a 5th just not sure if I am liking one of the images.

gasenfude-1

Any how just wanted to share my continued experiences with this new product from Imagination International, Inc.  If you would like all the facts and figures on the product check them out at Imagination International, Inc. right HERE.

Have a Happy Colorful Day!