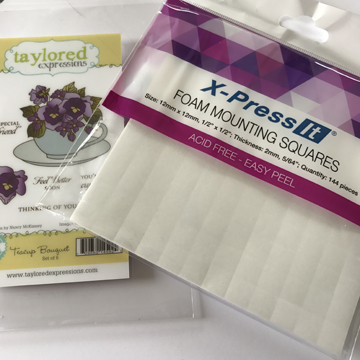
I just posted a video over at Copic In The Craft Room on YouTube featuring this beautiful stamp by Taylored Expressions and a fun new product by X-Press It. Those of us that use Copic markers are familiar with X-Press It, the company makes one of our favorite Copic papers! What you may or may not know is that they have a full line of adhesives as well. Including glues, tapes and foam tape. And starting this year they have added foam squares as well!
I figured most of you would like to see a little more of the process in making my card so here you go! I started with my stamped image and a small group of Copic markers.
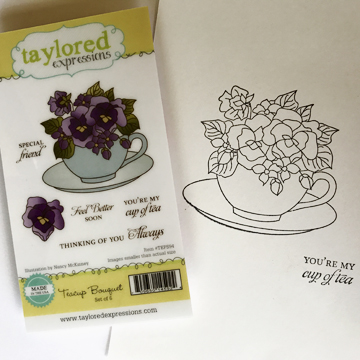
I chose these particular colors using a photograph that I found on Pinterest as a reference.

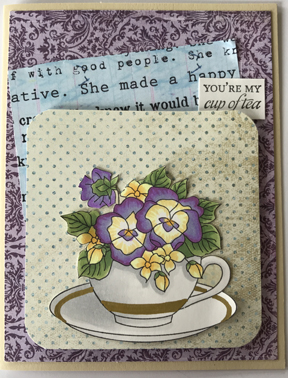
I colored up the image, I love how these Copic Violets blend together. If you would like to see the coloring in action make sure to check out the coloring video! A couple special notes, notice I did not cut out the area inside the handle of the teacup, I colored it instead, matching the patterned paper underneath, I did the same in a few small areas around the flowers. For this I used E81, B91 and my Colorless Blender. I also added a stripe to the teacup and the saucer, I did this with a Kirarina Wink marker in Gold.
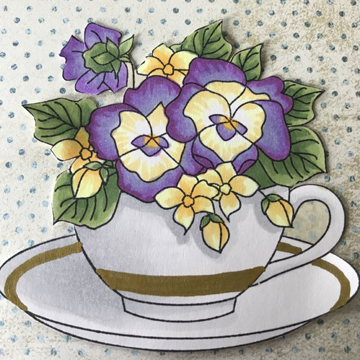
Once I had papers all trimmed and ready to go I started building the layers on my card. In order to add dimension on a otherwise flat card I decided to pop up the teacup bouquet and it’s patterned paper base. I used the X-Press It Foam Squares on the back of the patterned paper base, peeled the backing off and adhered the piece to the card.
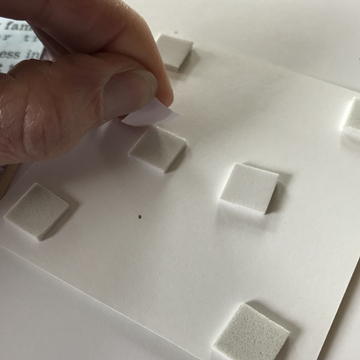
You can see how the foam squares lift the patterned paper off the card.
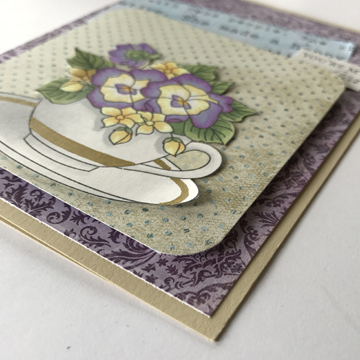
I appreciate that foam squares are not a new invention, but X-Press It products are really top notch and the foam squares are no different. Just like their foam tape, acid free, easy to adhere, solvent free, great for multiple surfaces and projects, but now in easy precut squares.
This little card is already off to be delivered I know it will be well received.
Have a Happy Colorful Day!


