Today I am playing with my ABS or Air Brush System. I decided to air brush everything! So I started with the standard crafter use for the air brush. I colored my simple image:
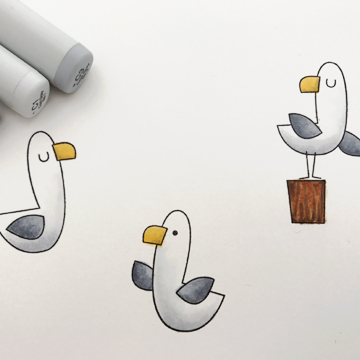
This is a stamp set by My Favorite Things. I used C1, C3, C5, 0, Y21, Y21 and E31, E25, V99, those last 3 are only on the wood. Then I masked off the seagulls by fussy cutting a second stamped page and then used post its to mask the bottom half of the image. I also have this new stencil by My Favorite Things that is perfect for these little guys.
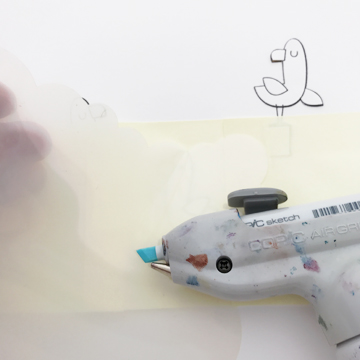
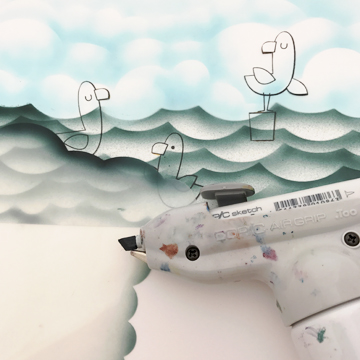
Background layer gets air brushed I used the same stencil for the clouds with the scallop shape pointed up and then turned the image over, pointed the scallops down and created waves.
Then I needed to create a card so I pulled out a lot of white and clear do dads.
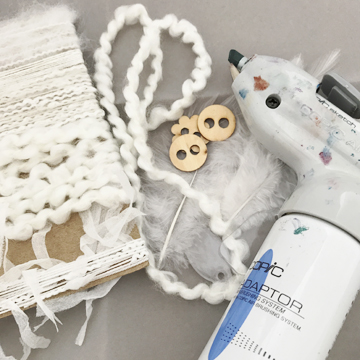
One of the great things about Copic ink is that it works on any surface so I can use it on plastics, cloth, wood and yes even feathers. I used similar colors to the card and colored up several things.
**Here is an air brushing tip: when trying to airbrush light items like fibers or feathers, considering taping them to your work surface with re-positionable tape to hold them down instead of getting inky fingers.**
My personal favorite is the plastic tags. I can airbrush them smooth, but this time I started smooth and then switched colors and sprayed really close to the plastic to create the blotchy appearance.
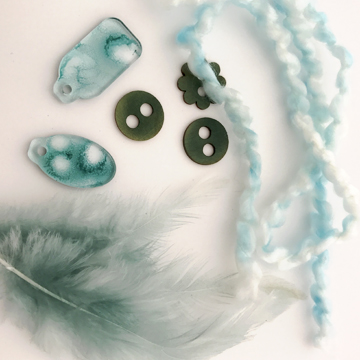
Next pull it all together. I added some of my airbrushed embellishments to my image and created this fun card.
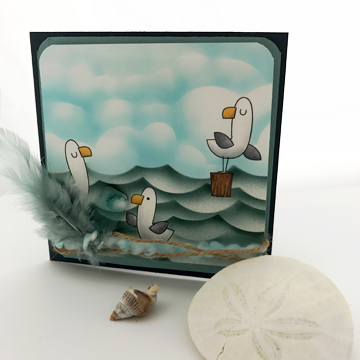
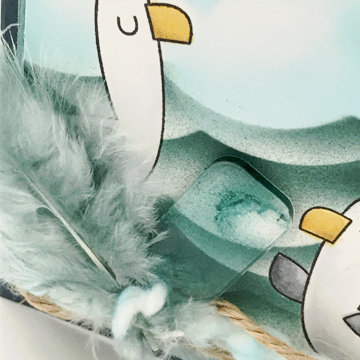
My favorite spot is in the lower left corner where all that airbrush loveliness gathers.
The Copic ABS system is crazy versatile and I have just touched on some of the basics with this card. If you have questions about how to choose which system please ask or trouble shoot your airbrush work let me know! There is also a lot of great information at the III web site and also we have several videos featuring the ABS system over at the Copic In the Craft Room YouTube channel.
Have a Happy Colorful Week!


