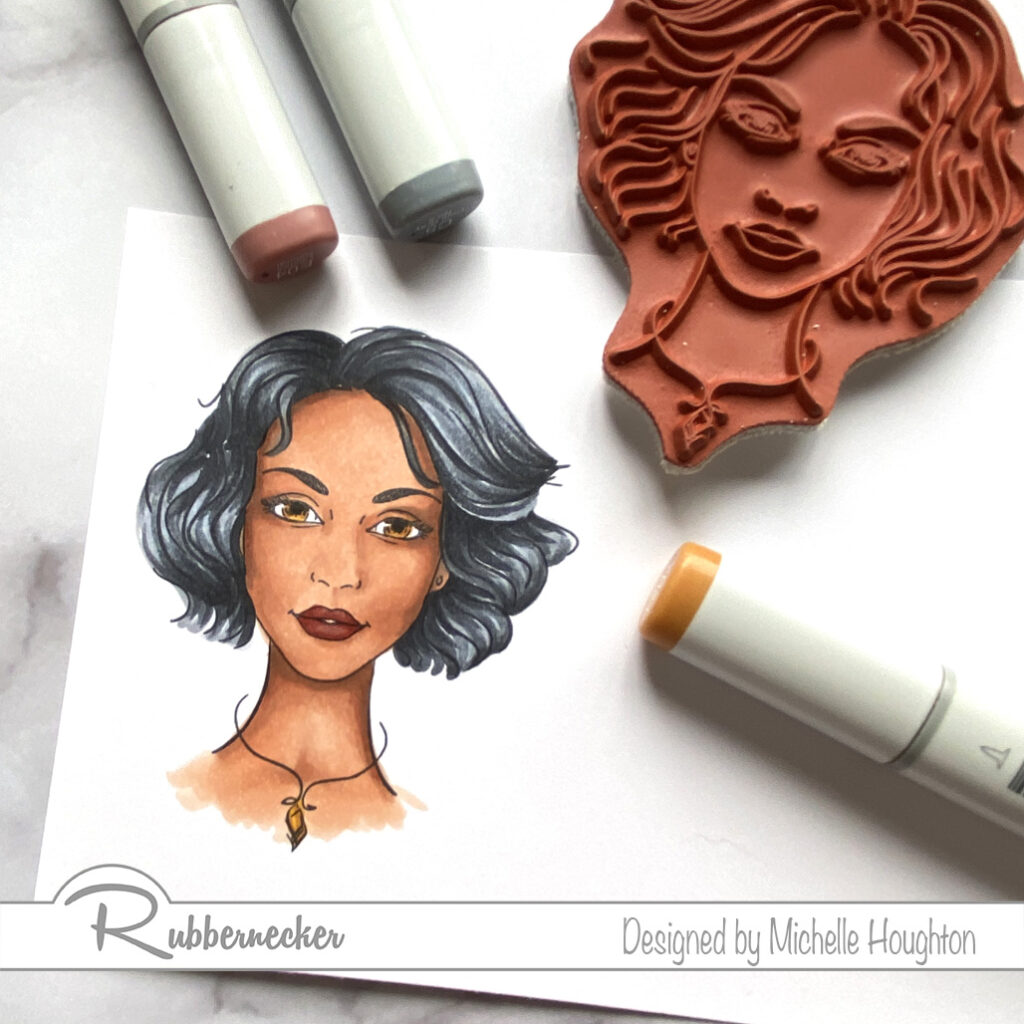
I am finally getting back to doing some filming and Copic coloring! I know I will be on and off this summer but feels super good to be back on-line sharing even a little.
I am coloring up a wonderful image from Rubbernecker Stamps, Nala. The team at Rubbernecker asked if I would continue sharing some tips soon coloring darker skin tones so over the next few months I will share a few videos with medium to darker skin tones. If you have favorite color combinations I would love to hear those and I will share a few oof my go to combos.
I usually start with the skin on images, especially if I know I am going to go with darker tones because they tend to be a little trickier and if I mess up and need to start over I would rather not have spent oodles of time on other areas of the image first.

- Base the skin in an Earth tone. (E11)
- Use a mid-tone to map out the shape of the face creating the contours. (E13)
- Use a shade darker in lesser amounts in all the same areas. (E15)
- Work in reverse through your markers to blend the layers smooth. (E13, E11)
- Use a blue violet to push the deepest shadow areas further back, in some cases I need to blend this color n a little in others it can sit right on top, in this case a LITTLE softening with 2 Earth tones was needed. (BV23, E15, E13)
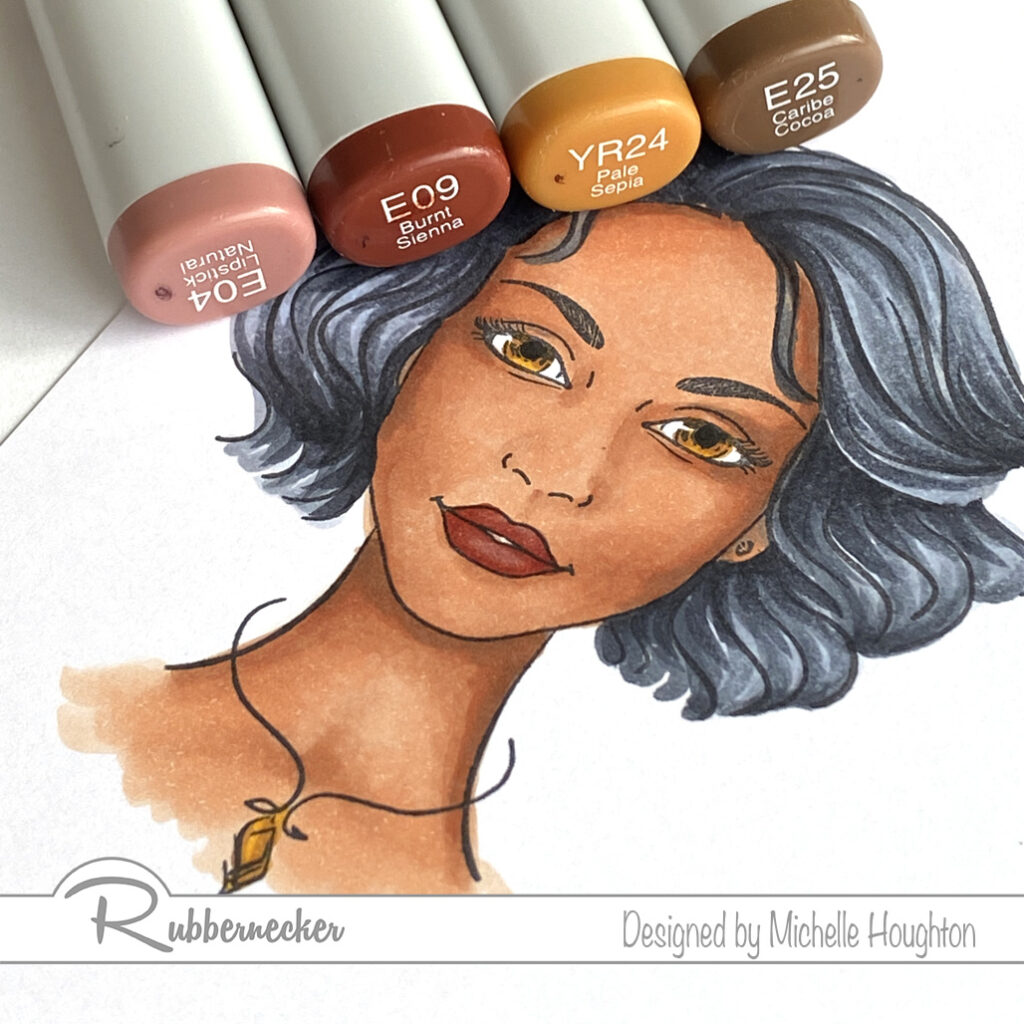
- Finish up the lips with two Earth tones. (E04, E09)
- Use two colors on the eyes. I used them on the necklace as well. (YR24, E25)
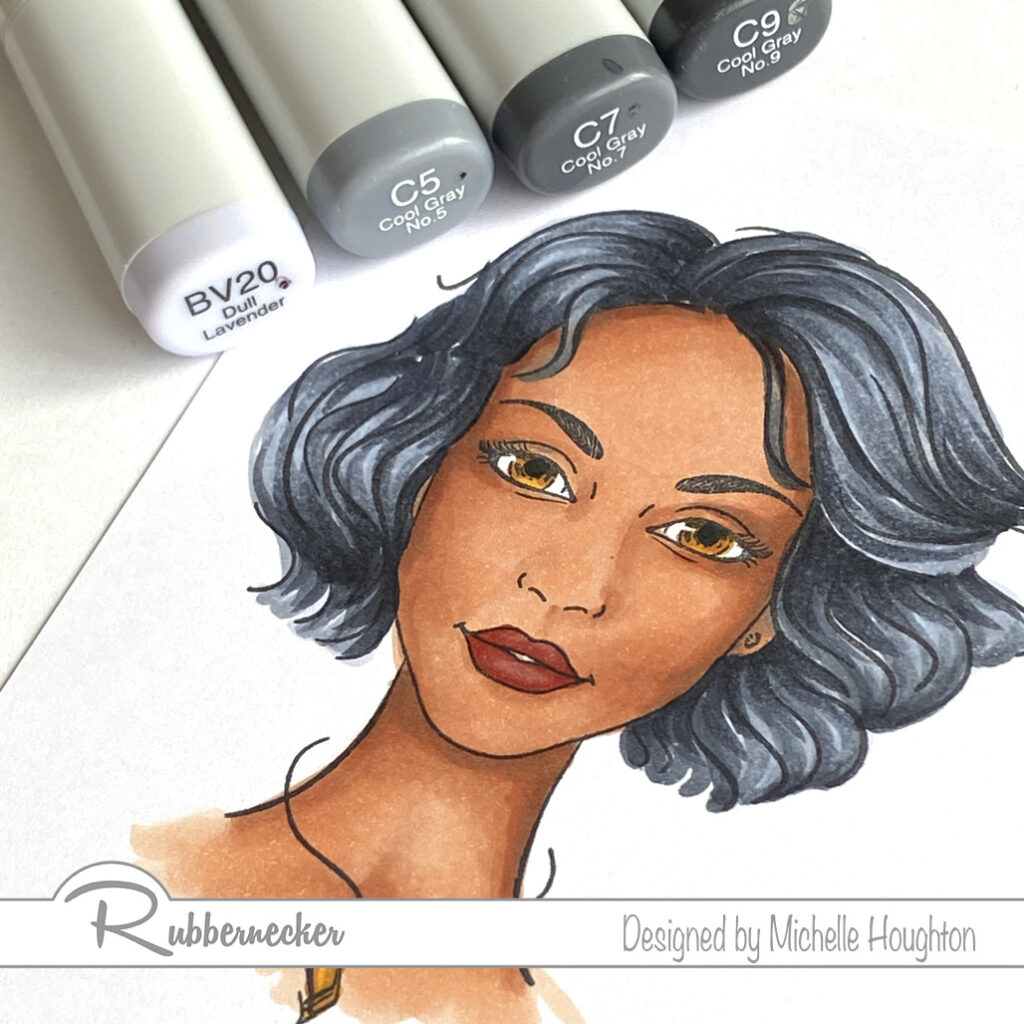
- Finish the image off by coloring her hair. Put a light blue violet on the highlight areas. On waves hair look for the areas that wave out away from her head. (BV20)
- Start with a dark cool gray and use varying lengths of flicks starting in the deepest areas and flicking out along the curves the artist has already on the image. (C9)
- Use two more cool grays and flick more into the highlight areas vary the lengths of the flicks so you do not end up with bands of color. (C7, C5)
- Go back and use any of the three gray tones to create the waves and texture that you like. Make sure to add in small amounts at a time and pause in-between layers to let the ink move and watch results. If you rush this step you can overwork the hair and end up with a muddled mess. (C9, C7, C5)
- To finish the hair use the light blue violet to lightly work back into the highlight areas. (BV20)
I also have a video recording of this process and the video is over at the Copic In The Craft Room YouTube channel.
Thank you for stopping by today! I will do my best to keep the coloring and creativity coming!
Have a Happy Colorful Day!