I hope your coloring fingers are ready! Rubbernecker Stamps has come out with 4 beautiful new background stamps for slimline cards and oh what a treat! Colorers hold on to your markers, pencils and brushes. You are in for a real treat! I colored one of the four in my Copics and have the colors I used below. I will actually have a video next week as well but fare warning, this will not be real time. These take a little longer with all their glorious detail.
I tackled one color group at a time and worked my through the full image. I missed spots and went back once I had gone through each of the color groups I chose. So the step outs here will look a little different.
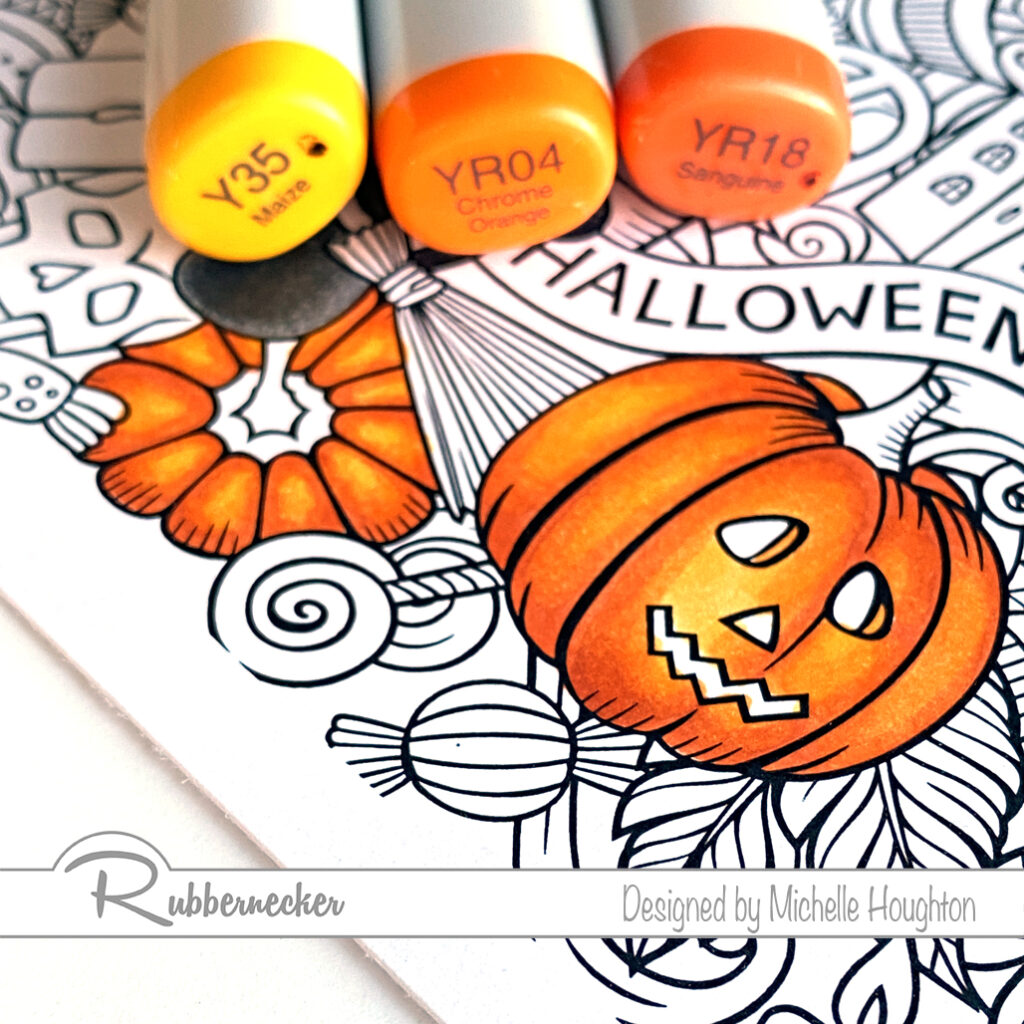
- Start with a series that will color all the orange portions of your image. Working on one or two sections at a time use the darkest of the series and find the deepest shadow areas. (YR18)
- Use a midtone yellow red, overlap the darker color and work further into the white area. (YR04)
- Use a midtone hello to fill the white area that will be the highlight and been into the midtone yellow red. (Y35)
- Work your way through the image coloring all the orange areas you can find at first pass.
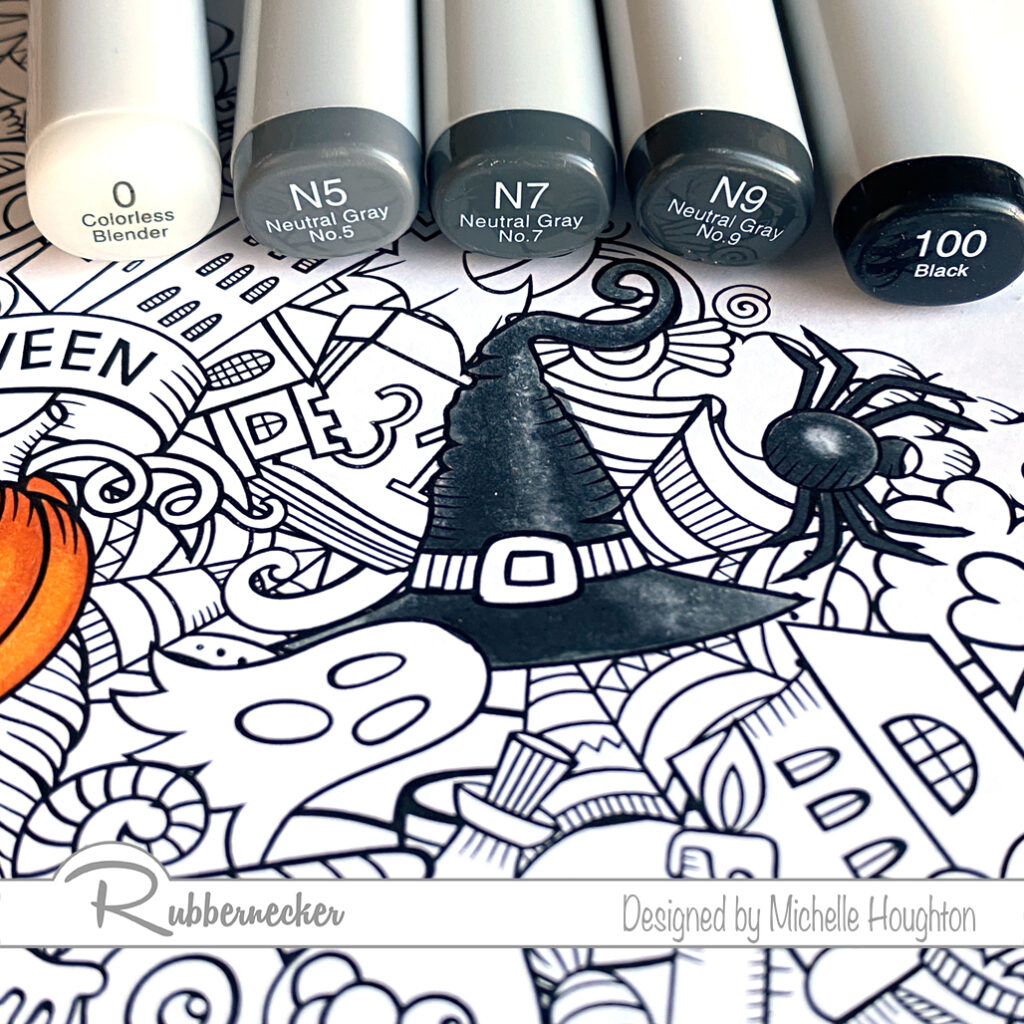
- Choose a set of dark grays and a black if you have it and use the darkest in the deepest shadows of one or two black objects in the scene. (100)
- Use a gray to overlap the black or dark gray and pull into the white area. (N9)
- Use two midtone grays to work into the white area. Overlap from the darker into the lighter area with each color. (N7, N5)
- Use a Colorless Blender to soften the edge of the lightest gray or lighten the highlight depending on the object. (Colorless Blender 0) * If an object is shiny leave a bright white highlight, if it is dull leave less contrast.
- Work your way through the image coloring all the black areas you can find at first pass.
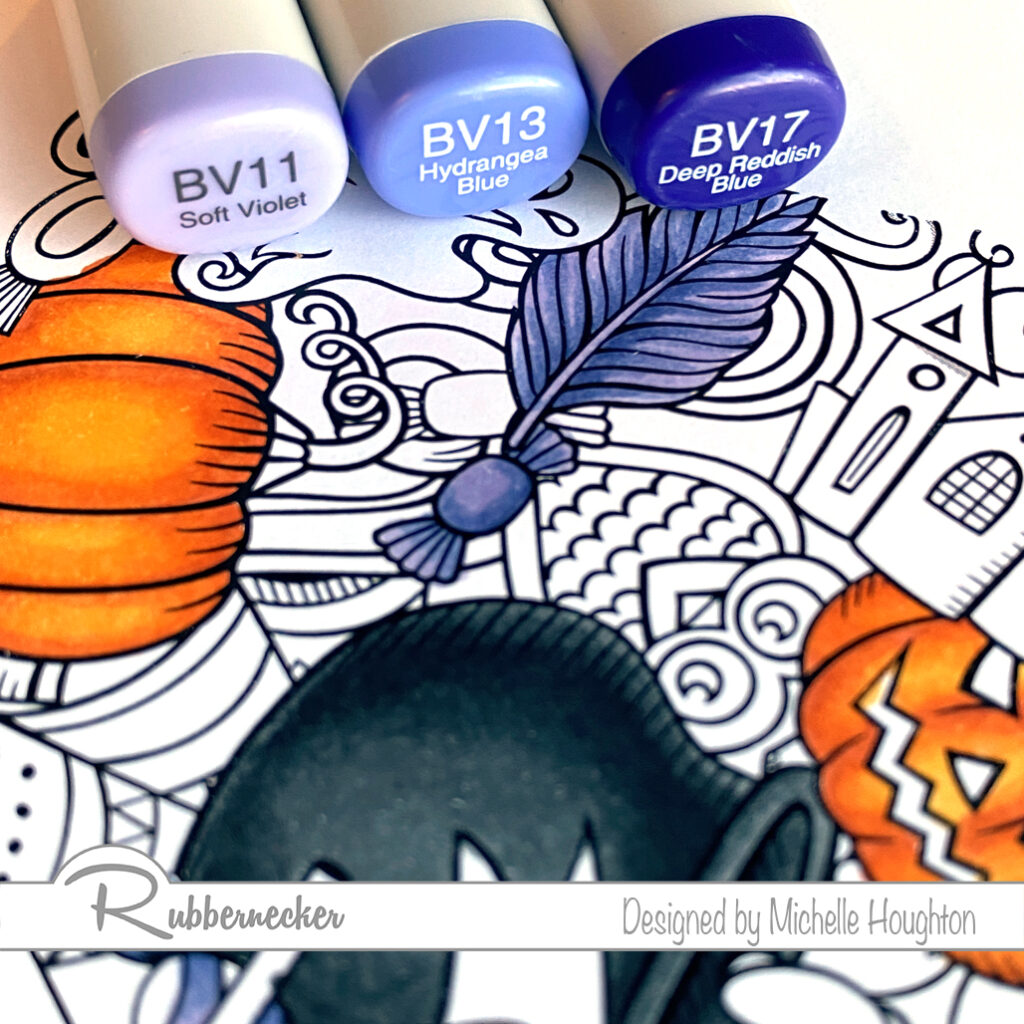
- Violets or blue violets are next start with your darkest and find the deepest shadows of one or two objects that will be violet. (BV17)
- Use a midtone blue violet to overlap the darker color and work into the white area. (BV13)
- Use a light blue violet and fill the white area on the objects blending into the midtone area. (BV11)
- Work your way through the image coloring all the violet/blue violet areas you can find at first pass.
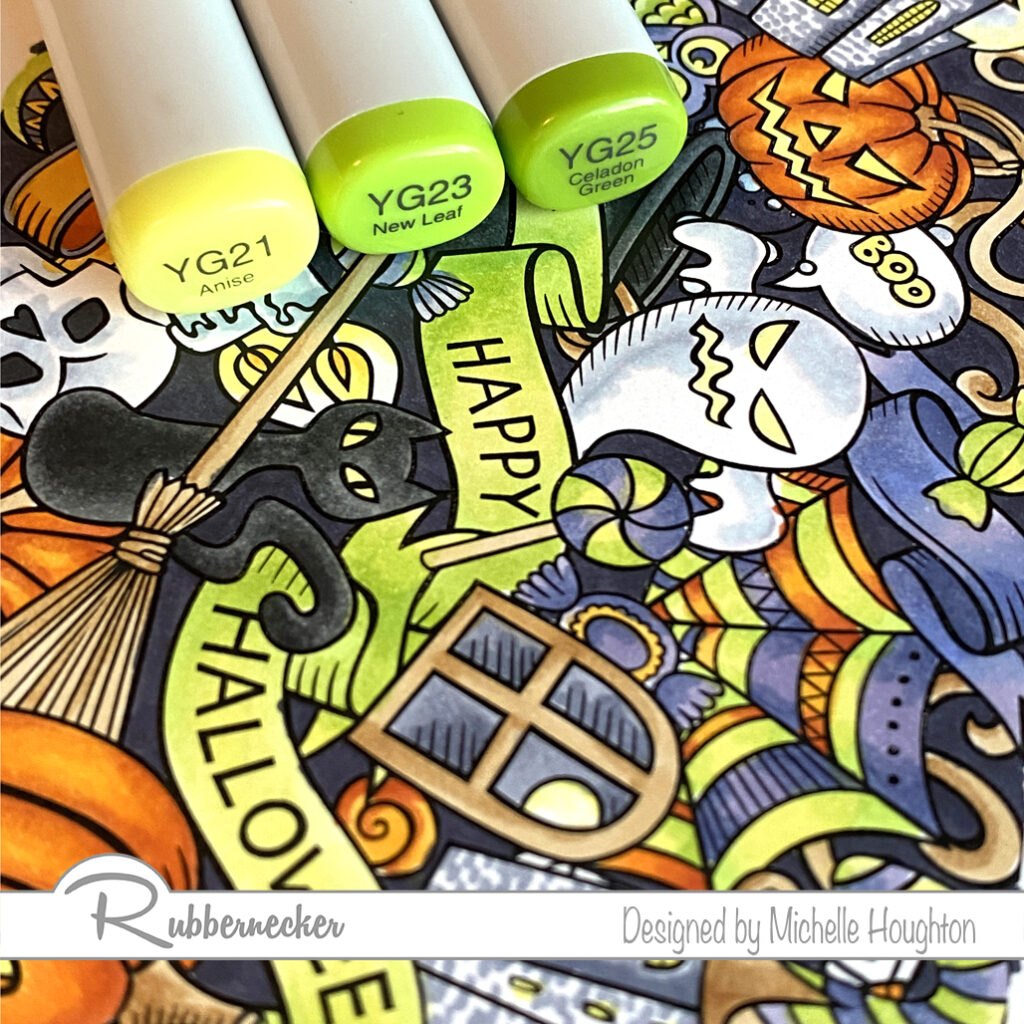
- Bright yellow greens are next. Choose a midtone yellow green and work it into the darkest areas on one or two objects in the image. (YG25)
- Use a lighter yellow green to overlap the darker color and work into the white areas on the objects. (YG23)
- Use your lightest yellow green to fill the remaining white are and blend it into the midtone area. (YG21) * This would be an opportunity to use a fluorescent Copic if you have one. I think they would work wonderfully here!
- Work your way through the image coloring all the yellow green areas you can find at first pass.
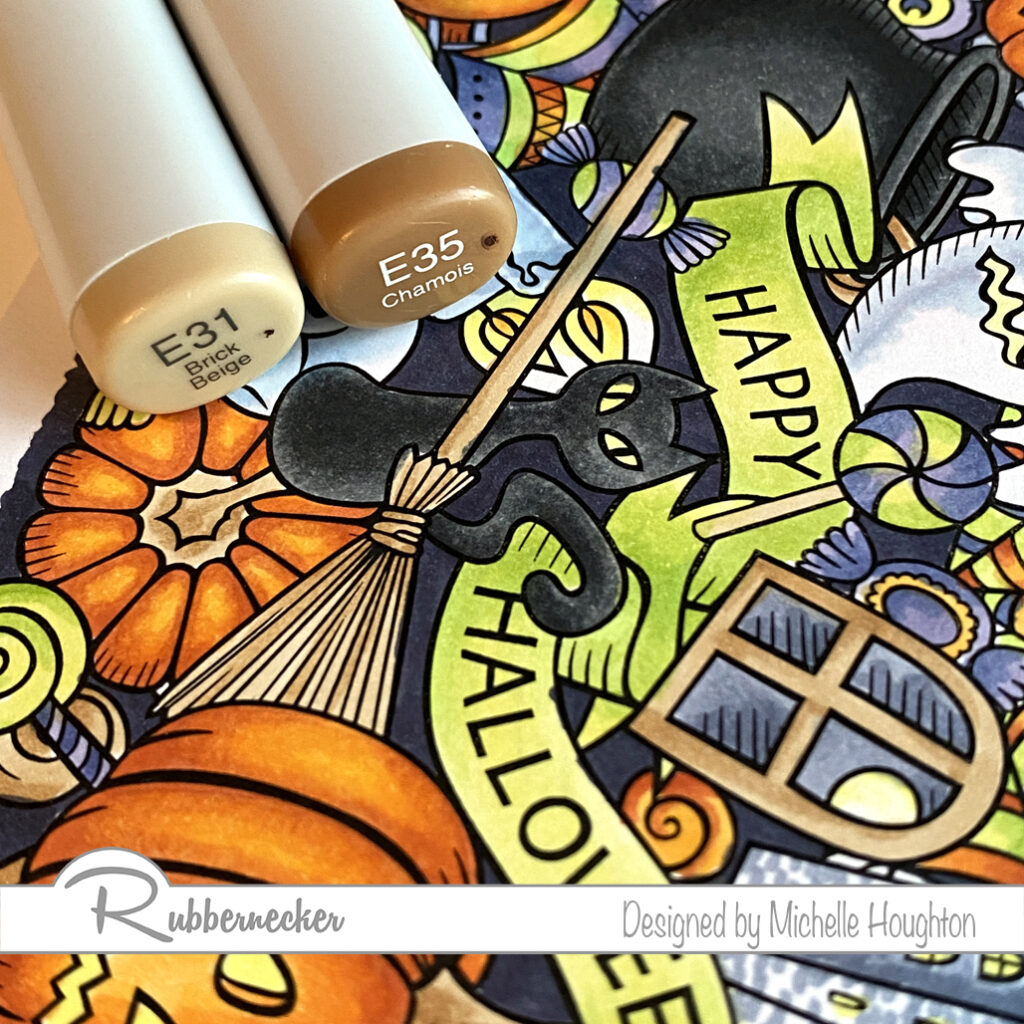
- Choose a simple two color combination for areas that could be wood or similar coloring. Use the lighter of the two to fill one or two of the areas. (E31)
- Use the darker of the two colors to define edges, add texture and depth. (E35)
- You may or may not need to blend this darker color back in with the lighter of the two. (Ee31)
- Work your way through the image coloring all the brown areas you can find at first pass.
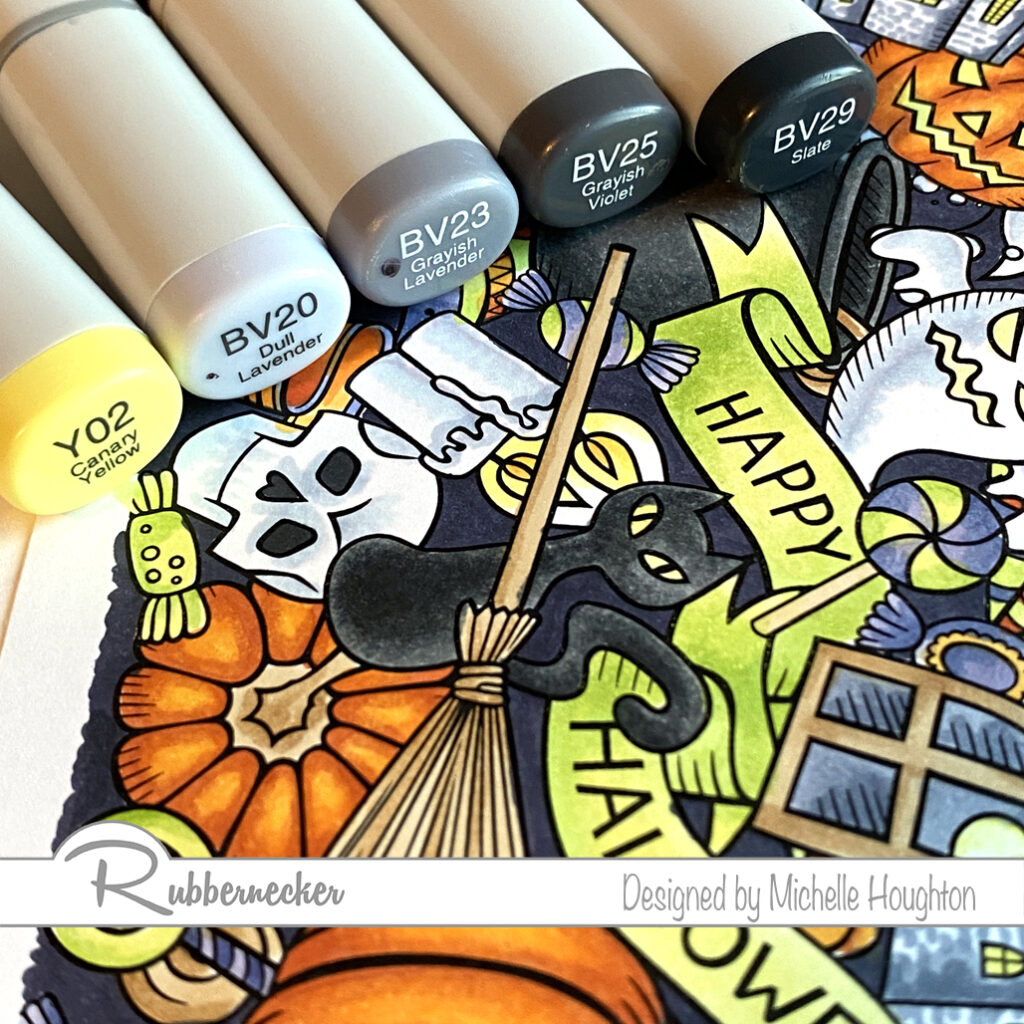
- Use small touches of a light yellow to eyes and flames with the midtone yellow used earlier. (Y02, Y35)
- For white areas use a light blue violet. (BV20)
- Use the colorless Blender to fade the blue violet into white. (Colorless Blender 0)
- Use the midtone and darker blue violet in the same series for other objects with light gray and white tones. (BV23, BV25)
- My favorite objects with these darker blue violets are the buildings or castles. I created a small brick pattern with rows of dots across the buildings.
- Use the darkest of the blue violets to fill the back spaces in-between the objects on the scene. (BV29)
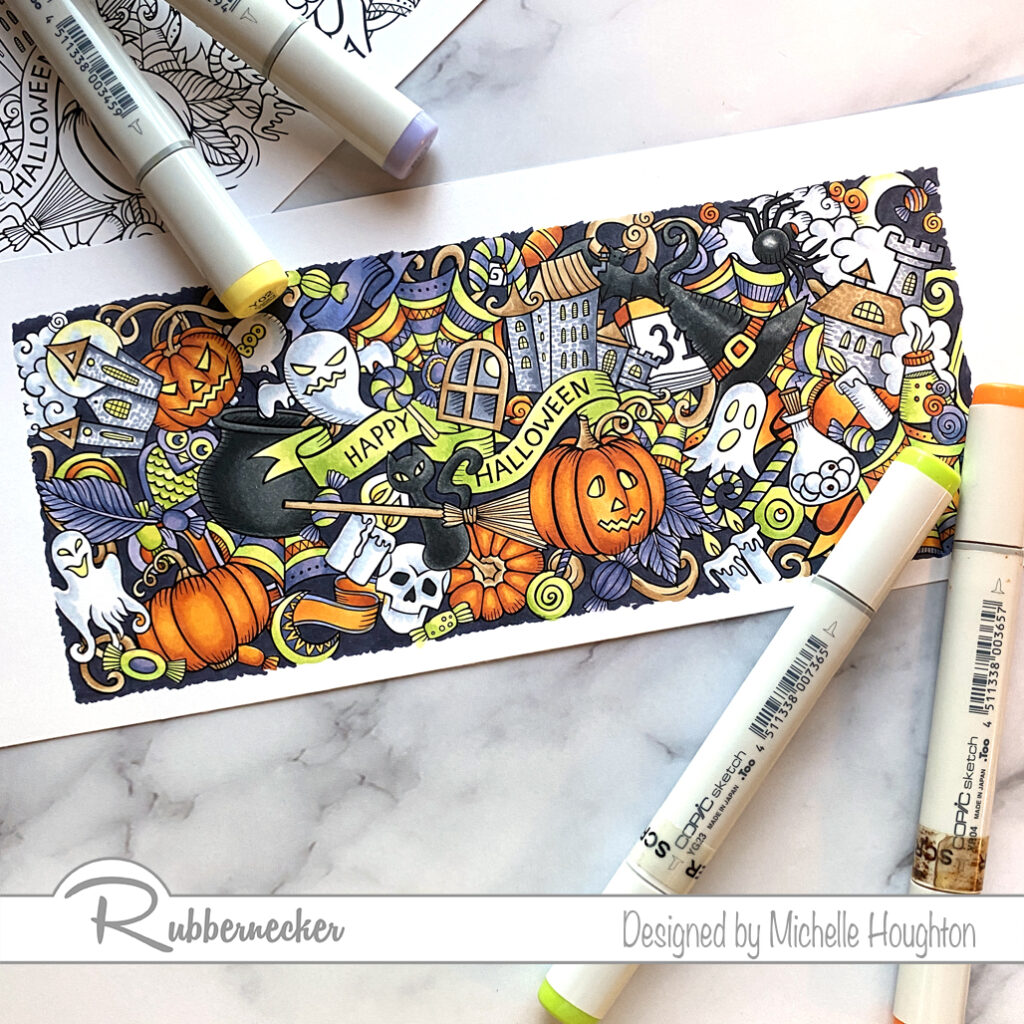
Here is the finished image. It can go straight onto a slimline card or be used with other slimline elements. You could even choose to break apart the image onto smaller cards. Thank you as always for stopping by!
Have a Happy Colorful Day!