Posted on

Layout and life updates

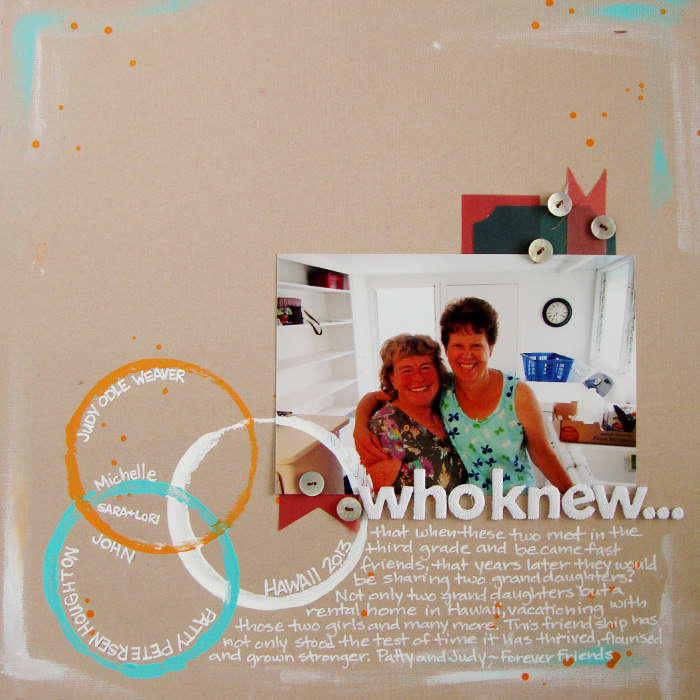
I have a new layout in an article over at Get It Scrapped and I LOVE it!  This is a technique that I had not tried before and I am so glad I did!  The article is about using photographs that are 6″ x 12″ on a layout.  HERE

6 x12 photo

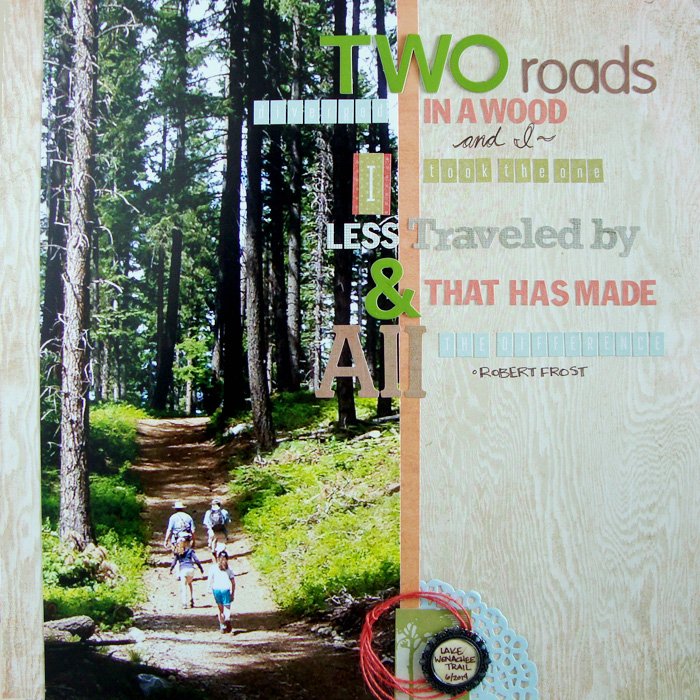
Lake Wenatchee Trail by Michelle Houghton | Supplies: wood grain paper and sticker letters; Basic Grey, orange patterned paper, green tag and doily; SEI, chipboard letters; Jilly Bean Soup, twine; American Crafts, ink; Zig and Ranger, metal charm; unknown

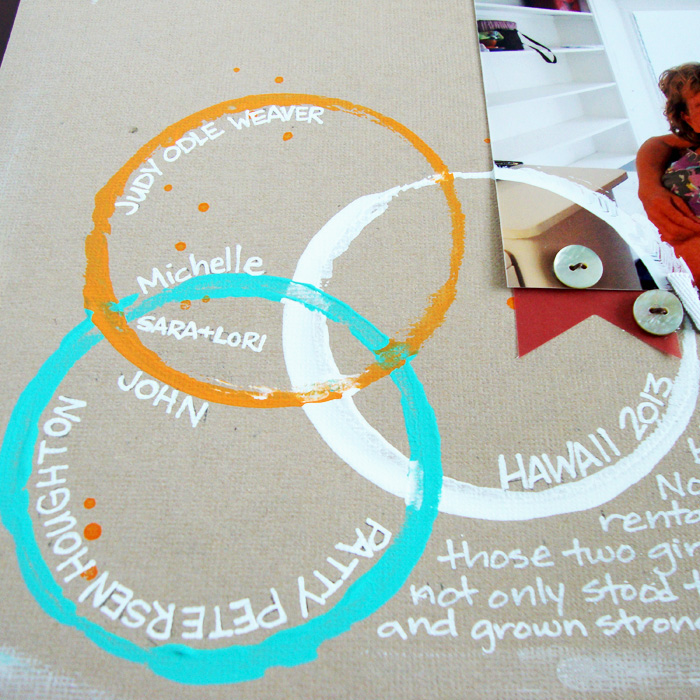
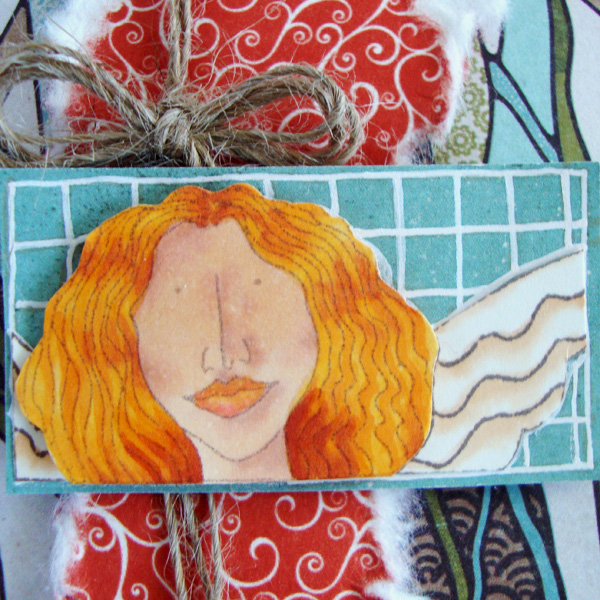
I am embarrassed to say there is a type-O in my remarks there.  It says I used various “dots” which if you look at the layout I obviously did not, I used various “fonts”.  The main reason I have not tried this before is the size of the photograph.  I do not have a printer that will handle a 12″ photo.  Solution I had two photos printed at my local shop as 11″ x 14″, ones I knew that I could crop 2″ of the 14″ length and 5″ of the 11″ width.   Here is a close up of some details.

Blog 6x12 2

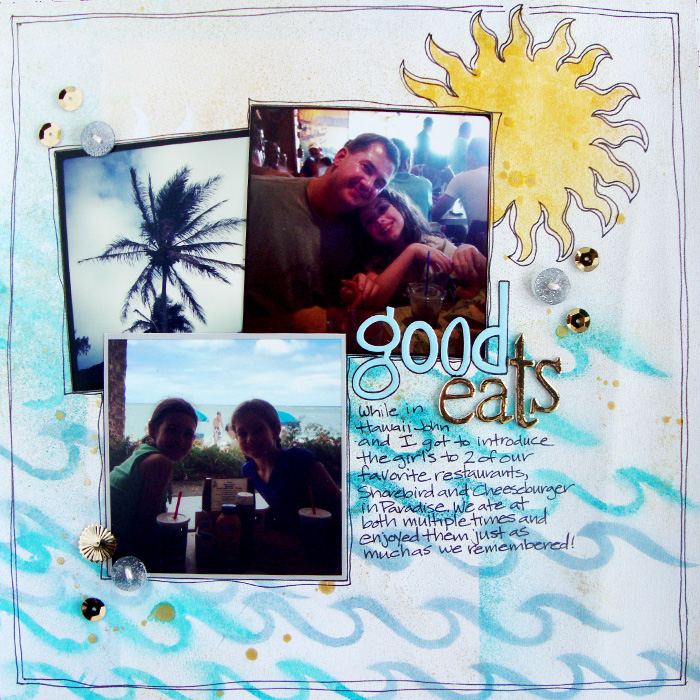
I also created a second layout using a 6″ x 12″ photo since I had 2 printed just in case and ended up loving this one equally as well.

6 x 12 photo

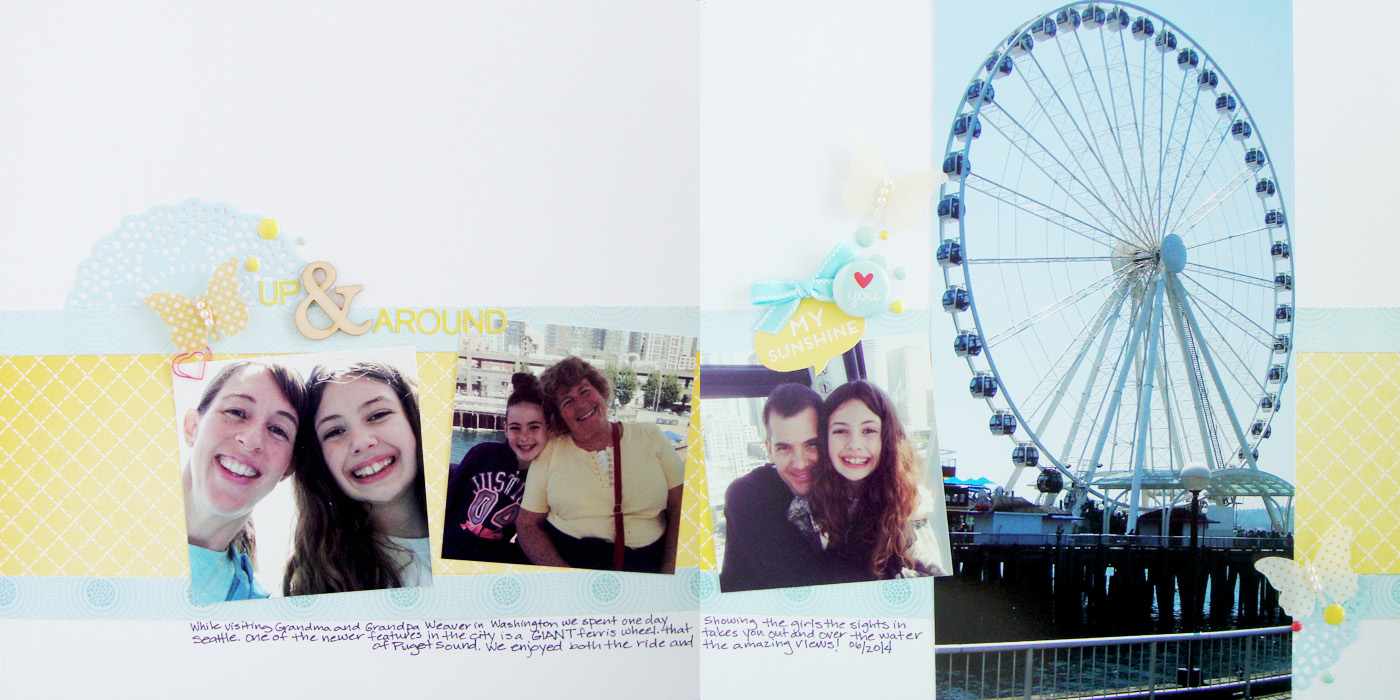
Up & Around by Michelle Houghton | supplies:  cardstock; Colorbok, patterned paper; Crate Paper, wood veneer , heart clip, dots and flair: Freckled Fawn, butterflies;Jenni Bowlin, letters; Basic Grey, doily; SEI

This is one of those pages that fell together.  I am so glad I printed both photos and was able to complete the two page layout as well.

blog for july

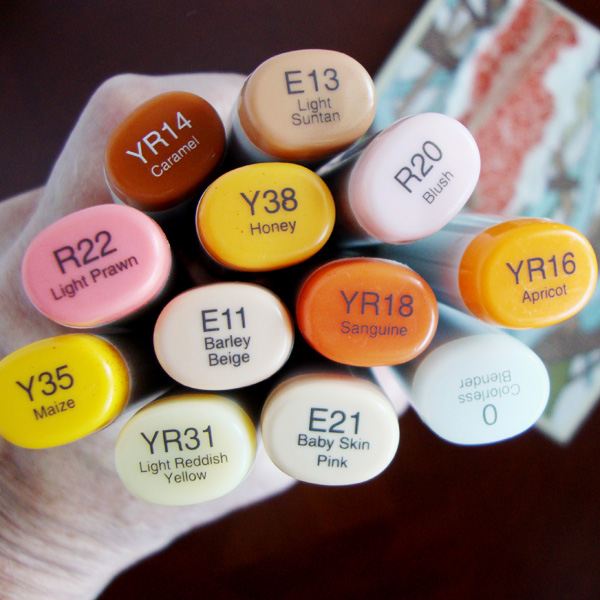
In the Copic world we have added some of the last classes of the 2014 onto the schedule!  You can chef them in the class listing, just click on the link over to the right.  If you near any of these last stopping spots the classes are all spectacular an worth the time and effort.

On the family front the girls are loving school!  Loving it!  Sara happily reports she still has not gotten lost in the Middle School hallways and just this week beat ALL the girls and ALL but one boy in the pull up testing for PE.  You go girl!  Lori loves her class and teacher and is thriving in ELP she particularly loves this pull out time.  She has become as veracious a reader as Sara and spends much time poring over the 3 to 4 books she likes to have going all at once.

Life here in Des Moines is cruising right along.  We are praying for John’s sister Sheri as she is struggling mightily with her health again and we desire peace and comfort for her.

Happy Thursday all!

Posted on 1 Comment

We are up and running!

School has started here at our house and the girls are both loving their new classes.  Lori is in 4th grade this year and Sara is in 6th, which around here means middle school!  They are both having fun and were ready to go back so the world is a happy place!

image-3

On Monday I got to share a layout at Get It Scrapped featuring a Venn Diagram.  If you are not sure what that is I’ll bet you will recognize it when you see it!  We learn all about them in early grade school as a way to organize stories and ideas.  Circles interlocking and overlapping showing how things interact.

Venn Diagram


who knew…by Michelle Houghton | Supplies: cardstock; Tim Holtz by Ranger, acrylic paint; Dina Wakley by Ranger, fabric letters; Studio Calico by American Crafts, ink; Sharpie, vellum tags; SEI, buttons; an old favorite shirt

blog ven 1

I have told tidbits of how John and I met through several layouts over time and this seemed like a great opportunity to share a little more.  I used acrylic paint and a cardboard ring to create my Venn Diagram and I love how loosey goosey it turned out and the fact that I could place it right on top of the photo as well was a bonus.  I just realized that in the photo the vellum tags do not look the same as in real life.  The big navy looking tag above the photo is actually a teal color that is similar in hue to the ring and both orange tags are considerably darker in the photo as well.  Hmmmm… not sure why that got thrown off so much but oh well.  I loved how the Creative Team explored different styles of diagrams and uses for them.  Take a peek at all the inspiration HERE

Get It Scrapped is currently running an amazing deal!  You can get a 25% off discount to the monthly subscription through next Friday HERE and check out this sneak peek at what is coming up in early September!

tn_gallery_67_474_256976

In the mean time I am crazy busy trying to catch up on the house design team and Copic work and writing a few new classes and a few appointments I was holding off to do.  It is all keeping me out of trouble that is for certain!

Happy Friday!


Posted on 1 Comment

RubberMoon and Copic

Welcome RubberMoon and Copic fans!  Officially this is my last post for RubberMoon, but I am not done yet I have more beautiful stamps to share so over the next few weeks I will continue to share them.  I realized when I put this card all together that I did not plan all my colors very well and that the image clashes a bit with the red hair BUT I do love the pieces separately.   I like the card and I love the image just not sure about them all together.  The beauty is I have never claimed to be a master card maker and the person I extend to send it to will love it all the same!

RM 4


I used Bazzill Swiss Dots cardstock and cut it to 5 1/4″ x 10 1/2″ then scored and folded it.  The patterned paper is by Prima and is cut to 5″ x 5″ the mulberry paper is also by Prima.  I stamped the “alter ego” image by Marylinn Kelly 3 separate times, the first in white on a Prima paper then in brown twice on a cream cardstock.  I colored over the white lines with a Sharpie paint pen, and then colored the two other images.

RM 1

I colored only the wings on the first image and used E21 and my colorless blender.  Then on the second image for the skin I used E21, E11 and E13, on the lips I used YR14, R20 and R22 (the YR14 I used as a base coat changing the rosy reds to a shade with more flesh tone to it) I used YR31, YY35, Y38, YR16 and YR18 for the hair.

RM 3

A special Thank You to the entire RubberMoon stamp team!  I have LOVED working with their beautiful stamps.  You will see more from me!  This is not goodbye just see you later.

Happy Wednesday!

Posted on

Making your own stencils

My next tutorial posted at Get It Scrapped this past week.  I had several Creative Team members join me to show off their stencil making skills.  It actually is VERY easy to create your own stencils and there a lot of things around your house that can already be used as stencils.  I just get you pointed in the right direction and the Creative Team shows you how to put them to good use.  On my layout I hand cut a stencil to make the waves and I die cut the sun shape, easy peasy!

stencil01


Good Eats by Michelle Houghton | Supplies: cardstock; Colorbok, spray ink; Ranger, Tattered Angel and Heidi Swapp, sequins; Jenni Bowlin, buttons and gold letters; American Crafts, blue letters; Bella Blvd

I would encourage you to stop by and take a peek at the rest of the Creative Teams work they did a spectacular job with this assignment!  Read more HERE

Happy creative week to you all!

Posted on

Colorado Beauty

image


Here is our view from the top of Mt. Sneffels the girls, John and I hoofed it to the top and John did this panoramic shot of the view in ALL directions.  It was amazing as you can see.  If you look really close the girls and I are perched out on the rocks smack dab in the middle of the photo.

image-2

Yep the best to hikers around!

Happy weekend!