Posted on

Back Again and Catching Up

Well we are back from our adventure in Colorado.  I will try to upload a few photos and share later this week.  Traveling trough some of the most beautiful country in the world in Jeeps and hiking produced more than a few amazing shots.

In the meantime while I was traipsing about I had layouts appear in 3 articles over at Get It Scrapped that I thought I would share quickly.  The first posted before we left, but I just did not have the time to get my post together and share:

Cut Aways


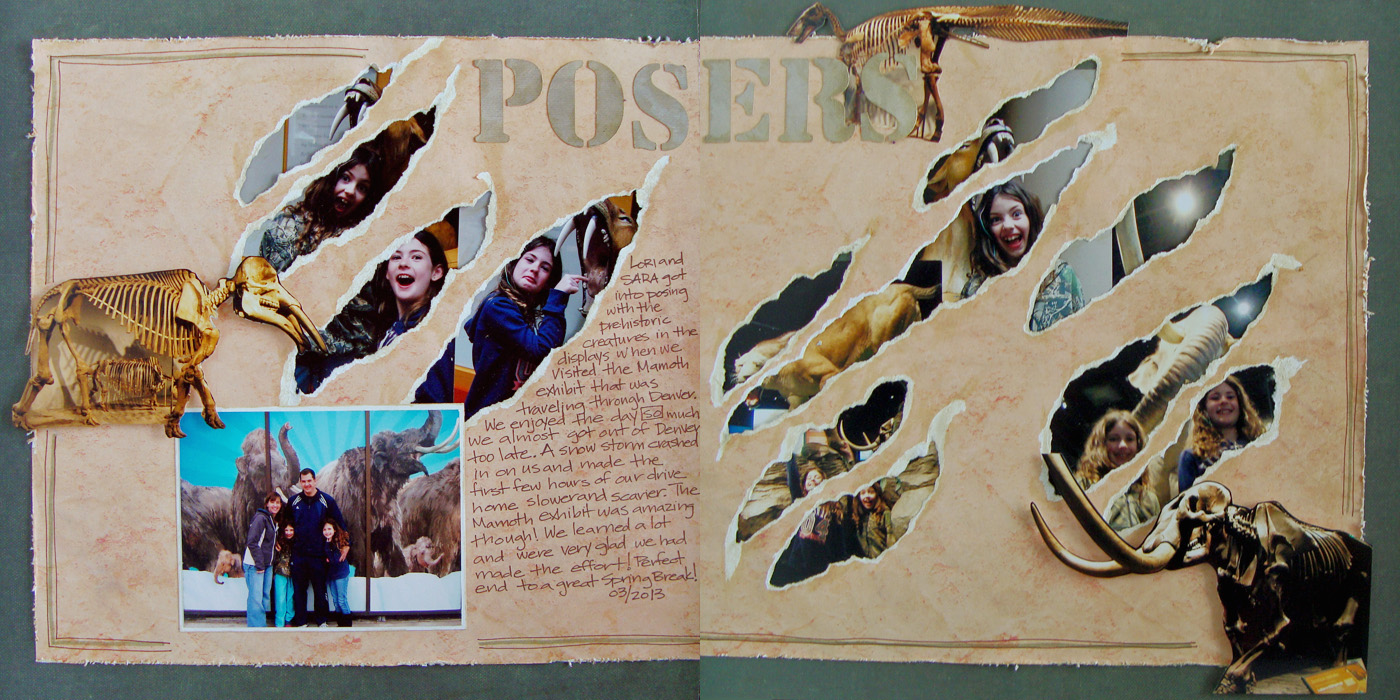
Posers by Michelle Houghton | Supplies: patterned paper; SEI, ink; Sharpie and Ranger, letters cut on a Brother Cut and Scan.

blog 3

The article is all about Adding Layers Behind Cutaways.  I decided to use photos from a museum visit and thought it my make a good connection to try to imitate what the saber tooth cat might do to my scrapbook paper.  I laid my photos on top of my paper then marked not only the corners, but the diagonal lines where I wanted the “claw marks” to travel along.  I did all of the marking very lightly in pencil so I be able to erase those later.  Then I used a kraft knife to cut a line along my diagonals and tore the paper outward from those cuts by hand.  I would hold the photos up underneath the tears periodically to make sure the holes were large enough to see the portions of the photos I wanted to feature.  I then attached the photos to the back of the torn patterned paper and finished the layout.  I have to say it was fun to see how the rest of the team tackled this particular assignment, I am thinking I will use one or two of their ideas on future layouts!  Check out all the layouts HERE.

Next I created a layout for an article about 2 Page Layouts With a Cluster Foundation.

2 Page Cluster

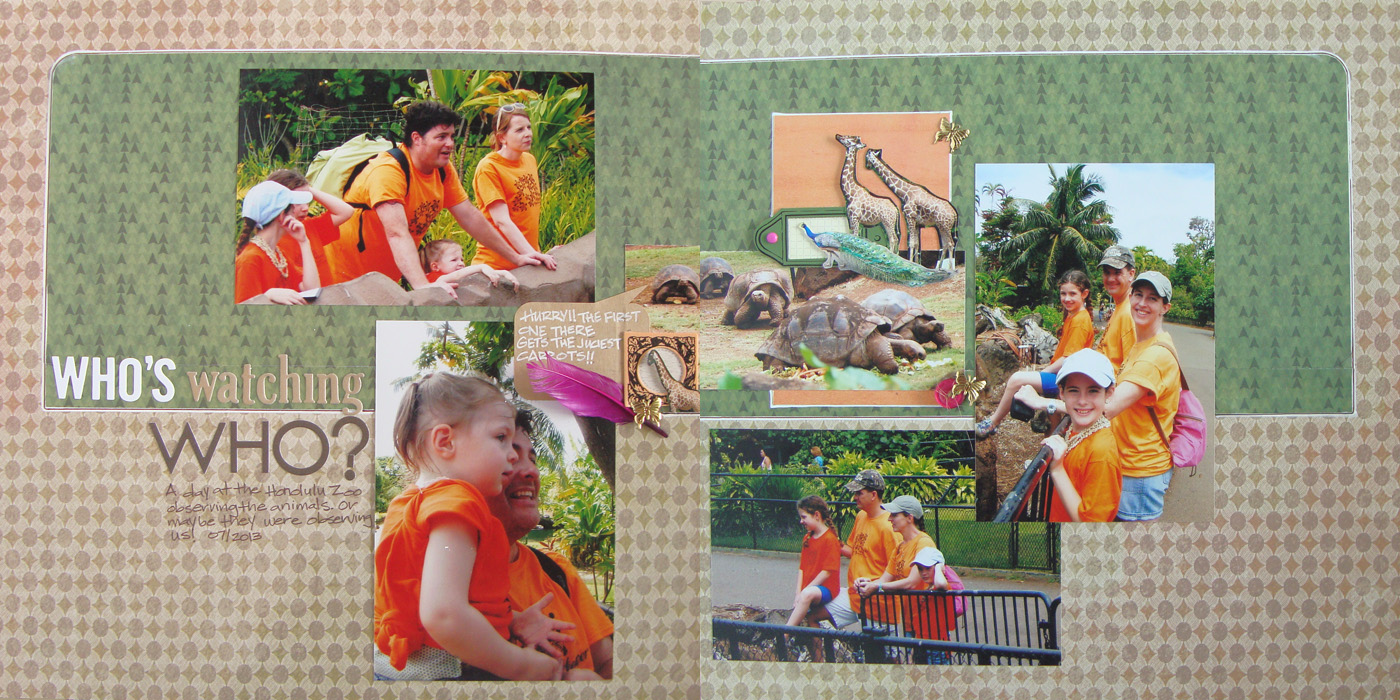
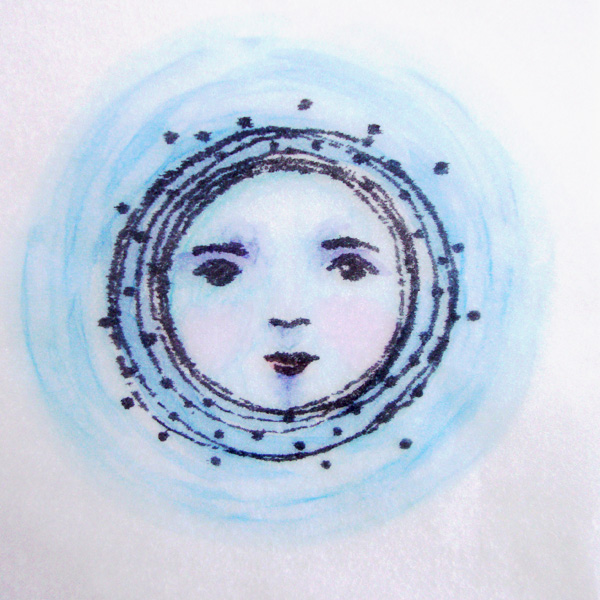
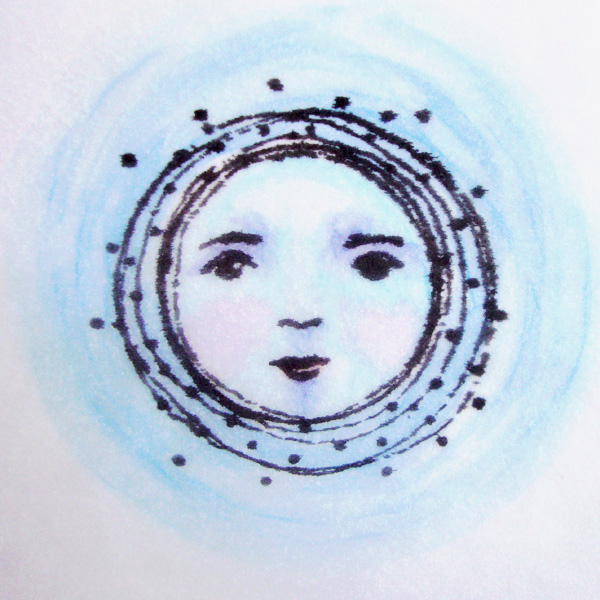
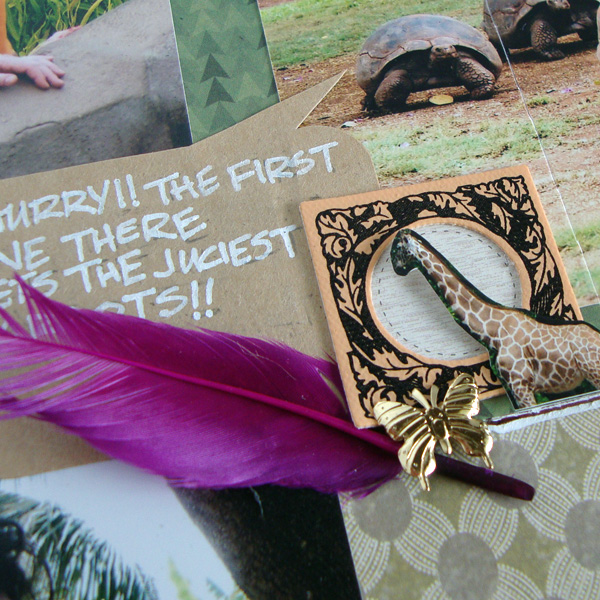
Who’s Watching Who by Michelle Houghton | Supplies: patterned paper, canvas tags, buttons, butterfly brads and feather; SEI, sticker letters Bella Blvd., ink; Sharpie, twine; American Crafts, kraft speech bubble; Maya Road

blog 1

There is not much more to say about this layout then what I shared in the article, but I can tell you that I used 5 different animal photos in my central cluster.  I love taking animal photos at the zoo and this is a great way to include a lot of them on a single layout, especially since we are zoo goers and end up with so many photos every year!  Check out the beautiful pages from the other Creative Team members HERE.

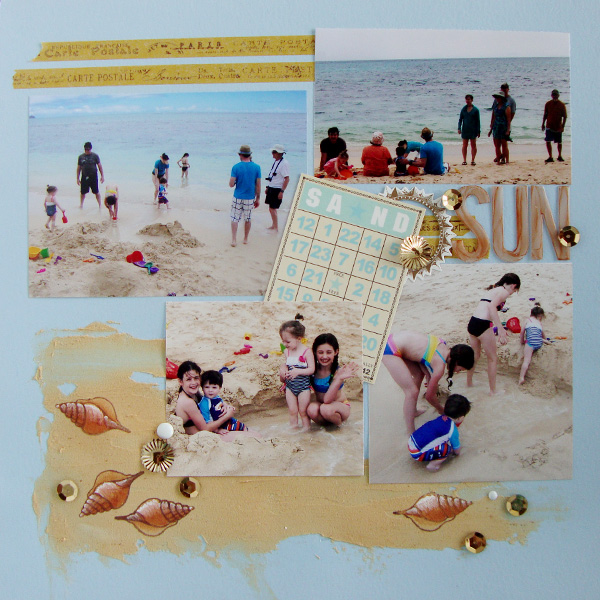
Lastly I did a layout using pocket pages encompassing our entire Hawaii trip last summer.  I am a “newbie” at pocket pages and had so much fun putting this one together. It worked perfectly for this particular layout!

Vacation summery

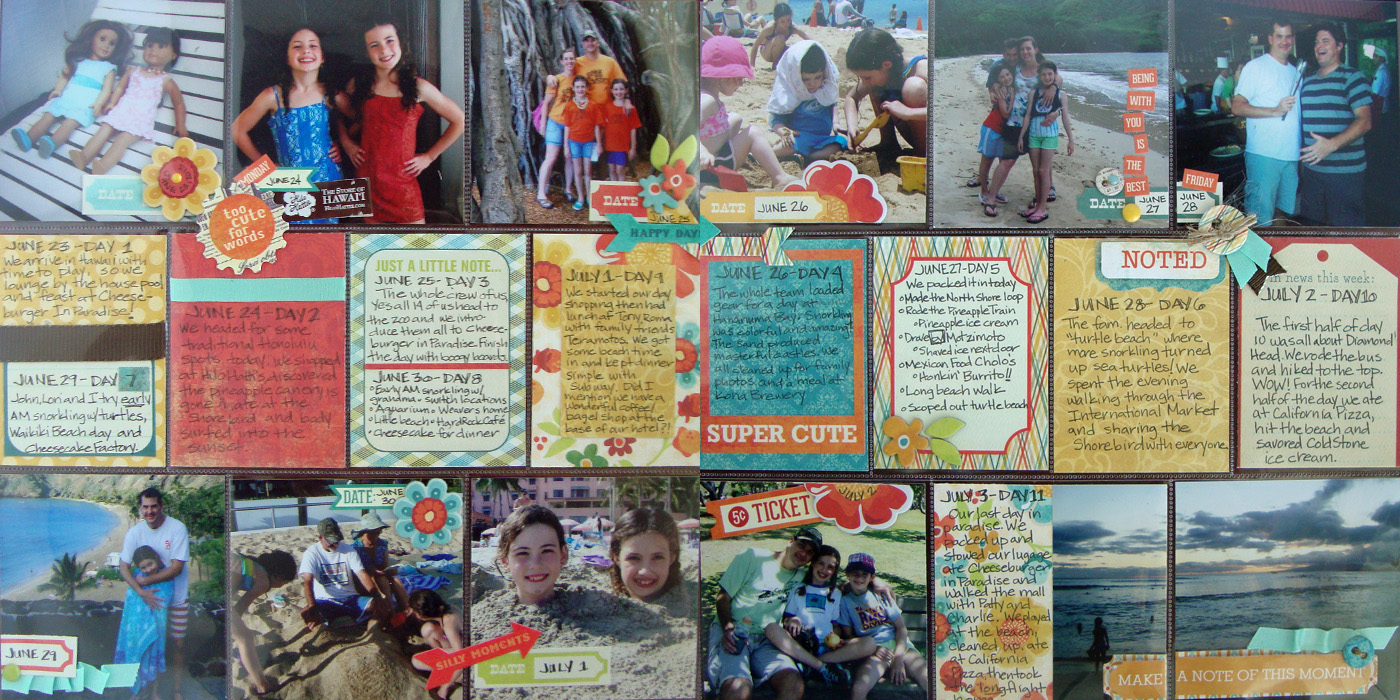
Hawaii by Michelle Houghton | Supplies: pocket pages; Project Life by Becky Higgins, patterned cards, stickers, chipboard and date tags; My Mind’s Eye, twine ; American Crafts, ribbon; unknown, ink; Sharpie

I used my “memory book” daughter Sara to help me as we travelled home from the trip to write a few notes on every day that we were in Hawaii.  Between the two of us we managed to remember the primary events to all 11 days.  I would recommend doing this during your trip or immediately afterward before you forget!  Somehow I managed to NOT get my complete supply list in the article so I have added it here and I did add small sticker letters and numbers saying Hawaii 2013 on the brown ribbon in the very first journaling card slot.  I loved the creative way the other team members tackled this assignment, you can see all of their work HERE.

Woosh!  As always the list of things to catch up on upon coming home seems endless but I am getting there slowly but surely!  I will post some photos of our trip later this week!

Happy scrapping and coloring to all!

Posted on

Winner Winner!

I am super excited to anounce the winner of the blog hop!  Thank you so so much to all of you who hopped by and left so many wonderful comments and congratulations!  They are all much appreciated!

Without further adue the winner is…


True Random Number Generator

Min: 1

Max: 101

Result:  73

Powered by RANDOM.ORG

(I did receive a few comments by e-mail as well and do not worry I included you in my count!)

Bette:  “Congratulations on your new job. Sounds exciting and so much fun playing with your fave colics.”

Thank you Bette, now all I need is for you to email me at michoughton@yahoo.com with your snail mail address so we can send you your fun prize! Yeah!

Happy Doodling and Copic Coloring to all of you!

Posted on

RubberMoon Seashell and Copic

If you are here for the Copic blog hop please scroll down to the next post!

Hello my crafty friends!  I have a new tutorial posting today over at RubberMoon.  If you love Copic markers and/or like to dabble in mixed media you will want to check this one out!  I had a wonderful time combining my RubberMoon stamp, Copic ink and markers and modeling paste onto my latest layout.

RM shell 12

Make sure to go take a peek HERE

Happy Friday!

Posted on 100 Comments

Jump for JOY! I am on the Copic Team!

I am thrilled to announce that I have been asked to join the amazingly talented team at Imagination International Inc. to teach Copic workshops.  I love Copic and all that the markers and inks can do.  I have been teaching live and on-line Copic classes and tutorials for several years now and could not be more tickled to be joining the amazing team that shares this amazing product.

If you have not been to my blog or seen my work before here are a couple recent pieces that I love:

Live Love Create

I enjoy mixing Copics with other mediums.  On this card the stained glass window is Copic ink on pearl velum, the stamp is colored with Copic and then foil and chunky glitter was added on top.

Apron 1


You might have seen my doodled apron in the past, I have been a doodler for years and adding Copic over gesso on fabric has given amazing results.

Jewelry 1

I have even dabbled in jewelry making with Copic and doodling again.

Of course what probably brought you here was my welcoming party that the Copic Team is throwing me!  So on with the festivities here are the details and the links to all the team member’s blogs so you can keep hopping and having fun!

The Copic Papercrafting Instructor and Design Teams would like to give a colorful “WELCOME” to the newest instructor joining us… Michelle Houghton!
Michelle has done a number of special events and demos for us over the years and we are thrilled to finally have her on our teaching team. Michelle has a BS in Fine Arts and an MA in Teaching with years of experience teaching high school art, live workshops, and online crafting classes.
Michelle likes to work with a variety of mediums and styles, often experimenting and looking for unique and interesting ways to use them. We look forward to working with her and can’t wait to see her in action!
And of course we can’t have a celebration without gifts… so we are giving away some great Copic prizes!
Join us in welcoming Michelle by visiting each of the blogs listed below for a chance to win. Don’t forget to leave some love at each blog because EACH TEAM MEMBER will be giving away a Copic T-Shirt and a 7-piece Doodle Kit to one lucky winner.
Commenting will close at midnight on Sunday, July 6th and winners announced on
individual blogs on Monday, July 7th.Copic Hop

Michele Boyer http://papercuts.blogs.splitcoaststampers.com/
Lori Craig http://loricraig.blogs.splitcoaststampers.com/
Sharon Harnist http://paperfections.typepad.com/
Michelle Houghton https://scrapweaver.com/  You are here!  Keep Hopping!
Cindy Lawrence http://onehappystamper.typepad.com/
Debbie Olson http://debbiedesigns.typepad.com/muse_and_amuse/
Colleen Schaan http://www.distinctivetouches.com/
Sherrie Siemens http://sherrie-cardcreme.blogspot.com/
Marianne Walker http://ilikemarkers.blogspot.com/

Posted on 2 Comments

RubberMoon, Copic and Vellum

Happy Wednesday one and all and welcome RubberMoon fans!  I have another Copic and RubberMoon tutorial for you!  I am passionate about RubberMoon stamps, not only do I think the quality and artistry is top notch, the team and Quality of the people running RubberMoon just can not be beat!  I am also CRAZY passionate about Copic markers and the amazing versatility that these markers and inks have so when given a chance to share their abilities I try to give you the full view of what these products can do.

This week I have two beautiful stamps created by Kae Pea, See The Moon and New Moon. These two stamps are truly a favorite of mine not only because they are beautiful but because my family used to sing this song EVERY time we saw the moon when I was growing up.  Yes…EVERY time.  Come to think of it if any combination of us are together in one location and happen to see the moon together we often STILL will be heard singing this song.  So you can imagine there is a large portion of personal history and memory tied to an image like this.

For coloring today I am sticking with my Copics but I wanted a much softer look, one that is more suited to the dreaminess of the image.  I could paint with the Copic inks, and I will show you that technique another day I promise, but for today I chose working on vellum or in this particular case on tracing paper.  You would get a very similar effect working on either, I just happened to have tracing paper within arms reach.  I am also using Memento ink in Tuxedo Black, and Copic markers B0000, B00, V01, BV04, B24 and R22.  (In the photo you also see V04 and my colorless blender that I did not end up using.)  For the card I used a small bit of watercolor paper, natural twine, blue burlap fabric and kraft cardstock.

RM moon 2

Step #1 – On your tracing paper or vellum stamp your moon image and on a few also stamp the words to the song.  I did not add them to all of mine since I was not sure exactly where I was going to end up with my project.


RM moon 1


Step #2 – On the BACK SIDE of the tracing paper color in the entire moon face with B0000.  I am working on the back to soften the look of the Copics.  If you let the ink dry completely you will not have any issue with smearing even on the vellum or tracing paper if you choose to work on the stamped side of your work.  You will barely be able to see this layer but it is putting a wash over the entire face to help the next layers go on smoothly.

Step #3 – Using B00 go into the areas where you would like to add a little shading like under the brows, the nose the cheeks, chin and along side the nose.  This should blend fairly well as you go if you work quickly on top of the B0000.  You can always come back to soften the edges just slightly if you need to.

RM moon 3


Step #4 – Add V01 into the cheeks and down the length of the nose.

RM moon 4

Step #5 – Use your BV04 to add your deepest shadows under the brow and small touches under the nose and bottom lip.

RM moon 5

Step #6 – Go back in with your B0000 to soften some of these edges.  They will not have perfectly smooth blends on the tracing paper or vellum but more of a painterly quality to them.  Also add R22 to the bottom lip.

RM moon 6

Step #7 – Using your B0000 go around the outer edge of the moon about 3/4 – 1″ again laying a base for the colors to come.

RM moon 7

Step #8 – Use both B24 and B00 to add streaking around the moon.

RM moon 8


Step #9 – Use your B000 to soften the streaking around the outer edge.

RM moon 9

Hopefully you will be able to see a difference here, in real life there is a striking difference when I turn my image right side up again so I have the stamped image facing me.  The black becomes much more striking and the colors all soften one more step to a very watercolor look.

RM moon 10


To finish I decided to stamp the words to the song onto a small piece of water color paper and then layer my colored image over the words so they show through.  I added a simple bow of tine and layered it on top of blue burlap and a kraft cardstock base.

RM moon 11

Thank you so much for stopping by my blog today!  I hope you will come back by again!  Next Wednesday I have a HUGE announcement that includes a prize giveaway, so you rely need to make it back!

Happy coloring!