Posted on

Dripping Copic Various Inks

I Love Copics! Love them, and I knew that is not news to anyone who knows or follows me. I love everything about them, the quality of the product is the bomb! But what drew me in to start…the COLOR! All of it all that glorious color. So I love to play with all my markers, but it also comes in all the refills. Yeah I can refill my markers with them so I never have to throw away a single marker body, but better yet is to play with ink

One other thing you might know about me is I am not afraid to get a little inky and messy. So every once and a while I leave my markers on the shelf and reach for my Various Inks. I found this great vellum paper with star constellations printed on one side and figured this might make a quick and easy card!
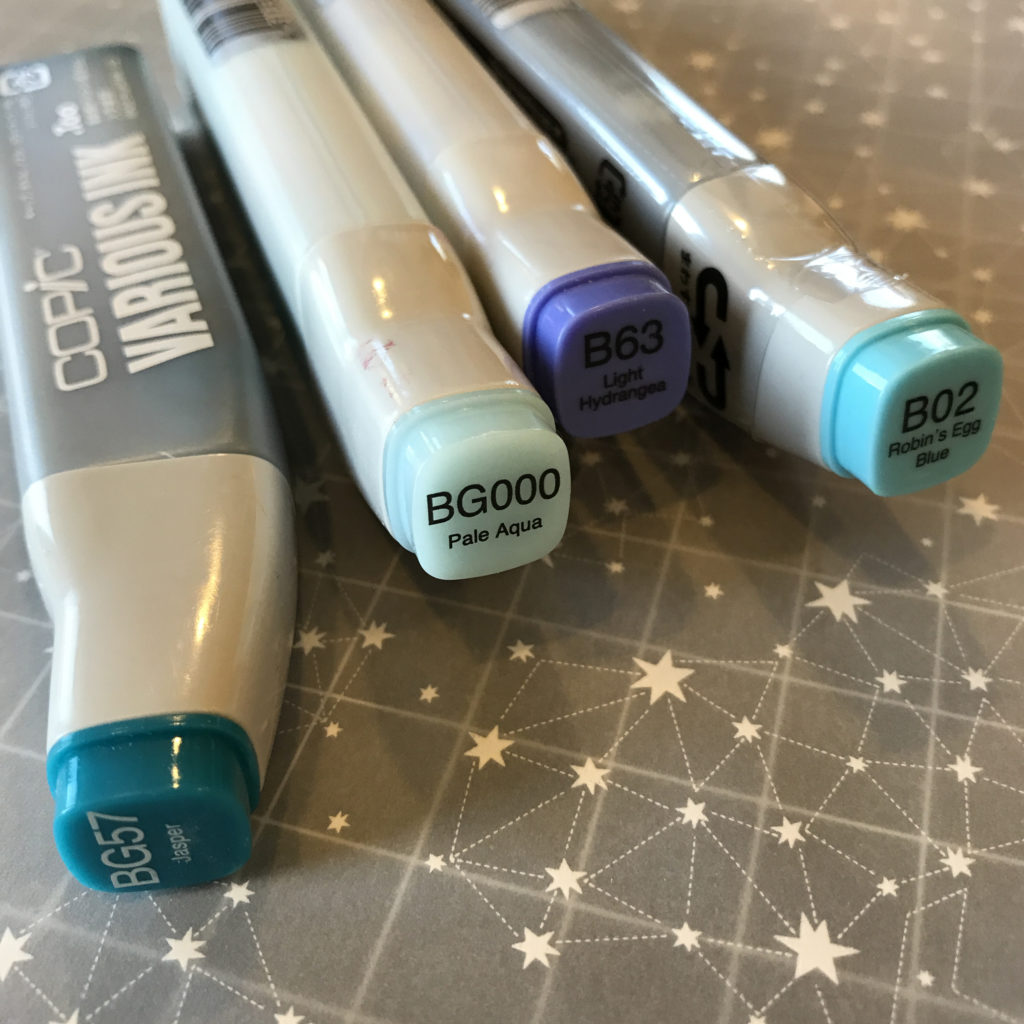
I turned the vellum over to it’s back side where the stars and lines are lighter and started adding my ink. I tend to start with my lightest color first. I just drip the color on the vellum. Notice I am not working with blending colors these have contrast to them. All are in the Blue and Blue Green families, but extreme differences.
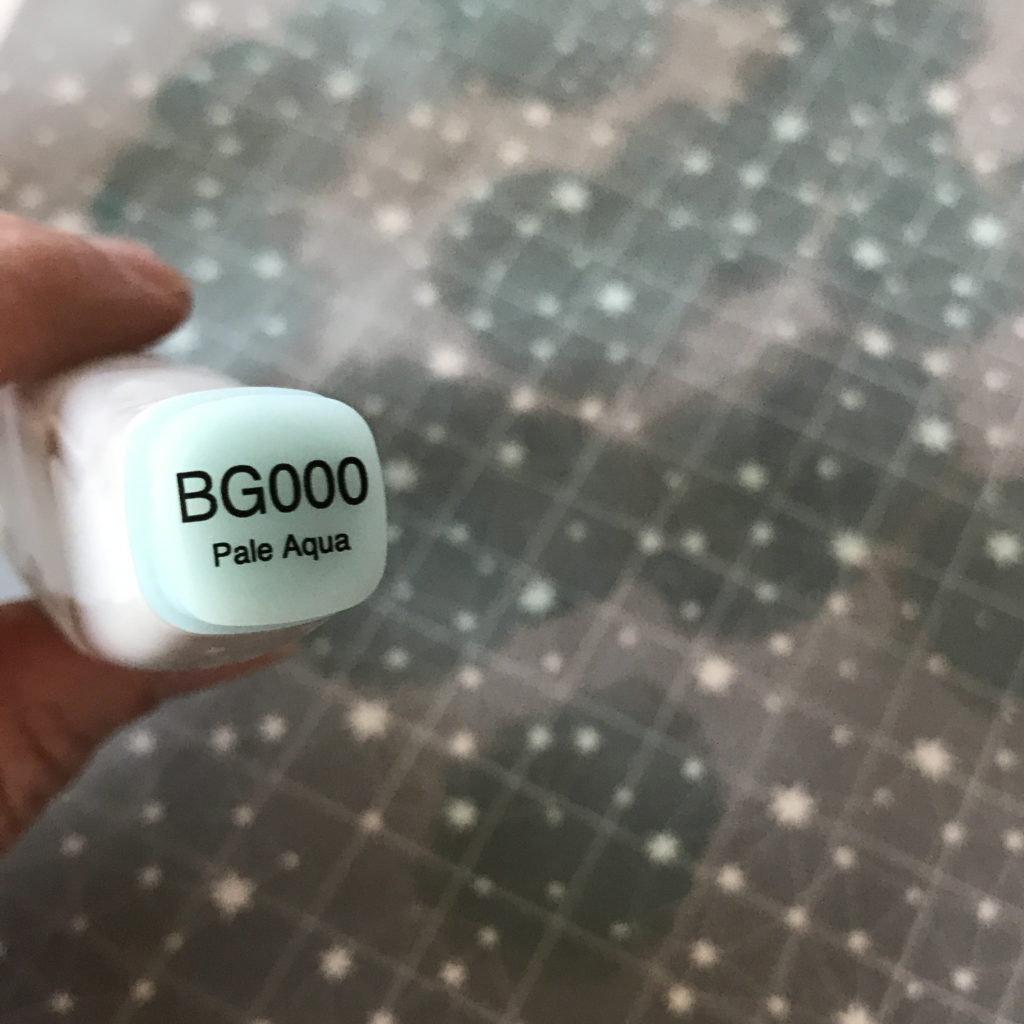
I add my next color;
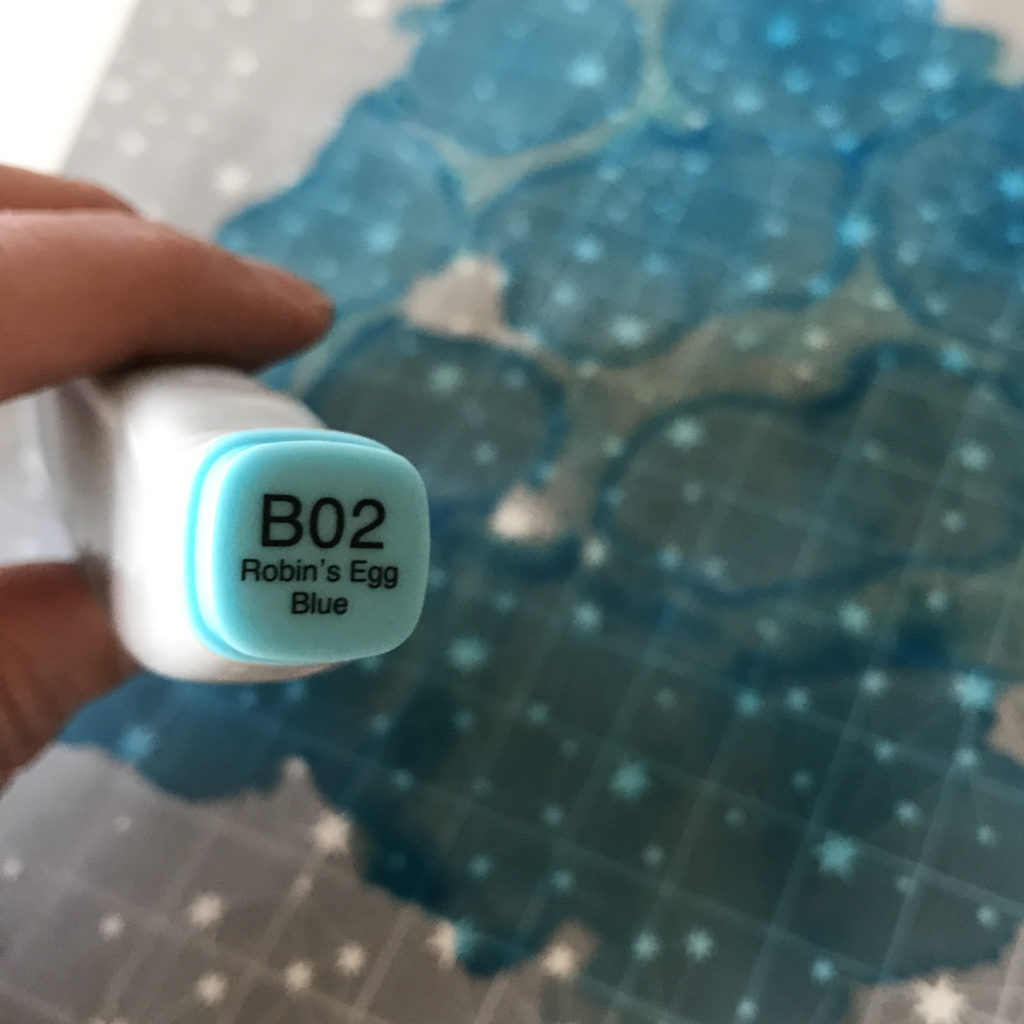
then my next;
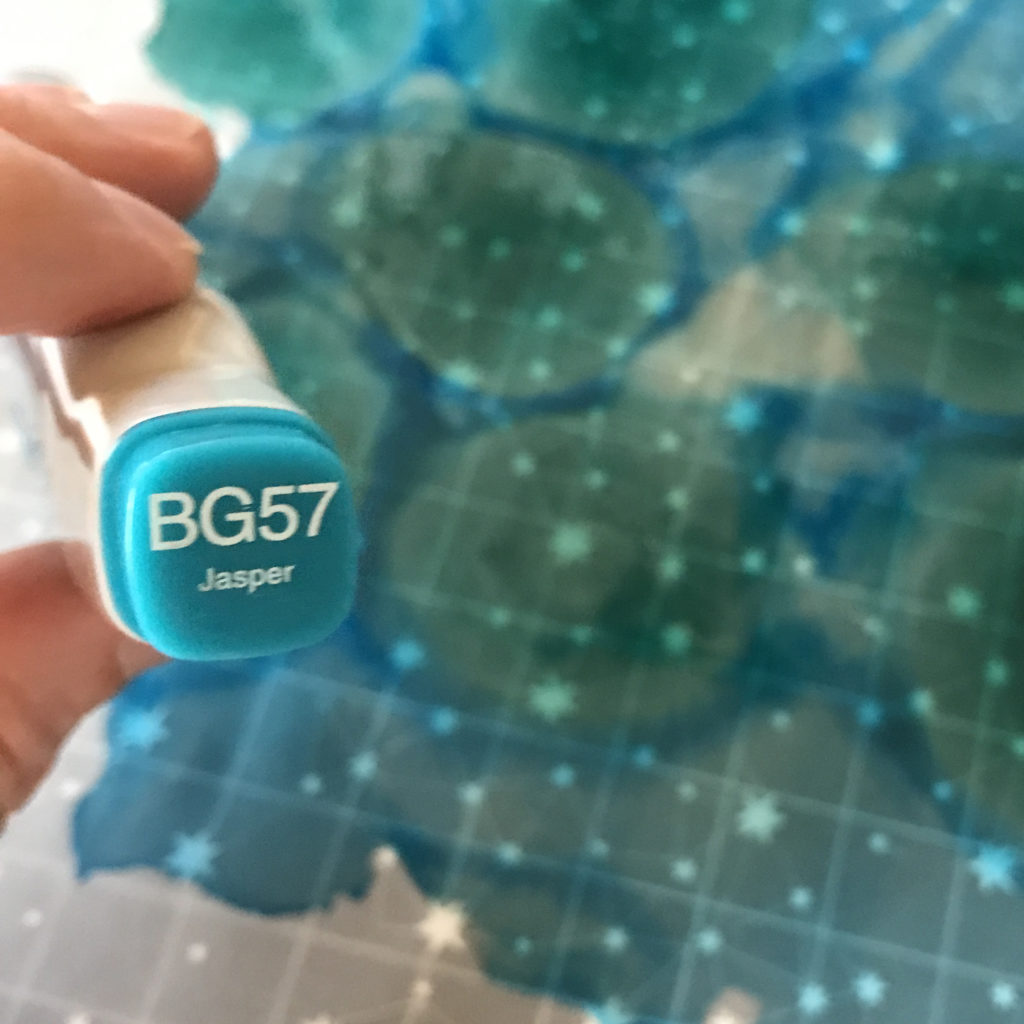
and finally my darkest (not really darkest but the most contrast);
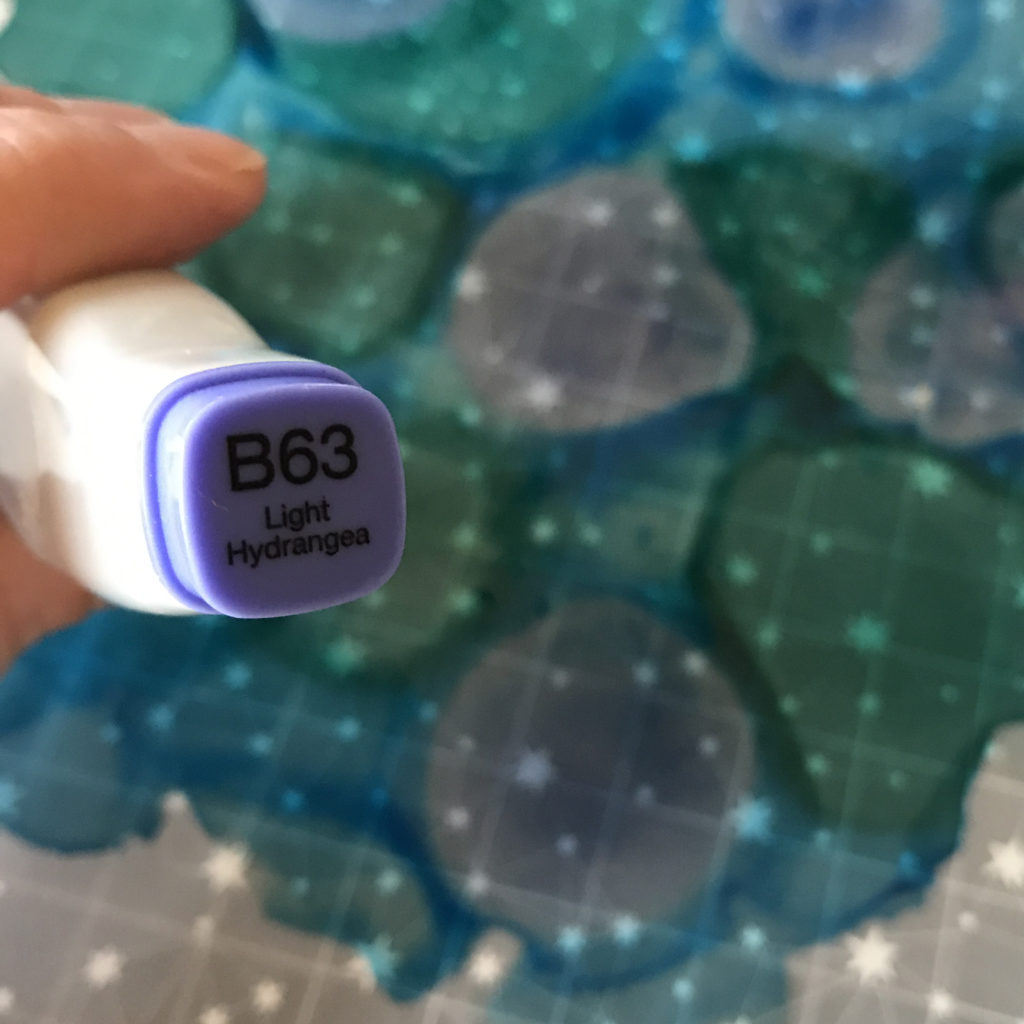
I go back one last time with my lightest color just to lighten up a few spots. I love how the alcohol in the lighter color pushes at the darker colors in this step.
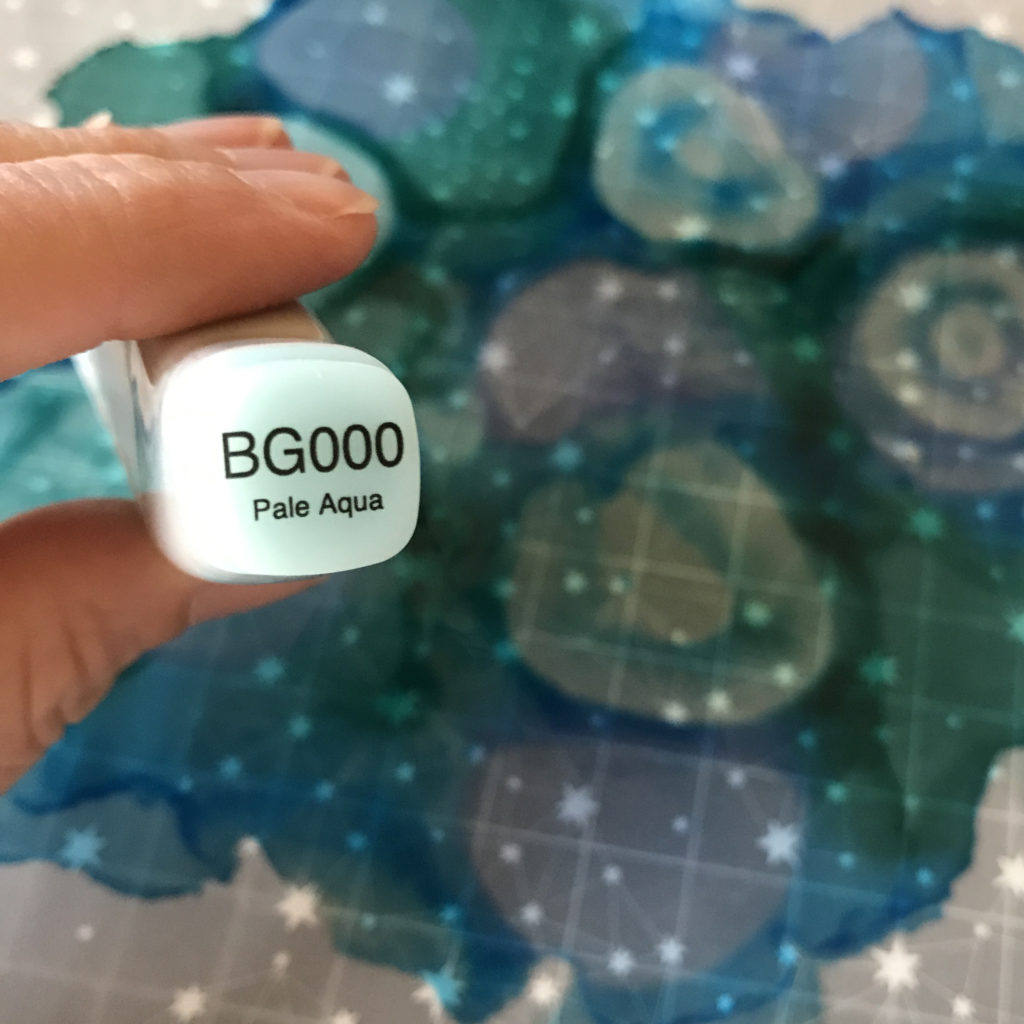
Here is a peek as it is drying. It takes a little longer on vellum so I do have to have a little patience. I could heat set, but that might effect the vellum and while wet, the ink can still move around, like drip and smear so I pretty much let it sit.

Then I get to flip it over and see all the pretty stars again!
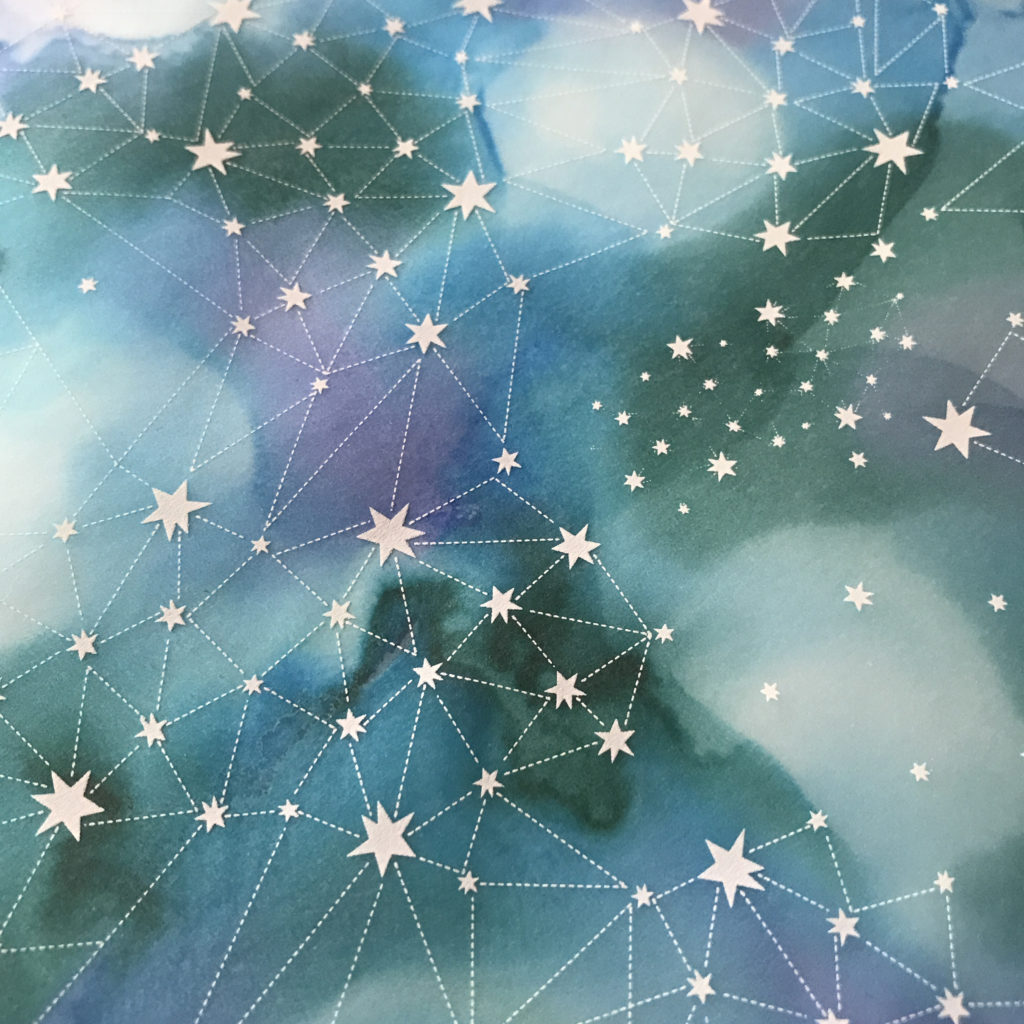
I chose a simple card base and actually like the vellum over a Kraft cardstock. I added some white Doodles with a Kirarina pen and ta-da!
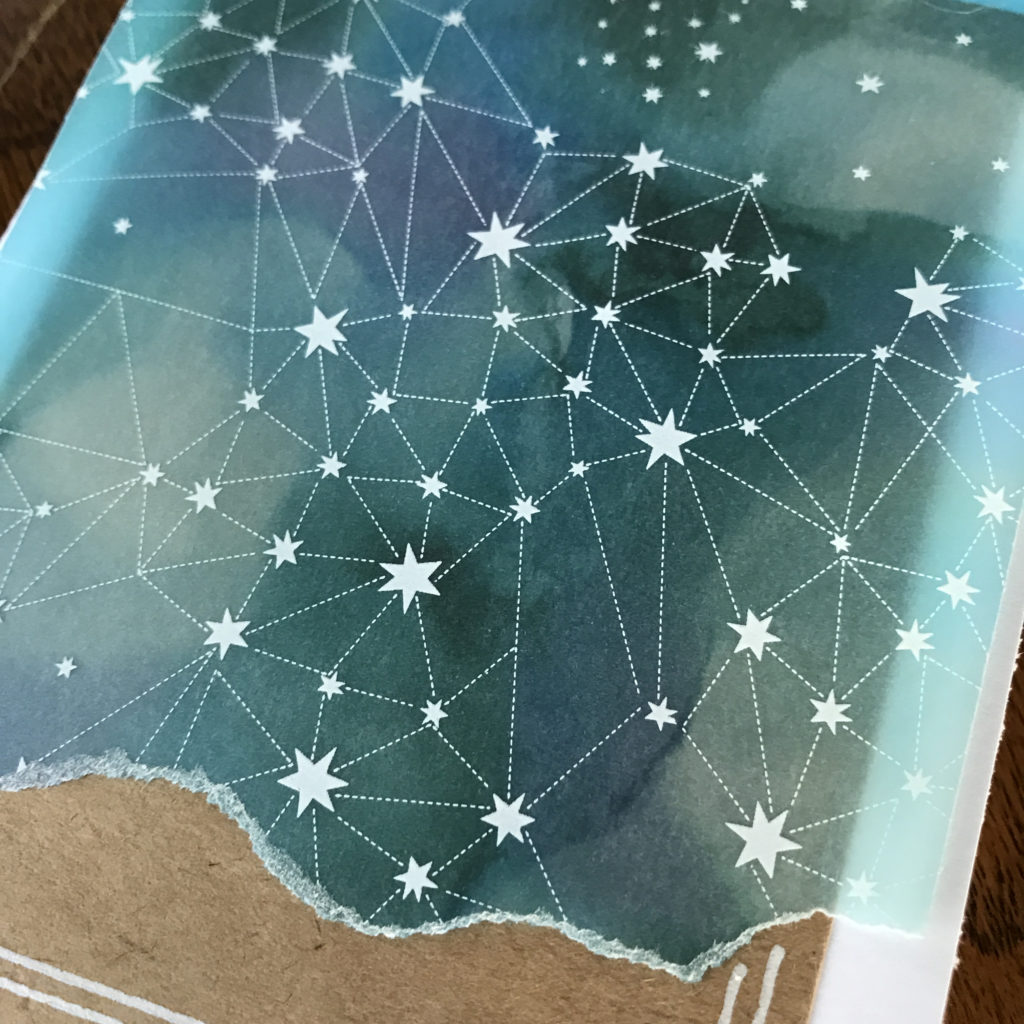
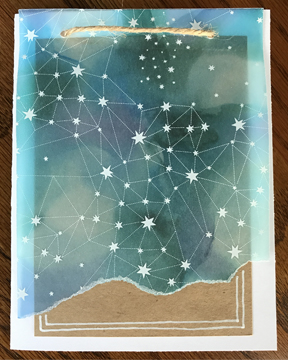
If I want it will be easy to add a sentiment in the corner or even with my Kirarina on the vellum.

Fun, easy, quick cards are the best and Copic Various Ink can really add the color that we love so easily!

For more great ideas using Copic Various Ink check out Copic In The Craft Room on YouTube and look for my series on mixed media! There are several videos featuring Copic Various Inks!

Thanks for stopping by!

Have a Happy Colorful Week!


Posted on

Fine Sketch Nibs Hooray!

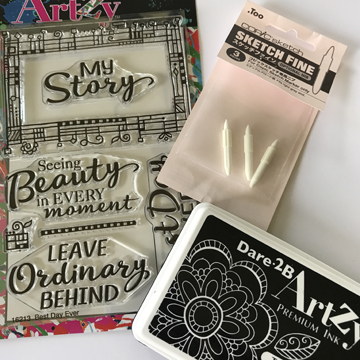
After years of asking they finally arrived. Copic Sketch markers have a fine nib option! If you wanted to doodle, write or fill in those super tiny corners on your intricate stamps you now have a great option with the Fine Sketch Nib!

I have this beautiful new stamp from Dare 2B Artzy that just screams to be colored and all those tiny details seem to be designed for a fine nib. So to start I chose with markers I wanted to switch out. 

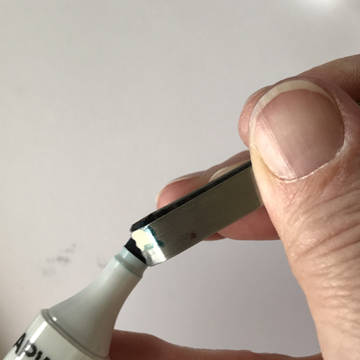
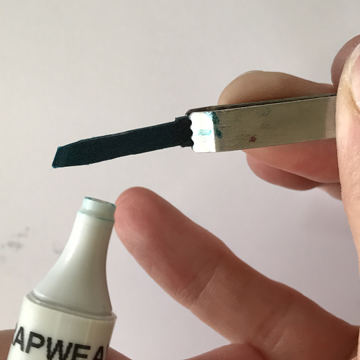
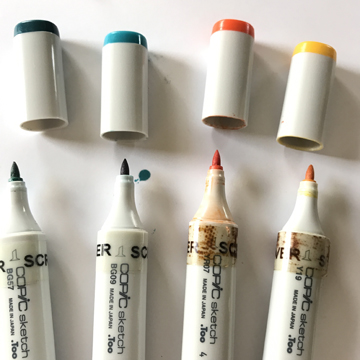
The Fine Sketch Nib works ONLY in the Sketch marker and ONLY in the end with the chisel nib. So I selected a group of 4 markers I wanted to switch out. I could use my fingers to pull out the chisel nib, it is fairly easy, but I had my tweezers near by so put those to good use and gently pulled out the chisel nibs.

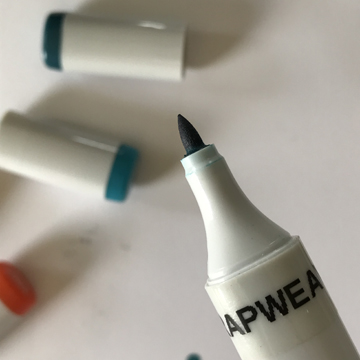
Next I slid the new Fine Sketch Nibs all the way in. The ink from the core seeps right into the new nib and I am ready to color!

Excuse my messy markers they are in need of a little TLC!

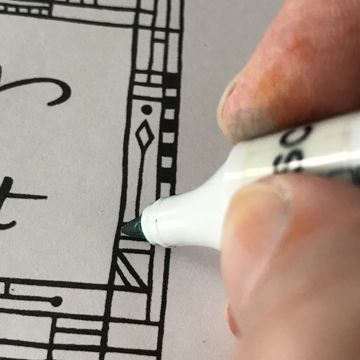
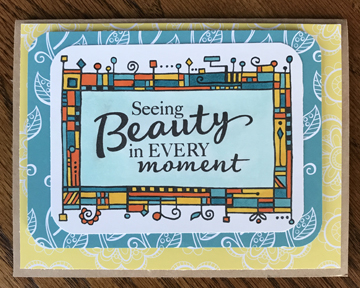
I colored up my image and added it to a card front, easy peasy. No shading this time just coloring and the fine nibs are perfect for this!

You can find the Fine Sketch Nibs at Imagination International, Inc. and other Copic distributors. They come in packs of 3 nibs for 5.95. You might want to switch out a few of your markers as well!

Thank you for stopping by this week! If you would like to see a few more Copic artists featuring these great new nibs head over to Copic In The Craft Room on Facebook. I will be hooking you up with lots of great blog inspiration and more Fine Sketch Nib art this next month!

Have a Happy Colorful Week!


Posted on

Glitter for cards and Copic Classes for Fall

Happy Friday to all who are tuning in today. Big in the Copic world is the fall Workshops are starting to open for registration! Chicago, Richmond and Boston are now all open for registration! You can check out my side bar for details —-> or head over to the Imagination International, Inc. site for class information and of course get yourself signed up!

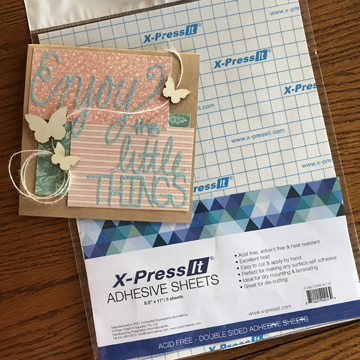
I also have another product to share from the fabulous X-Press It. Check out their adhesive sheets! What do you need with another adhesive. Well let’s take a peek at a quick project I did with the X-Press It Adhesive Sheets.

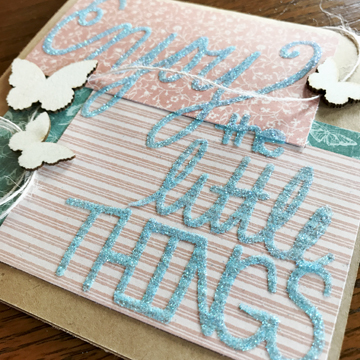
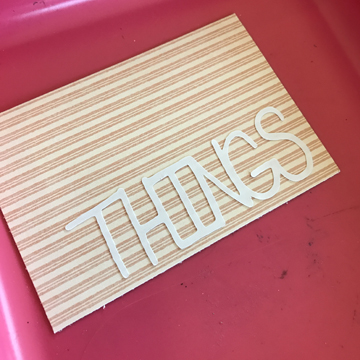
So I suppose I could cut the sheets in strips or chunks and use it for just sticking things down, but why not use it for sticking sparkly things down, like say, glitter?! I did all the lettering on the card above using the Adhesive Sheets. Here is the process for the card I made.

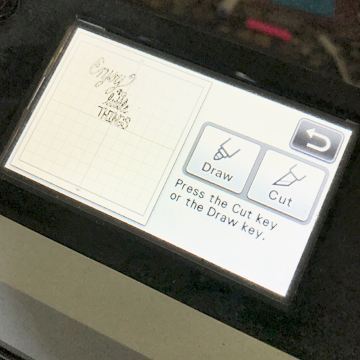
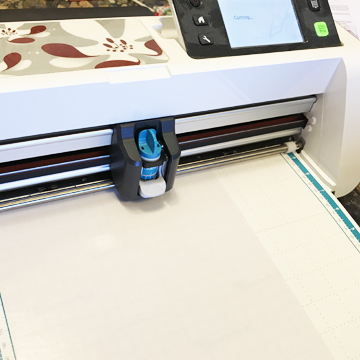
Step 1 – Create a cut file on my Brother Scan and Cut. You could use any cutting machine and any cut file or die cut. This is a file I created by handwriting the lettering myself and then scanning it into my machine.

Step 2 – Feed the adhesive sheet into your cutting machine and cut out your design or shape. This took more then one try for me. I needed to put the printed side UP instead of down as shown and use a really sticky matte as well.

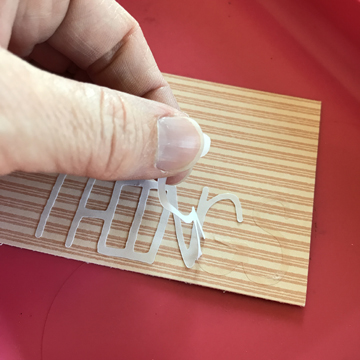
Step 3 – Peel off the back side, or printed side of the double sided adhesive sheet and stick it onto your paper.

Step 4 – Peel off the top layer leaving just the adhesive on the paper. (Step 3 and 4 took a little practice as well. The adhesive kept sticking to me and then balling up, and I tried to peel off the top side, or white side, first and the whole thing came apart.)

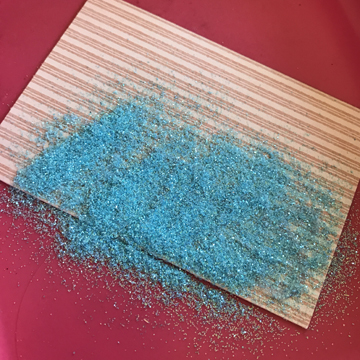
Step 5 – Spread GLITTER all over the top of the adhesive die cut.

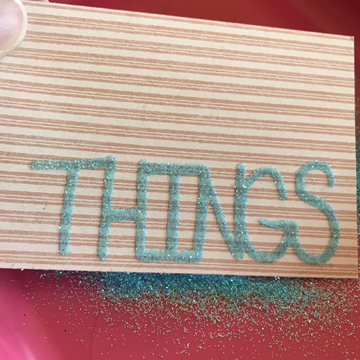
Step 6 – Tap off excess glitter.

Step 7 – Glitter your other die cut pieces and assemble your card.

Thank you so much for joining me today! I hope you all have a spectacular weekend and believe it or not start of your JULY! 

Have a Happy Colorful Week

AND

4th of July!

Posted on

NEW Copic Sketchbooks!

I love that I get to share all the fun products that are available at Imagination International, Inc. with my friends and followers. I really do love the products that we get to share every month. But am I allowed to play favorites? I mean this is not one of my children or even friends so you think that would be OK?

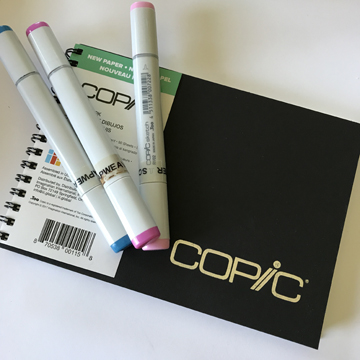
I am picking a favorite this month and you are going to LOVE it! Imagination International, Inc. is now making their very own Copic Sketchbooks. Yep beautiful, yummy, Copic compatible paper all tucked into a sketchbook. So you say that is not enough to wow you? Well what if I told you they come in 6 different sizes? So here are the stats then I’ll show you what I added.

• 50 Sheets
• 70 lb professional-grade Japanese paper
• Super smooth surface for clean inking
• Uncoated paper (Ideal for Copic markers)
• Warm toned paper for vibrant coloration
• Pencil erases cleanly
• Super thick covers 

The paper is beautiful and quickly becoming my new favorite Copic paper!

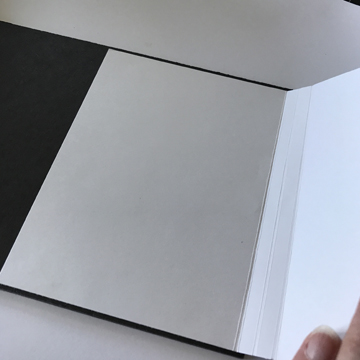
So I decided to add a little something into my sketchbook. As a Copic user you probably know, (or if you are new to Copics here is a FYI) Copics will soak through the paper that you are coloring on. Whether you are working on heavy or light cardstock there will be some Copic ink coming through. This is the main reason we make sure to work on top of an absorbent surface. There is not an exception when working in a sketchbook. Now you can just let ink soak through to the page underneath skipping every other page, but if I get 50 pages I would rather color on 50 pages! That means I need a sheet to go in-between my pages. I can just carry a loose sheet with me, but I figured it might be more fun to attach something that I could use for several pages and switch out as needed. 

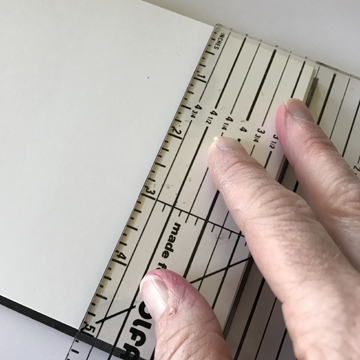
I measured the paper on the inside just to double check how large I would need the insert to be. The paper in my sketchbook is 5″wide and 6.75″ long going right up to the spirals.

I cut and then scored my cardstock next. I am using a CHEAP cardstock that will serve great as a blotter to work on top of. I cut an 8.5 x 11″ sheet down to a 5 x 11″. 

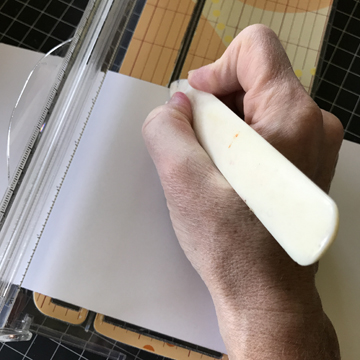
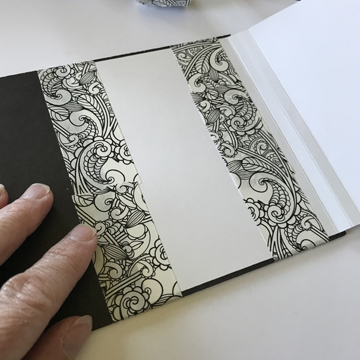
The score lines I created using a bone folder and the gutter in my cutter which allows me to measure and score easily. I measured and scored at 6.75″, 7″ and 7.25″. I then used a liquid adhesive like the X-Press It glue marker to adhere the shorter end to the back cover of my sketchbook. I made sure to line up the top and bottom and the first score line with the paper.

For fun I added some decorative tape because who doesn’t like a little fun? I figure I will change out the tape each time according to my mood of the day, I certainly have plenty stashed away!!

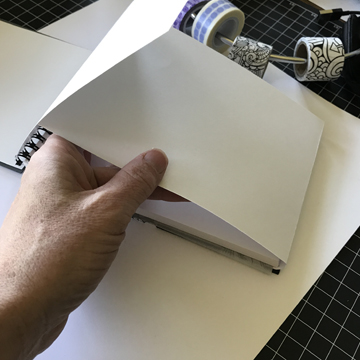
So then the flap folds right into my sketchbook ready for Copic coloring.

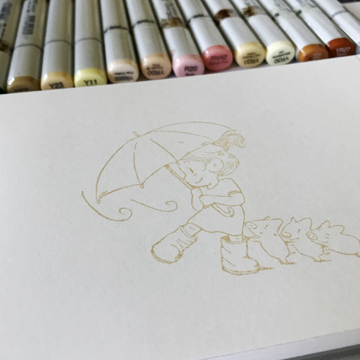
If you are still reading here is the fun part! I stamped a fun new image into my sketch book…

And color, color , color! If you would like to see the video of the coloring of this image scoot over to Copic In The Craft Room on YouTube and check it out!

And how did the insert work? Great! I figure I will need to switch it out every 6-10 images but sometimes it is fun to do some of those extra little organizational steps. And now I have a built in blotter sheet. 

Have a Happy Colorful Week!
Posted on 2 Comments

Winner!

Thank you all for hopping along our special Blog hop this past week. Our winner is 

Sherry!

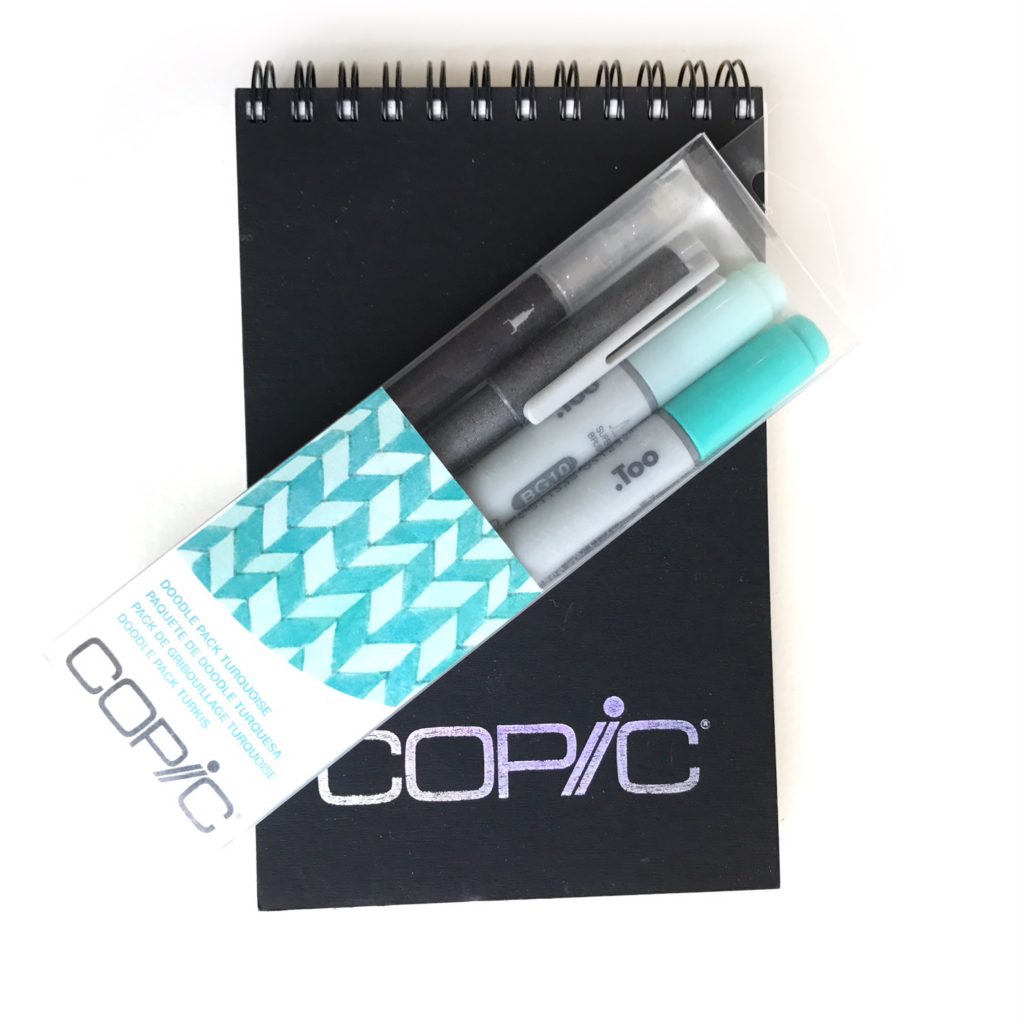
I will be shipping her a doodle pack and small sketch book!