Posted on

Dare 2B Artzy Guest Designer Post #2

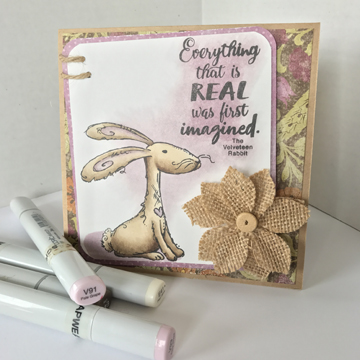
My second post for Dare 2B Artzy is featured over on their blog today. This time I created a sweet and simple card with the adorable stamp set called Raggity Rabbit!

Here is the Card I completed.I used Copics for the coloring and then found a few things in my stash to pull the card together. 

You can see the details of how I put the card together over at the D2BA Blog and then on Wednesday May 31st I will have a video showing the coloring and composition of the card from start to finish over at Copic In The Craft Room on YouTube. 

Have a Happy Colorful Day!


Posted on

Copic Doodle Packs

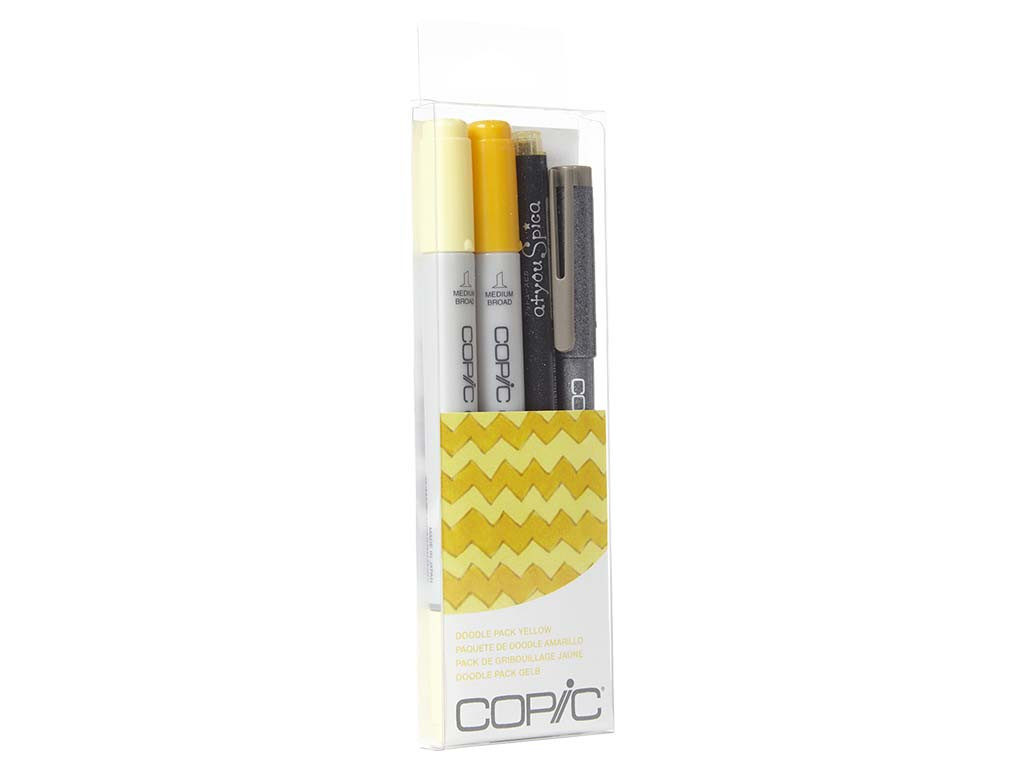
Do you know a friend who would love to experiment with Copics and is wary to make the investment, or would you love to give a small sampling of Copic goodness to a friend, relative or neighbor? I have a fun, easy solution for you! A Copic Doodle Pack! They come in 4 pc sets that include 2 Ciao markers, 1 Multiliner and 1 atYou Spica, and they also come in 7 piece sets as well. The 7 piece sets consist of 5 Ciao markers and 2 multilines. What a fun way to start experimenting with Copic without a huge investment, and still really get a feel for them!

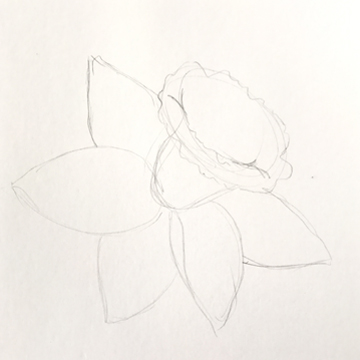
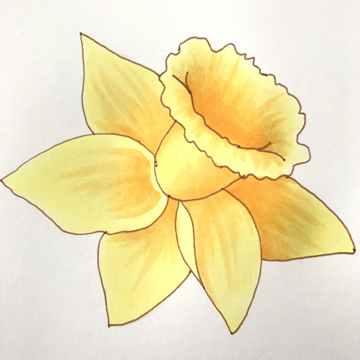
I played with the Yellow 4 piece set and really had a good time! I sketched a daffodil in pencil –

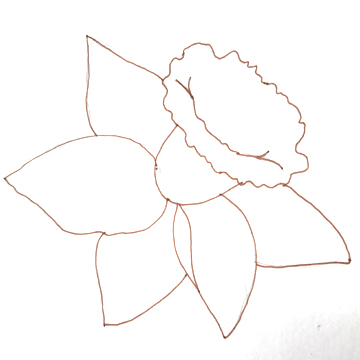
Went over my lines with the warm gray Multiliner and erased my lines –

Then used the two yellow Ciao markers to color and shade my flower – 

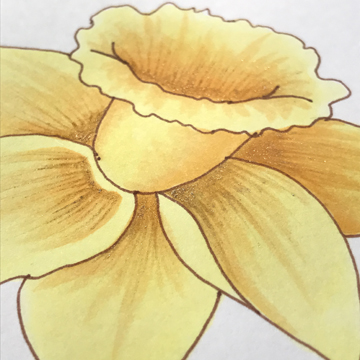
Even with only two markers I was able to get some wonderful dimension. Then I added a touch of sparkle with the beautiful atYou Spica glitter pen – 

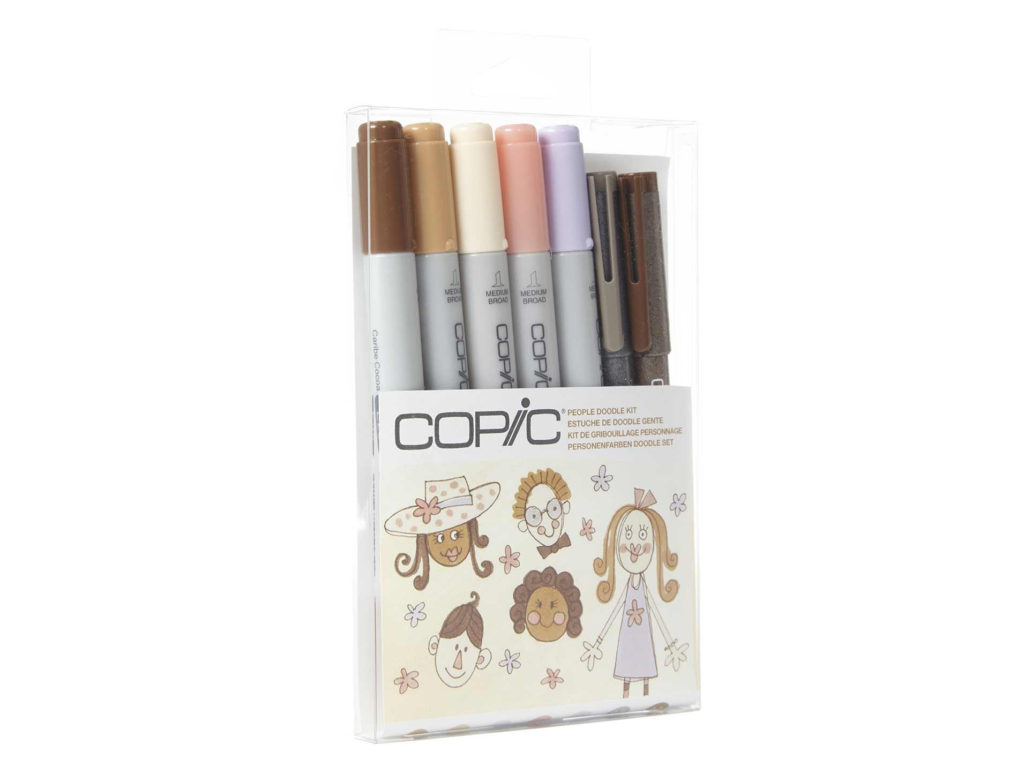
The packs come in a range of colors including a 7 pack of skin colors. you could get a wide range of skin tones with only 5 markers if you are unsure of that take a peek back at one of my other posts about just that! I featured a whole range of Copic skin tones using only a small pack of 6 Ciao markers.

Fun Copic goodness all tucked together in a cute pack Copic Doodle Packs!

Have a Happy Colorful Week!

Posted on 41 Comments

A Hello, Goodbye, Tommy Art and a PRIZE!

WELCOME!

Welcome Copic Fans! You hopefully are here hopping along to give a grand welcome to our newest Regional Instructor, Jen Dove!

Many of you know Jen for her fabulous Copic teaching on-line and for her Boot Camp, and other Copic classes, live in the Phoenix area! I am super excited to have her as part of our Certification and Workshop teaching crew. I know she will add fun, and crazy Copic skills to our talented team.

I miss you already Lori

Sadly we are saying goodbye to our long time instructor Lori Craig. Lori is not leaving Imagination International, Inc completely she will be the new brand supervisor for Tommy Art, launching that new product line which is incredibly exciting and the Tommy Art team is VERY lucky to have Lori Leading the way.
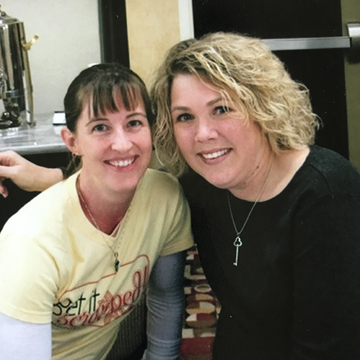
I met Lori when I took the Standard Certification in Lincoln, NE many years back. She is a fabulous teacher as those who have been lucky enough to have her can attest to. We stayed in contact while I was teaching on-line and had fun touching base through the years at other Copic and Crafting events.  I have been blessed to be a part of the Regional Instructor team alongside Lori the past few years and will certainly miss her lovely spirit and beautiful smile, not to mention her Copic skills and creativity! I am lucky to be able to count her as a friend.  
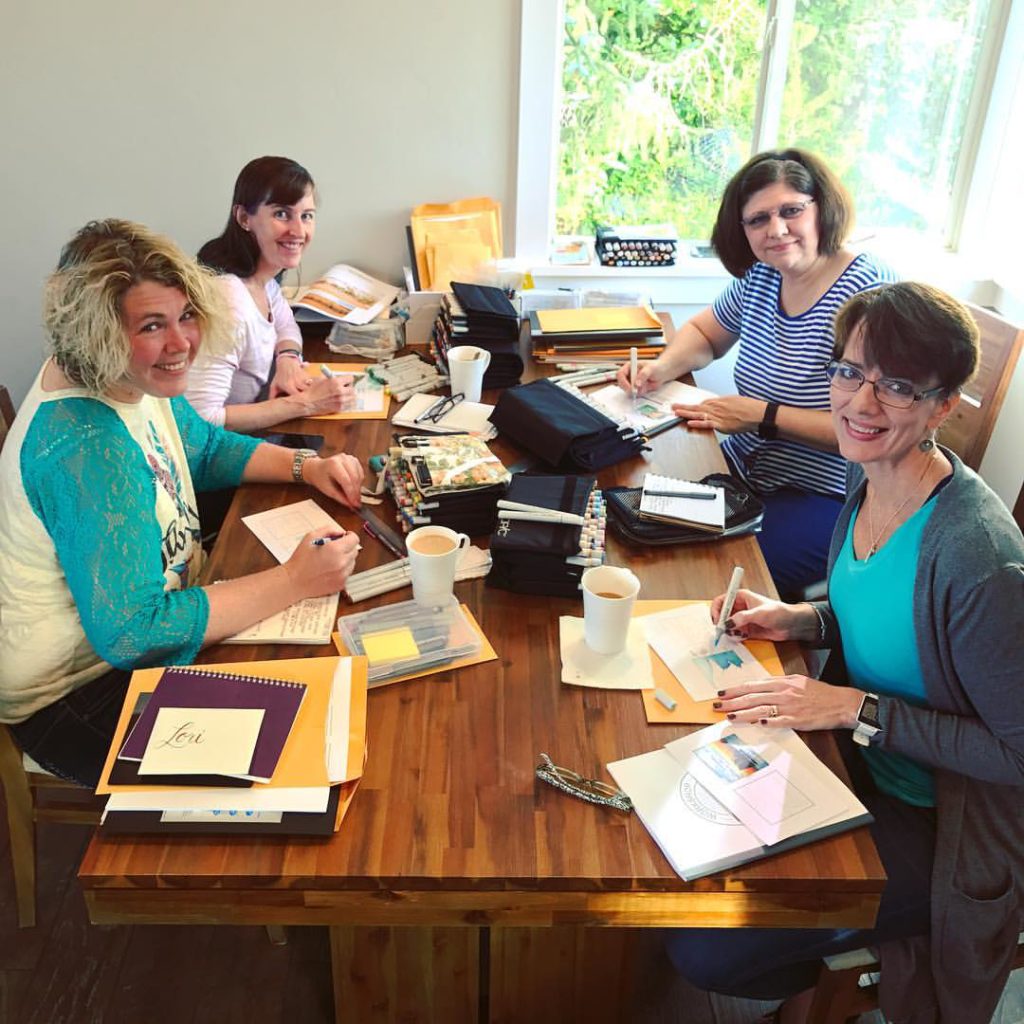
On to Tommy Art!

You are not done yet hang in there! The product line that Lori will be helping launch and promote is Tommy Art! You will love these paints, mediums and finishes. I have only had a minuscule amount of time to begin experimenting with them but I have to tell you these are NOT your simple craft paints. These are the bee’s knees. Yummy texture, opaque coverage, work on all kinds of surfaces, flexible when dry AND easy water clean up!

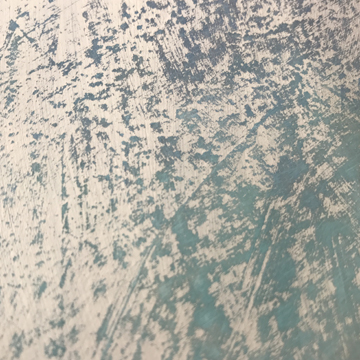
I tried two different background techniques for journal pages or card bases or… I really was just wanting to play and this is what resulted. 
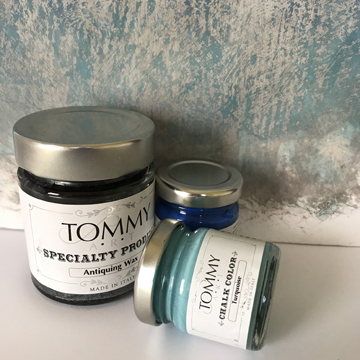
I started with two of the chalk paints and one of the waxes to create this distressed look. (I really like the ombre effect I achieved with the paints first and will definitely be doing that again as well!)
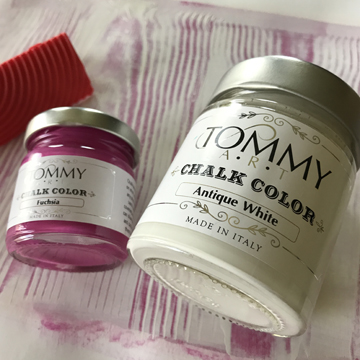
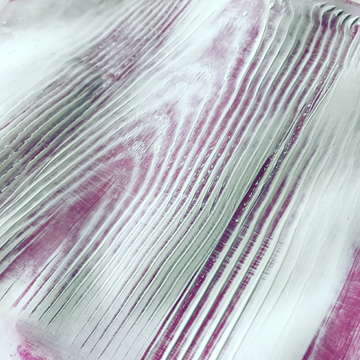
Then I played with two of the chalk paints and a wood grain tool to create this faux wood look.
You can see all of this on my latest video over at Copic In The Craft Room on YouTube!

AND YES THERE IS A PRIZE!

We are thrilled you are joining us for our Hello/Farewell hop, and of course always LOVE to share a goody or two. So make sure to stop by ALL the blogs on the hop, leave a little love and then I will be drawing a name to win a NEW Copic sketch book AND a doodle pack (COLOR WILL VARY!!)
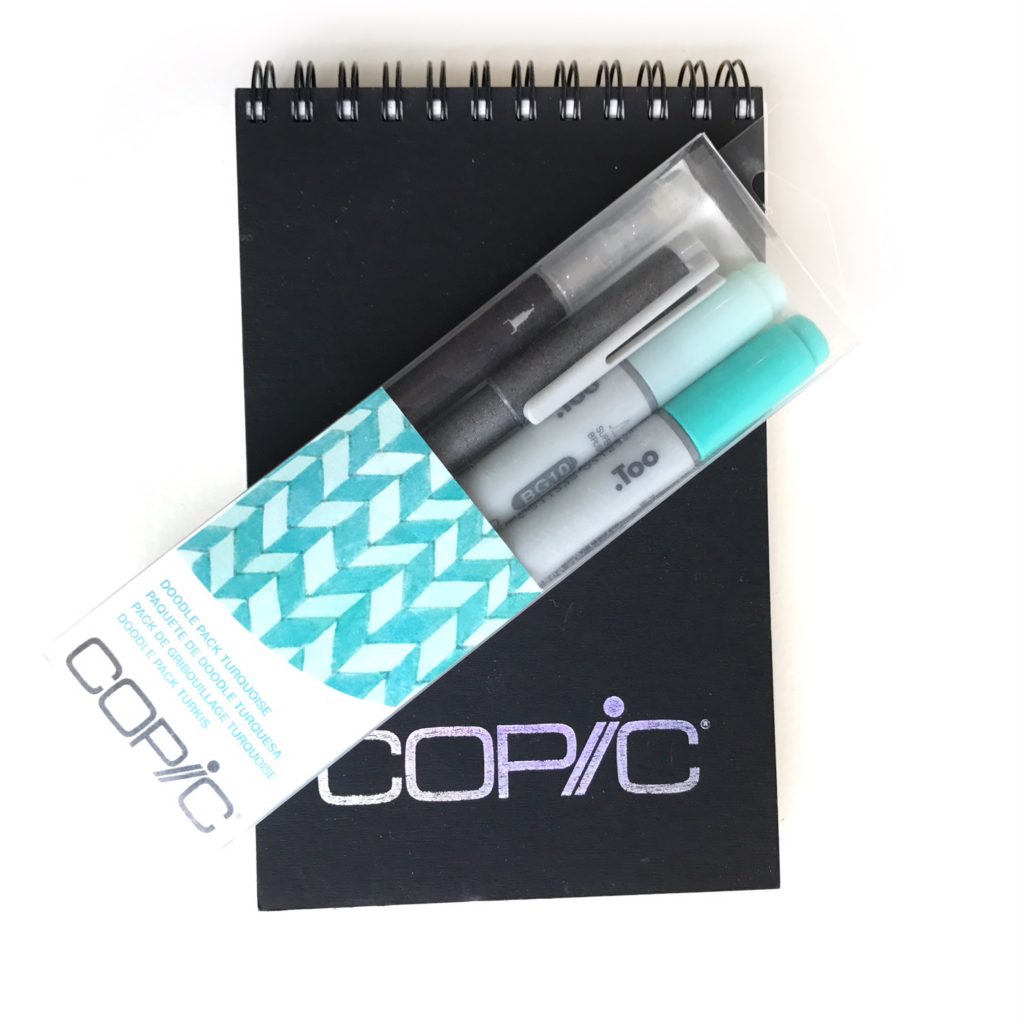
So hop along and make sure to hit everyone! The hop will end midnight EST on Sunday May 28th, and I will be checking in on all the blogs so do not skip any! We will announce the winner Tuesday the 30th. Here is a list of the whole line up:

Sharon Harnist  
Michele Boyer 
Lori Craig 
Cindy Lawrence 
Debbie Olson 
Michelle Houghton – You are Here
Jennifer Dove


Thank you all of you for making it through the lengthy post and CELEBRATING all of the news with us!!

Have a Happy Colorful day!
Posted on

Guest Designer at Dare 2B Artzy

I am honored to be sharing some art over at Dare 2B Artzy this month! I have a post on their blog today and will have another in two weeks, on Sunday May 28th. Dare 2 B Artzy has everything you need for your creative ventures from stamps to inks and gorgeous coordinating papers. 

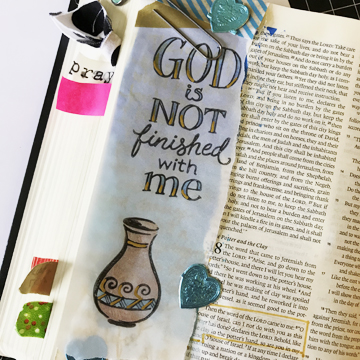
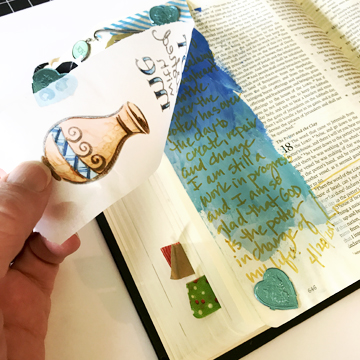
Today I am sharing a Bible Journaling page that I created using one of their stamp sets and their Copic compatible ink. 

If you would like to see my process head over to the Dare 2B Artzy blog. I also will have a video of the entire process at Copic In The Craft Room’s YouTube channel this Wednesday May 17th! 

I’ll give you one more sneaky peek though! Under the beautiful stamp is some of my new Tommy Art paint that I LOVE!

Lot’s of posting this month so I will see you soon!

Have a Happy Colorful Day!


Posted on

Pansies, Copic and Foam Squares…oh my!

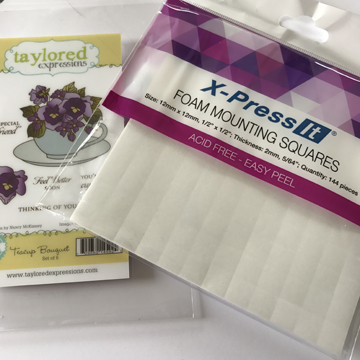
I just posted a video over at Copic In The Craft Room on YouTube featuring this beautiful stamp by Taylored Expressions and a fun new product by X-Press It. Those of us that use Copic markers are familiar with X-Press It, the company makes one of our favorite Copic papers! What you may or may not know is that they have a full line of adhesives as well. Including glues, tapes and foam tape. And starting this year they have added foam squares as well!

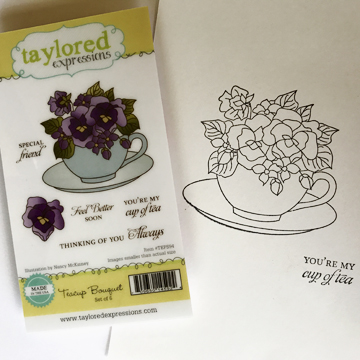
I figured most of you would like to see a little more of the process in making my card so here you go! I started with my stamped image and a small group of Copic markers.

I chose these particular colors using a photograph that I found on Pinterest as a reference.

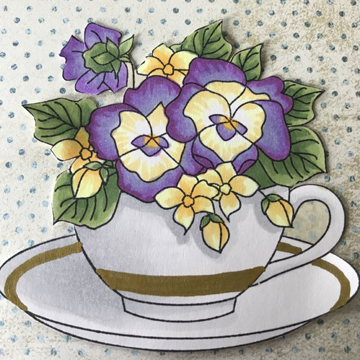
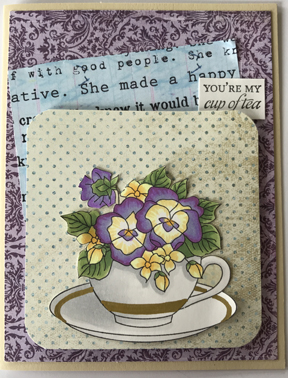
I colored up the image, I love how these Copic Violets blend together. If you would like to see the coloring in action make sure to check out the coloring video! A couple special notes, notice I did not cut out the area inside the handle of the teacup, I colored it instead, matching the patterned paper underneath, I did the same in a few small areas around the flowers. For this I used E81, B91 and my Colorless Blender. I also added a stripe to the teacup and the saucer, I did this with a Kirarina Wink marker in Gold. 

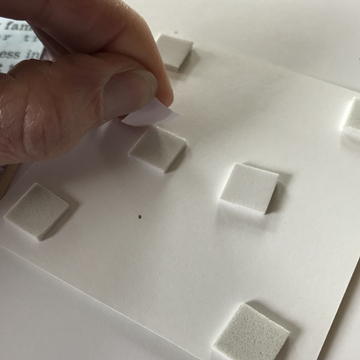
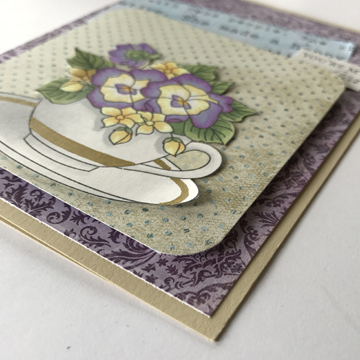
Once I had papers all trimmed and ready to go I started building the layers on my card. In order to add dimension  on a otherwise flat card I decided to pop up the teacup bouquet and it’s patterned paper base. I used the X-Press It Foam Squares on the back of the patterned paper base, peeled the backing off and adhered the piece to the card.

You can see how the foam squares lift the patterned paper off the card.

I appreciate that foam squares are not a new invention, but X-Press It products are really top notch and the foam squares are no different. Just like their foam tape, acid free, easy to adhere, solvent free, great for multiple surfaces and projects, but now in easy precut squares. 

This little card is already off to be delivered I know it will be well received. 

Have a Happy Colorful Day!