Posted on

Creating Halloween Cards With Copic and Kirarina!

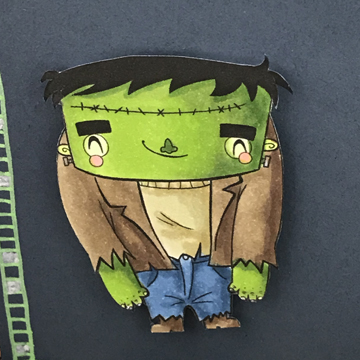
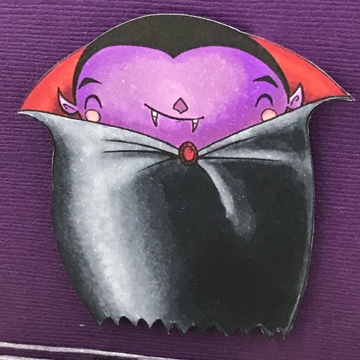
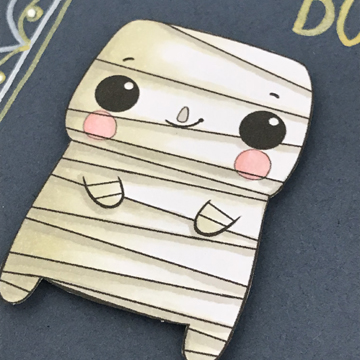
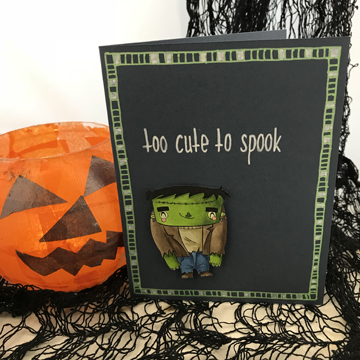
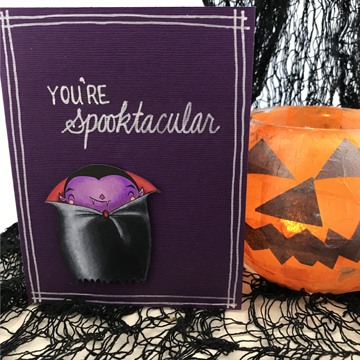
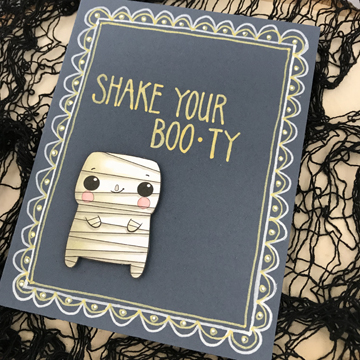
I have some Halloween cards to share this week. There will be another next week as well, and videos too! This week I started with some crazy cute digital stamps by MMedel Illustrations. I colored them up with my Copic markers of course! Here is a quick close up of the 3 that I colored:

If you would like to see the coloring and take a peek at all the colors used head over to the Copic In The Craft Room YouTube channel!

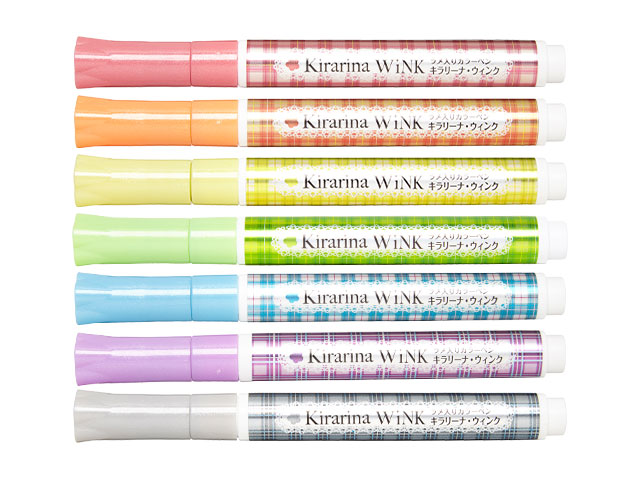
This week I added them all to cards! I LOVE how these turned out, simple phrases and doodling with Kirarina Wink pens. The slight shimmer and the opaque color are perfect for the darker card bases!

Here is a close up look at the three cards:

Here is my second video! This one is featuring the doodling and hand lettering with the Kirarina Wink. 

The Kirarina Wink has become one of my go to pens in my tool box, I love the opaque nature it works so well on all sorts of different papers and beautifully on top of copic work as well.

Have a Happy Colorful Week!


Posted on

Dare 2B Artzy Gifts Bookmarks (Copic on Watercolor Paper)

So I know we say Copic goes on smooth cardstock, but today I am breaking the rules! Favorite part of art Learn the rules so you can break them 🙂 Today I am coloring on watercolor paper.

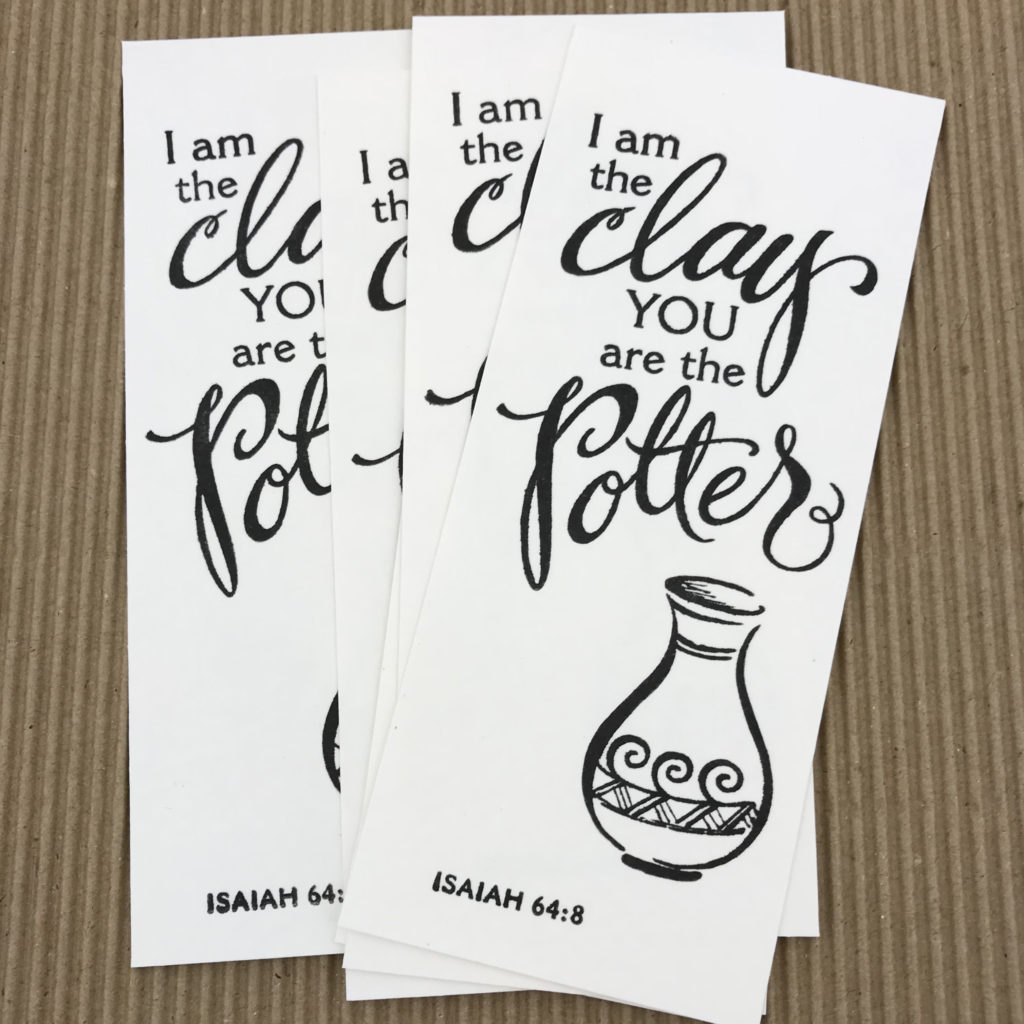
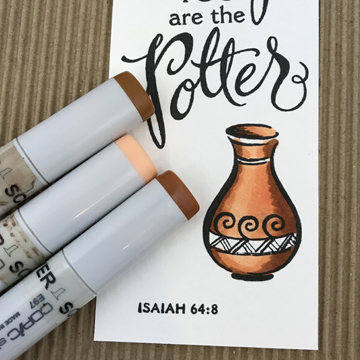
Today’s post is with a beautiful stamp set by Dare 2B ArtzyThe Potter.” I started by cutting one large sheet of watercolor paper down into 24 smaller bookmark sized pieces, 2 1/2″ x 6″ and stamped them with my stamps ( I used three from the set and set them up on my Misti for mass production)

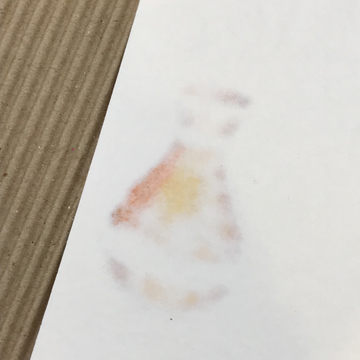
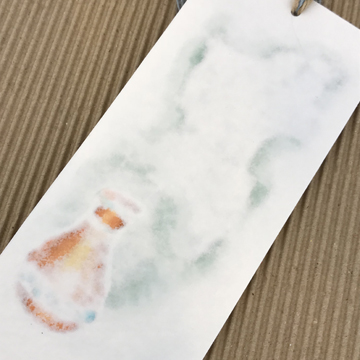
Now for some Copics, here is a peek at what they look like before blending similar to cardstock, take a peek at the back too, not as much bleeding through, this is heavy paper. I love the rich color and wait to see how it blends!! (E95, E97, E99) We tell people to stay away from watercolor paper because it absorbs so much moisture so it sucks up that Copic ink as well. I have my refills sitting right here so I am just not worried about using up my ink.

Then I blended it just like normal, it blends beautifully. Watercolor paper is super soft so the blending is really easy!

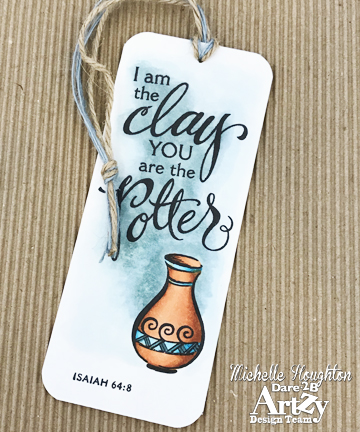
I finished off my bookmark and added rounded corners and a simple tie. Here is another peek at the back as well. I could cover the back with patterned paper or more watercolor paper, but as usual I am not worried 🙂

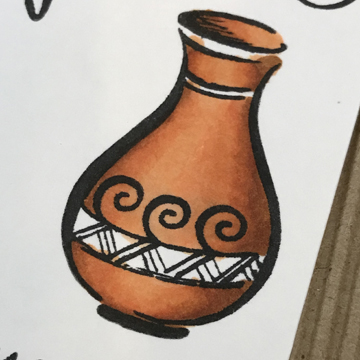
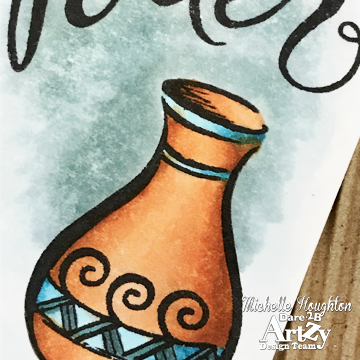
Here is a quick close up of the image as well.

Head over to Dare 2B Artzy to see all the current goodies and while you are there check out this months challenge as well! (There are prizes to be had you know!)

Thanks for stopping by!

Have a Happy Colorful Week!


Posted on

Dare 2B Artzy Big Bloom Stamp

I have a second take with the D2BA Big Bloom stamp set featured over at the D2BA blog today. I created another Copic background to base the image, here is how I did that part first:

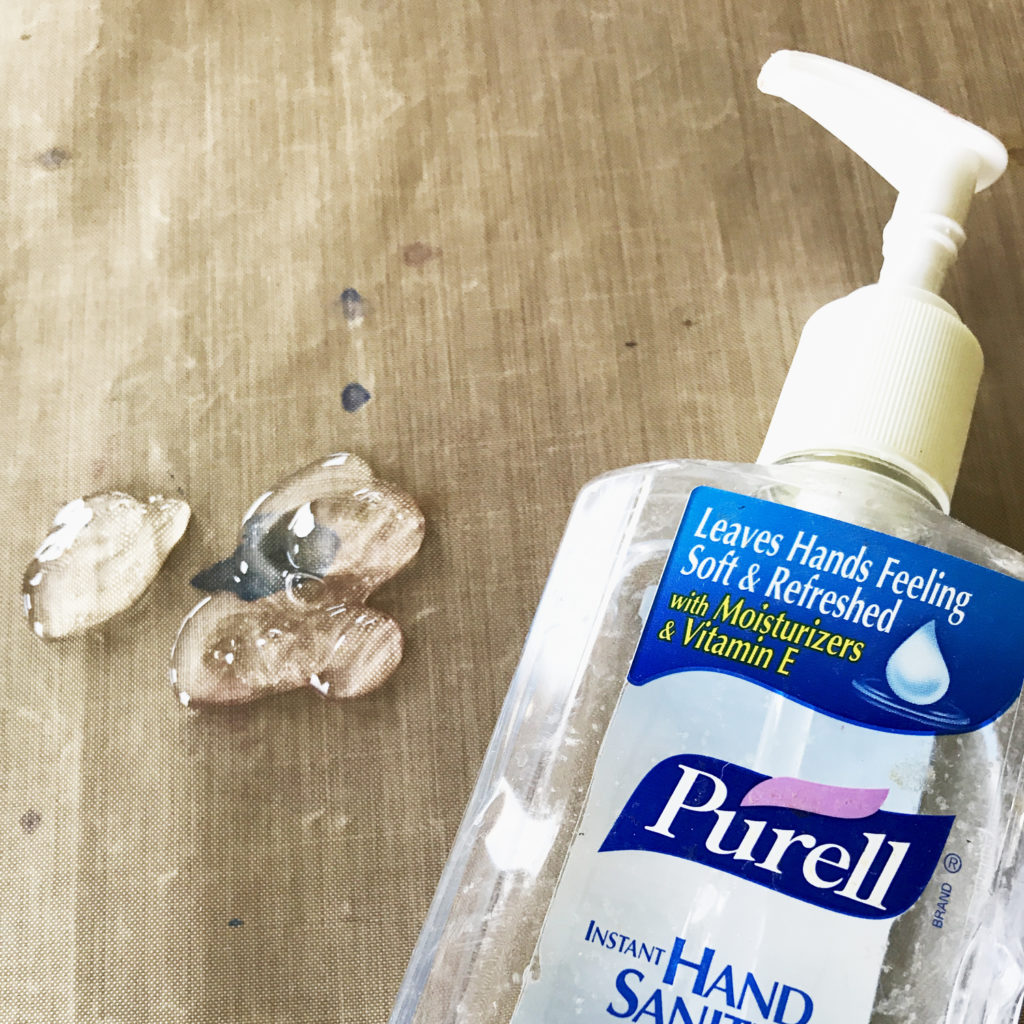
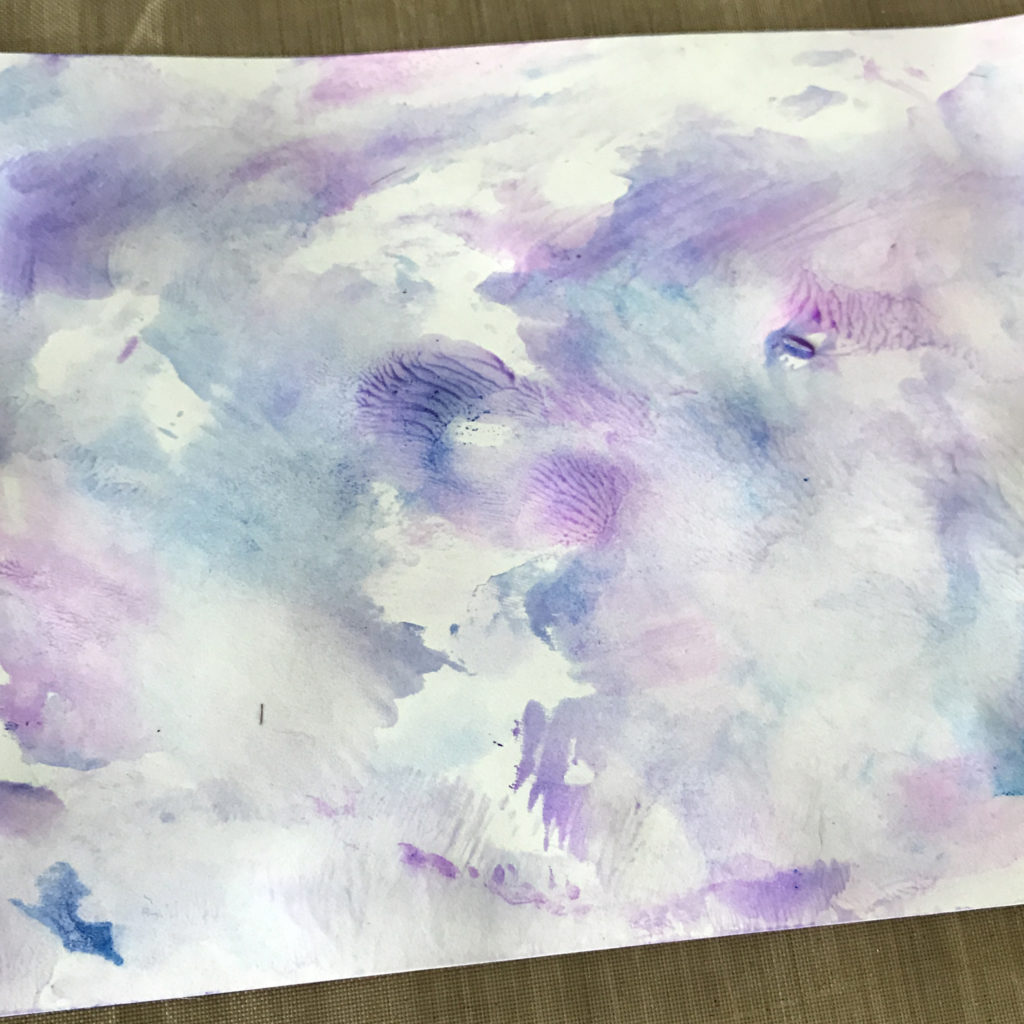
Start by squirting hand sanitizer on a craft matte – 

Spread it out evenly using a craft stick or similar tool – 

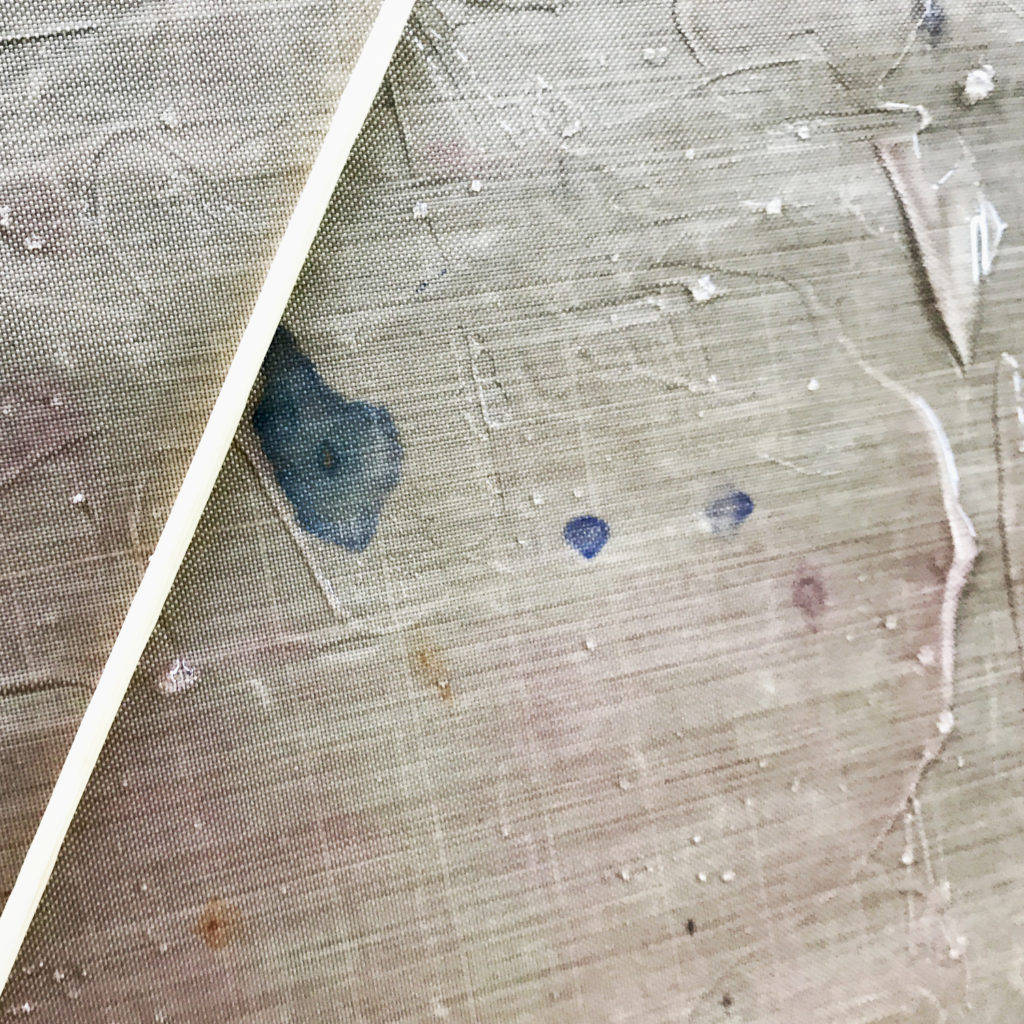
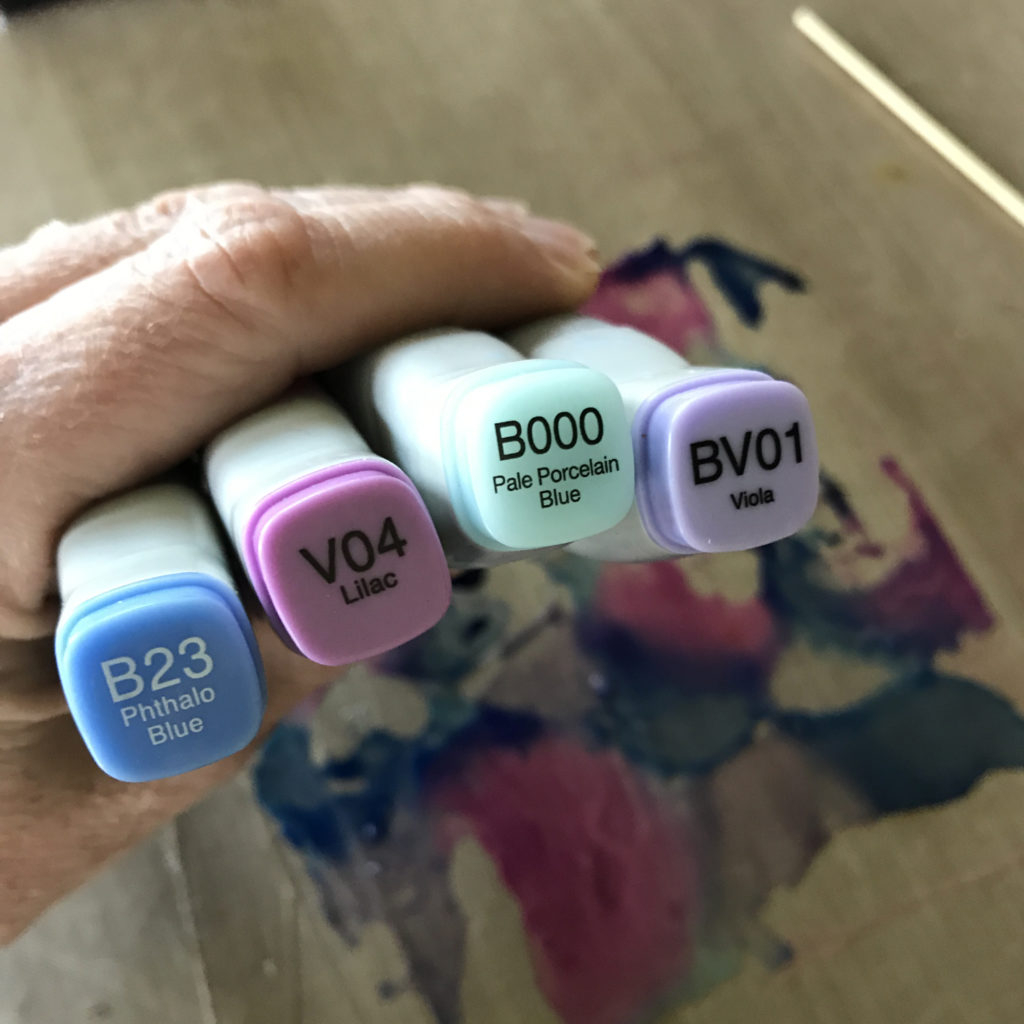
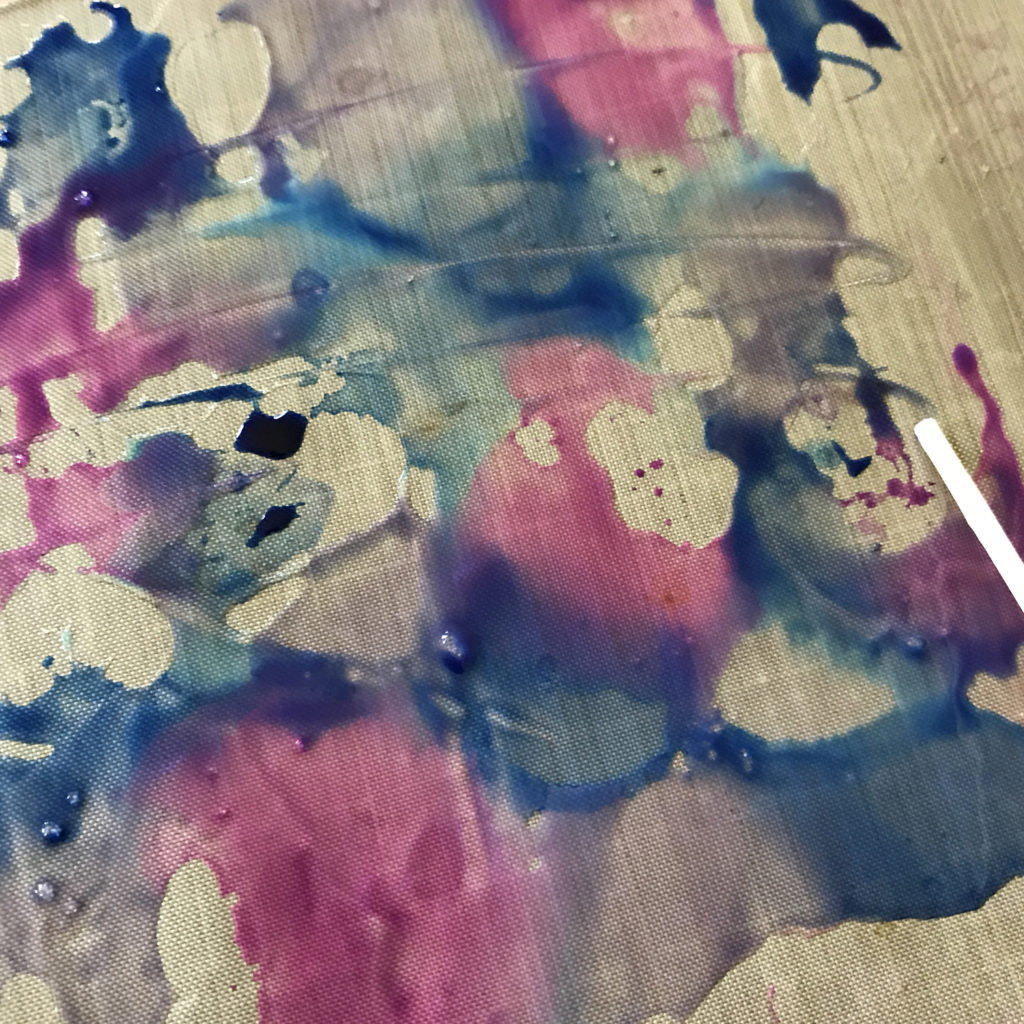
Drip Copic Various Inks onto the hand sanitizer – 

If you want marble the colors together with the end of your stick – 

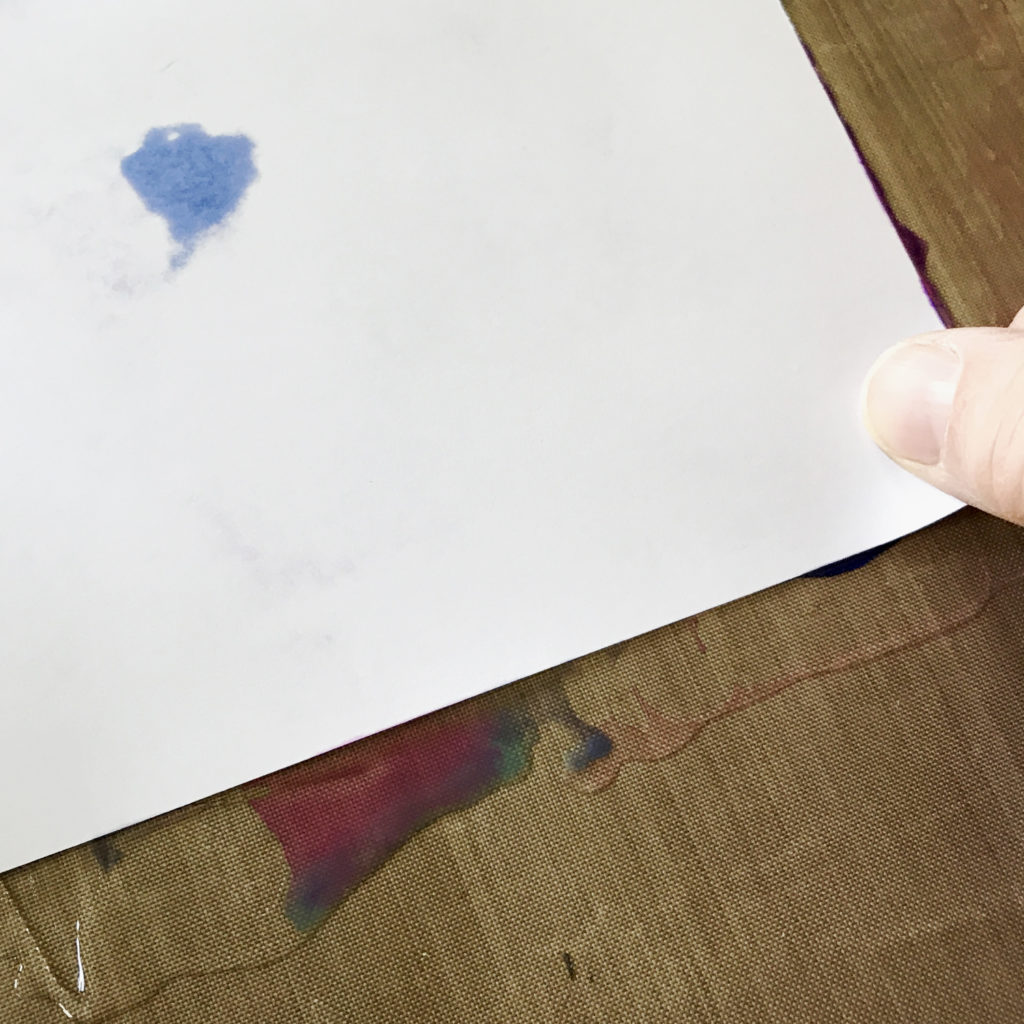
Lay your paper face down onto the ink – 

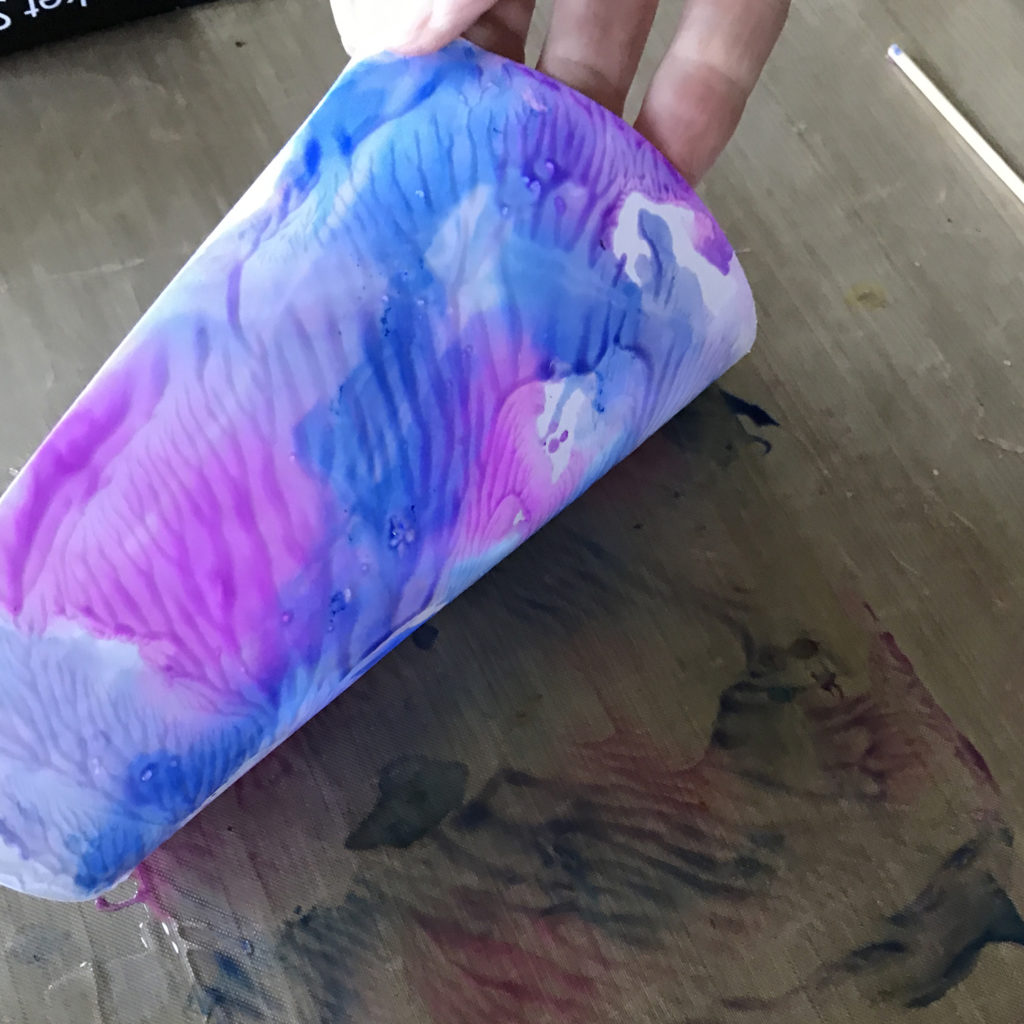
Carefully peel the paper up from one corner – 

I wanted a more subtle color wash so I used a second piece of paper, then dried the paper with my heat gun – 

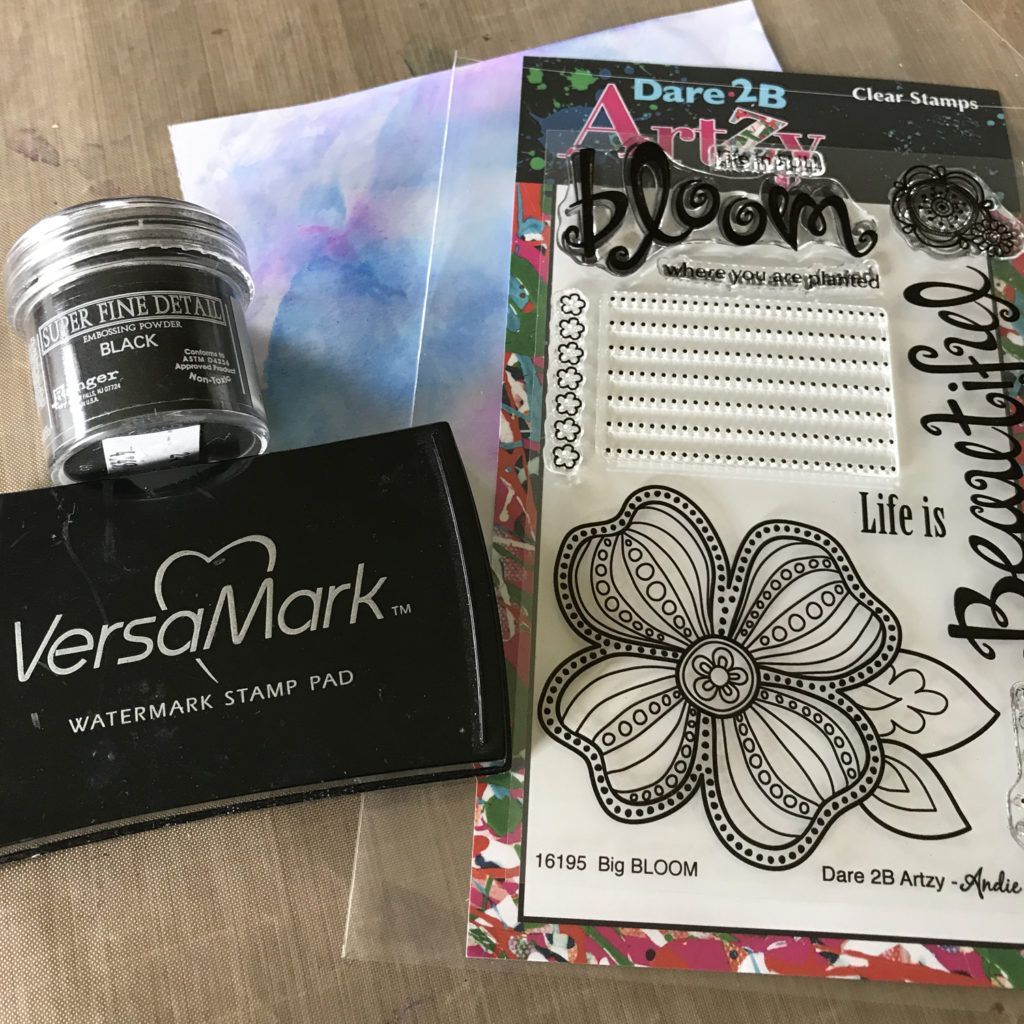
Next I gathered supplies to add my image – 

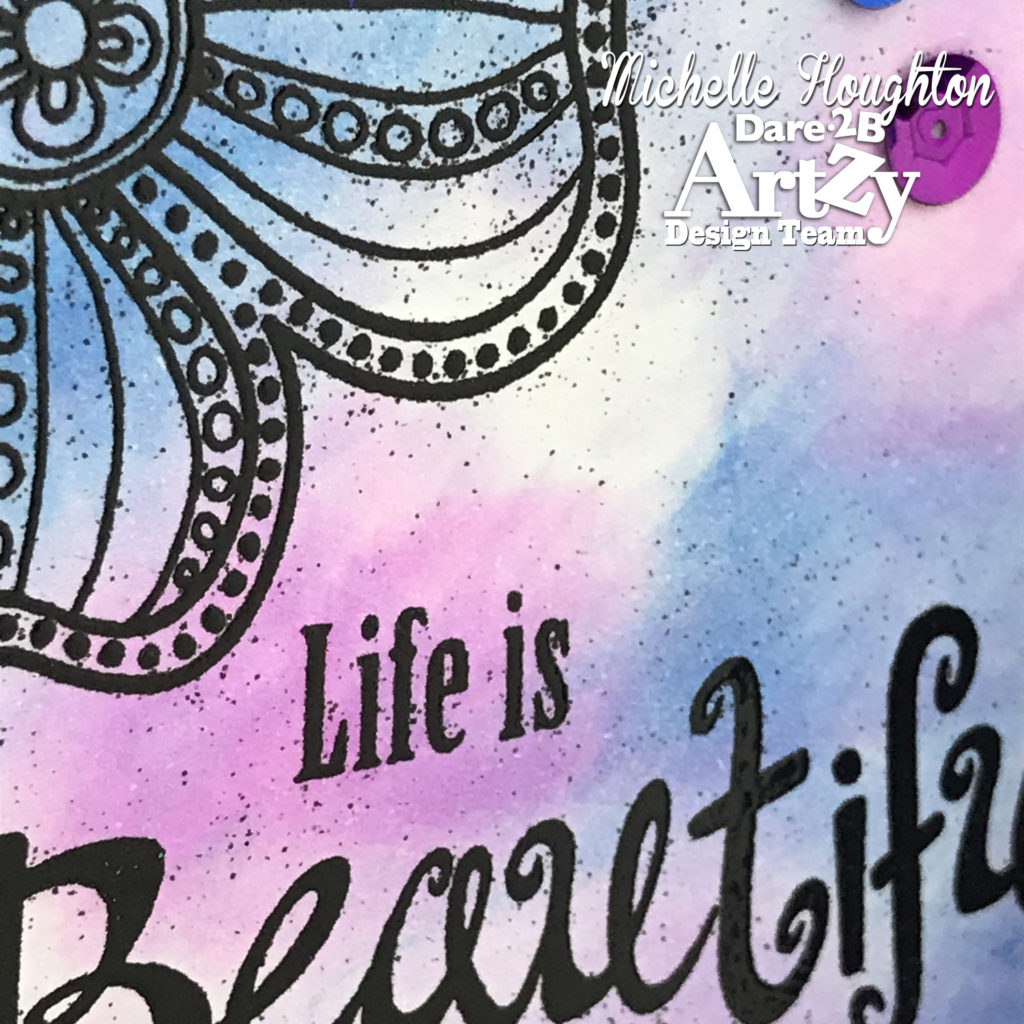
I stamped, sprinkled embossing powder and used my heat gun to set the embossing powder. I love how the image turned out even with the extra flakes of embossing powder scattered throughout – 

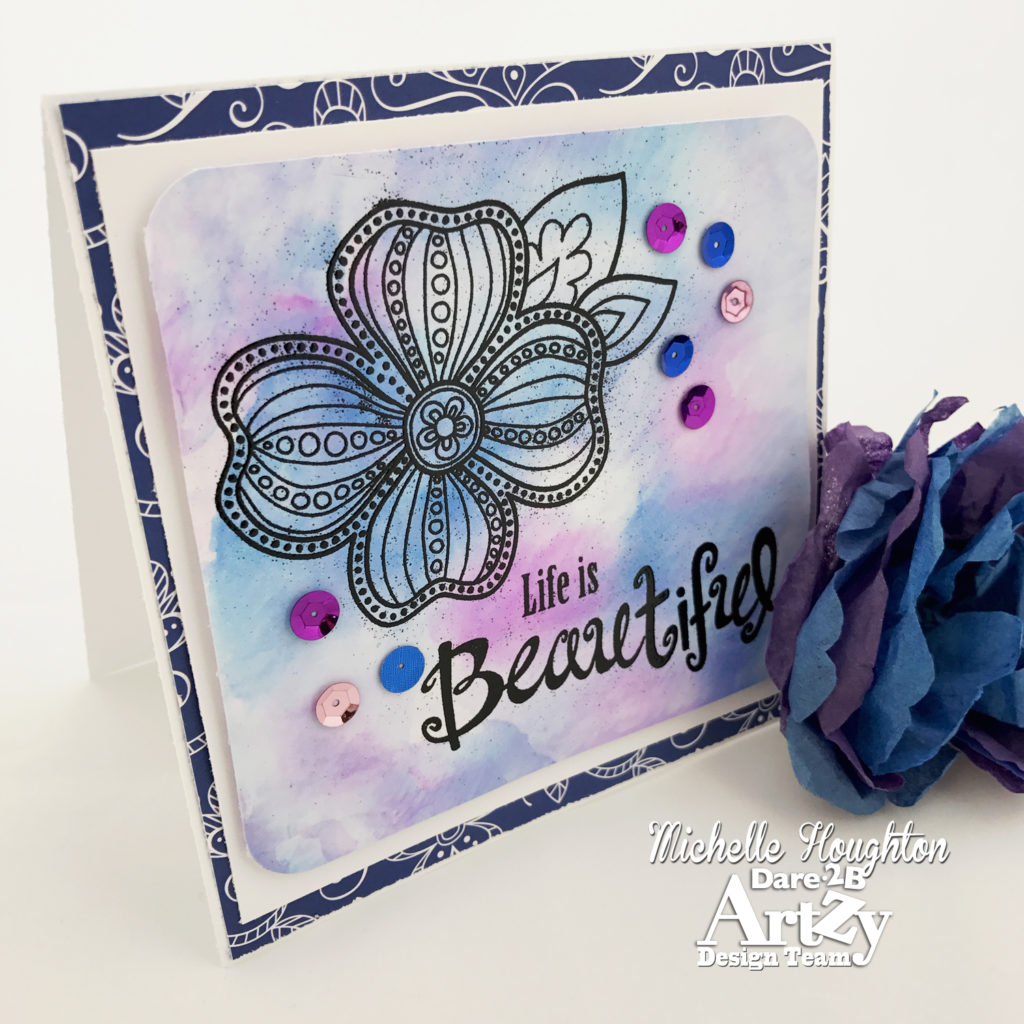
To finish it gets trimmed up, layered with yardstick, patterned paper, and a card base. A sprinkling of sequins is the final touch – 

I love that Dare 2B Artzy has me creating art regularly right now it is so good for my soul! Through the business of life it brings me peace! The products from Dare 2B Artzy that I used today are the Big Bloom Set and Artzy Doodled Paper Pack.

Thank you for stopping by today!

Have a Happy Colorful Day!


Posted on

D2BA September Challenge!

Ship Shape is the name of game this month at D2BA. So I am off to create a “shaped” card. I was a little at a los here as I do not have many die cuts and in fact only have 5 or so total. None of them are base shapes so I was really unsure where to go with this challenge. I happened to be playing fo
r the weekend with crafty friends and Amanda encouraged me to look through her wonderful stash. As I was looking through though I just was not seeing something that I wanted. I figured I could start with a shaped die cut and then add my flowers or stamped image hanging off the edges, and when I described this to the amazing Amanda she said why not just make the shape of the stamp the card?

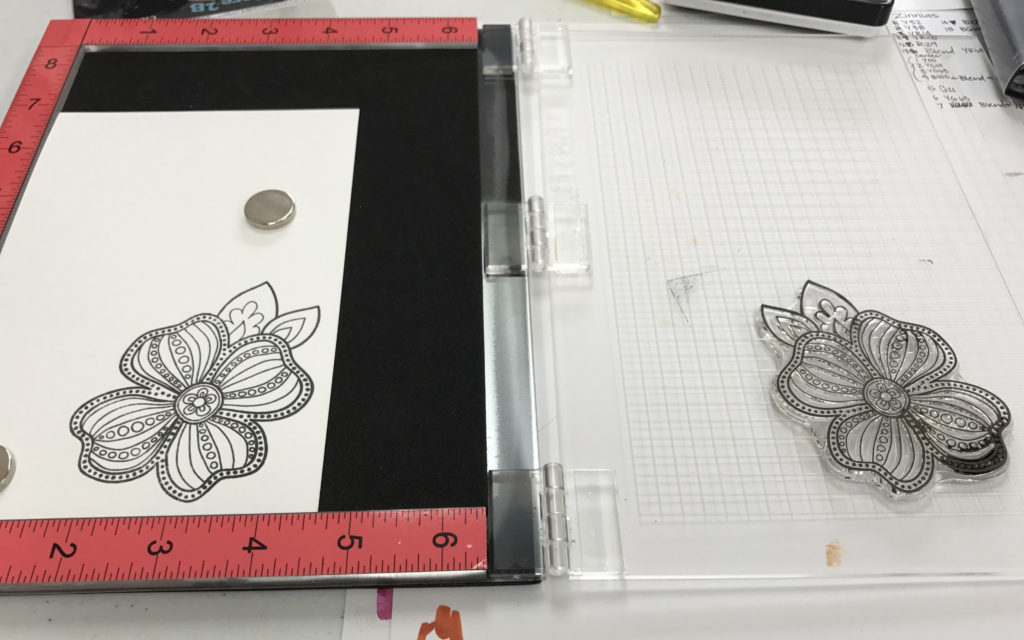
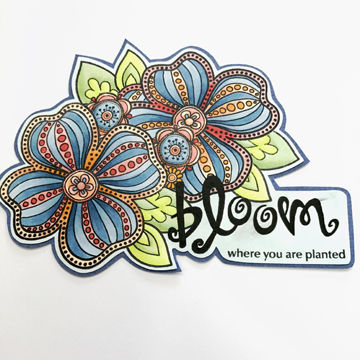
Hmm…now why didn’t I think of that. I am a fussy cutter extraordinaire!  So I started with one of my larger stamps from Dare 2B Artzy out of the Big Bloom set and used my stamp platform to get it onto my paper.
 

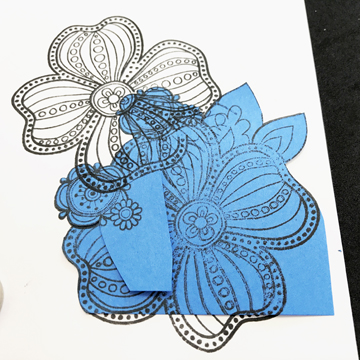
Next I did A LOT of masking and stamping:

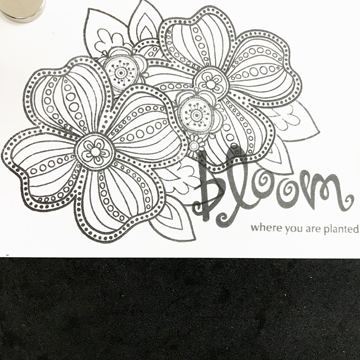
I did about 4 rounds of stamping total with masking in between to coverup the edges of the already stamped areas. I used post-its to do my masking. Then I added a sentiment and since this is black just added this layer right on top!

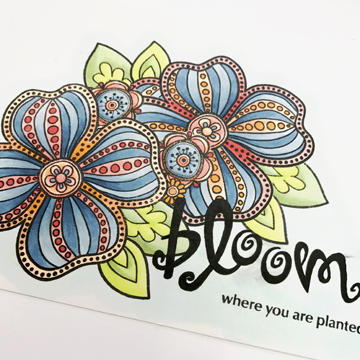
On to coloring, yay! Here come the Copics!

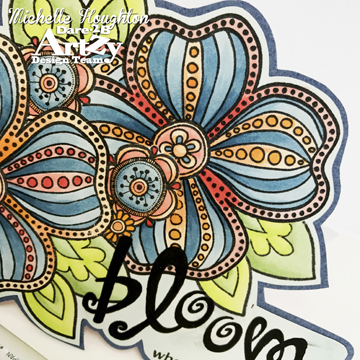
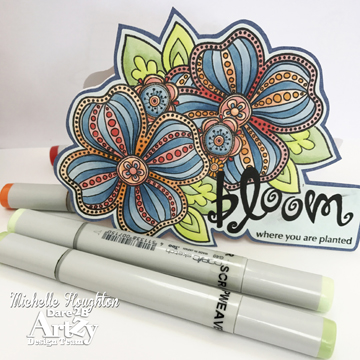
All the doodled images at D2BA work great for Copic and very little shading goes along way. Next I fussy cut my image and adhered it to a yardstick base and fussy cut again!

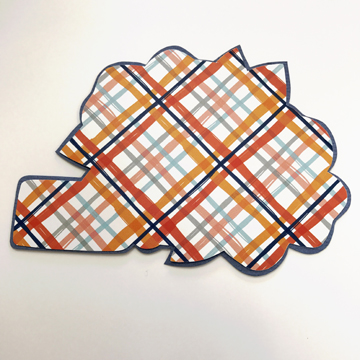
I cut one more layer using this last step as a guide. I cut out a piece of patterned paper from the Fields of Joy set since I used those colors for my inspiration. I trimmed this piece down further so it will be able to sit inside the card. Don’t adhere it yet though!

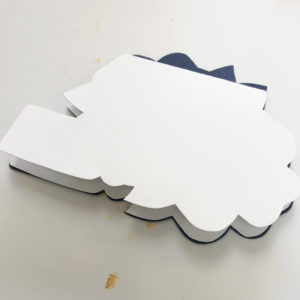
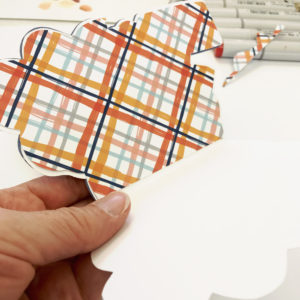
I folded a piece of white cardstock and placed the fold just below the top edge of the flowers then traced and trimmed my card base.


Next trimmed down the patterned paper and added it to the inside.


Woosh! all done! Lots of trimming, masking and coloring but boy do I love how it turned out! Thank you D2BA and Amanda for the inspiration!!

Thanks for checking out the whole process, and make sure to head over to D2BA for all the details of this mount’s challenge!

Have a Happy Colorful Week!


Posted on

Air Brush Copic Style

Today I am playing with my ABS or Air Brush System. I decided to air brush everything! So I started with the standard crafter use for the air brush. I colored my simple image:
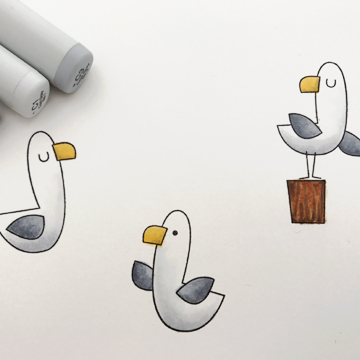
This is a stamp set by My Favorite Things. I used C1, C3, C5, 0, Y21, Y21 and E31, E25, V99, those last 3 are only on the wood. Then I masked off the seagulls by fussy cutting a second stamped page and then used post its to mask the bottom half of the image. I also have this new stencil by My Favorite Things that is perfect for these little guys.
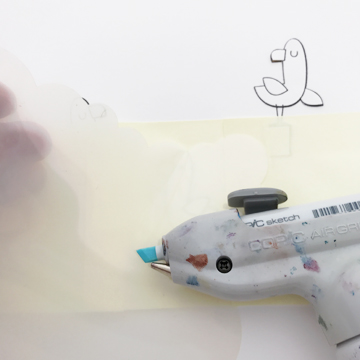
Background layer gets air brushed I used the same stencil for the clouds with the scallop shape pointed up and then turned the image over, pointed the scallops down and created waves.
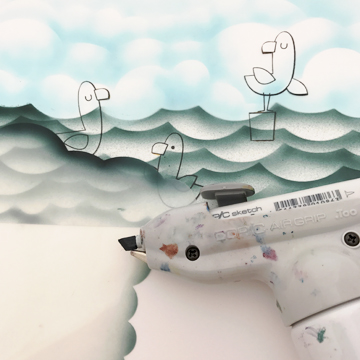
Then I needed to create a card so I pulled out a lot of white and clear do dads. 
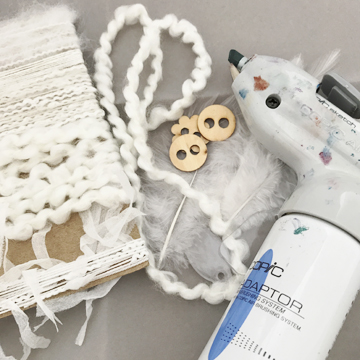
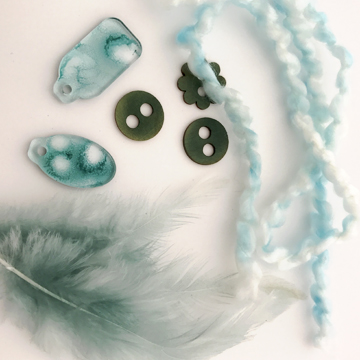
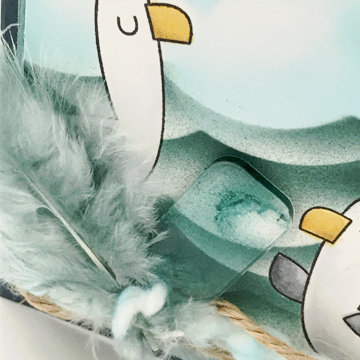
One of the great things about Copic ink is that it works on any surface so I can use it on plastics, cloth, wood and yes even feathers. I used similar colors to the card and colored up several things.

**Here is an air brushing tip: when trying to airbrush light items like fibers or feathers, considering taping them to your work surface with re-positionable tape to hold them down instead of getting inky fingers.**

My personal favorite is the plastic tags. I can airbrush them smooth, but this time I started smooth and then switched colors and sprayed really close to the plastic to create the blotchy appearance.
Next pull it all together. I added some of my airbrushed embellishments to my image and created this fun card.
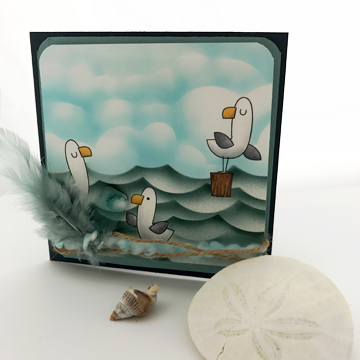
My favorite spot is in the lower left corner where all that airbrush loveliness gathers.
The Copic ABS system is crazy versatile and I have just touched on some of the basics with this card. If you have questions about how to choose which system please ask or trouble shoot your airbrush work let me know! There is also a lot of great information at the III web site and also we have several videos featuring the ABS system over at the Copic In the Craft Room YouTube channel.

Have a Happy Colorful Week!