Posted on

Pansies, Copic and Foam Squares…oh my!

I just posted a video over at Copic In The Craft Room on YouTube featuring this beautiful stamp by Taylored Expressions and a fun new product by X-Press It. Those of us that use Copic markers are familiar with X-Press It, the company makes one of our favorite Copic papers! What you may or may not know is that they have a full line of adhesives as well. Including glues, tapes and foam tape. And starting this year they have added foam squares as well!
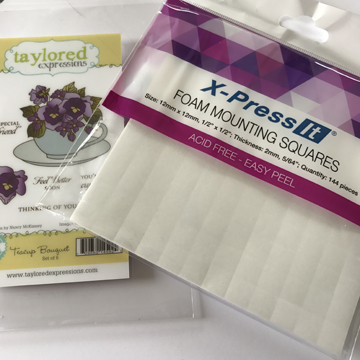
I figured most of you would like to see a little more of the process in making my card so here you go! I started with my stamped image and a small group of Copic markers.
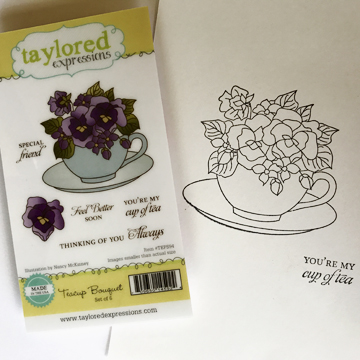
I chose these particular colors using a photograph that I found on Pinterest as a reference.

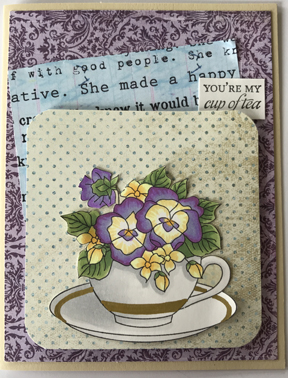
I colored up the image, I love how these Copic Violets blend together. If you would like to see the coloring in action make sure to check out the coloring video! A couple special notes, notice I did not cut out the area inside the handle of the teacup, I colored it instead, matching the patterned paper underneath, I did the same in a few small areas around the flowers. For this I used E81, B91 and my Colorless Blender. I also added a stripe to the teacup and the saucer, I did this with a Kirarina Wink marker in Gold. 
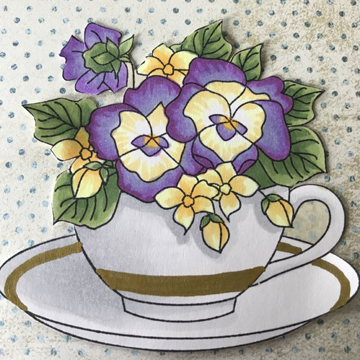
Once I had papers all trimmed and ready to go I started building the layers on my card. In order to add dimension  on a otherwise flat card I decided to pop up the teacup bouquet and it’s patterned paper base. I used the X-Press It Foam Squares on the back of the patterned paper base, peeled the backing off and adhered the piece to the card.
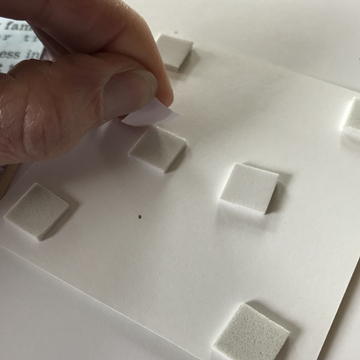
You can see how the foam squares lift the patterned paper off the card.
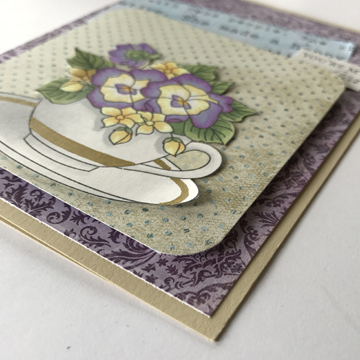
I appreciate that foam squares are not a new invention, but X-Press It products are really top notch and the foam squares are no different. Just like their foam tape, acid free, easy to adhere, solvent free, great for multiple surfaces and projects, but now in easy precut squares. 

This little card is already off to be delivered I know it will be well received. 
Have a Happy Colorful Day!


Posted on 21 Comments

Dare 2B Artzy Spring 3-D Blog Hop!

Welcome to Dare 2B Artzy‘s Blog Hop!!

Who’s excited for Spring?!

Here are D2BA we are super excited for some sun shiny days and warm weather!

To celebrate we decided to have a Spring 3D Themed Blog Hop!!  

We are super excited to have two Guest Designers joining us for this hop!!

D2BA_SpringBlogHop

You should have arrived here from Melody‘s  

blog!  If you haven’t and would like to hop along with us, please go back to the Dare 2B Artzy Blog to start at the beginning!

Be sure to follow each blog and leave comments along the way for your chance at winning!  We will randomly choose a winner from one of the blogs, so the more you comment, the more chances you have to win!!

Winner will receive a stamp set and ink pad of their choice!!

Blog Hop will end Sunday, April 30th at 7:00pm Eastern.  

We will then post a winner!!

———

Hello D2BA fans! I am so glad you are hopping through my blog this weekend! I created a 3D card or Pop Up card for my project this weekend. I used the “Flowers for Mom” set and then pretty much winged the Pop Up part :-). If you have not seen my work before that is pretty typical of me. The flowers are all colored with Copic markers which is really where my passion lies. Here is a close up of these LOVELY flowers, and the dimension on the card:
a1

And here is a shot of the full card. 

a2

There are two other ways you can take a peek at my process though! I have a full video of the card creation at the Copic In The Craft Room YouTube channel and I have a photo tutorial as well that is over at Pinterest again at Copic In The Craft Room. Here are the links.

A HUGE favor! If you enjoy the video like our channel, not only will you get great new content every week, but we are closing in on 10,000 followers and planning a celebration! 

https://www.youtube.com/watch?v=2KkBxXTUNDI&t=1s

And here is the link for Pintrest!

https://www.pinterest.com/pin/341218109255943125/

Thanks for stopping by!  

Your next stop in the hop is Chris‘s

 blog!  

We hope you are inspired all along the way!  

Check out all D2BA’s products here!

Have a Happy Colorful Day!

Posted on

X-Press It Mask It

Ever had a cool new stamp that has you inspired to create an awesome background? I have a new set of Stampendous stamps by Laurel Burch and I am in LOVE. I love Laurel’s art work anyway and now I can get it in stamps, AND they lend themselves to the amazing vibrant colors of Copic so I just couldn’t wait to pull one right our of the mailing envelope and get coloring!

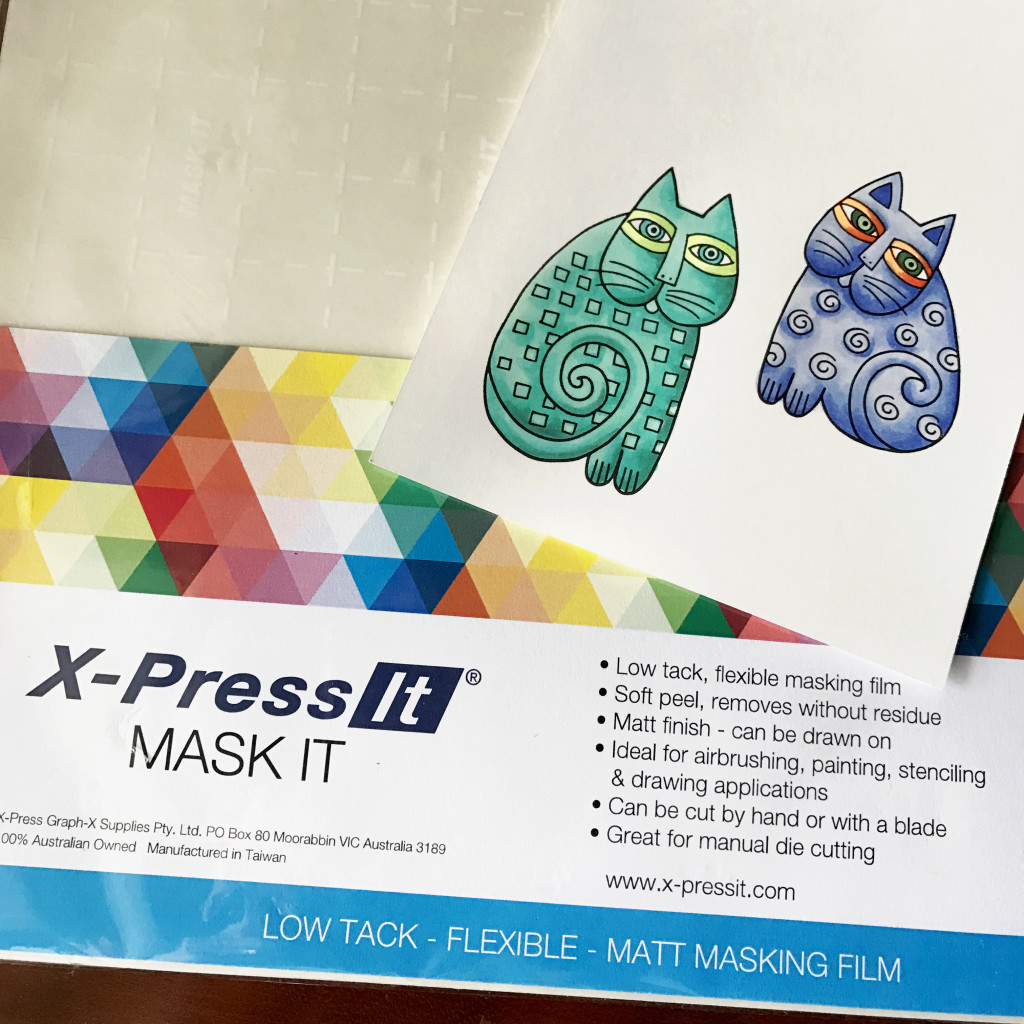
I knew before I began that I wanted to complete the image with a fabulous background as well. I could cut out the image and stick them to a separate back ground. I could try to work around the image carefully OR I could mask it. Have you ever used a post it or scratch paper to create a mask for your image? It is pretty easy, but I want to show you an even easier, more effective way to mask your image. You can use Mask It made by X-Press It. It is a clear film with light adhesive that you can lay over your image, trim away and then create your background over. Hard to describe so let me show you!

I colored my images first, I could just stamp and wait till the end to color, but like I said I was a little color happy when I got these stamps :-).

mask 1

Again the stamp is by Stampendous and from the new Laurel Burch line, this one is called Indigo Cats.

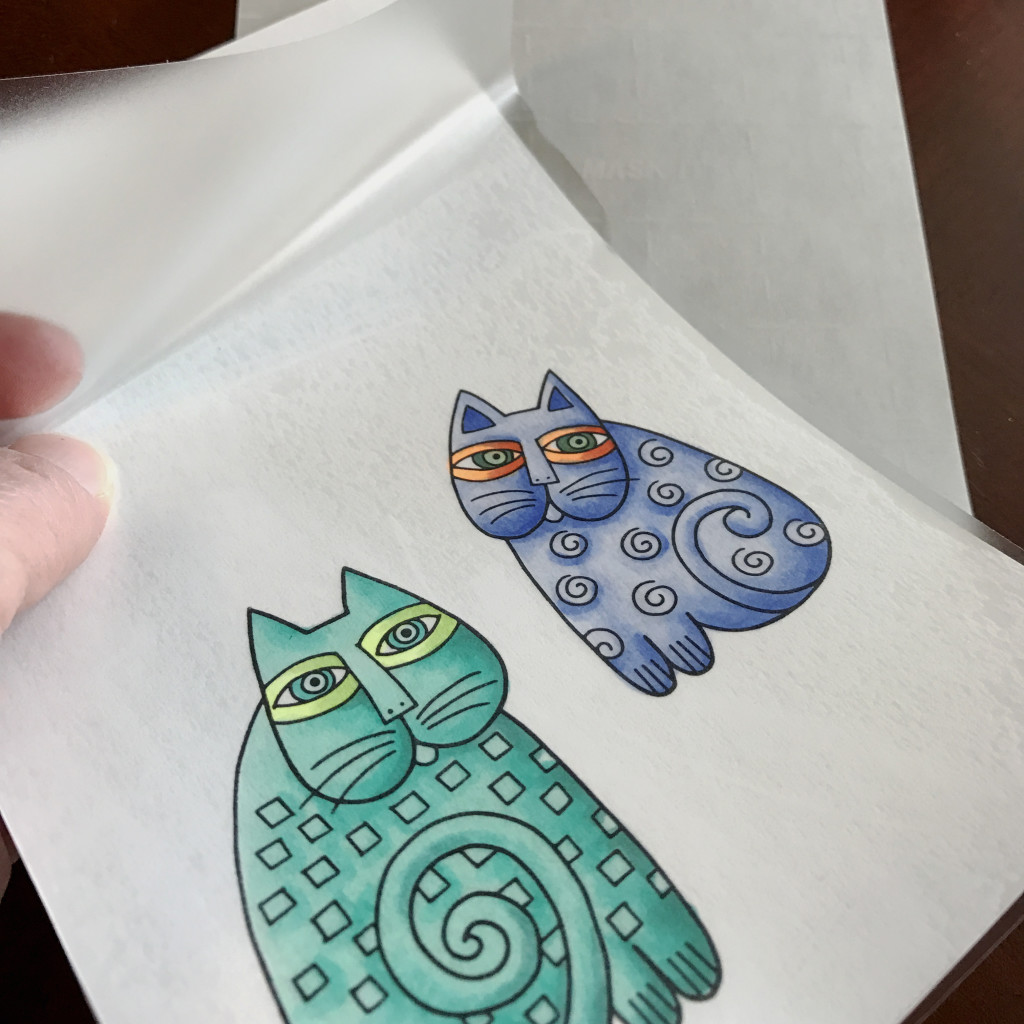
Then I cut out a piece of Mask It that was large enough to cover the area I wanted to mask. I could have cut it to only cover the cats and save on usage but I was not sure yet what I was going to do so made my sheet as big as the paper. 

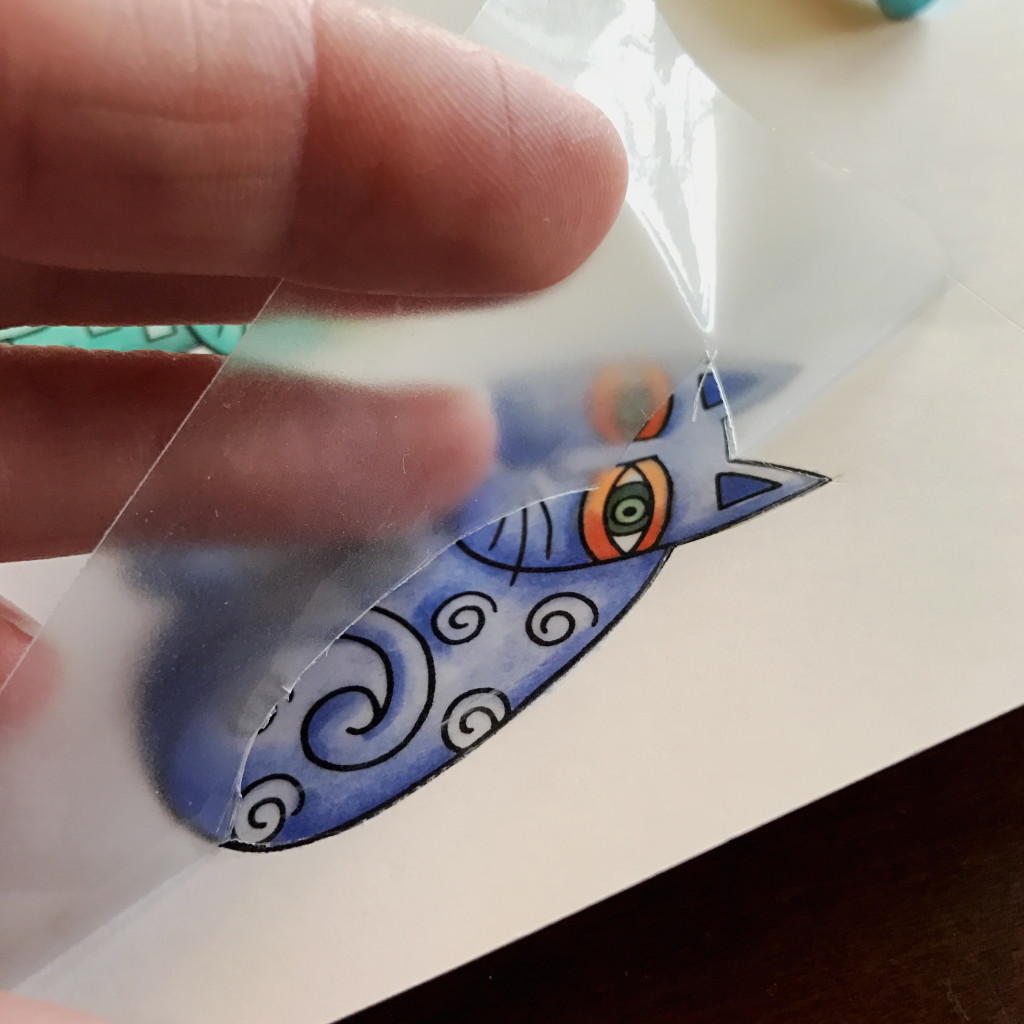
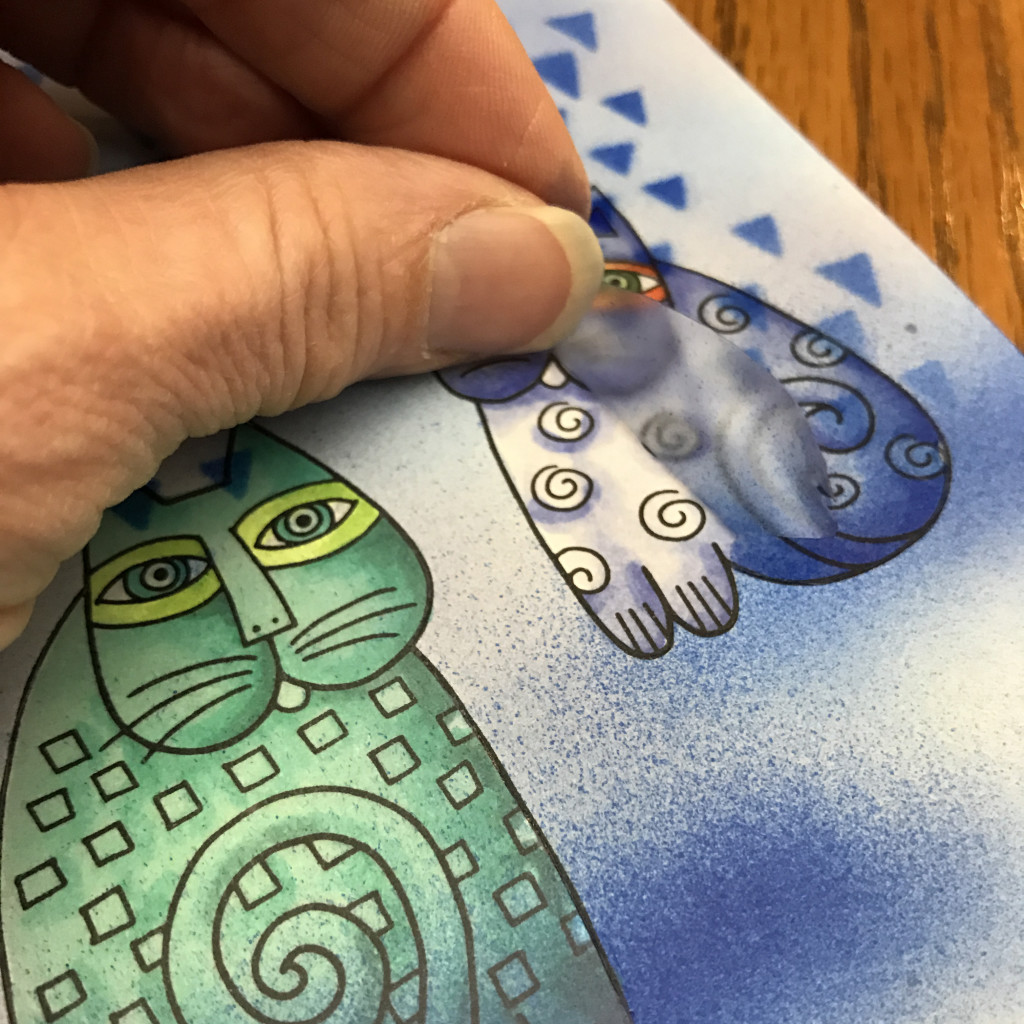
I peeled off the paper backing and carefully laid the clear adhesive sheet over my image.

mask 2

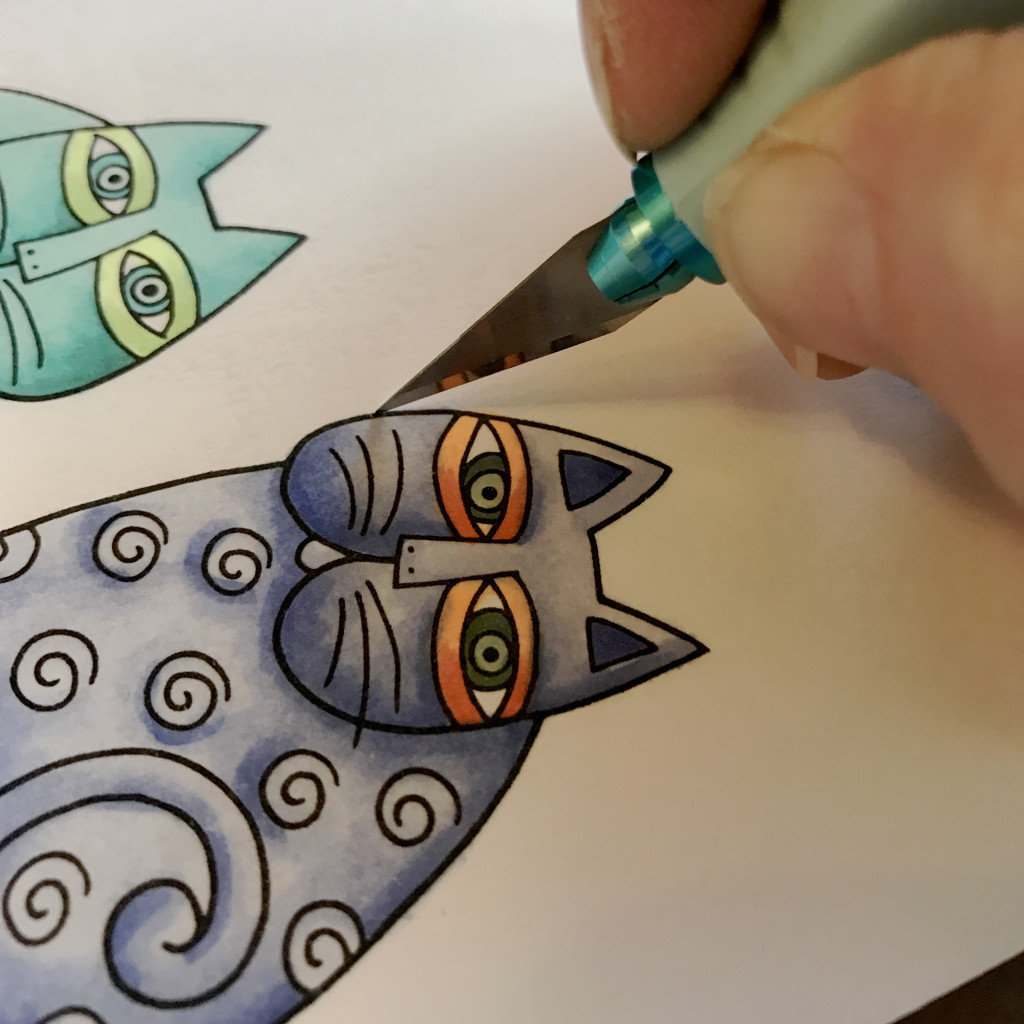
I decided I was going to air brush the entire background so really only needed the cats covered so I  used a craft knife to go right over the black outline of the cats. You might need to experiment a little with pressure. You do not want to go through the paper, just the plastic mask.

mask 3

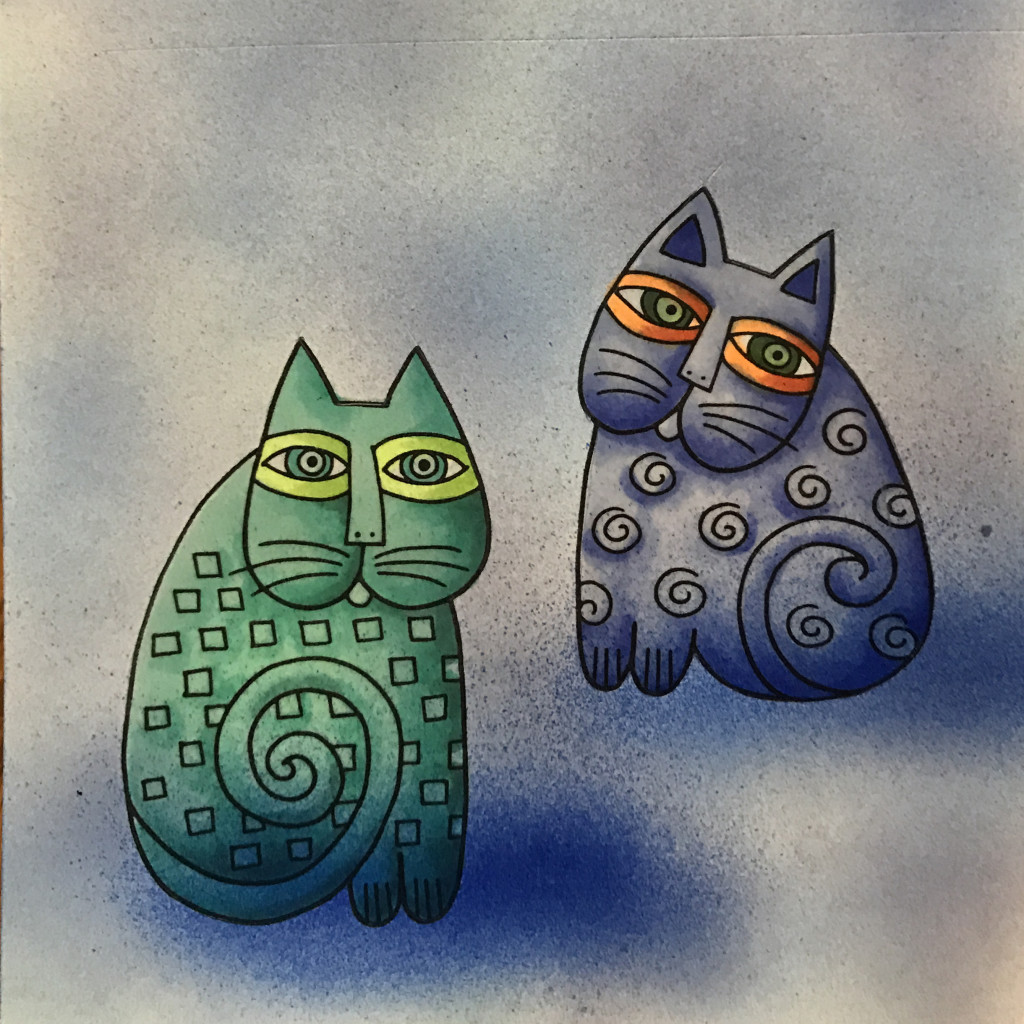
Then I peeled off the plastic where I will be airbrushing and left the cats covered so they will be protected from spray.

mask 4

I used 3 different colors in my air brush to create a modeled background. Notice that some of the spray has gone over the cats.

mask 5

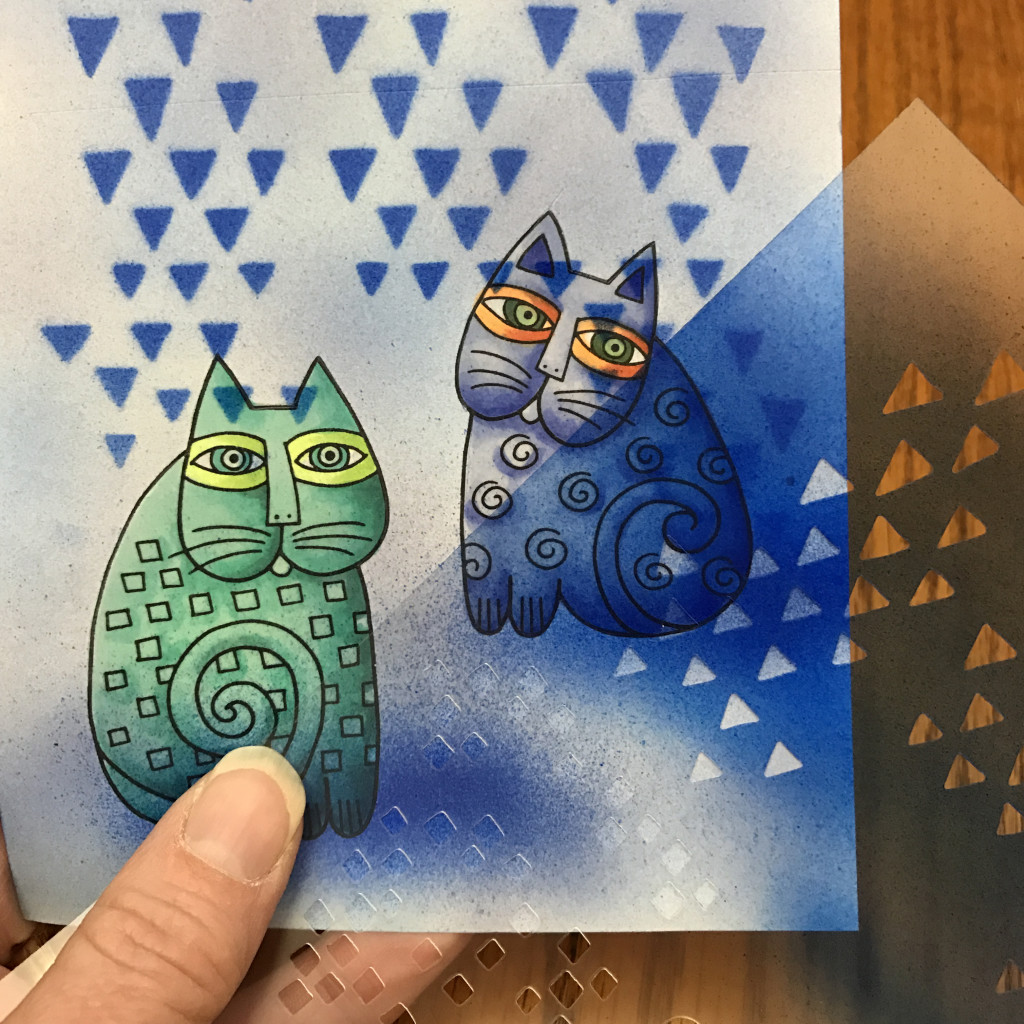
Then I discovered that the stamp set came with a stencil! BONUS I added the fun graphic shapes with the air brush as well.

mask 6

I peeled off the mask and the cats popped out all nice and clean from over spray. One of the HUGE advantages to a mask film is all the edges stay tight to the paper!

mask 7

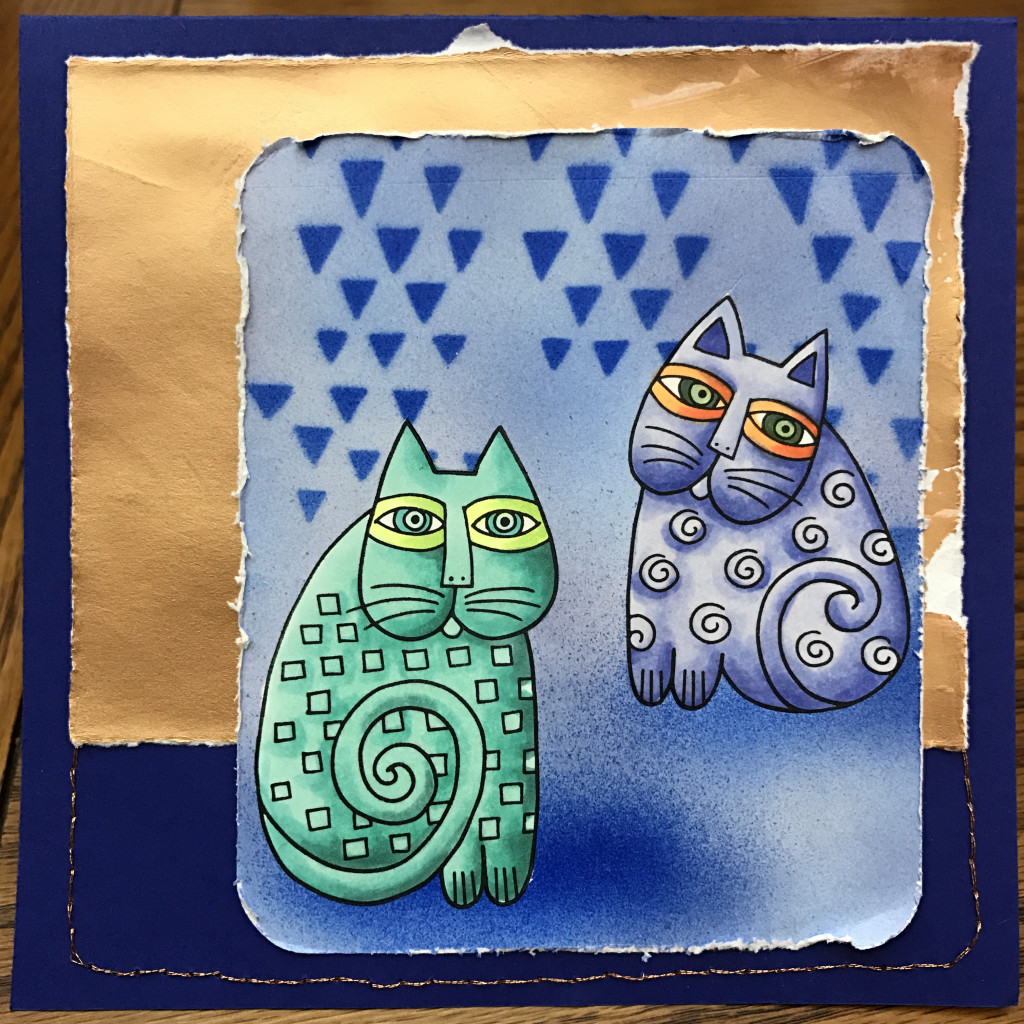
The card only needed a base and this gorgeous copper painted paper (thanks Tommy Art!)

mask 8

If you are interested in trying this masking technique, check out all the details for the Mask It at Imagination International, Inc.

Have a Happy Colorful Week!


Posted on

More Glitter can only be GOOD!

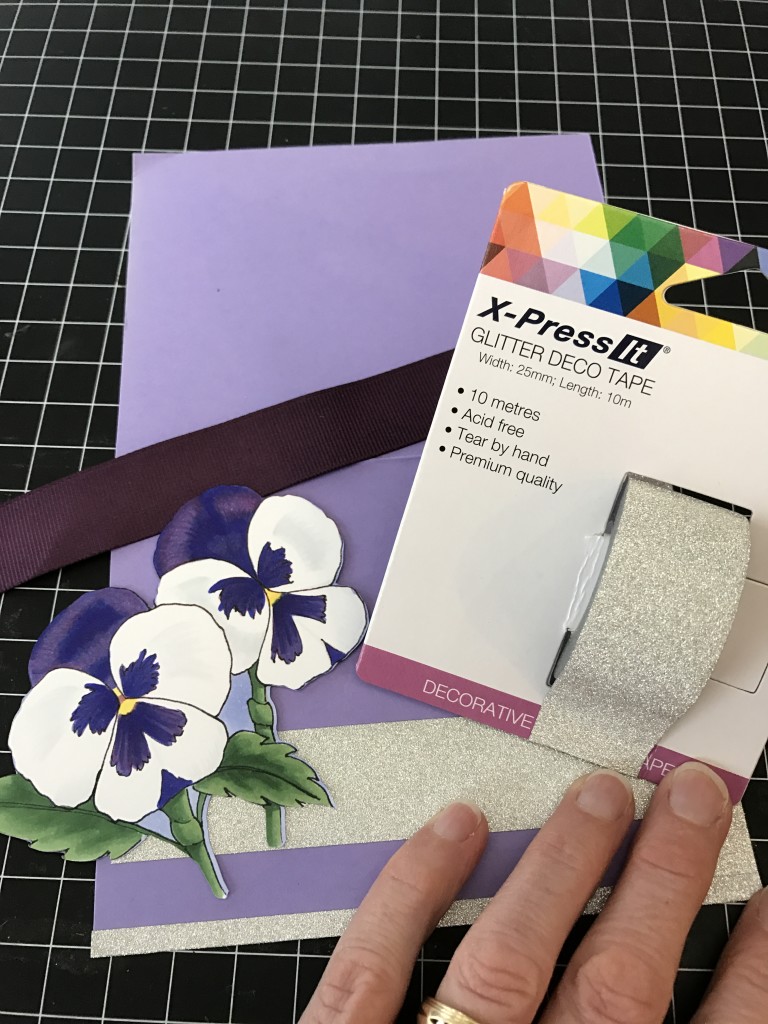
One more new product from X-Press It for glittery goodness. Glitter Deco Tape is not new BUT how about wide tape? 1 inch wide to be exact. It tears easily by hand, is acid free, 10 meters per roll and available in gold and silver. 

img_3619

I stepped away from the holiday creating to add some glitter to an image I created several years back and had yet to add to a card.

I edged the card base with the Glitter Deco Tape and the wide width made it so easy to wrap around all the edges. I laid the tape half on half off the edge of the paper:

img_3620

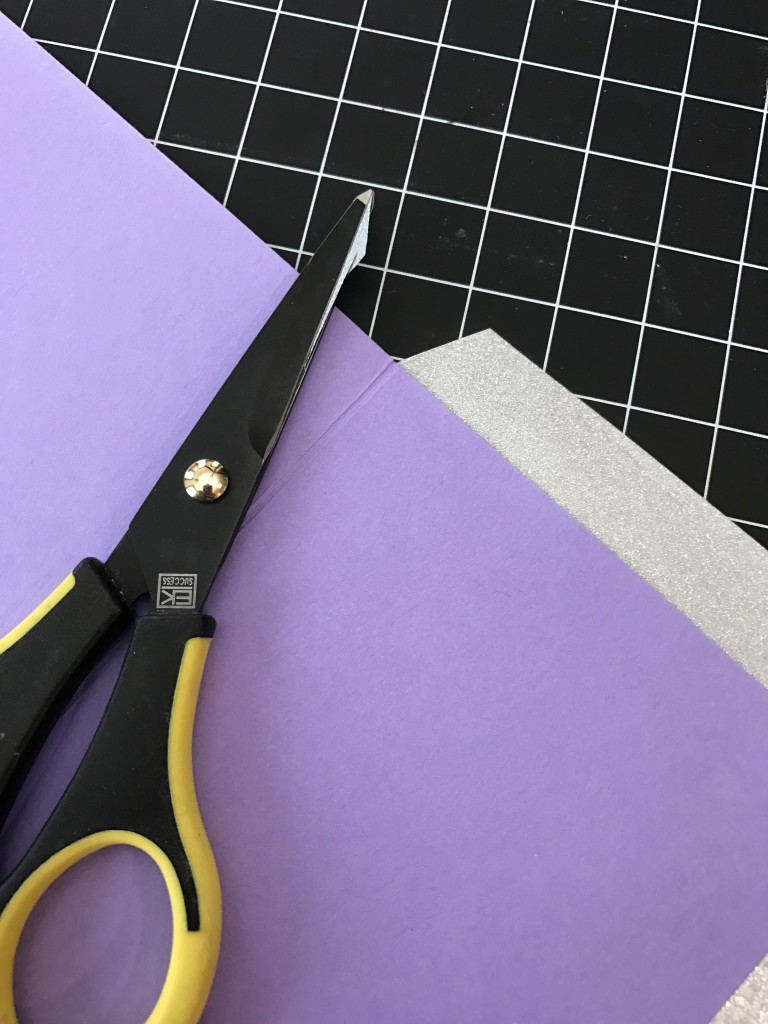
Then trimmed the tape right to the corner, I used scissors to keep the line crisp, but if I was adding this tape to a scrapbook page or journal page I would tear it for a nice uneven edge.

Then I clipped the inner corner so that it will not crumple in the fold of the card.

img_3622

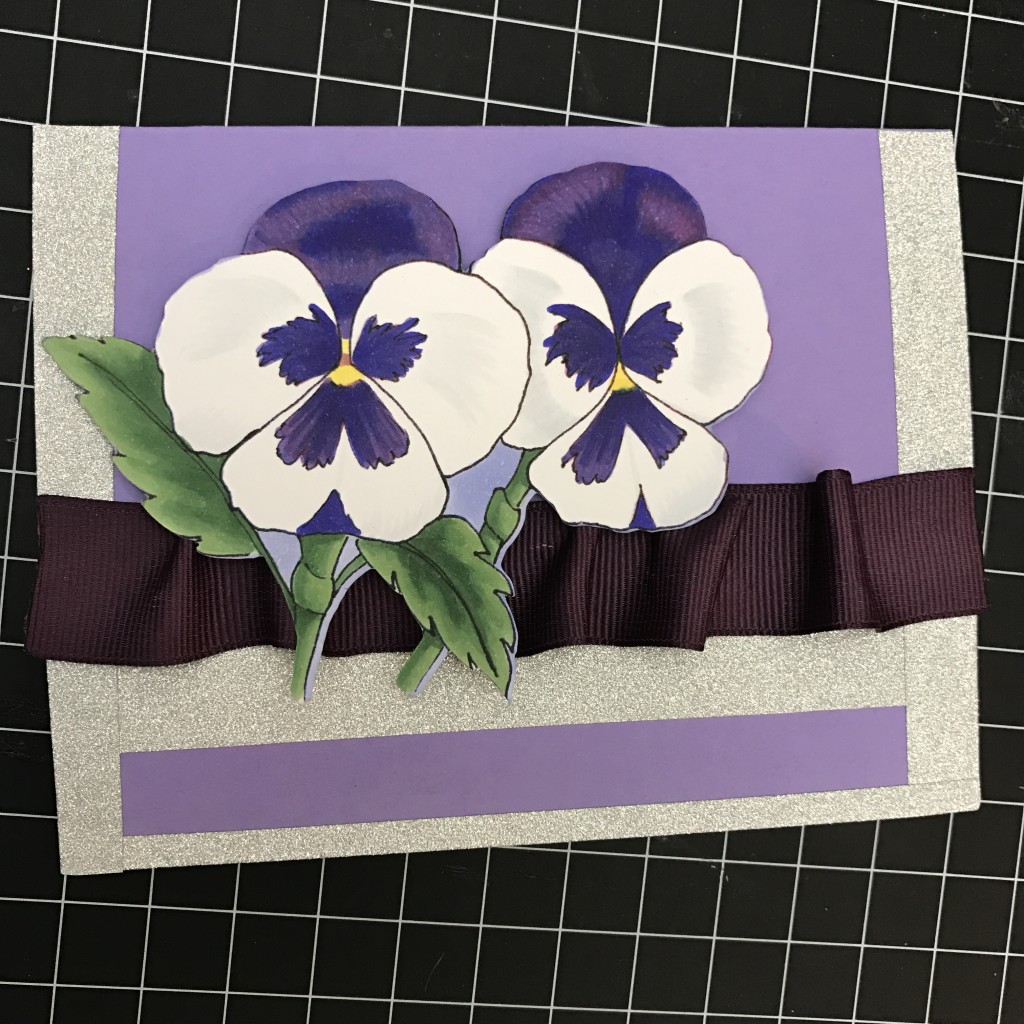
I finished the card with some ribbon and attaching the flower. I’ll be honest I am not sure how I feel about the finished card. But I am a firm believer that completing the card and having it ready to mail off to a friend is the important part!

img_3654

The Glitter Deco Tape is a fun addition to my crafting tool box. If you would like to see a little more or add some to your collection check it out at Imagination International, Inc.

Have a Happy Colorful Day!
Posted on

Shiny new stuff YAY!

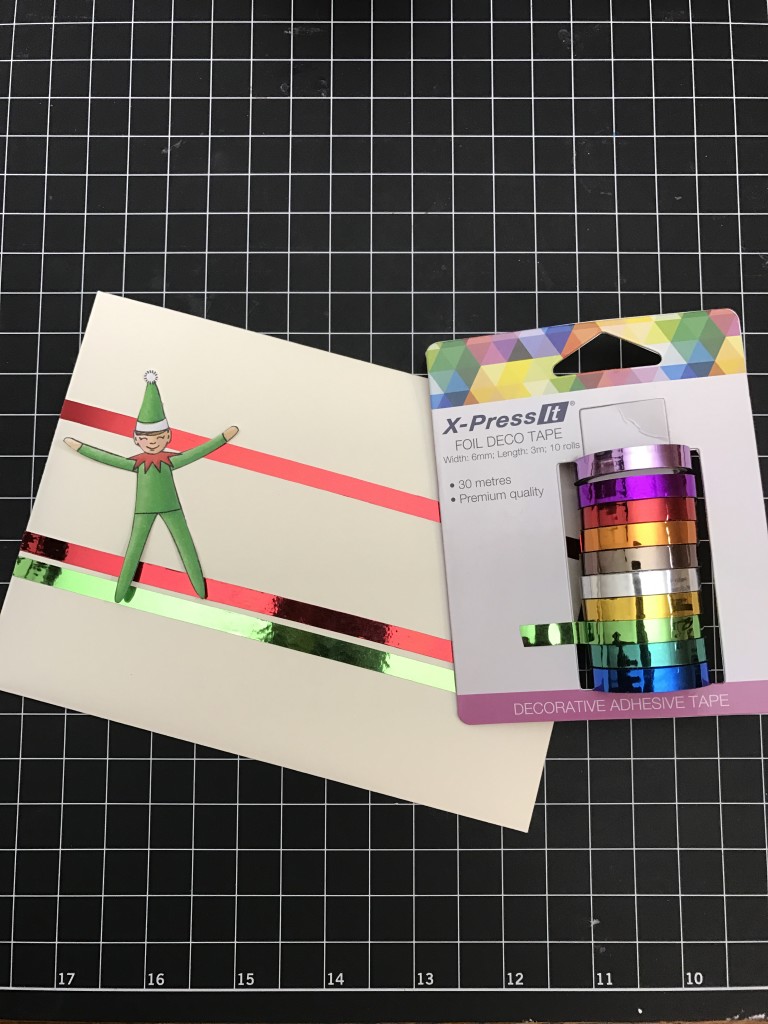
New products that glitter and shine from X-Press It! Just in time for the holidays and adding a little sparkle to your handcrafted gifts! The first product is a new line of Foil Deco Tape. It comes in a set of these 10 BEAUTIFUL colors and shines up even simple projects. It is narrow and flexible for easy application not to mention repositionable. There is 9 feet of tape per each roll and the tape adheres smoothly with no bubbles. Even the packaging is well though through, you can take the rolls off and then slide them all back on for easy storage!

img_3627

I created these fun envelopes with a simple stamp from Essentials by Ellen. I colored this little guy on front with Copic Sketch markers. I fussy cut around him and then added him to my envelope, but FIRST I added three simple stripes of Foil Deco Tape. It just makes the image shine!

img_3625

The foil is so clean and crisp! The address will look so cute riding between the stripes!

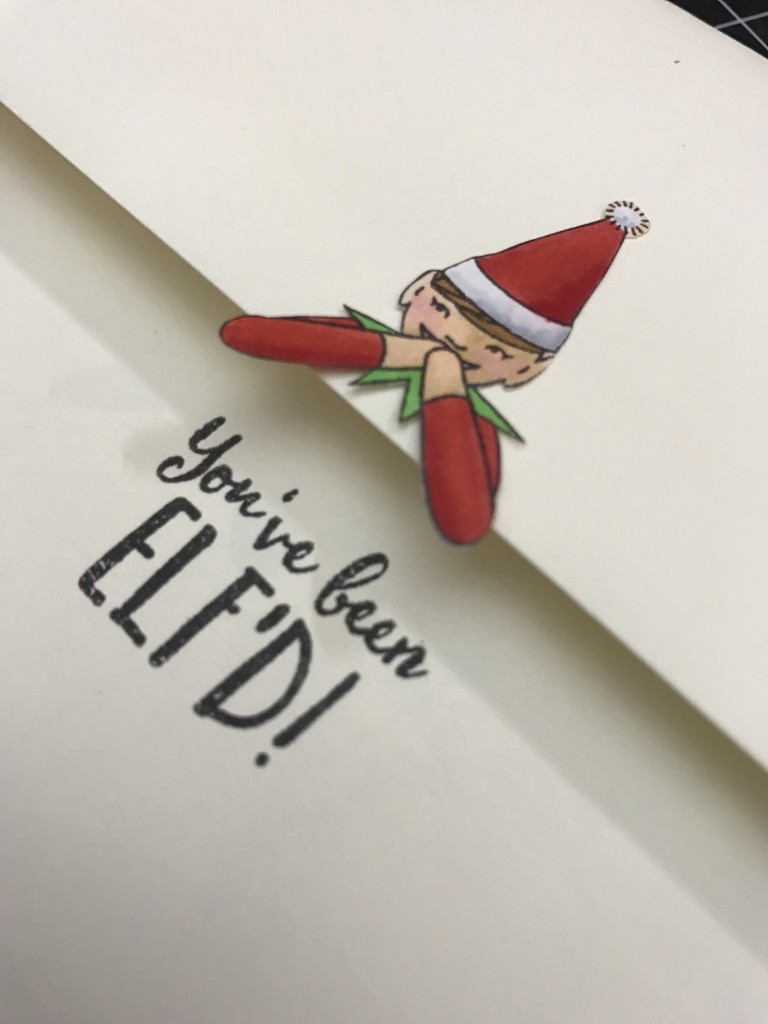
On the back of the envelope I added another little elf and “you’ve been elf’d” from the stamp set. 

img_3626

This was fast and easy and the Deco Foil Tape added so much to the design. You can check out more about this new product at Imagination International, Inc.

Have a Happy Colorful Day!