Posted on

Glue by X-Press

Another great product by a company that I already admire. X-Press has a series of glue pens out. The glue is good and the tips are fabulous. I love their options!

I have two of the pens now, the broad marker and the pen tip.

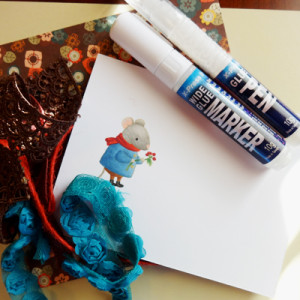
blog glue 1

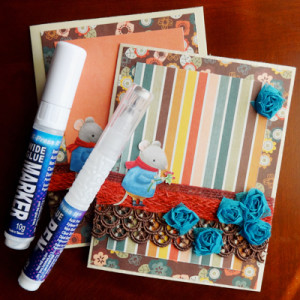
After cutting all my papers and fussy cutting my mouse I am ready to assemble my card. I used the broad marker to adhere the papers. The glue is fast drying and the brand tip covers a larger area fast.

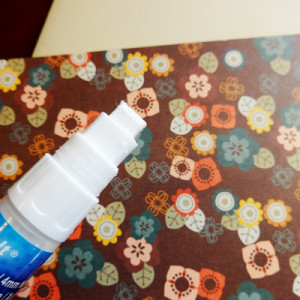
blog glue 2

I used the broad marker to also adhere the lace and the trim to my card. I was surprised how well the glue worked on the trims. Sometimes I have trouble adhering laces and fibers but this glue worked great.

Then I broke out the glue pen and got to work on my little mouse and all his details.

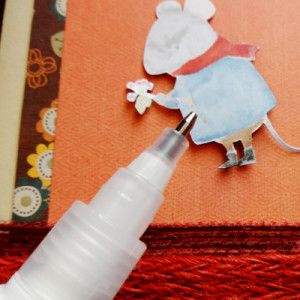
blog glue 3

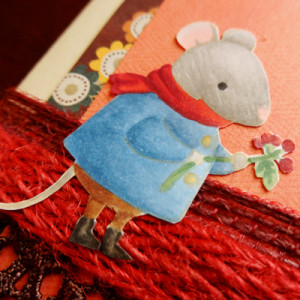
The pen nib got all the little details like the tail, the sprig of holly and little boots wonderfully.

blog glue 4

All in all a fun new product in my drawer. I’ll have another product from express in a week so check back for another peek. (This one is way fun and SPARKLY so you will want to catch it!)

blog glue 5

To get more information on the X-Press glue markers, pens and other products check Imagination International, Inc.

Have a Happy Colorful Day!


Posted on 5 Comments

Kirarina Wink

So yesterday I shared a fun new product from Imagination International Inc. The Kirarina Wink markers. I also shared that I have fallen in love with the white marker in particular.  If you have been following me for a while or if you are familiar with my art you might know that I am a doodler. I heart doodling on all kinds of paper and surfaces and in all of my art mediums. One of the things though that is hard to find is truly opaque white markers to doodle with.

New found love the Kirarina Wink white marker! Here is a card that features this wonderful opaque white ink.

Kirarina 1

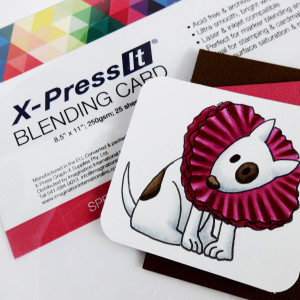
First I printed and colored my image onto my very FAVORITE white cardstock, X-Press It Blending Card. It is bright white and crazy smooth. I also have found it to have the least amount of bleeding over other yardsticks that I have tried. (The image if you are wondering is one of my own creation, if you are really nice and leave me some on this post love I might even send you a JPG of him :-))

kirarina 2

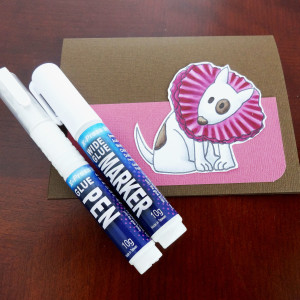
Next I adhered all my pieces together using the new X-Press Glue Marker and Pen.  The fine tip pen is great for tiny areas and the broader stroke marker is affective in larger areas.

kirarina 3

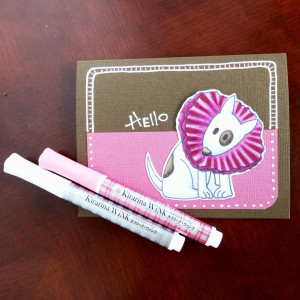
Then a little doodle, doodle, doodle and Hello my friend!  Look at that bright white on top of the dark brown cardstock and pink. This is with one pass only so color me impressed.  I have tried A LOT of white markers and this one is a keeper for certain! Hooray for Kirarina Wink!

Next week I will have a couple more posts with new art products from Imagination International Inc. More fun with coloring and mark making. In the mean time Friday will have a link to my photo tutorial from Copic In the Craft Room.

Have a happy colorful day!

Posted on

Copic and Inchie Art Day 3

As this posts I am hopefully on a flight from Minneapolis back home from my first class in Seattle, Washington.  I am sure it will go GREAT!  I have nervous butterflies even now as I prepare this post.  Later today I will be poolside cheering my little fish on in her sectionals swim meet.  This meet is vital to get into the State meet so big deal and worth the red eye flight back home to be a part of.

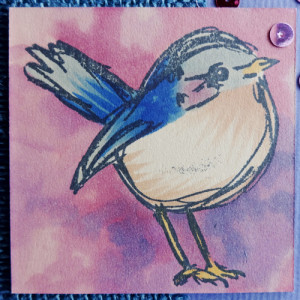
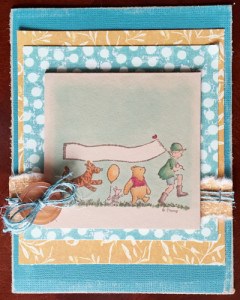
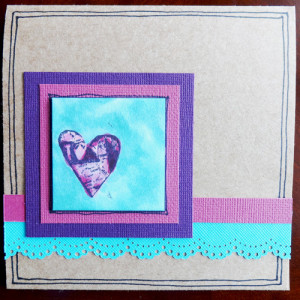
I also have one last group of Inchie Art Squares to share with you today.  The cards are created with 3″ Kraft colored squares, the heart and bird are both Dina Wakley stamps by Ranger and the parade of Pooh characters is from my old foam mounted set.

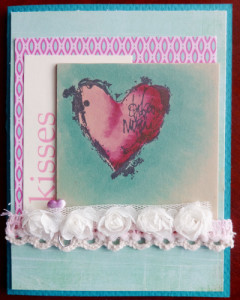
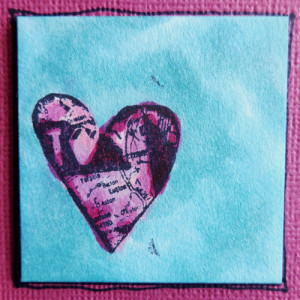
This first card uses very loose coloring and colors from the RV60’s and BG50’s.  I love how easily a card comes together when you have such a great art piece to start with!


Big heart 2

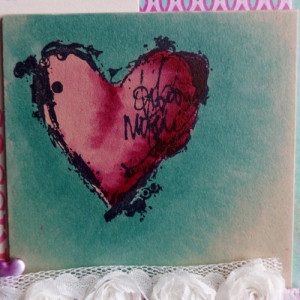
Big heart 2 close-up

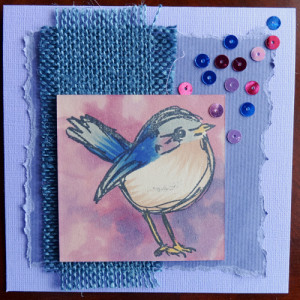
The bird is flicked in color and a water colored background.  The bird is colored with B60’s, V60’s and E10’s the background is RV66, V04 and V17 Bird 2


Bird 2 close-up

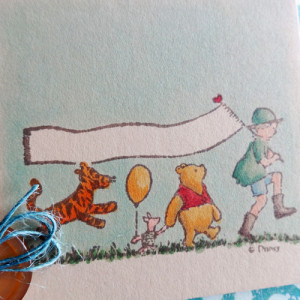
Lastley here is another card with my old Pooh bear set.  I colored these with Copics in the traditional sense adding blending groups from light to dark.  Blending colors together as needed.

Inchie art hop 1

parade close-up

Woosh!  OK I think that is all of them.  I had a blast creating all this art and I hope it inspires a few of you to bust out your stamps, Copics and play.  If you have not tried Inchie Art Squares you really should.  these mini canvases really lend themselves to Copic ink in a whole range of techniques, I have shared just the tip of the ice berg!

Happy Coloring!

Posted on

Copic and Inchie Art Part 2

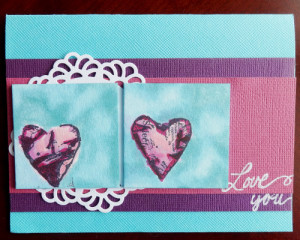
Happy Valentines Day!  I am back today to share more Inchie Art Squares colored with Copic markers.  If you can’t tell I had a blast playing with these little squares and just kept coloring.  This group are all 2″ white squares the hearts are a Dina Wakley collection from Ranger and the Winnie the Pooh is an old set backed with foam that I have no idea who to credit for I apologize!  the hearts are stamped with Tuxedo Black, Momento ink and the Pooh bear are stamped with Rich Cocoa.

The hearts are very loosely colored with a scribbly style of coloring.  I used B63, RV32, RV34, RV55, RV66, RV69 on the hearts and used BG53, BG57 and 0 on the backgrounds.

double small heart 1


The cards are both very simple with cardstock, a die cut doily and hand punched trim.Single small heart 1

single small heart close-up


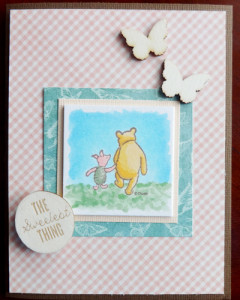
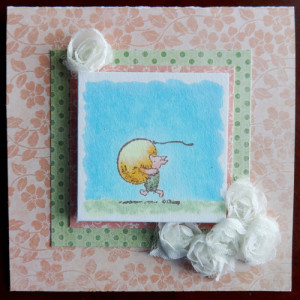
Then I created these two cards (there are actually 4, 2 of each with very small differences)  I am not going to list all the colors, but if someone is interested PLEASE ask I will list them all if there is an interest.  I kept things simple with beautiful Graphic 45 patterned paper, flowers from American Crafts and wood touches from Studio Calico.Piglett and Pooh 2

Piglett 1Believe it or not I have one more set of cards if you want to come back for more art tomorrow there will be more!

Happy coloring and Happy Valentines Day to you all!


Posted on 4 Comments

Colorful Copic & Art Squares Blog Hop

Welcome to the Colorful Copic & ART SQUARES blog hop!

You are in for treat today as Copic pairs up with the ever popular Art Squares by Inchie Arts. There are so many things to love about this pairing!

Did you know:
Art Squares are the perfect canvas for creating small-format art!
They come in 6 sizes (1 inch, 1.5 inch, 2 inch, 3 inch, 4 inch, and ATC).
Art Squares come in 7 colors (black, dark gray, light gray, kraft, dark cream, light cream and white).
They are perfect for wet or dry mediums.
Copic markers and inks look amazingly vibrant and deliciously rich on Art Squares!
Copic multiliners glide smoothly across the surface.
Work on the “top” or toothy side for the best results.
You can mix and match your mediums! No warping, bending or curling.

You can find more information about both Copic products and Inchie Art Squares at the links below.

Copic Website

COPIC Main Logo

All In An Inch – Inchie Arts Blog

Inchie_ArtSq_Logo_light

Our teaching and design teams have been challenged to put marker (or ink) to these precision-cut matboard surfaces and see what happens! (You are not going to BELIEVE these samples… trust me – they rock!)

I have 3 cards to share with you today.  I had way too much fun with my squares and can’t pick just one to highlight.  In addition to the 3 below I am going to post my other creations with my Inchie Art Squares and Copic over the next few days.  I am starting with 3″ Kraft colored squares.  Tomorrow I will be sharing 2″ white squares and Sunday will highlight 3″ white squares and a few more Kraft squares as well!

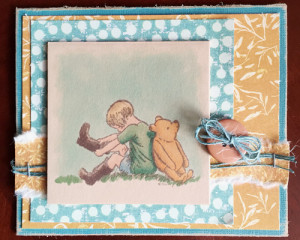
This fist card uses very traditional color techniques with Copics.  I stamped the image with a Memento, Rich Cocoa stamp pad and then used the following colors; Y35, Y38, Y28, B91, B95, G20, G24, G28, E43, E43, E47, Y21, Y28, YR00. E93, YG63, YG66, B00, BG000, 0.  Notice in the color selection a lot of my lighter colors are not present, the Kraft be did effect my color choices here.  Blending was extremely easy and happened mostly as I was coloring making it un-necessary to go back and blend layers.
Inchie hop 2


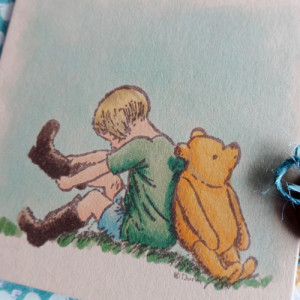
Other supplies:  cardstock; Core’dinations, patterned paper; Prima, twine; American Crafts, tiny attacher; Ranger, button; Unknown.  Here is a close up of the image.
Pooh and Cristopher close-up


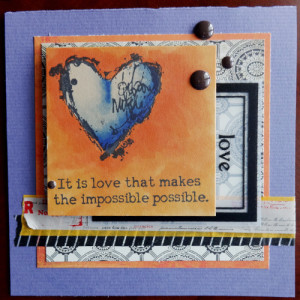
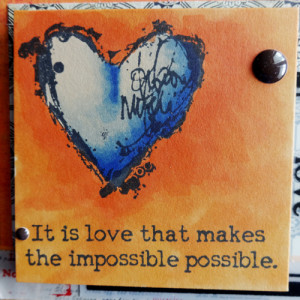
This next card is using stamps by Dina Wakley and Ranger.  I used a much looser coloring technique,after stamping with Memento Tuxedo Black, lots of scribbling, overlapping and no back blending. I used B60, B63, B66, B69, Y38, YR04, YR07.
Big heart 1


Other supplies used:  cardstock; American Crafts, patterned paper; Basic Grey, journal card; Maya Road, Washi tape; Freckled Fawn, Target office supplies and unknown, dots; My Minds Eye. Here is the close up:
Big heart 1 close-up


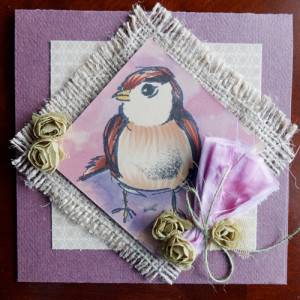
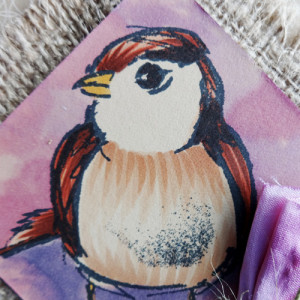
The last card I am sharing today is again featuring a Dina Wakley stamp (The extra black on the bird’s belly is poor stamping on my part, not part of the stamp, sorry Dina!).  The colors used on the bird are Y17, E02, E04, E09, E29.  On the bird I used the marker loosely to show the texture of the bird.  For the background I used my Various Ink Refills in RV66, V04, V17, And used them with a brush and colorless blender like watercolor paints.  It created the beautiful mottled background for my birdie.
Bird 1


Here is the close up of my coloring.  I also Copic died the silk that is tied into the pink flower.  Other supplies: cardstock, twine and flower trim; American Crafts, patterned paper, Basic Grey, burlap; Canvas Home Basics.bird 1 close-up
Hop along with these talented designers as they show you some more interesting and exciting ways to pair up two great products!

Elizabeth Allan & Jill Foster

Michele Boyer

Lori Craig

Sharon Harnist

Michelle Houghton << You are here

Dina Kowal

Cindy Lawrence

Lisa Lee

Debbie Olson

Colleen Schaan

Sherrie Siemens

Marianne Walker

Happy Coloring! And come back both Saturday and Sunday to see more Copic and Inchie Art inspiration!