Posted on

Here Fishy Fishy!

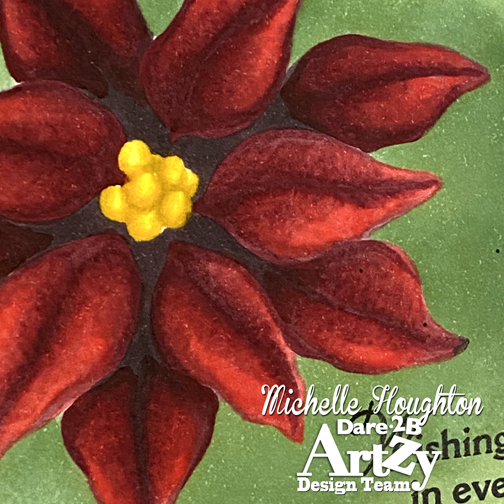
Hey friends! A little Rubbernecker inspiration to perk up your mid-week! I have all the steps broken down for the actual card making this time so see what you think!

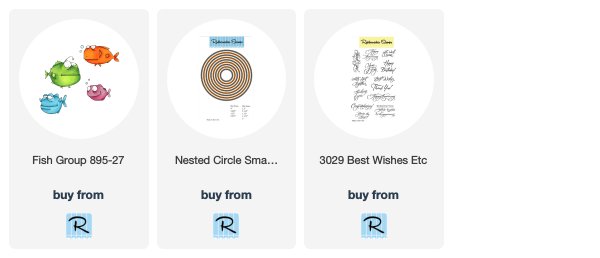
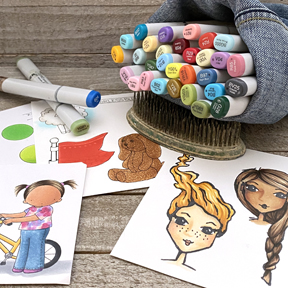
  • I am starting with the stamp “Fish Group” from Rubbernecker Stamps and coloring them up with my Copic Markers
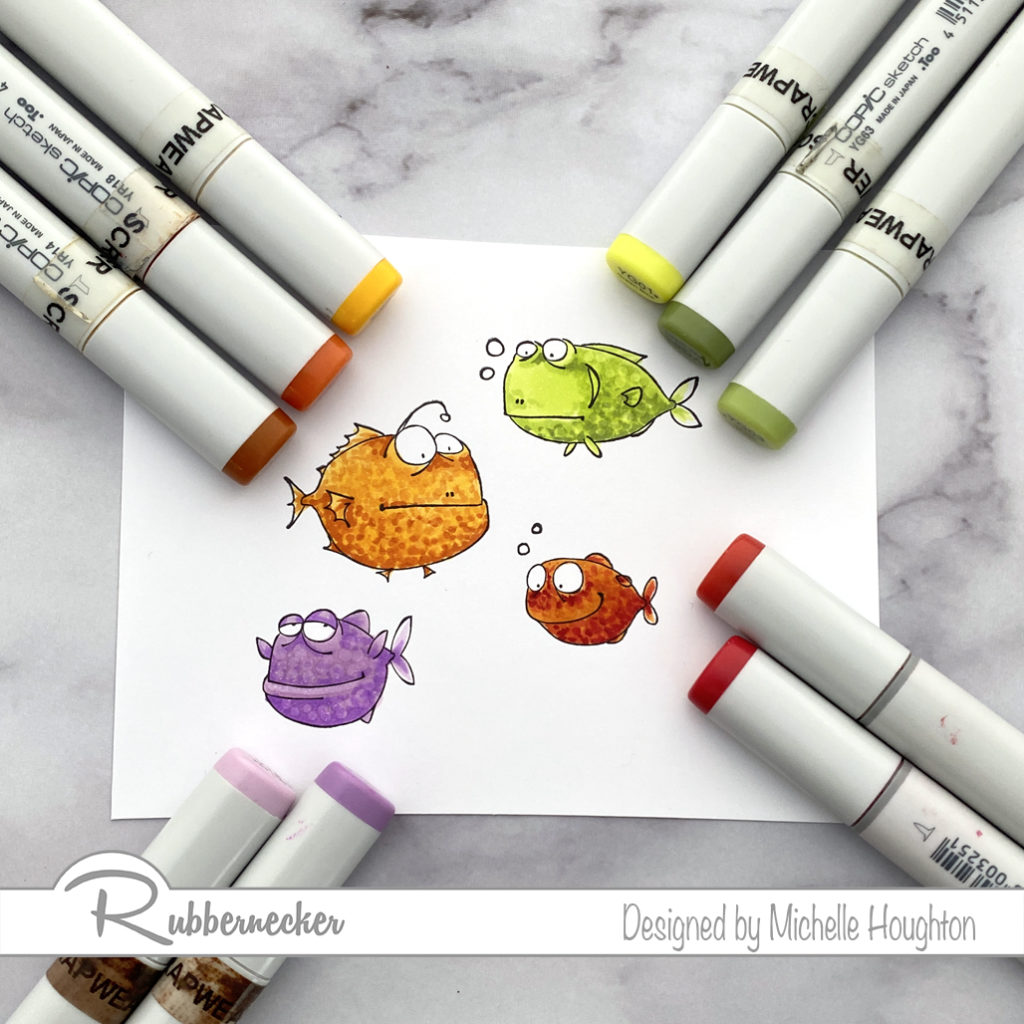
  • YG01, YG03, YG63 for upper right
  • YR18, R24 and R29 for lower right
  • V12 and V04 for lower left
  • Y35, YR14, YR18 for upper left
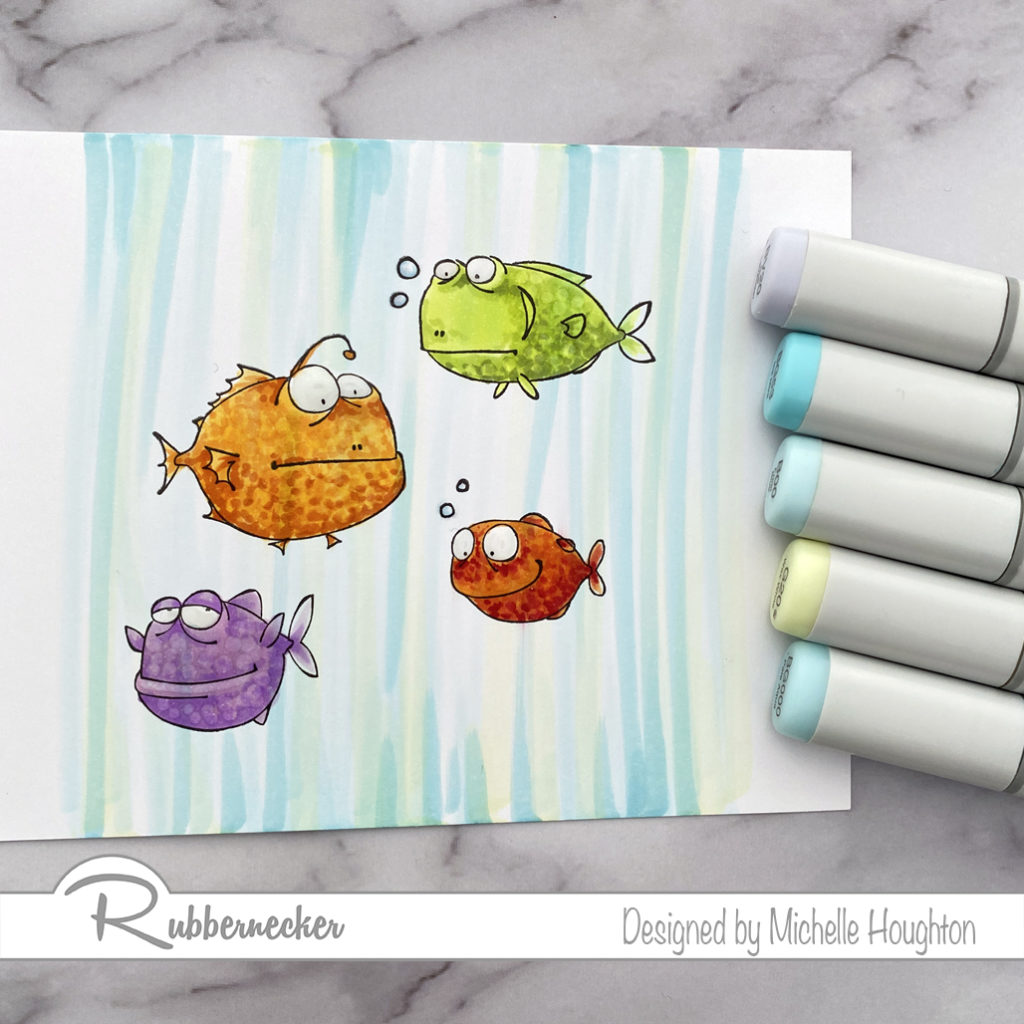
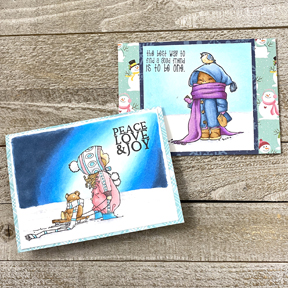
  • BG000, G20, B00, BG52, BV20 create a wash over the fish to create the water effect
  • Die cut fish and one bright contrasting patterned paper with circle nesting dies
  • Die cut 3 banners of patterned paper with varying prints and sizes
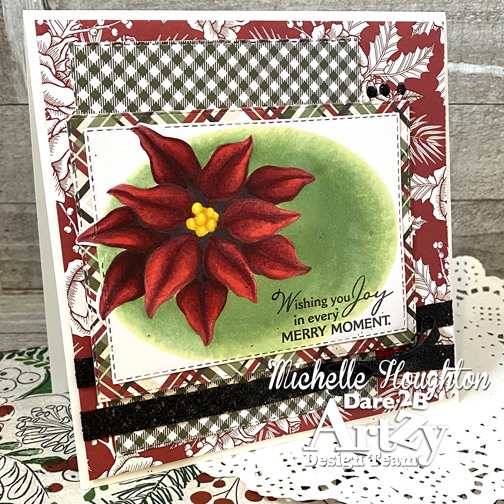
  • Adhere full card front sized patterned paper to card base
  • Adhere banners overlapping and falling off the top of card
  • Adhere circle patterned paper again falling off side and top of card
  • Trim extra banner and circle pieces off
  • Use a sentiment stamp on the lower right corner of the card and also the inside of card if desired
  • Use a dimensional paint like Nuvo drops to add simple dots around edge of image circle * let dry!*
  • Use foam tape to pop up the die cut image
  • Adhere a few acrylic dots, sequins or add more Nuvo drops for a few finishing details in your contrasting color

Really hoping this is helpful! Thank you so much for stopping by today! below you will find links to all the Rubbernecked product I used in this fun fishy creation. Gotta like a card that makes you smile😉

Have a Happy Colorful Day!

Posted on

Welcome to the New Year!

It is a new year! 2020 has arrived wether we are ready for it or not. I am starting the year getting creative with Rubbernecker Stamps. I love this adorable stamp! He “speaks” to me!

I colored the image with Copic Markers keeping the color scheme really simple!
Tiny group! dog – E70, E71, E74, E77 nose – N5, N9, N0 sky – BG10 ground YG41, YG45, YG00

Then there is a sentiment stamp and lots of layers cut with the nesting rectangle stitched dies. Take a look at an angle shot first to see all the layers.

So from the bottom up, there is a card base, rectangle of cardstock, rectangle of patterned paper, foam tape then another rectangle of cardstock and the image die cut with a final rectangle. These last two layers are popped up and set at an angle. Before I attached all the layers to the card base I added a bow of twine wrapping the layers all together.

Thank you as always for stopping by for a little creativity!

Have A Happy Colorful Day!

Posted on

D2BA Year In Review

Wow here we are in the last month of 2019! I do not know about any of you but this year has flown by and been a crazy busy one for me on the creative front. This week and next the design team at Dare 2B Artzy are sharing some of our favorite D2BA creations from the past year! 

So to start the trip down memory lane here are a few of my top Dare 2B Artzy favorites from 2019!

I ADORE the D2BA Alpaca stamps! So you know one of my cards I created with these images had to make my 2019 favorite list! This one has a swinging cactus piñata to boot! Love coloring the Alpaca with Copics it is so quick and easy, then the shaker card came together with clean white and brightly colored confetti!

Next up is the ski bears! I am loving this set and really enjoyed coloring both cards that I created with the bears! Super fun to do some detailed shading on the puffy coat and adding. details to the ski jumper!

I love the simplicity of the next card. And the sentiment…yes please!!

So all time favorite for the year? Can I pick a favorite? Not really, BUT I really love how. this one turned out. I am a good Copic artist but I am lacking in the card creativity area and I think this one is pretty successful!

Must have been going back to my doodling roots that makes this one a favorite! 

Hope your Holidays are filled with friends, family, peace and. joy! 

Have a Happy Colorful Holiday!

Thanks for stopping by today! And make sure to check out some of the products I’ve used here in the D2BA store!

Posted on

Poinsettia and No-Line Copic

Happy Wednesday to you all! I am sharing a little Dare 2B Artzy holiday cheer today! I am keeping it short and sweet and right to the inspiration!

I decided to see what I could do with the Poinsettia Tangle set and a little no-line coloring! I wondered if I stamped the image in no-line ink if I could even get the interior “tangle” lines to disappear, giving the stamp a whole new look.

I stamped the image in both no-line ink by Ink on 3 and black so you can see the difference to start.

You can see all the interior lines and now I wanted to see if I could make them disappear as well! So on to my Copics!

It did not take many and I added the sentiment in black and a background to base the flower. Take a closer peek to see how well the lines disappeared!

Then onto papers! I do love all the Dare 2B Artzy papers and I had a lot of fun layering these up!

Thank you so very much for stopping by today! I hope you all had a wonderful weekend together with family and have more family and friend time scheduled for the month ahead!

Have a Happy Colorful Day!

Thanks for stopping by today! And make sure to check out some of the products I’ve used here in the D2BA store!

Posted on

More Copic Classes!

I just shared yesterday about the new season of 2020 Copic College classes. Make sure to go back and check if you missed all the news or check the Copic College 2020 tab at the top of the blog and read all about it!

Today I have more classes to share! I want to be more intentional about sharing my local classes that I teach as well as shorter events that I travel for. So here are the upcoming Copic coloring classes that are on the calendar! Some have art samples and curriculum set and a few others are dates and brainstorming at this stage.

February 22: Las Vegas, NV – The Paper Bunny

Here is a description of the “Copic Day of Play” event:

Images will vary in class

We will start our day taking a whirlwind tour of Copic markers. Learn the why and how-to of these amazing artistic tools. In 4 hours we are going to cover the numbering system, how to choose markers that blend, 4 types of blending with LOTS of practice flicking and creating smooth blends. Also how to refill and clean your markers. We will explore the uses of the Colorless Blender marker and solution as well as discussing paper and ink choices. We will cover A LOT of information, but do not worry we will keep coloring and those marker lids clicking!

We will break for lunch then spend the second half of our play day coloring of course! We will use images from popular stamp lines to practice using our new and strengthened coloring skills working step by step on several images. I focus on technique and how to color certain images so you can more easily transfer what we do in class to new images that you already own. For our Copic day in Las Vegas we will be focusing on skin, hair and a little clothing too, but the techniques will be relatable to other images. 

To register you must call The Paper Bunny! (702) 778-2424

**Note the phone number I sent out in my mailing yesterday was incorrect, the above is correct!!

Memory Bound – Ankeny, IA Copic Classes

January 20nd – 9:30-12:30 Winter images from Penny Black

*Corrected Date!*

February 7th – 9:30-12:30 Creating backgrounds with Copic markers

March 20th – 9:30-12:30 Creating textures with Copic Markers

May 1st – 9:00-1:00 Copic 101 – Learn the most important information to start using and loving Copic markers.

To register for the January class call Memory Bound Scrapbooking (515) 965-1102.

The February, March and April classes are not open yet, but you can get them on your calendar.

Thank you for checking in today!

Have a Happy Colorful Day!