Posted on

Guest Designer at Dare 2B Artzy

I am honored to be sharing some art over at Dare 2B Artzy this month! I have a post on their blog today and will have another in two weeks, on Sunday May 28th. Dare 2 B Artzy has everything you need for your creative ventures from stamps to inks and gorgeous coordinating papers. 

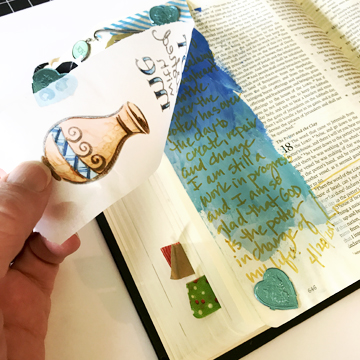
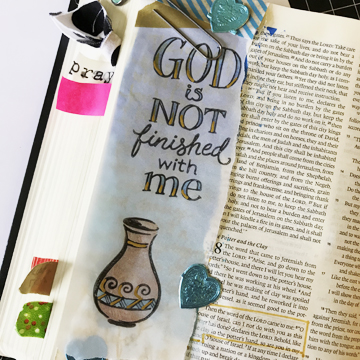
Today I am sharing a Bible Journaling page that I created using one of their stamp sets and their Copic compatible ink. 

If you would like to see my process head over to the Dare 2B Artzy blog. I also will have a video of the entire process at Copic In The Craft Room’s YouTube channel this Wednesday May 17th! 

I’ll give you one more sneaky peek though! Under the beautiful stamp is some of my new Tommy Art paint that I LOVE!

Lot’s of posting this month so I will see you soon!

Have a Happy Colorful Day!


Posted on

Pansies, Copic and Foam Squares…oh my!

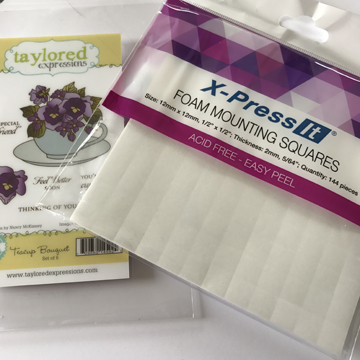
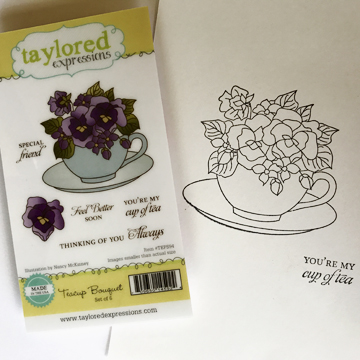
I just posted a video over at Copic In The Craft Room on YouTube featuring this beautiful stamp by Taylored Expressions and a fun new product by X-Press It. Those of us that use Copic markers are familiar with X-Press It, the company makes one of our favorite Copic papers! What you may or may not know is that they have a full line of adhesives as well. Including glues, tapes and foam tape. And starting this year they have added foam squares as well!

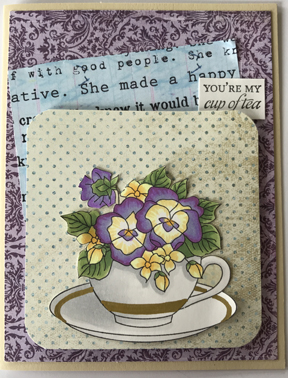
I figured most of you would like to see a little more of the process in making my card so here you go! I started with my stamped image and a small group of Copic markers.

I chose these particular colors using a photograph that I found on Pinterest as a reference.

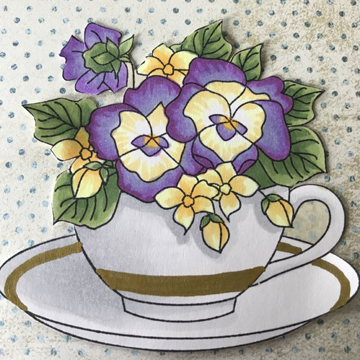
I colored up the image, I love how these Copic Violets blend together. If you would like to see the coloring in action make sure to check out the coloring video! A couple special notes, notice I did not cut out the area inside the handle of the teacup, I colored it instead, matching the patterned paper underneath, I did the same in a few small areas around the flowers. For this I used E81, B91 and my Colorless Blender. I also added a stripe to the teacup and the saucer, I did this with a Kirarina Wink marker in Gold. 

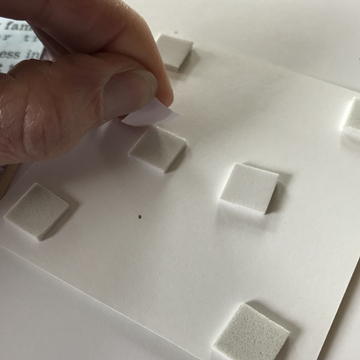
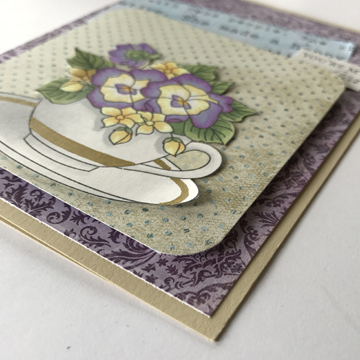
Once I had papers all trimmed and ready to go I started building the layers on my card. In order to add dimension  on a otherwise flat card I decided to pop up the teacup bouquet and it’s patterned paper base. I used the X-Press It Foam Squares on the back of the patterned paper base, peeled the backing off and adhered the piece to the card.

You can see how the foam squares lift the patterned paper off the card.

I appreciate that foam squares are not a new invention, but X-Press It products are really top notch and the foam squares are no different. Just like their foam tape, acid free, easy to adhere, solvent free, great for multiple surfaces and projects, but now in easy precut squares. 

This little card is already off to be delivered I know it will be well received. 

Have a Happy Colorful Day!


Posted on 21 Comments

Dare 2B Artzy Spring 3-D Blog Hop!

Welcome to Dare 2B Artzy‘s Blog Hop!!

Who’s excited for Spring?!

Here are D2BA we are super excited for some sun shiny days and warm weather!

To celebrate we decided to have a Spring 3D Themed Blog Hop!!  

We are super excited to have two Guest Designers joining us for this hop!!
D2BA_SpringBlogHop

You should have arrived here from Melody‘s  

blog!  If you haven’t and would like to hop along with us, please go back to the Dare 2B Artzy Blog to start at the beginning!

Be sure to follow each blog and leave comments along the way for your chance at winning!  We will randomly choose a winner from one of the blogs, so the more you comment, the more chances you have to win!!

Winner will receive a stamp set and ink pad of their choice!!

Blog Hop will end Sunday, April 30th at 7:00pm Eastern.  

We will then post a winner!!

———

Hello D2BA fans! I am so glad you are hopping through my blog this weekend! I created a 3D card or Pop Up card for my project this weekend. I used the “Flowers for Mom” set and then pretty much winged the Pop Up part :-). If you have not seen my work before that is pretty typical of me. The flowers are all colored with Copic markers which is really where my passion lies. Here is a close up of these LOVELY flowers, and the dimension on the card:
a1

And here is a shot of the full card. 

a2

There are two other ways you can take a peek at my process though! I have a full video of the card creation at the Copic In The Craft Room YouTube channel and I have a photo tutorial as well that is over at Pinterest again at Copic In The Craft Room. Here are the links.

A HUGE favor! If you enjoy the video like our channel, not only will you get great new content every week, but we are closing in on 10,000 followers and planning a celebration! 

https://www.youtube.com/watch?v=2KkBxXTUNDI&t=1s

And here is the link for Pintrest!

https://www.pinterest.com/pin/341218109255943125/

Thanks for stopping by!  

Your next stop in the hop is Chris‘s

 blog!  

We hope you are inspired all along the way!  

Check out all D2BA’s products here!

Have a Happy Colorful Day!
Posted on

Kirarina 2Win – Oil Based

Have you tried any of the Kirarina pens yet? I have had a chance to play with a few more of mine and test them out a bit on different surfaces and they are a lot of fun! Kirarina makes several different styles of pens and each is suited for different things. All are fun bright colors that make you want to reach for another to keep playing. I have been using the Kirarina 2Win for a while now in my planner, the highlighter plus coordinating writing end make them absolutely perfect for the job and I love having all m activities color coded 🙂

I am newer to the Kirarina 2win Oil based pens so I really wanted to start by experimenting with the pens to see what and where they would go! Like the 2Win these pens have 2 nibs that are slightly different in color, however unlike the 2 Win the Oil-Based 2Win’s nibs are both small bullet nibs, so no change in size or shape. The Oil-Based pens come in 34 colors (17 pens, each with two colors in them) and a black. The black pen has a bullet nib and a fine tip sketch nib for writing. 

Kirarina1

The benefit of the Kirarina 2Win Oil based is in the “oil-based” portion of the name. Because this pen is not water based like so many others it will go where others will not.

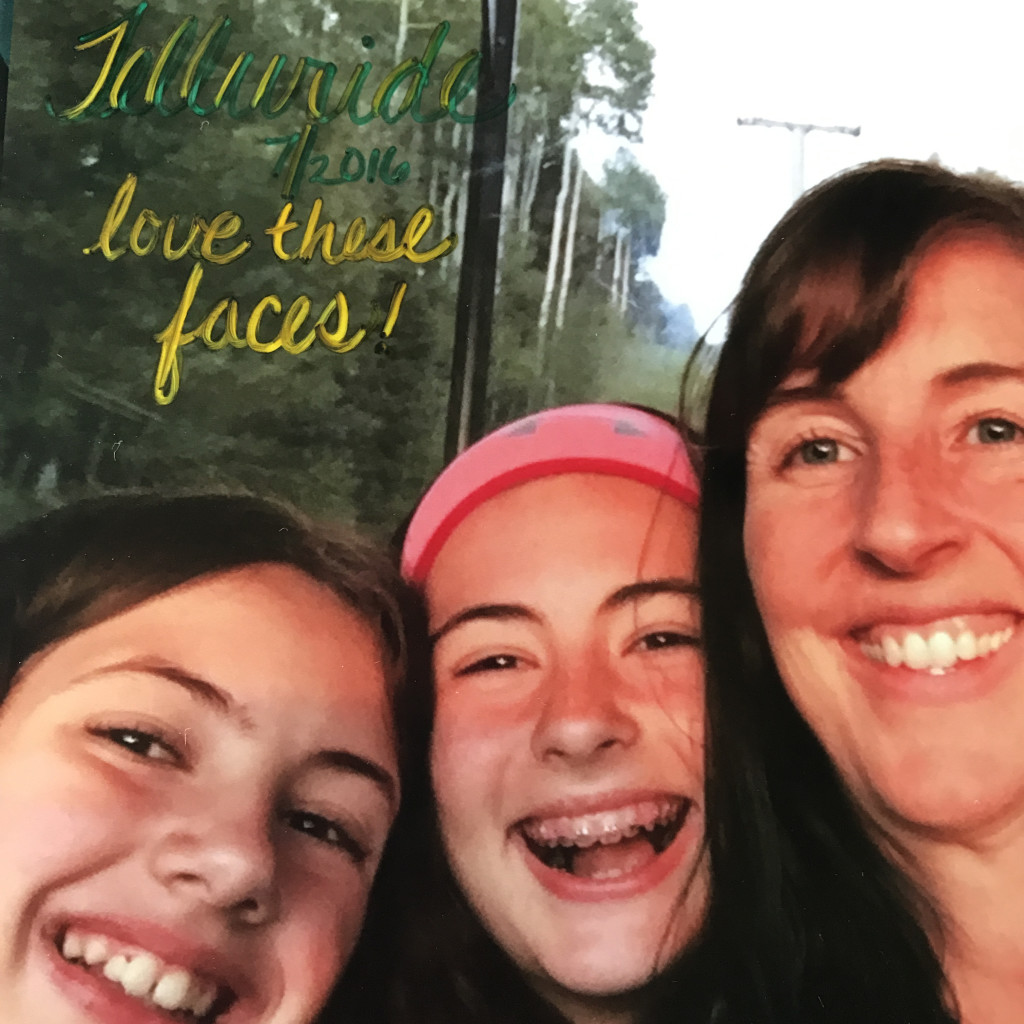
I tried writing on Photographs:

kirarina3

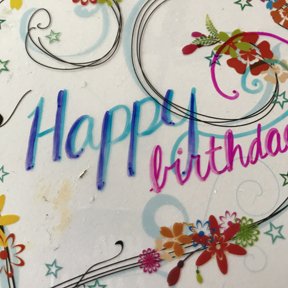
I also wrote on a very old acetate made for scrapbooking, this one was designed by Fancy pants and I just added the lettering in amongst the doodling that was already on the plastic sheet:

Kirarina4

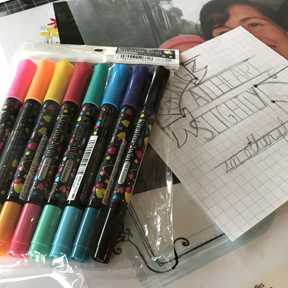
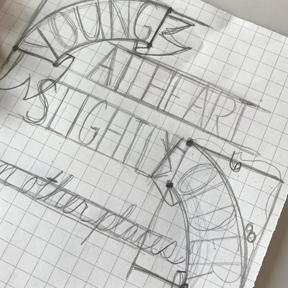
Then I tried adding a little word art onto a plastic page sleeve. To be honest I was going to try a transparency but my entire box of them disappeared and this was the closest thing I could find! I created the word art on a sheet of graph paper:

Kirarina5

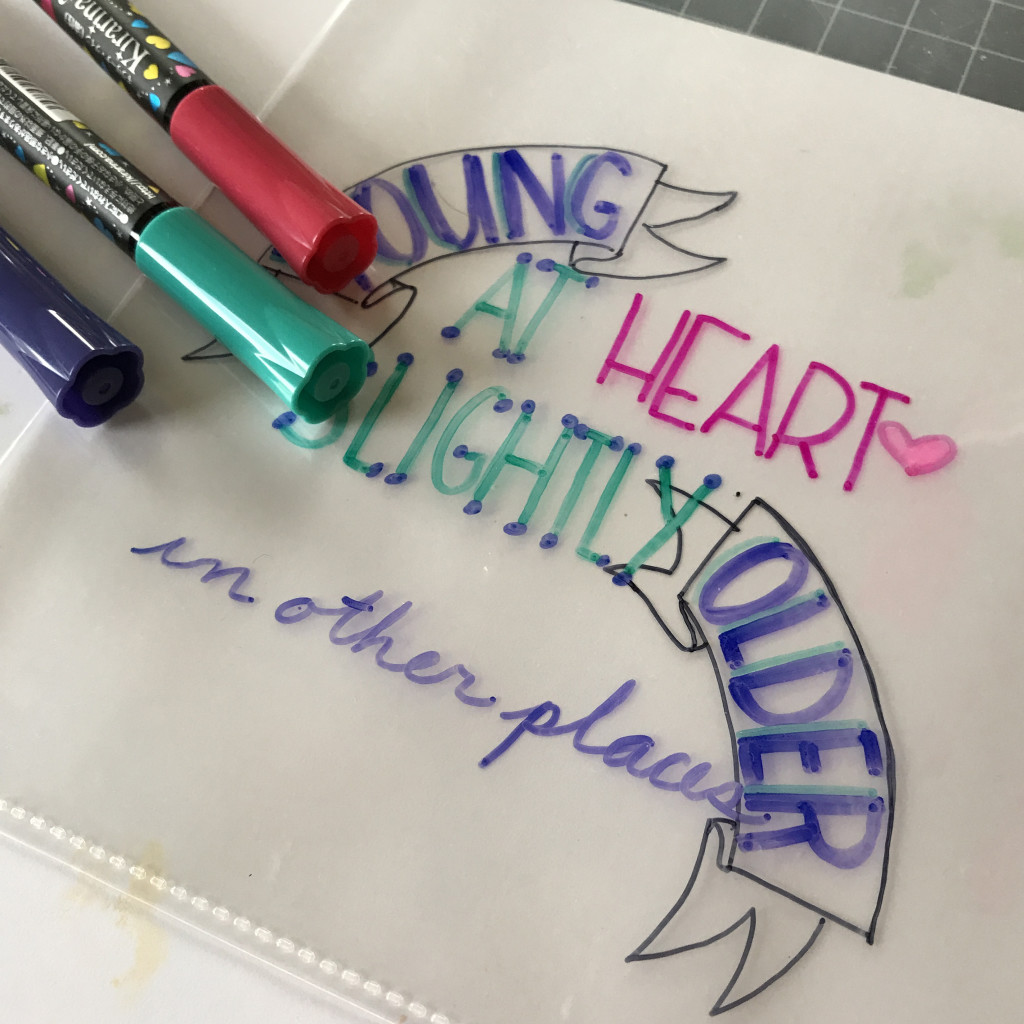
Then slid it into the bottom corner of the paper protector and went over the lines with me Kirarina 2Win Oil-Based pens, I love how it turned out!

Kirarina2

I could see using these on class or a sturdier plastic to hang in a window. The thinner plastic will work great as a layer over a card front or scrapbook page.  

I had a lot of fun playing with these new to me pens and will surly come back to them! Imagination International, Inc. carries both of the Kirarina 2Win pen lines and has more fun ideas for playing with them as well.

If you would like to see the Oil-Based in action, I will show you how I made the above projects in a video at Copic In The Craft Room next week!

Have a Happy Colorful Week!

Posted on

Copic Skin Tone Set

I am asked frequently about the sets that are available through Copic. Which is a good one? Which one will get me what I need? The answer is just not that simple. It is so dependent on what you will be coloring, your own personal color preferences and as you practice and your skills improve looking at pushing contrast and variety in your coloring. I have always, for those reasons, been a huge supporter of collecting individual markers and creating your own “perfect” set! 

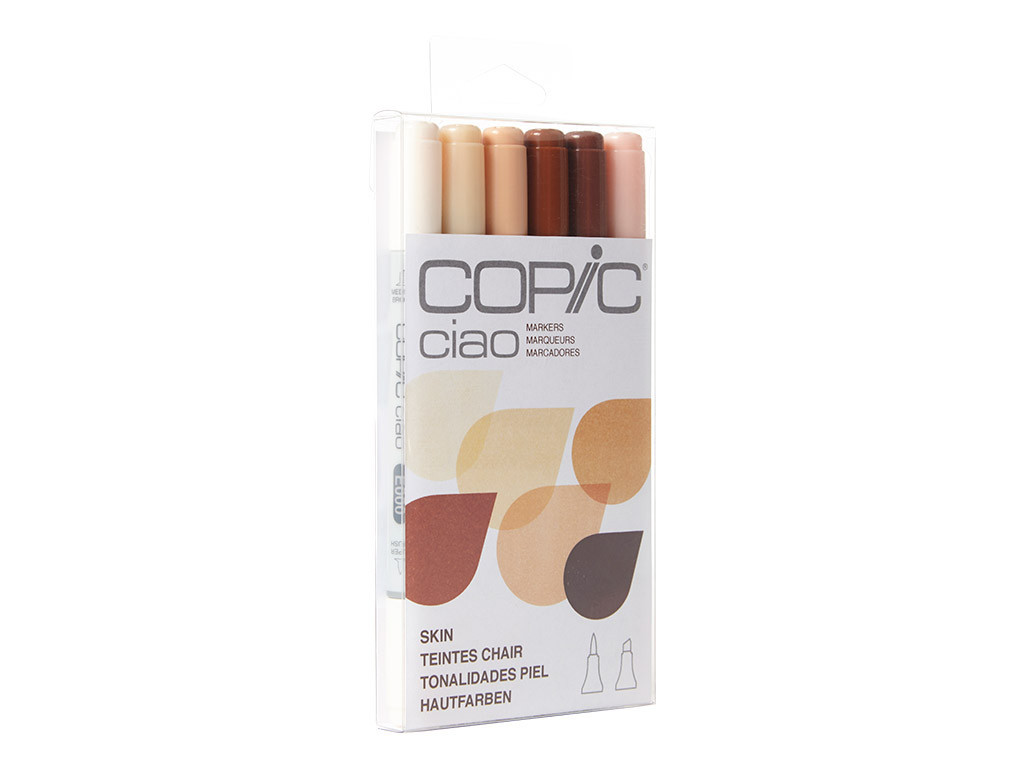
That being said there are some amazing smaller sets of Copics that can get you headed in the right direction. One of those sets is the Skin Tone Set of Ciao Copics. It is a set of 6 markers that includes E000, E00, E11, E15, E18 and E93. I6SKIN

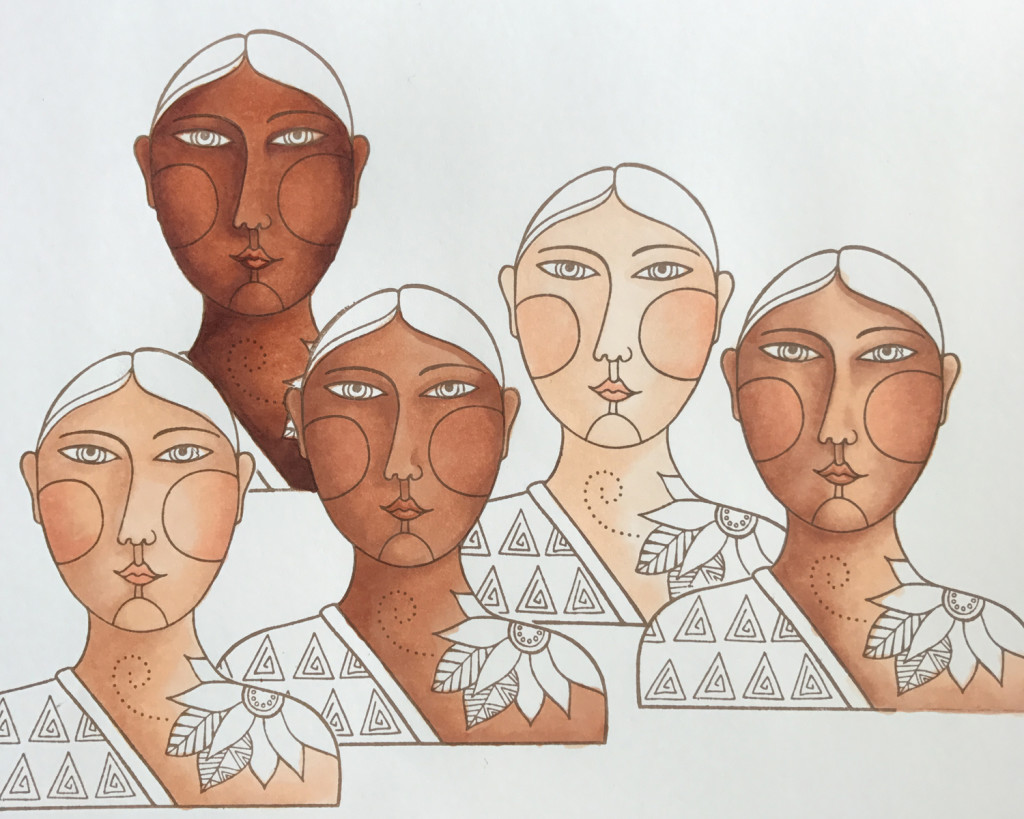
6 markers you say how much variety can you get out of 6 markers? WELLLL…let me show you. I took this as a personal challenge! I picked a new stamp from Stampendous out of my stash that I have been excited about using, stamped her multiple times and tried to push this little group of 6 markers to see the true range that I could achieve. 

blog 1

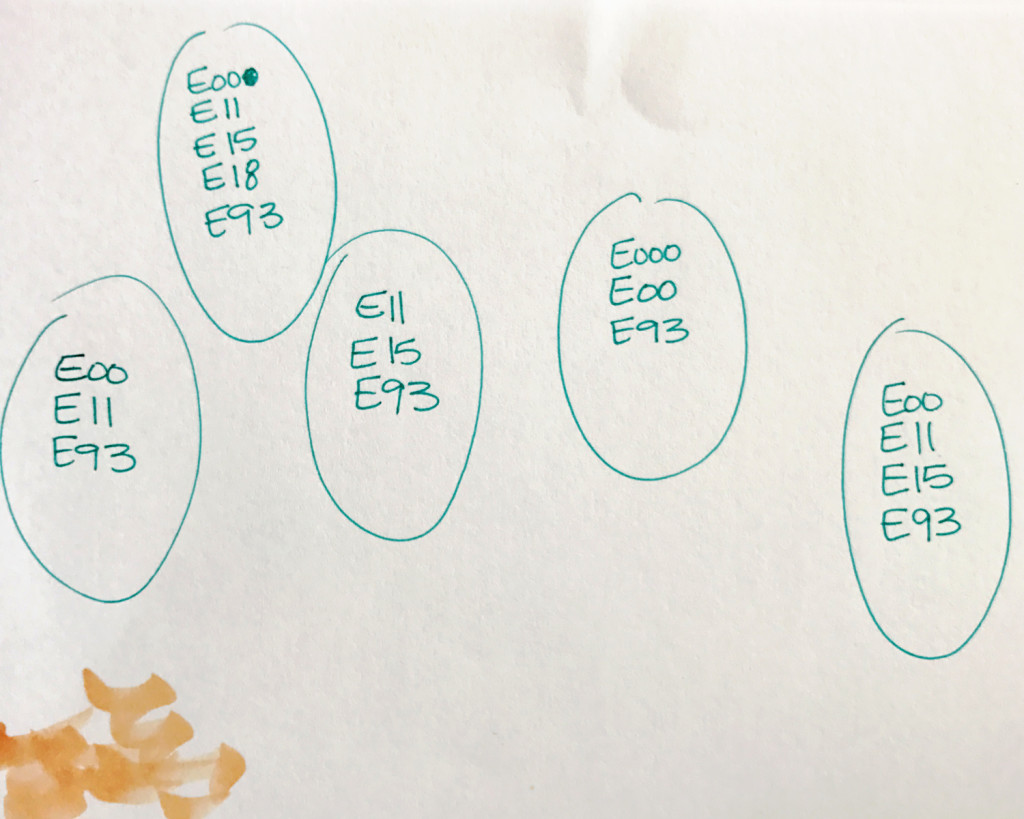
I am personally tickled with the results. I love a good challenge and I tend to do my best work when I have one. I feel like this is one of those “best” moments. I love the range from a fair skinned face to a truly deep brown skin tone. And all of them turned out lovely. I also was thrilled to find a couple new combinations that I had never tried before that turned out BEAUTIFULLY! Here is a map of the colors that I used on each of the faces.

blog 1a

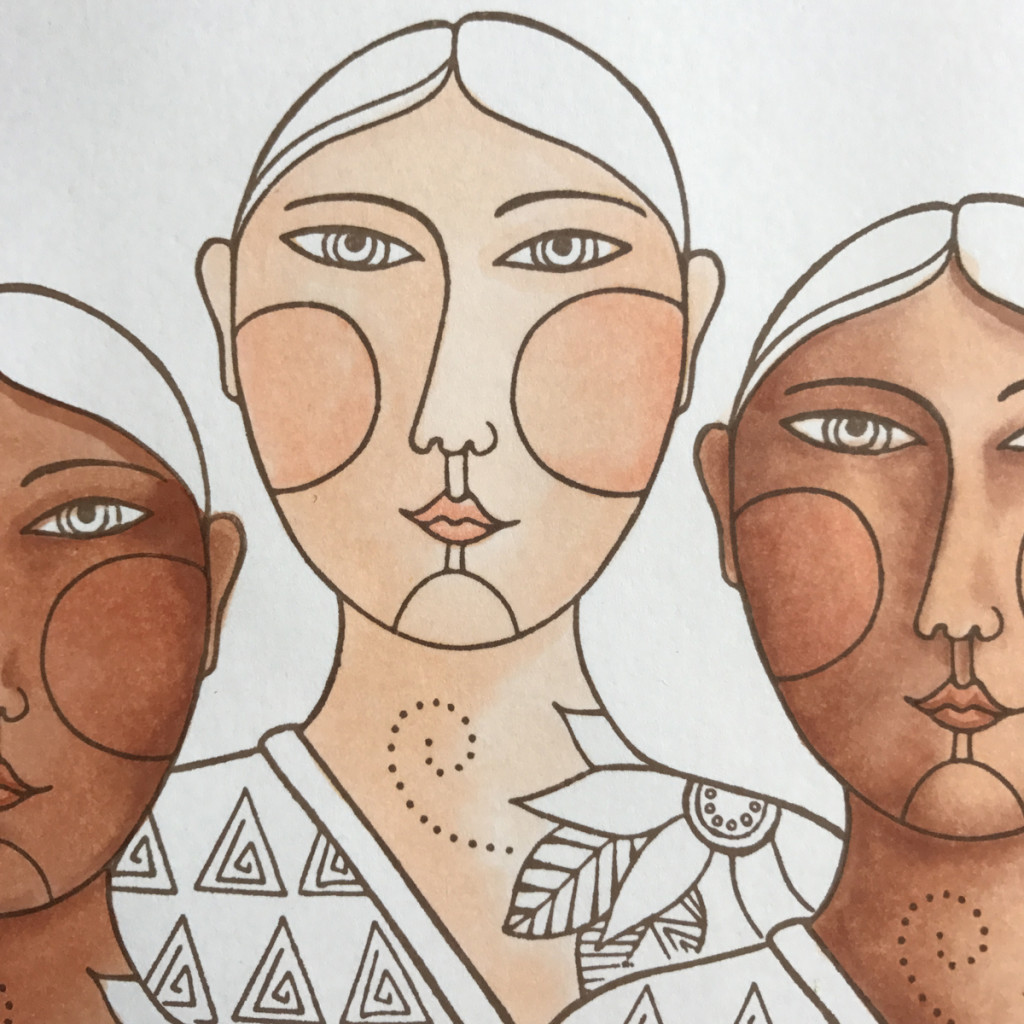
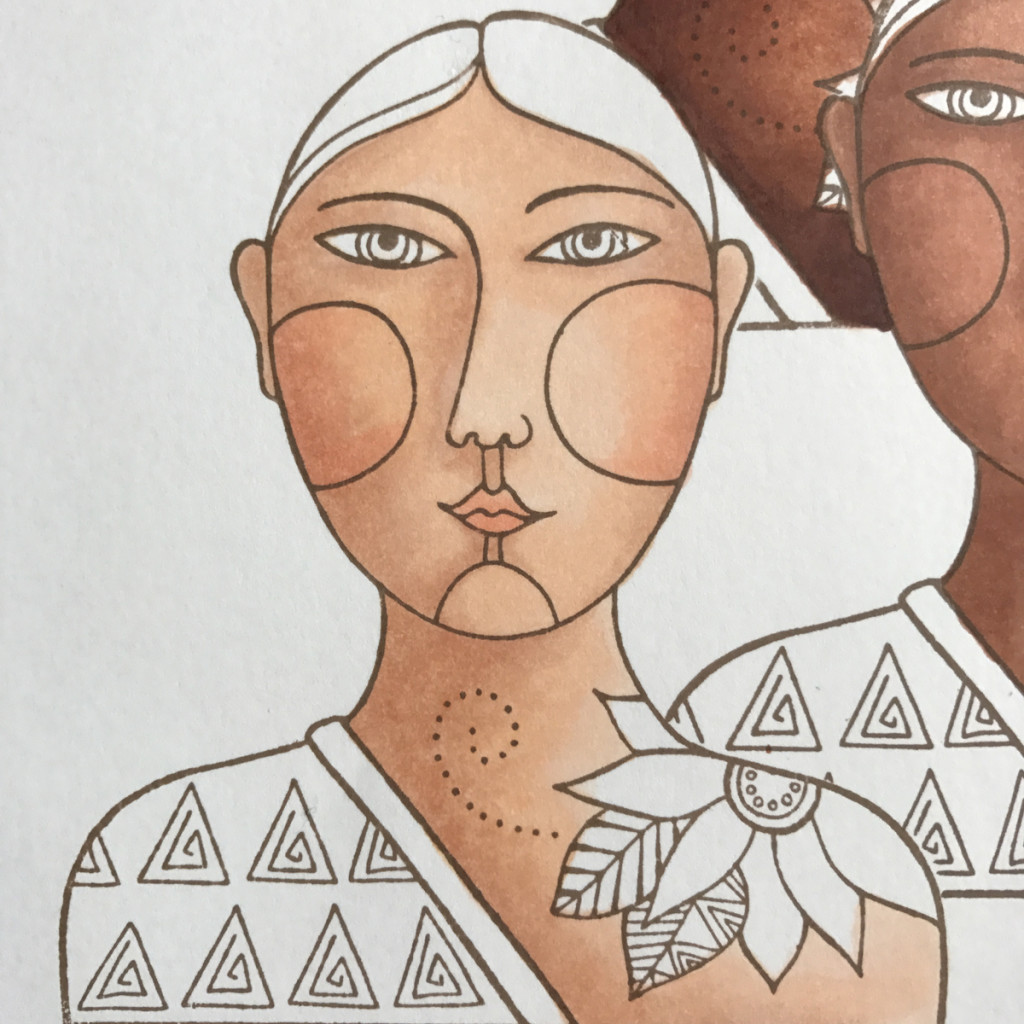
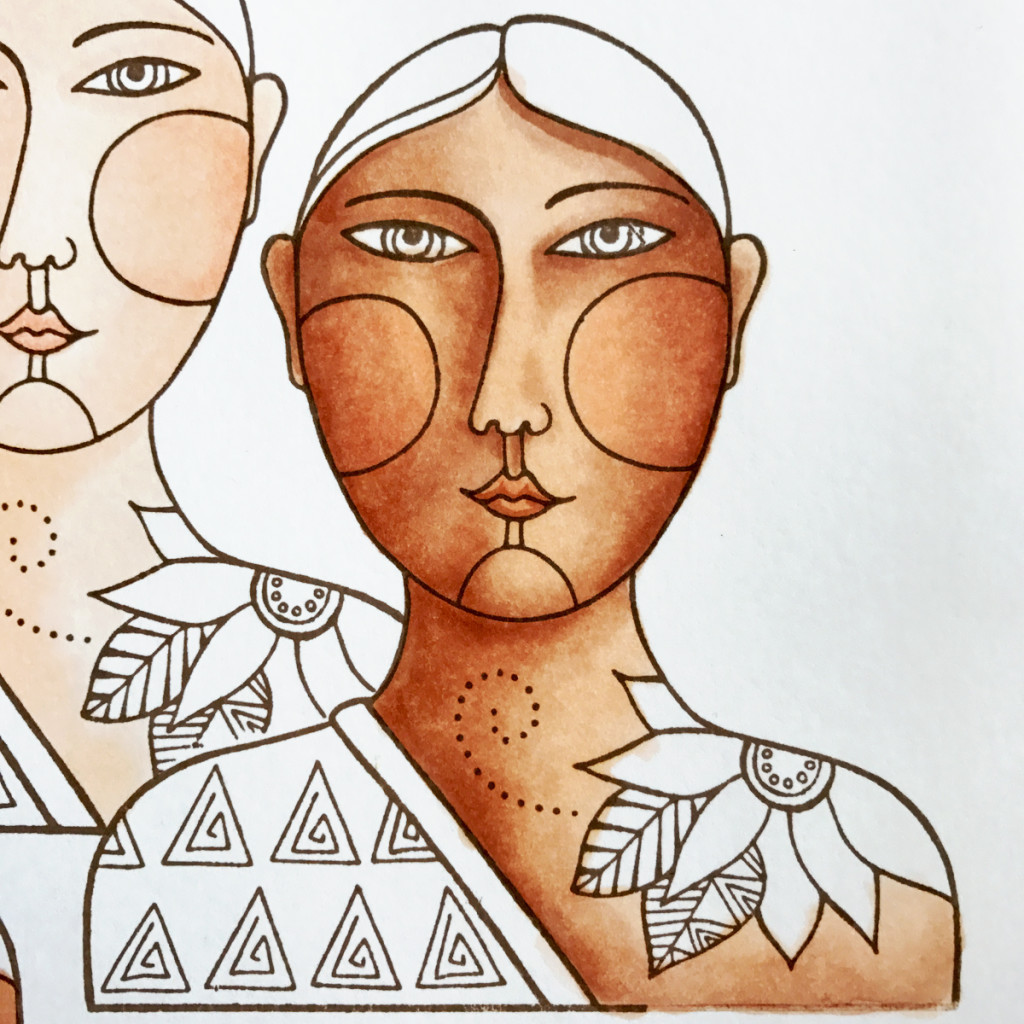
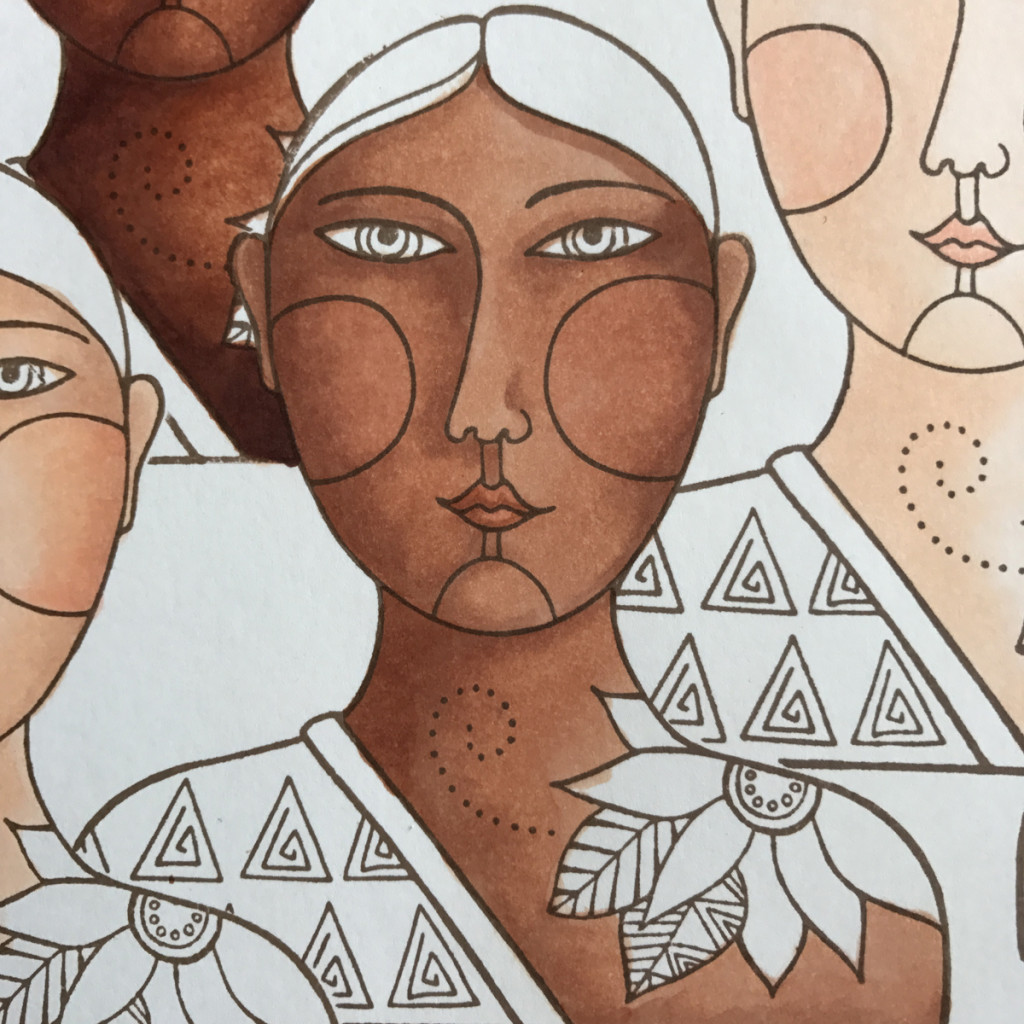
Here are all the ladies close up

blog 3

E000, E00, E93

blog 5

E00, E11, E93 (LOVE THIS and so simple!)

blog 2

E00, E11, E15, E93

blog 4

E11, E15, E93

blog 6

E00, E11, E15, E18, E93

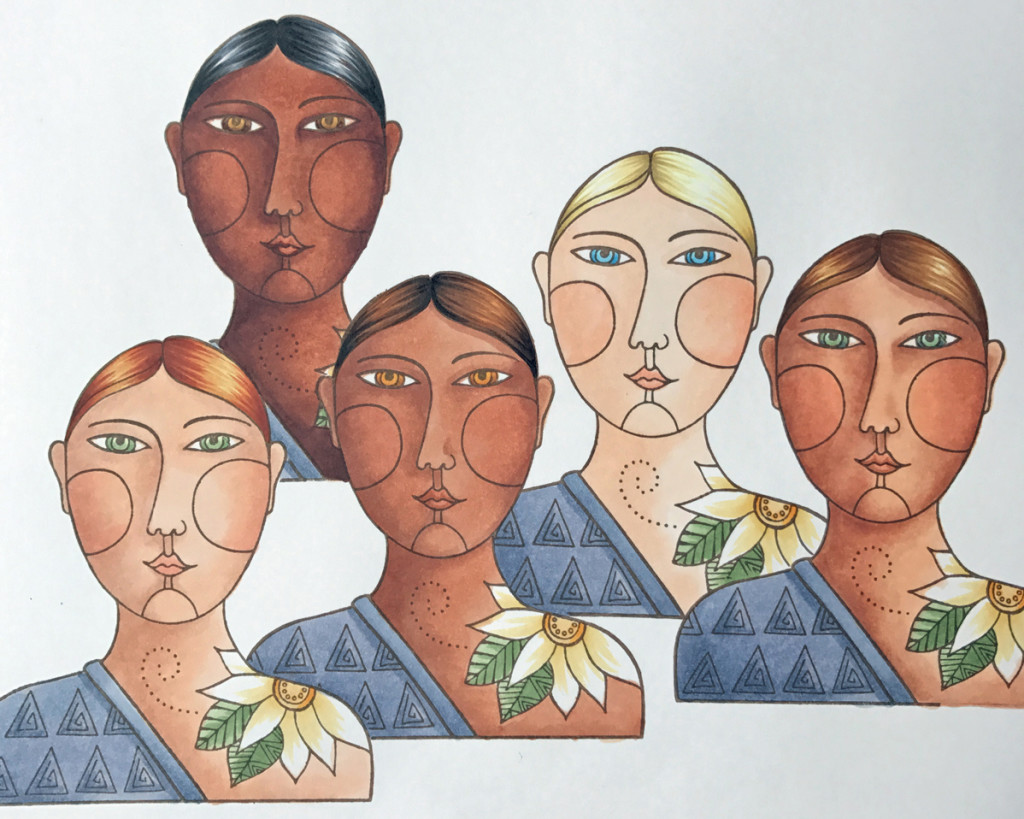
I did not use ANY other colors on the faces above just the 6 markers coming in the Skin Tone set! Then I decided the image was looking so nice that I better just keep coloring so I gave them each unique hair and eye coloring and kept the clothing simple as if they are a dance or performance group :-).

Blog 7

I am thrilled with how these ladies turned out! and all that gorgeous skin with just 6 markers! So all of that to tell you, if yo are looking to add a range of skin tones into your collection, it just does not take much! If you are interested in the Ciao set check them out HERE

Color, color, color, write down your favorites and then color some more! 

Have a Happy Colorful Week!