Posted on

Pen and Ink taking me back to high school!

Imagination International, Inc. as many of you know not only carries Copic. (gasp) Yes I know hard to believe that there is OTHER art mediums worth playing with, but I am an equal opportunity artist and I LOVE to play! One of the newer additions over at III is dipping pens and ink.

I have to tell you this takes me back to my high school days! No Sharpie markers for us, no sir! We had to use dipping pen’s and ink for cross hatching, pintails and doodling, really anything that was rendered in ink. I’ll be honest the extra time it took to dip the pen every 30 dot or so of a larger pointillism piece was a little wearing at times but the results…magnifique! I was really excited to be given the opportunity to play with an pen and ink set again. Especially now when I can appreciate the value of the quality ink and wonderful pen nib.
blog ink1

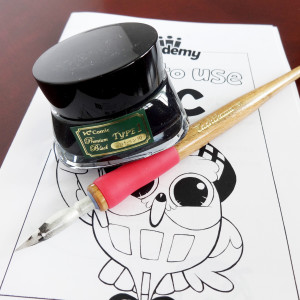
I ended up with two styles of nibs or more specifically the same style but in two different materials, ink and a very fun instruction manual. The instructions served as wonderful reminders and I learned quite a bit about the carrying nibs and why I might what a few more in different styes. The ink also comes in a wide range so if I really continued to explore I could do more there as well.

So I started by hooking up one of my nibs into the holder and doing some experimenting with the two different nibs that had arrived.
blog ink 2

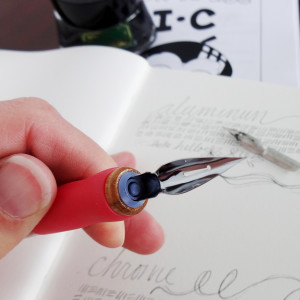
The holder has a slot in the end that the nib slides down into easily and then is just pulled out and changed when needed. (The instruction manual talks about how deep to dip the nib, how to hold the pen and how to clean the nibs as well.

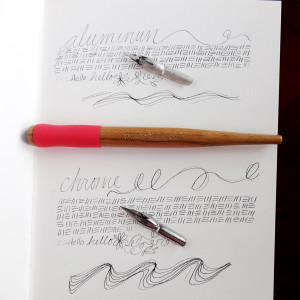
I started with the aluminum nib, both of mine are “spoon” nibs No. 600EF by Tachikawa. I dipped and started doing some writing and then dipped a second time to see how long I could go with a single dip. I did cross hatching until the ink ran out, you can see here how long it lasted. Then I dipped again and added a few doodles.

I did the same with chrome nib in the very same size and style to see if there are differences. Just as a note I am working on a rough sketch paper today, not a smooth cardstock, so you will see some bleeding of lines that would not be there on a paper with a tighter tooth.
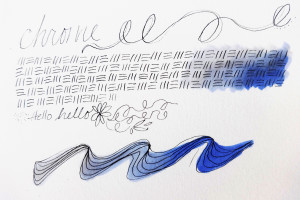
blog ink 3Next I wanted to experiment a little with color so the chrome sample got some Copic love. I did have a little bit of bleeding with my lightest color. This could be because I did not wait quite long enough for the ink to dry. It could also be because of the toothy paper I am using. It would need a little more testing on my part if I want to use it regularly with Copic.
blog ink 5

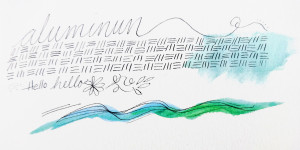
Then the aluminum sample received some watercolor. It held fast and was really what I figured would be what I worked with today anyway.
blog ink 4

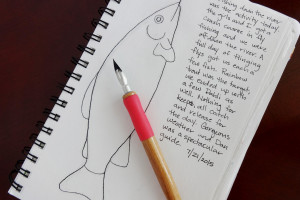
On to my project, this is a page I started 2 years ago on a trip to Alaska with my family. I created a short art journal that I shared on-line but have never completed the last 3 days/pages. I started with a very light sketch in pencil, and then I went over my lines with the dipping pen and ink.
blog ink 6

I erased the pencil and had no smudging (Yay) then added all the detail to my Rainbow trout with the pen and ink.
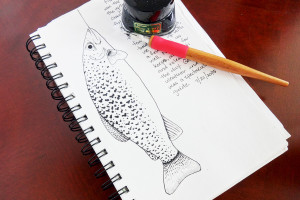
blog ink 7

I could have left him here, I really do like him just as he is, but I wanted the effect of the gorgeous colors on the fish so I added water color over my ink.
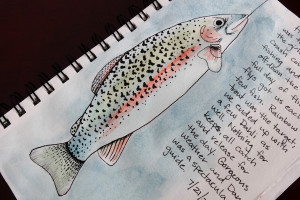
blog ink 8

TA-DA! All complete. I do love how he turned out and loved working with pen and ink again! Thank you Imagination International, Inc. You can find more information about the complete line of products available HERE.

Have a Happy Colorful Day!

Posted on

Gasenfude…WHAT?

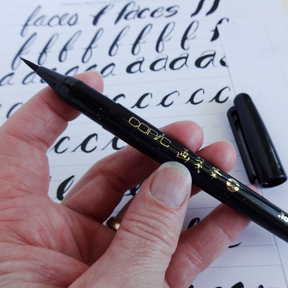
No I am not learning a new language, believe it or not there is a brand new pen out from Copic! It is a nylon brush pen that is compatible with Copic inks! Yippee Skipee, let’s play!

Now let me share first and foremost that the new Gasenfude pen has it’s own learning curve and needs as much practice to master, maybe even more then your Copics depending on what yo would like to do with it.

Here are the details before I show you my play time:

  • Archival
  • 9 mm long bristles
  • 3.1 mm diameter at brush base
  • Water based, black pigment ink
  • Sturdy, genuine nylon bristles
  • Superfine point for detail work
  • Long, flexible bristles for dry-brush effects
  • Copic compatible ink (will not bleed with Copic markers)

Good stuff right?! So I decided to challenge myself and try my hand at some brush script. It is all the rage you know and really how hard can it be? (She says to herself with some confidence) I’ll be honest, harder then it looks, and took more practice then I anticipated. But like any new adventure oh so very fun! Here is the breakdown of what I ended up with.

Blog 1

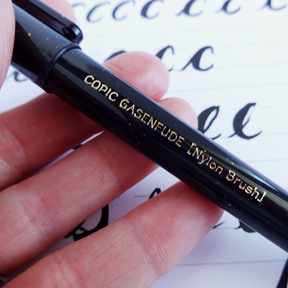
Take a closer look at the pen, I’ll check the spelling 🙂

Blog 2

This shot gives you a closer look at the long nylon brush nib.

Blog 3

It flexes even further then the Super Brush Nib on the Copic Sketch markers. Practice Practice!This style of lettering is ALL about pressure. Press down to get thicker lines, ease up to get thinner lines. Speed is a HUGE factor as well, keep it slow, I mean SUPER SLOW!

Blog 4

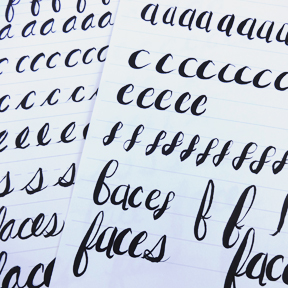
I started with a lot of individual letters. For time, I focused on letters I knew I wanted to use. I looked up a couple different styles on line to get some ideas, but ended up using a style that is mostly my own handwriting.

Blog 5

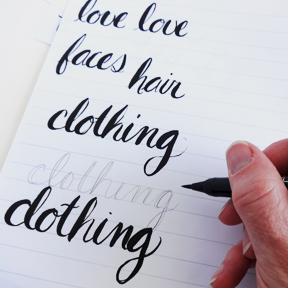
Yep more practice! and now focusing in on words. Some of my letters link like a cursive style others do not connect, like a standard print. I worked on lined paper and also did some work in pencil first to look at where I wanted thicker areas on each letter.

Blog 6

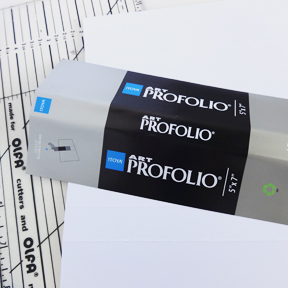
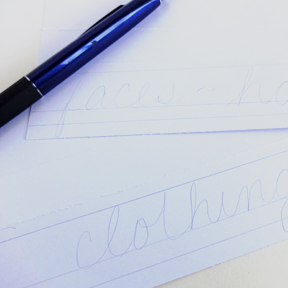
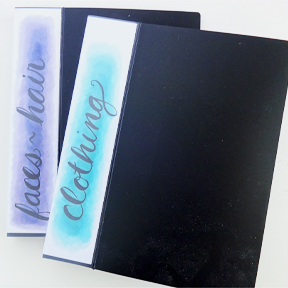
Now on to a project. I am going to add labels to my Copic portfolios. I pulled out the paper from the sleeve around the binding to get measurements. I used a pencil, clear ruler, paper trimmer and bone folder.

Blog 7

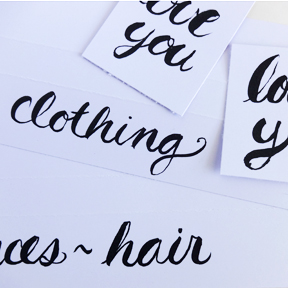
Here are my labels cut, folded, with guide lines and very light writing to give me a better shot at spacing.

Blog 8

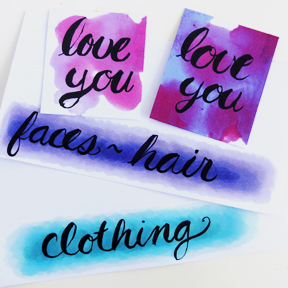
Next ink it up with the new Gasenfude and erase all the pencil lines after the ink drys. I couldn’t resist making a couple of extra little tags with the scrap paper.

Blog 9

Best part of Gasenfude…compatible with Copic ink! Yay! Color, color, color!

Blog 10

Yep loving it, takes practice and patience, I am not there yet, but I am loving it!

have a happy colorful week!

Posted on

Kirarina is a hit at CHA

One of the things I got the pleasure of doing at CHA was working the booth. What that entails is coloring and sharing information about the product that I love, COPIC! I also got to share about the other products now being carried by Imagination International, Inc and show off the new things that are out and about in the industry.

One of the things I demonstrated most was all the Kirarina pens. Everyone wanted to know what they do, what are their differences, where would you use them. There are 3 pens and one puffy paint in the Kirarina line. The are not alcohol based and do NOT blend with Copics. They are made by the same company that makes Copic, .Too. The pens are made as part of a stationary line. So for crafters you would most likely be seeing them with daily planners, artistic journals, and other places you might find writing.

I am lucky enough to get to play with all the new stuff to and share it with you! So why do I love the new Kirarina Wink pens?

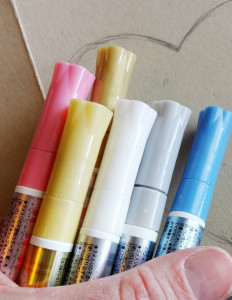
Let me count the ways: 1 – Kirarina comes in a variety of fun colors, 18 to be exact.

blog kirarina 1

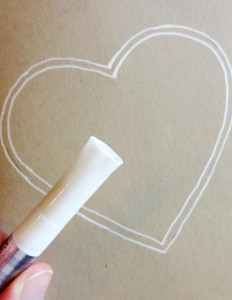
2 – Opaque white, swoon, the doodler in me is in love!

blog kirarina 2

3 – Shimmer every girl like a little shine.

blog kirarina 3

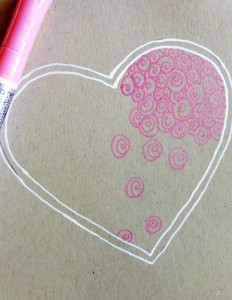
4 – I just love to doodle and these pens scream for it.

blog kirarina 4

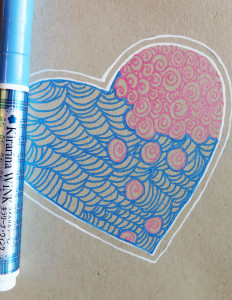
5 – That’s really all I need to know opaque, shimmer, doodling!

blog kirarina 5

One more fun tool for my craft bag. I am itching to get scrapbooking with these cuties. Hopefully this year I can carve out some time to do that!

Check out the new Kirarina Wink pens, I think you will like them too!

Have a Happy Colorful Week!

Posted on

How about a little art?

I shared a vacation journal on Instagram and thought I would post a few of the photos here as well since some of the pages are featuring some wonderful new Imagination International Inc. products, and since several of my friends don’t follow me on Instagram. Check these out:

vacation journal 1

vacation journal 2


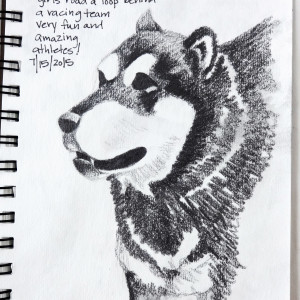
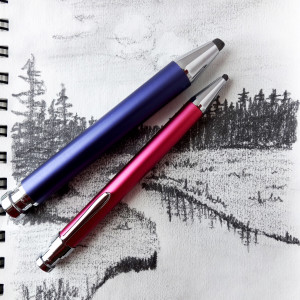
I have not done pencil drawing in FOREVER and this felt so good to get back to some of my artistic roots. I was inspired by the landscape of Alaska and had these fun new lead pencils by Nobby. They are crazy fat lead in beautiful metal holders. I am loving working with them and they are so easy to travel with.

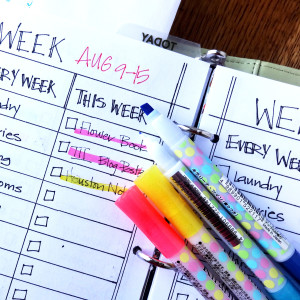
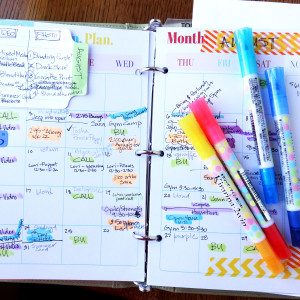
I also want to share one of the other Kirarina products that you can find at Imagination International Inc. These are the 2win that have a dual tip, one for writing and one with a chisel tip, I am loving them for my dsayplanner! I can write and highlight all sorts of the craziness in my daily life.

clander 2

calander 1

Have a happy, colorful hump day!