Posted on

Sprinkling

Another layout for Get It Scrapped!  This time we were all “sprinkling” our layouts.  We created a trail of embellishments in a sprinkling formation.  It is a fun technique that can take a little time but is worth the efforts.  Check all the layouts out HERE

Sprinkle trail


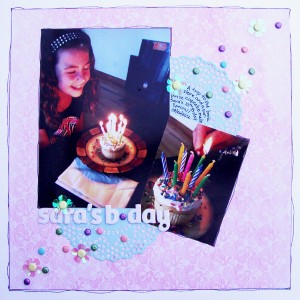
Sara’s B-Day by Michelle Houghton | Supplies: cardstock and chipboard letters; American Crafts, patterned paper, doilies, flowers and brads; SEI, ink: Sharpie

This is one of those quick and easy layouts.  I used product from one line, SEI, with touches from my stash.  The brads are ones I have had forever, you know the kind you find and think ooooh so pretty I just know I will use these right up!  Then you take them to every crop and pull them out as possible accent on numerous layouts and never use them.  He He.  Yep these are THOSE brads.  So I was thrilled to have an opportunity to use so many of them.  The sprinkling became my primary embellishment so the layout just did not need much more.  I love how the mimic the sprinkles that Sara added to her cupcake. 🙂

We had gotten the cupcake at the bookstore when we found out at the check out that she could be a kids club member and get a treat on her birthday.  It was in fact her birthday that very day, that was why Grandma and I had taken her to the bookstore, and they made a special exception for Sara so she could go straight to the Starbucks counter and get her treat that very day.  She picked a vanilla cupcake and decided when we got home that it needed sprinkles and Grandma decided it needed candles too.  So it became a mini birthday cake surprise 🙂

Yep a perfect day and a fun layout to remember it by!

Happy Saturday!


Posted on

Abstract Faces


I missed a lot in the past few weeks so I am still just catching up.  I am rounding up two more small groups of photos from CHA but in the mean time here is a layout that was part of an article over at Get It Scrapped.  We were going artistic and creating abstract faces to include on our layouts.  I am blown away by the creations and variety of the entire Creative Team.  You will want to check them all out HERE!

abstract faces

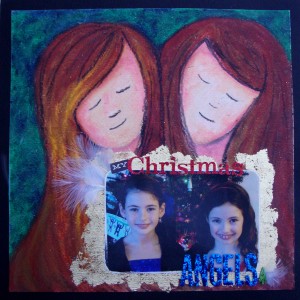
My Christmas Angels by Michelle Houghton | Supplies: card stock; American Crafts, watercolor paper; Strathmore, foil; Mona Lisa, oil pastels; Portfolio Series, sticker letters; American Crafts, My Minds Eye and Making Memories, tree; Making Memories, feathers; unknown

The faces that I created are on a layer of watercolor paper.  I marked where I wanted my photo to sit then worked with oil pastels to create the two faces hovering over the photo.  I tend to work very thickly with oil pastels, blending them on the page as if they were paints.  My daughters think they were intentionally done to look like the two of them and although there are similarities they are un-intentional.  I added gold foil where I knew it would create a frame for my photo and then added my photo and letters.  (If you would like to see more about working with gold foil take a peek HERE) The feathers were a complete accident, I found one floating through my office, I am sure it had escaped the girl’s craft closet and was lying quietly on the floor.  I decided way to perfect for my theme and found two more small feathers to go with the original and tucked them all in.

Well back to my writing, still on a mission to get caught up!

Happy Friday!  Stay warm!

Posted on

Loving on Grandmas

Taking a little break from the CHA chatter.  I got to participate in another podcast with Debbie Hodge this past week, this time we were gabbing about photos of Grandmas.  All of us shared a photo and stories from not only those photos but about Grandmas in general.  We talked about how we might like to scrap the photos or have scrapped them and the stories we don’t want to forget to tell.  Check out the podcast HERE.  In honor I pulled out two older layouts that I made of my Grandma.  Both were done a few years back so I no longer have supply lists so I apologize.

2014-01-20 11.36.58

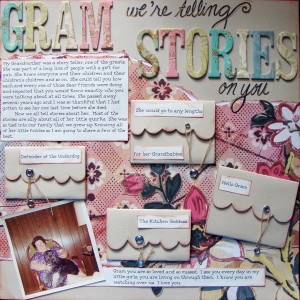
This layout shares all sorts of little tidbits about my Grandma.  Each of the envelopes opens to reveal a small story, a memory.

2014-01-20 11.36.25


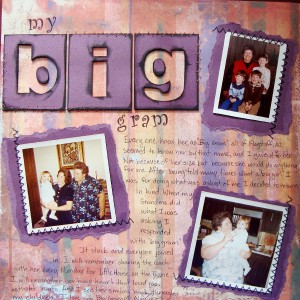
Gram was always “big Gram” to us.  Not because of her size which I would guess most would assume, in fact that is what I believed for much of my childhood.  But because I dubbed her that in my toddlerhood.  This layout shares the story of her naming 🙂

Happy Grandma scrapping and have a great Thursday!


Posted on

CHA part 2

I also got to take a class from Tim Holtz.   I laughed when I ended up in the very front row front and center.  I like his stuff but I am not a groupie and so here I was up close and personal.  It made me chuckle.  They have a few photos of that on their blog as well if you want to scroll through their post you will see me. We made 3 cards and used a ton of different materials to complete them.

2014-01-21 16.48.50

2014-01-21 16.48.30

2014-01-21 16.48.41

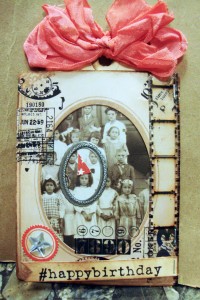
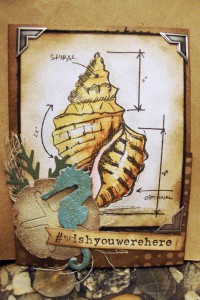
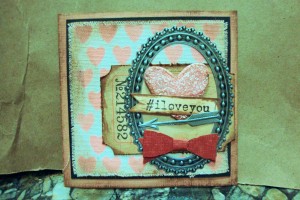
I am not sure which one is my favorite.  The first is a gift card holder which is very fun.  The gift card tucks in and is pulled out on a tag attached to the big puffy bow.  The second uses Tim’s distress markers and you know me anything about coloring is right up my ally.  I also got to try and keep  one of the “new” marker misters.  It is by his own admit ion not a new concept it just has been re-designed and released by Ranger.  It is find of fun and will work with just about any marker since the tube that hold the marker can be adjusted in size and then has a screw that fastens down on the marker.  But it is truly just little puffs of air so gives little individual puffs of mist.  This is NOT to be mistaken as a replacement for an airbrush system!!  The third little card is fun I LOVE the chunky glitter that we added to the heart and the paper bow that is made from a new die cut.

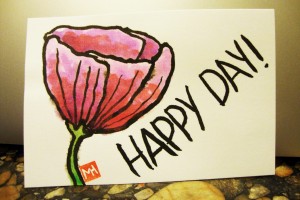
On Saturday evening I took a class from Kuretake the manufacturer of Zig it was a very fun class introducing a new way to make simple post cards in a very old traditional Japanese method.  It is called Etegami;

2014-01-21 16.42.46The concept is quick and easy with ink and a form of water coloring.  It is very loose and you hold the brushes way at the back end which keeps control much looser as well.  You go very slow in the actual inking then the painting is done in a dabbing motion.  To finish we made our own rubber signature stamps.  Then the final step is mailing them.  They actually had stamps and envelopes and asked everyone to send them off that very night.  I finished 3 cards so Sara and Lori got my practice apples and this one will go to another friend 🙂  I was quite pleased with how they all turned out, and very impressed with how well the class was run.

I should have one or two more quick reports from the CHA to finish off.  If you are still soaking in the aftermath and would like a little more Get It Scrapped did a wonderful roundup of sites that posted post CHA HERE.

Happy Wednesday!


Posted on

CHA

Friday at CHA was full of creating for me!  I took 3 classes all of which were VERY fun!

Here is the process or at least half of the process of my 2nd class of the day!  This was with Ranger’s Dyan Reaveley

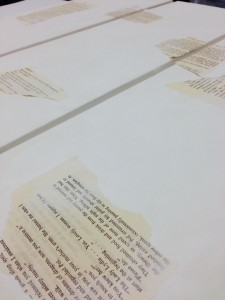
We started by gessoing a trip tick of canvases – We added torn book pages and small amounts of gesso on them as well –

image-4


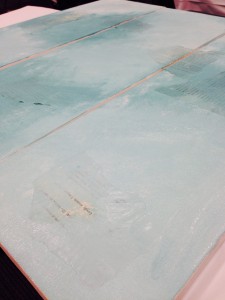
Then we added wonderful color all with our hands VERY FUN!  You can see how messy my hands got over at the Ranger blog  They got a close up of my hands in the mix 🙂image-5


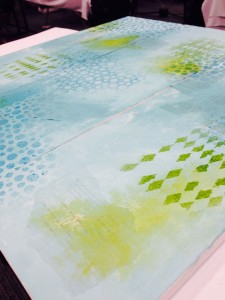
Next came spray mists strategically places both positives and negatives of a new stencil –

image-6


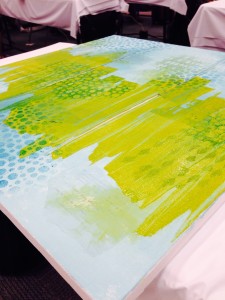
We added a band of bright color next with paint again this time using a paint scraper.

image-7We added a layer of gesso through the stencil next and that is where I had to depart!  Off to airbrushing with the Copic crew.  I will finish this project later when I get my head above water on my current projects.

Thank you Ranger for a great class!

Happy Tuesday!