Posted on 1 Comment

Resist techniques at Get It Scrapped

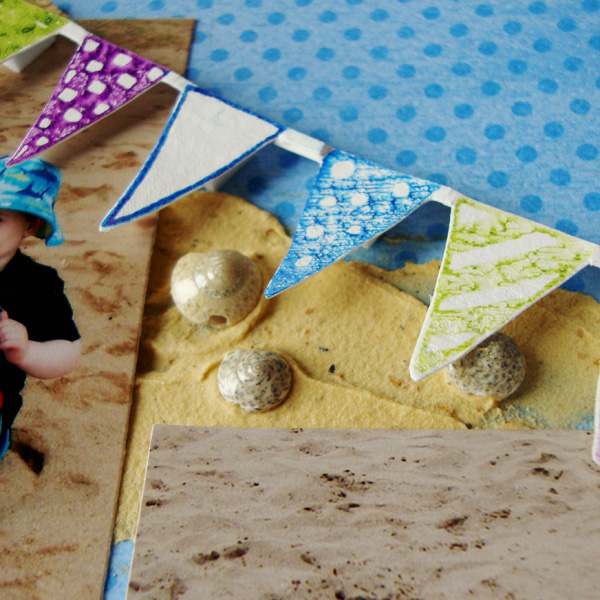
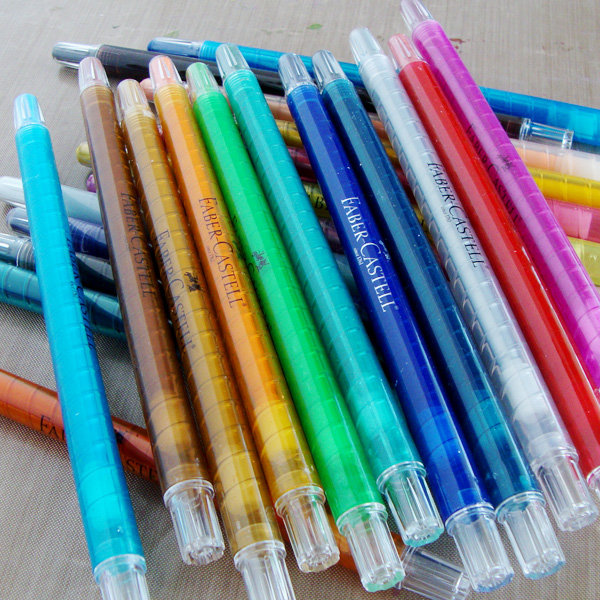
My latest media tutorial is up at Get It Scrapped.  This month I was continuing to work with Faber-Castell’s Papercrafter Crayons this time experimenting with resist techniques.  Take a peek and see if there is a technique there that you would like to add to your bag of tricks.

Read all the details HERE

With all these tutorials and the end of the school year looming I am not doing very well with the page a day challenge going on at Get It Scrapped but I am hoping to get a little more in this upcoming week!

Happy Wednesday!

Posted on

Rubbermoon blog post today!

I posted another tutorial at Rubbermoon today.  This time using Faber-Castell big brush pens.  These were WAY easy and brought such bright rich colors to the stamped image I will defiantly be doing it again!

Check out the full tutorial HERE!

I will have another Rubbermoon tutorial that I post here on my blog Wednesday the 28th and tomorrow I will hook you up with my new tutorial over at Get It Scrapped!

Happy Tuesday!

Posted on 3 Comments

RubberMoon and Copic Background

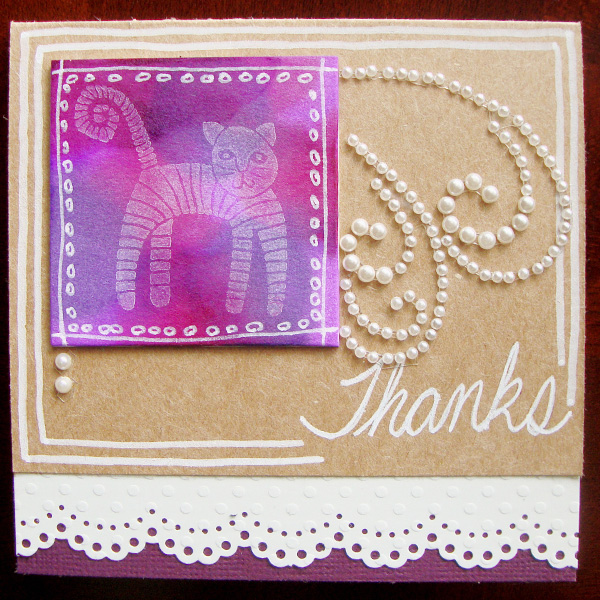
Hello RubberMoon fans!  Welcome to my blog!  As promised I have a second tutorial using Gretchen Ehrsam’s  Striped Cat  I created another card but this time wanted a completely different look to show you the versatility of one stamp and a fun different technique with Copic Various Inks (the refills).  The supplies I used are:

Striped Cat stamp by Gretchen Ehrsam, a white Sharpie paint pen, Copic Various ink in V04, V17 and RV66, a 2″ Art Square, and StazOn opaque white ink.
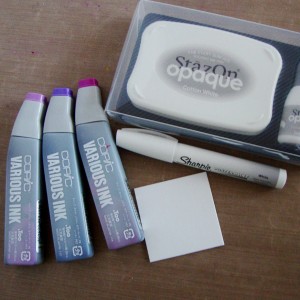
RMb1

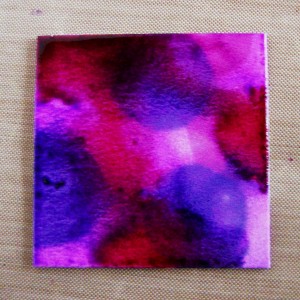
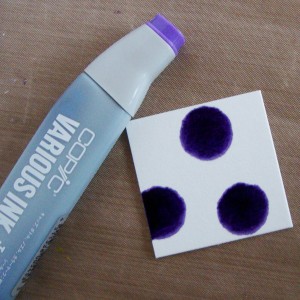
Step #1 – Drip Copic Ink directly onto the art square.  The colors will bleed quite a bit so you will only need 3 or 4 drops of 3 colors.
RMb2

RMb3

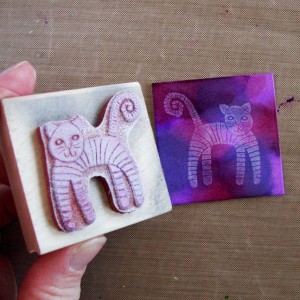
Step #2 – After the ink is completely dry, use StazOn opaque white ink to stamp your image onto your square.
RMb4

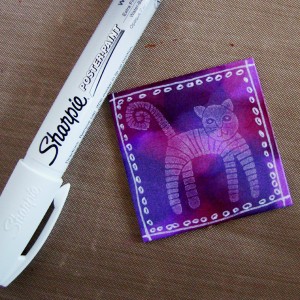
Step #3 – Use an opaque white pen to add doodles onto your square, my FAVORITE white marker is a Sharpie poster paint pen.
RMb5

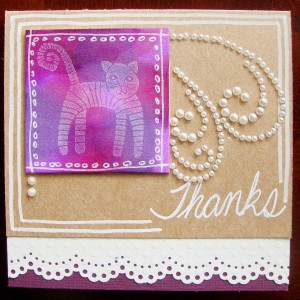
Step #4 – Add your square onto your card base, I used a wine colored card stock and white Swiss Dot Cardstock from Bazzill and a small piece of Kraft card stock, I added pearls and more doodling with my Sharpie.
RMb6

Thank you so much for stopping by today to take a peek at my RubberMoon creation.  Make sure to stop by the RubberMoon blog as well if you have not had a chance to this week!  Nancy posted an amazing inky tutorial there Monday!

Happy Wednesday!
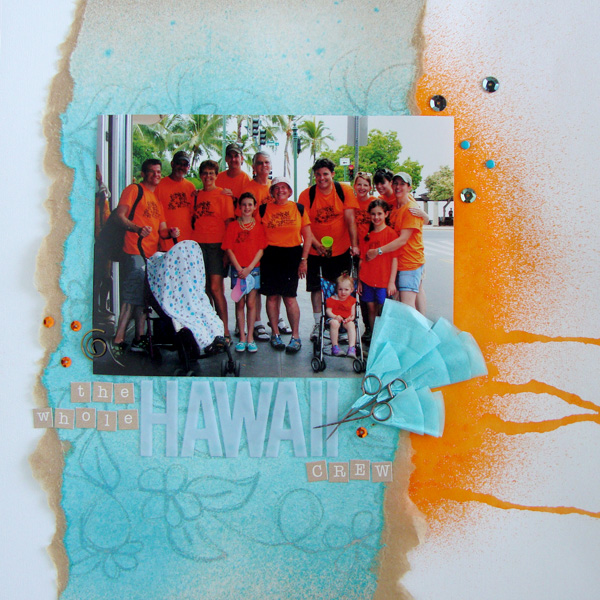


Posted on

Papercrafter Crayons

Have you seen Faber Castell’s Papercrafter Crayons?  They are a newer product and have not made a huge splash, but I have to tell you these things do some cool effects.  This month at Get It Scrapped I explored how to use them with heat and different melting techniques.  You can check out all the how to’s HERE

Here is a close up of one of the effects I played with:

blog crafter crayon

It just gives you one more option for adding hand colored effects onto your layouts, cards and more.

Happy Monday!

Posted on

Stamping with Copic

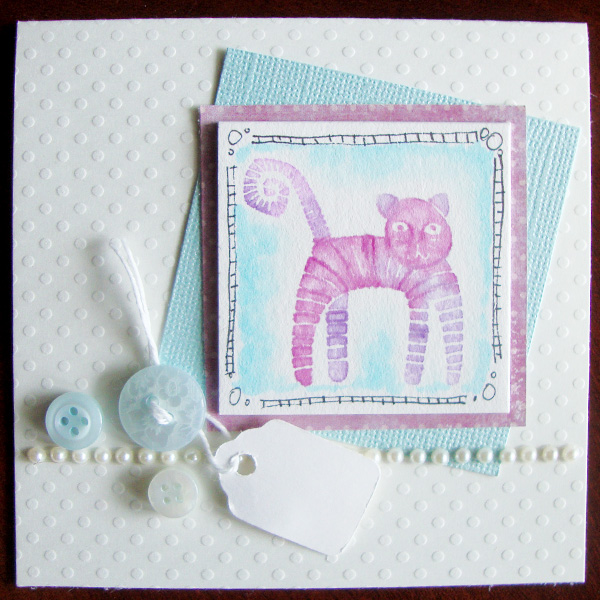
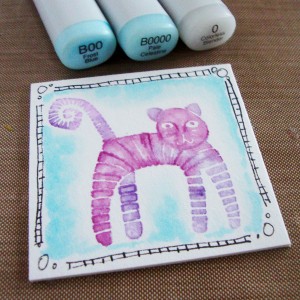
My first tutorial posted over at RubberMoon today!  It is a quick fun technique using Copics and stamps, but not the way you normally would 🙂

Check it out HERE

RM6Hope you have time to check it out!

Happy Friday!