Posted on

Refill your Copic Markers!

How many of you would like to know how to refill your Copic markers? It is one of the questions instructors get frequently and although we go over the information in the Standard Certification class it is valuable information to revisit! There are a few ways to refill your markers including using the booster (needle that screws onto the refill bottle) and pulling out the chisel nib to poor ink into the core. Below I will share my favorite way to refill my markers. I need my markers that are low in ink, Various Ink (the refills bottles) and I am using a pocket scale. 
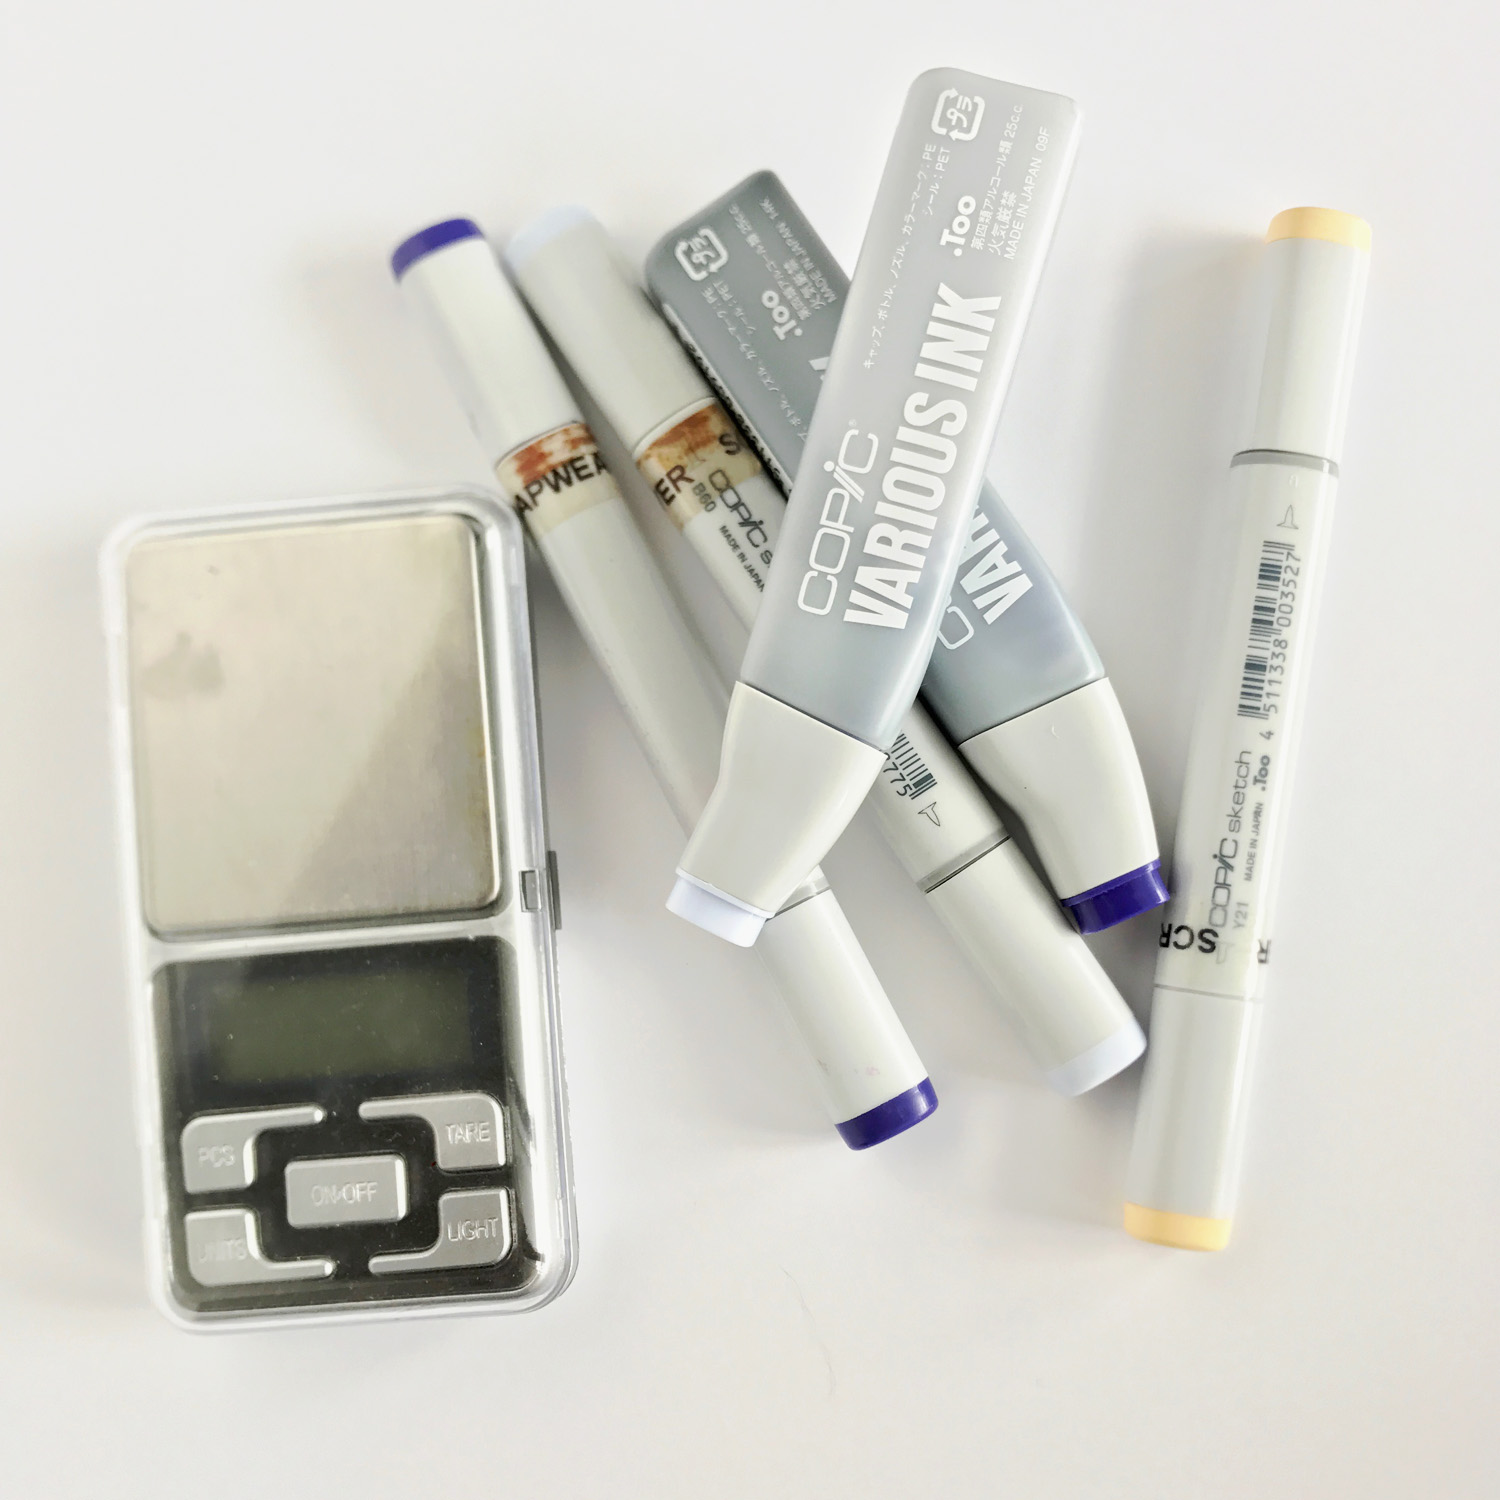
refill-1

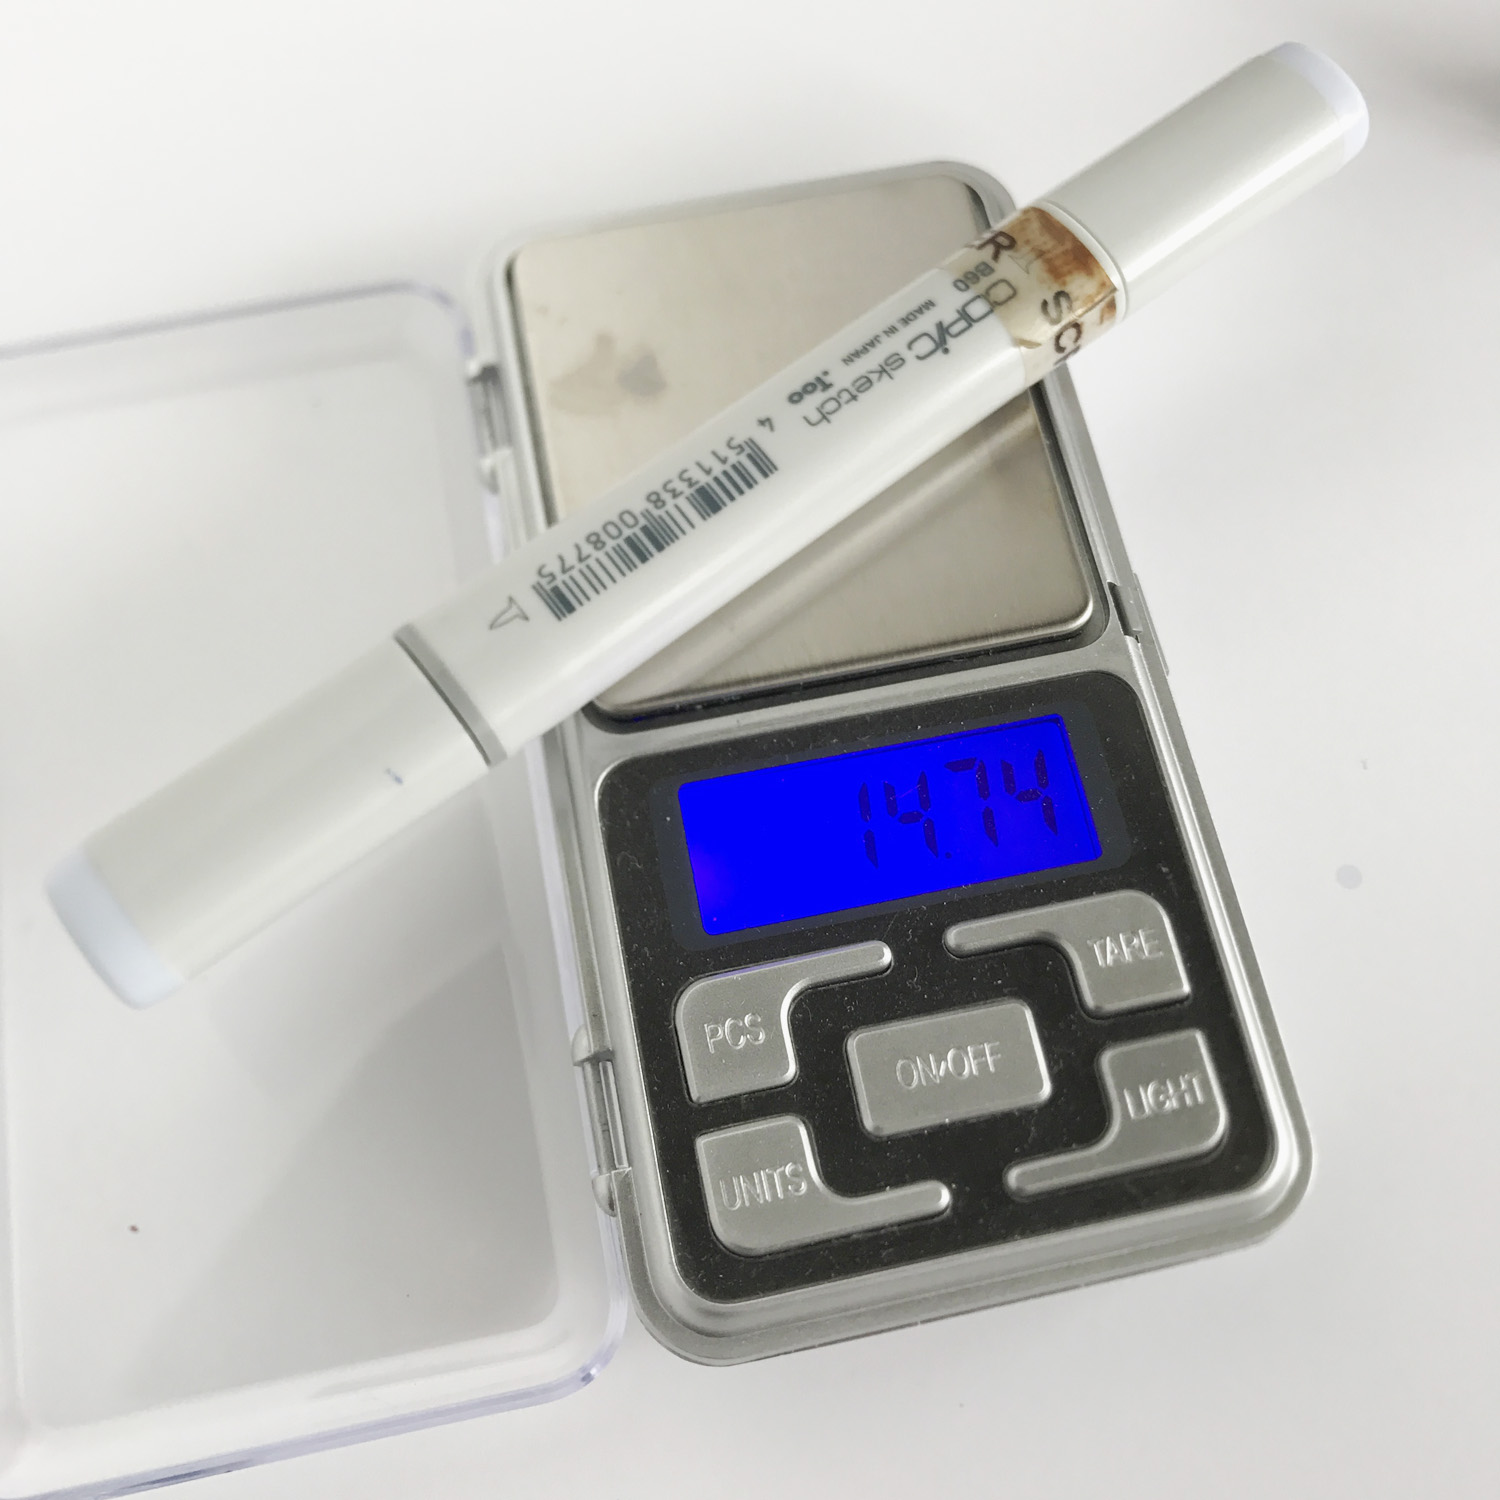
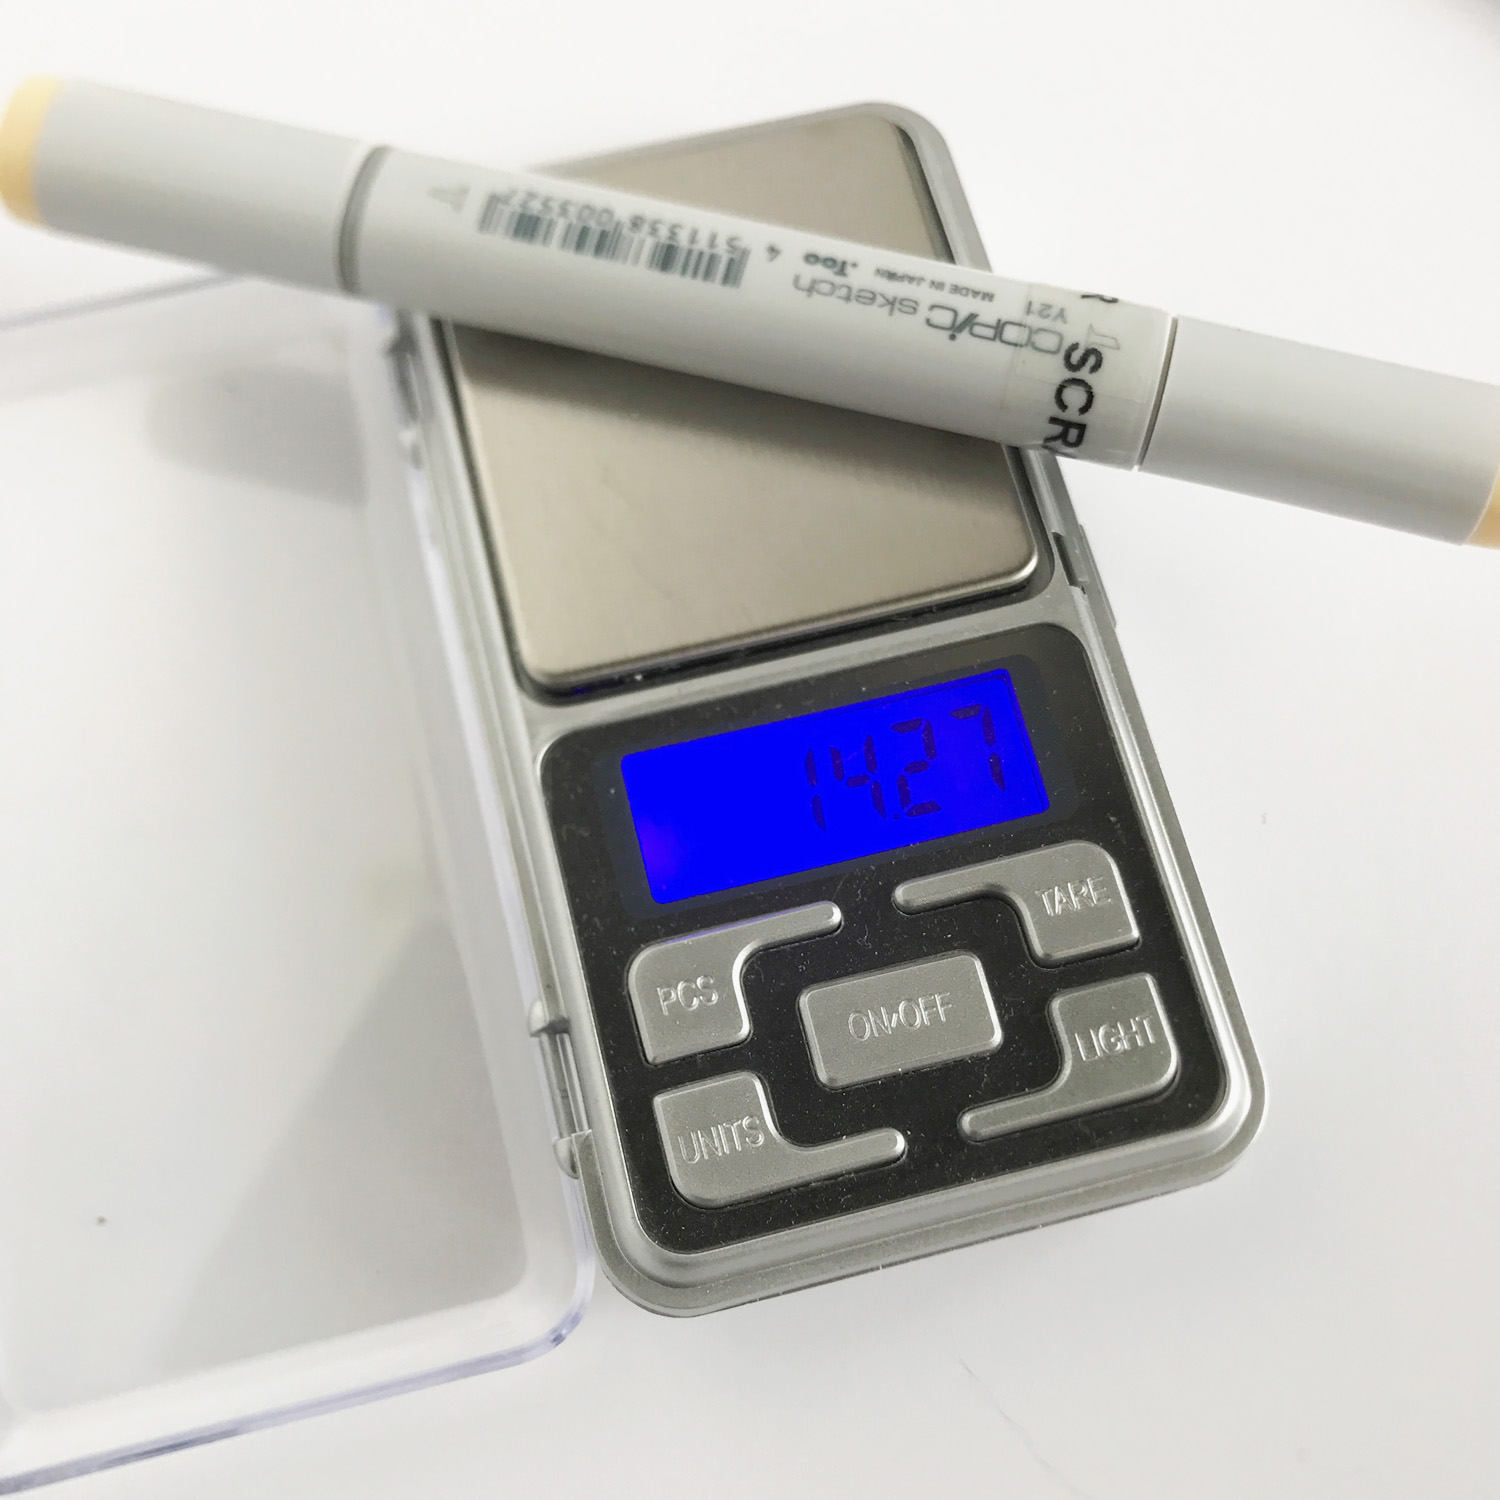
The first thing that I am going to do before trying to refill any markers is measure a full marker so I know what I am aiming for with my scale. I place a new sketch marker on my scale with both lids on and find out how much it weighs. ** Notice I have a label on my marker. If you have tape or a label marking your Copics make sure that the new marker you weigh also has that label so you have an accurate starting point.
refill-2

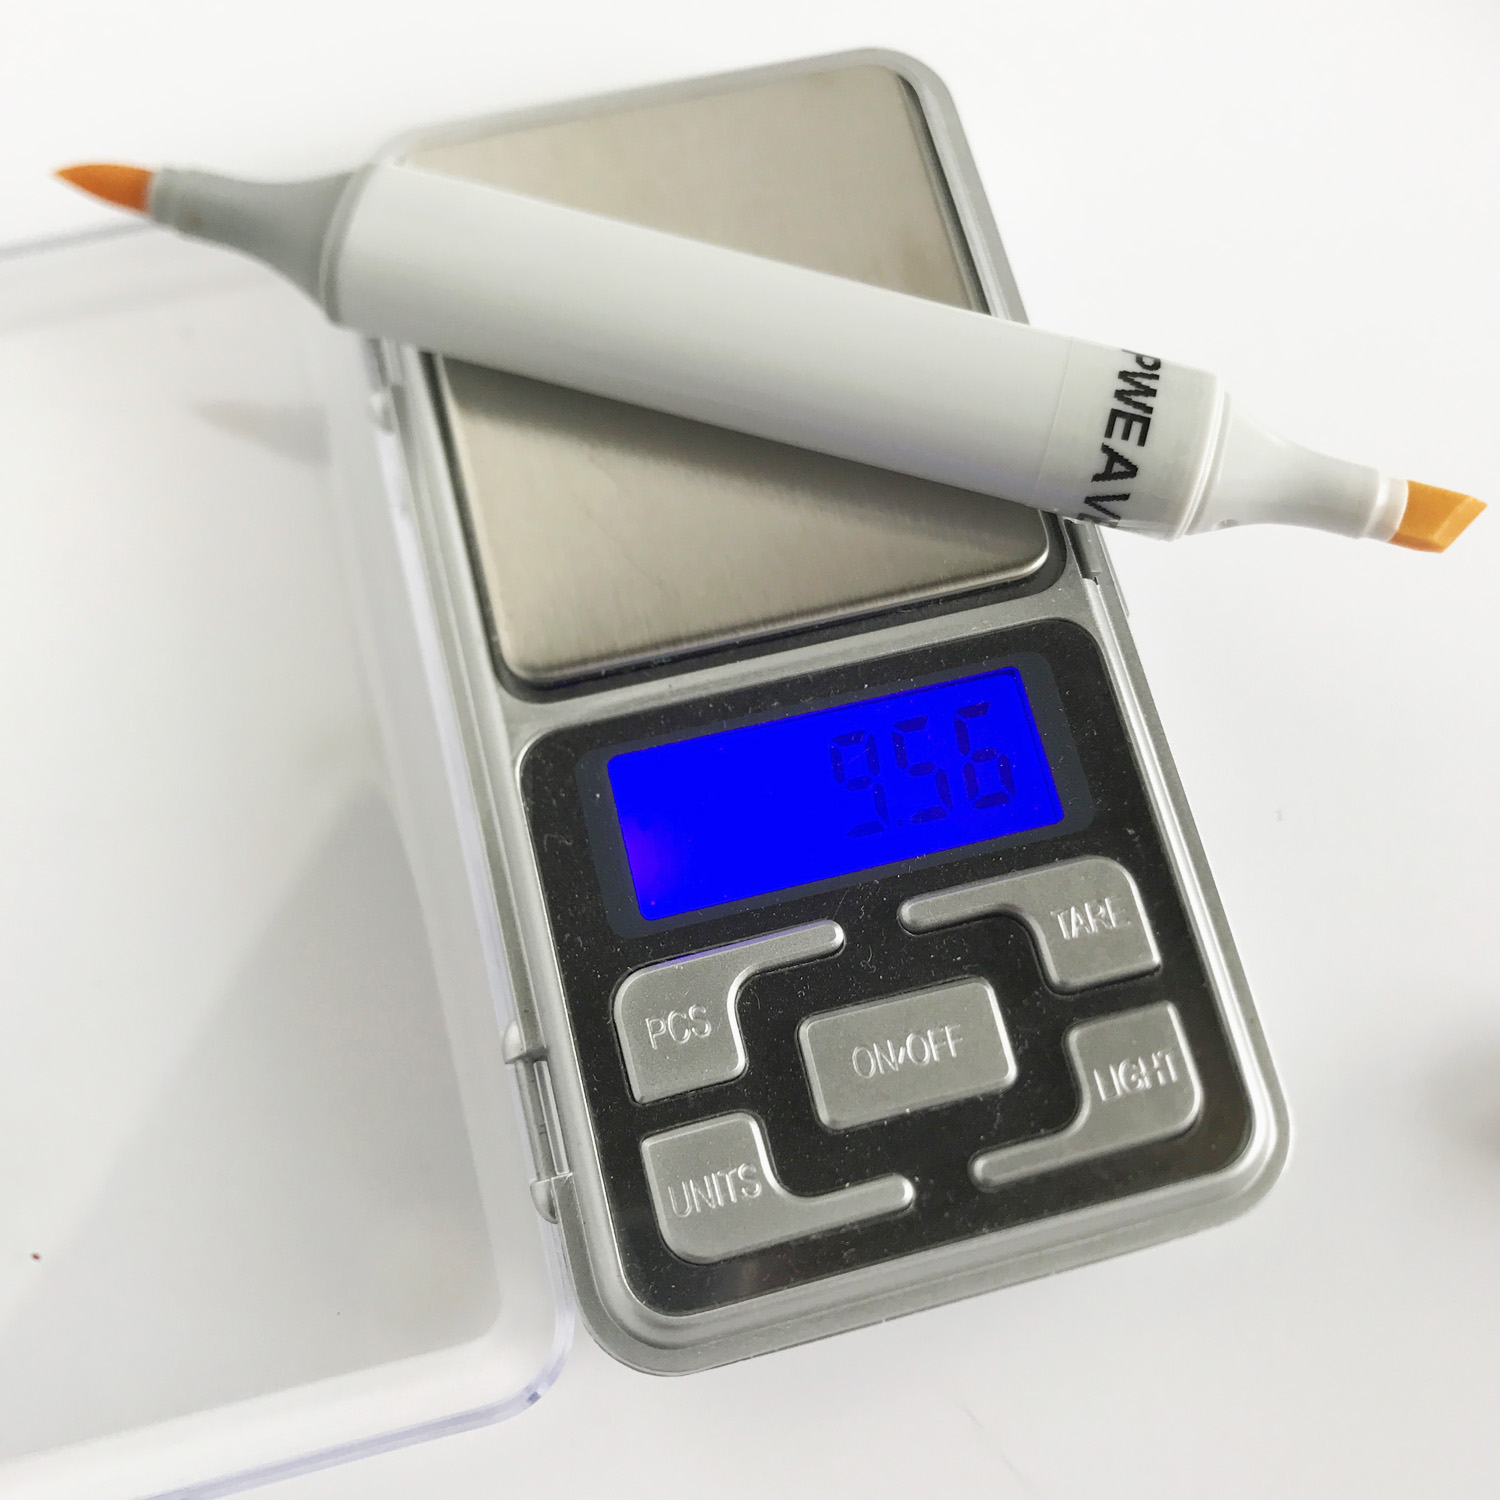
I know that I have colored with this Copic a few times, but very little, so this is about what I am aiming for when I refill one of my sketch markers. Then I pull both caps off and measure again, often I will have to measure several times as I am refilling and I would rather not have to pull the caps on and off as I measure each time.
refill-3

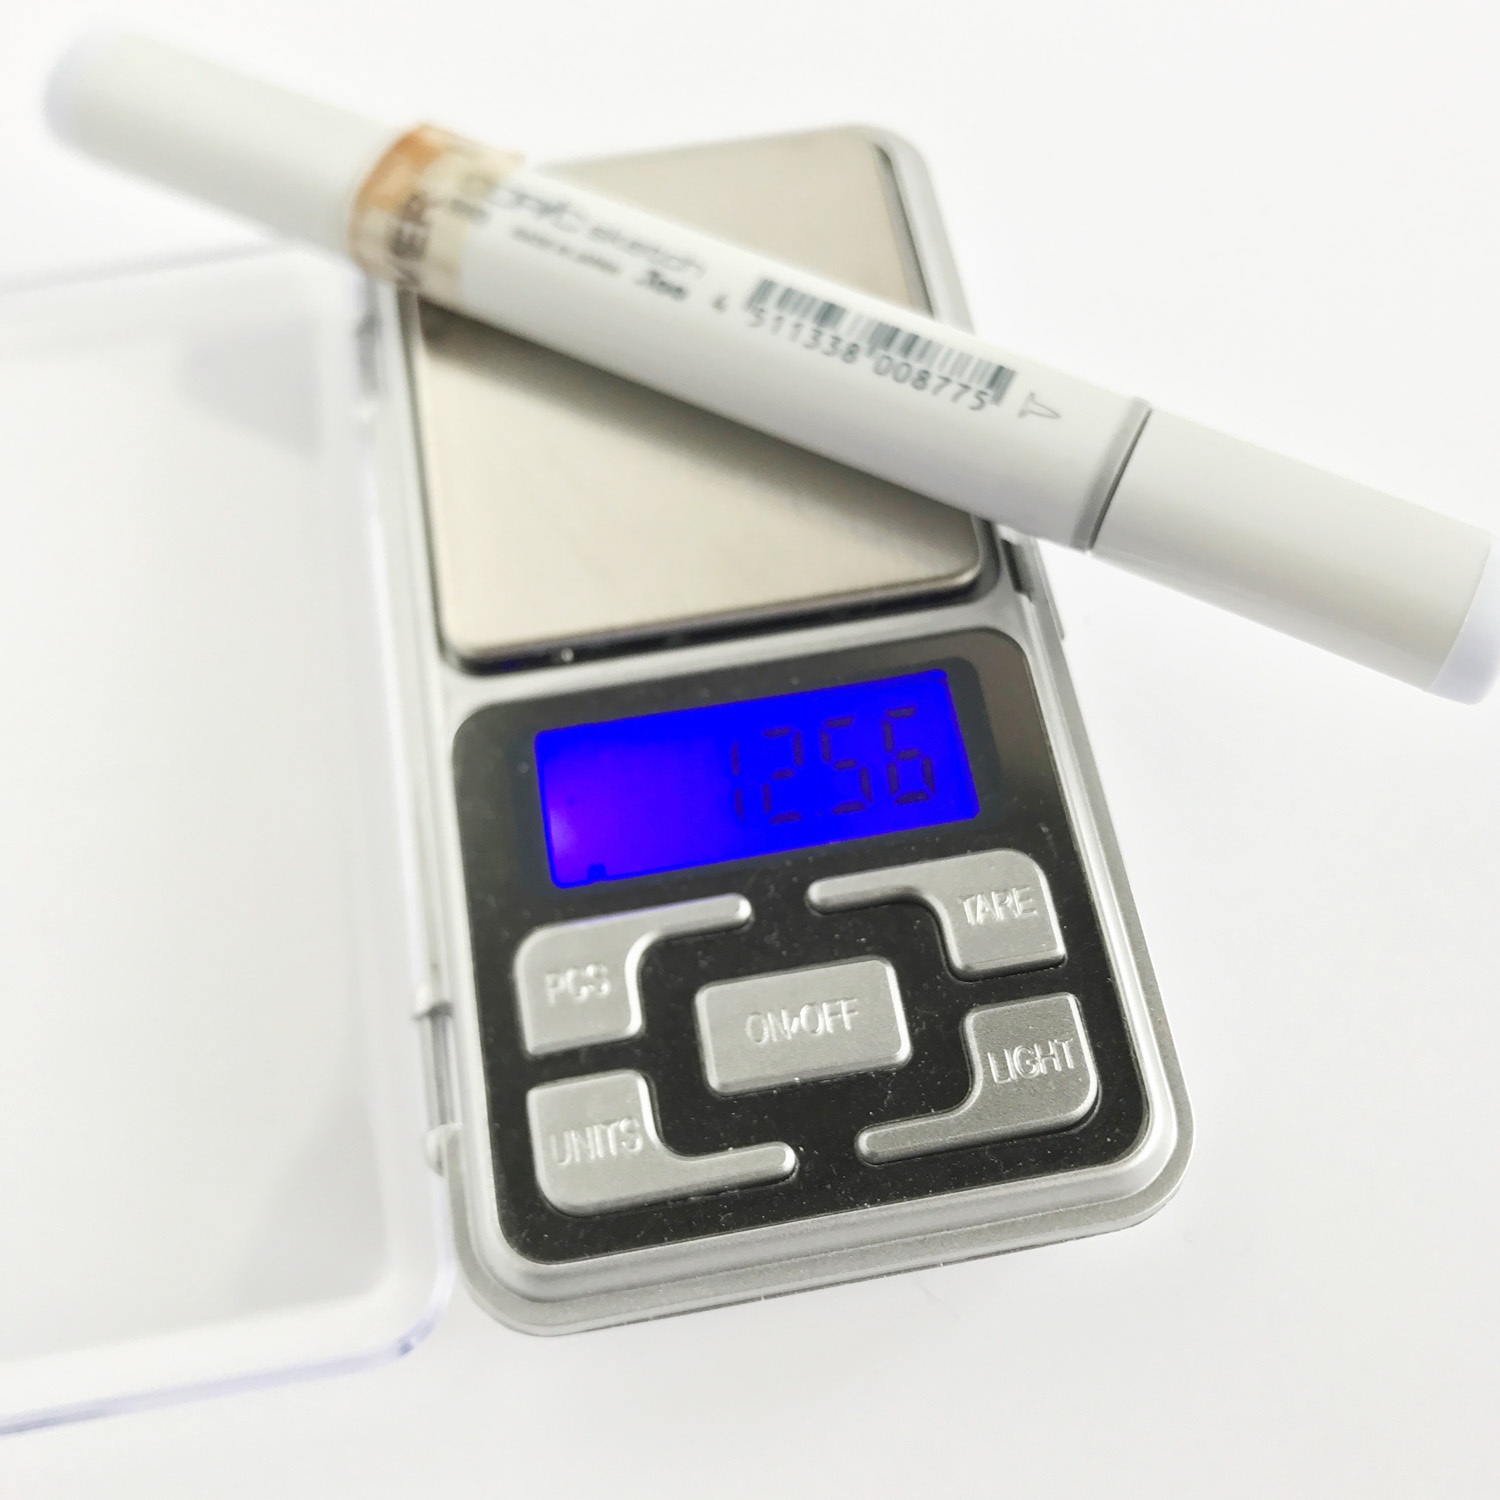
I go ahead and measure one of my markers that needs refilling so I know how much ink I might need to add.
refill-4

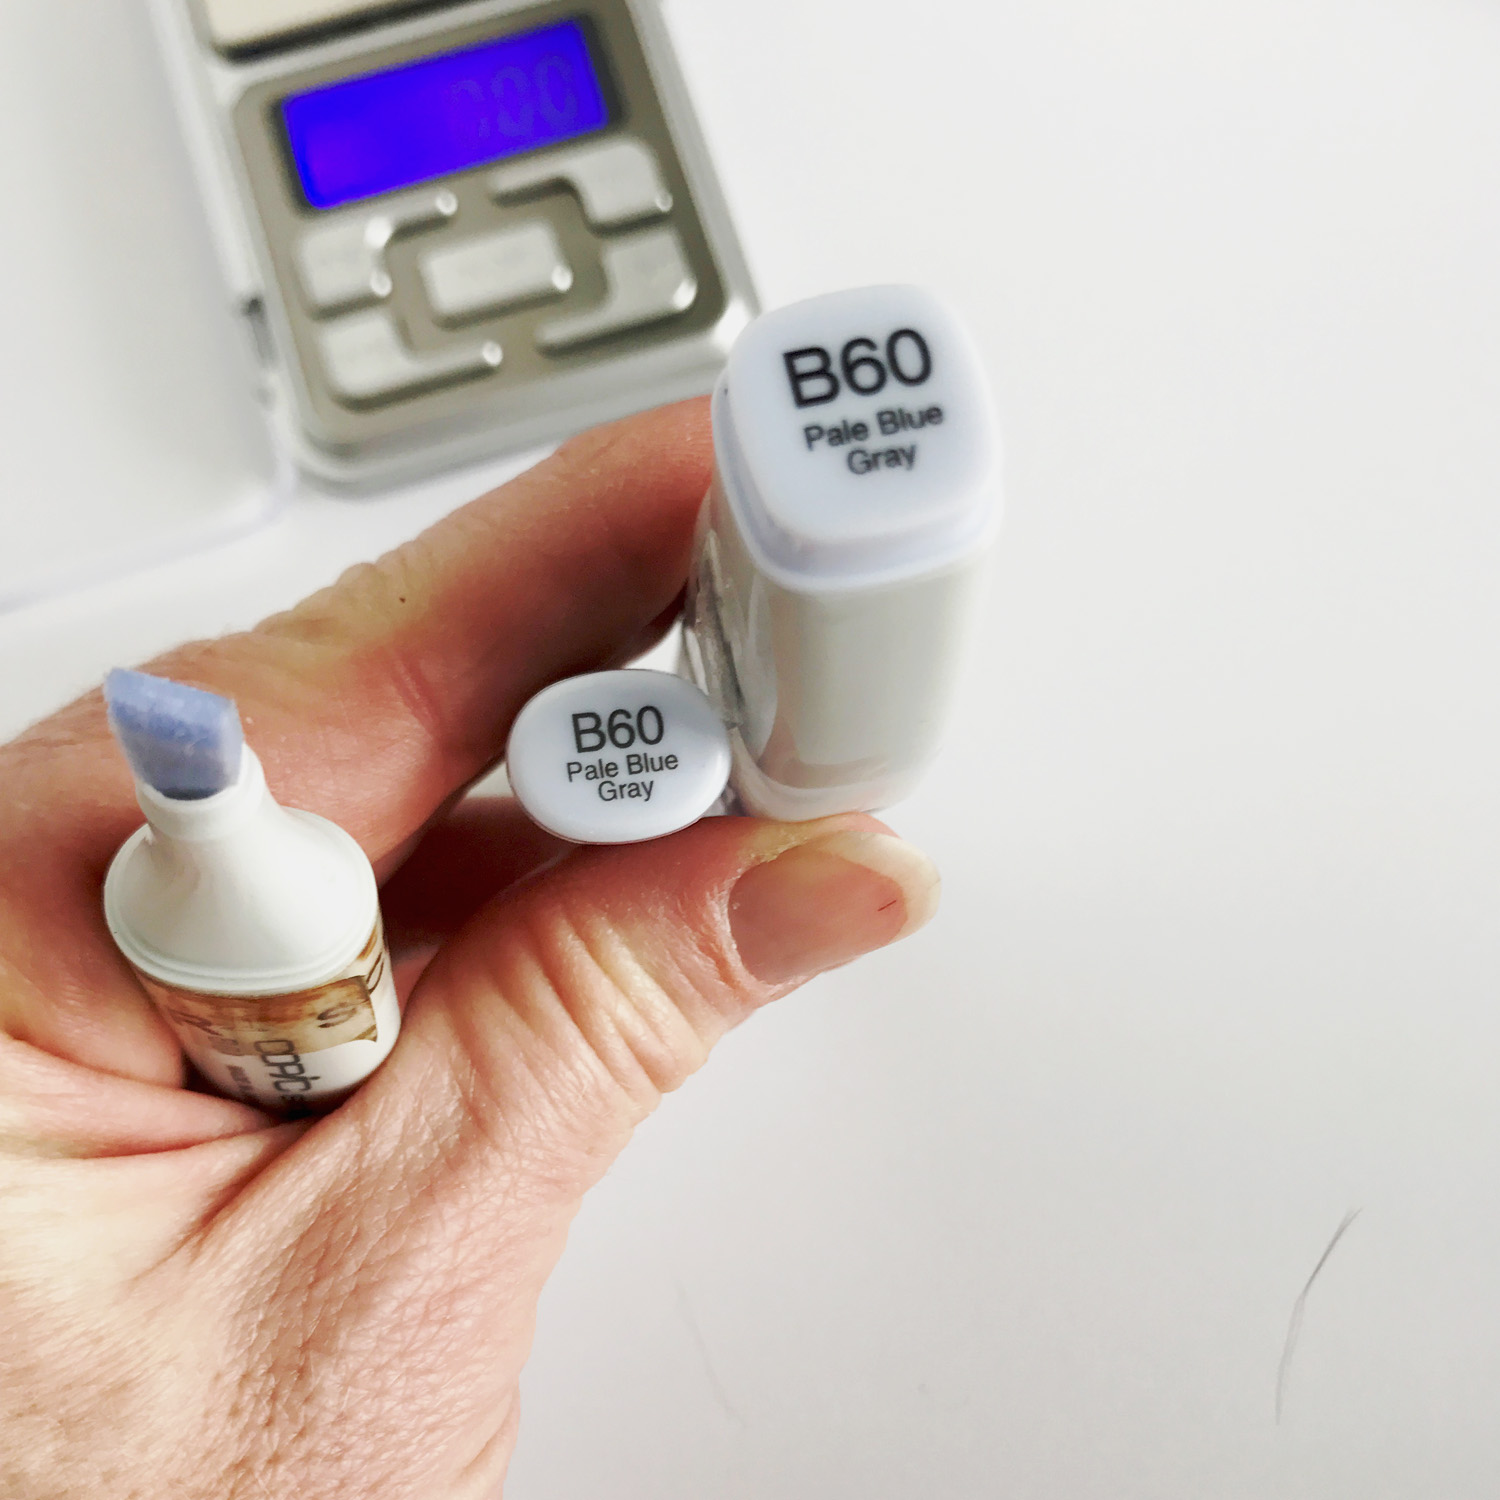
Next I pull both caps off my Copic Sketch marker, this allows air flow through the core and the ink to be pulled into the body of the marker. THE MOST IMPORTANT STEP IS NEXT! Check the lid of your marker and lid on your Various ink not once or twice but THREE TIMES! Just be super duper positive you have the right ink going into your Copic marker!
refill-6

Then I slowly drip ink onto the chisel nib. I usually drip 10-12 drops and then weigh the marker and repeat until I get to my target weight. You can also watch the chisel nib and as the body of the marker gets full the ink will no longer pull into the body of the marker, the nib will remain shiny and wet. 
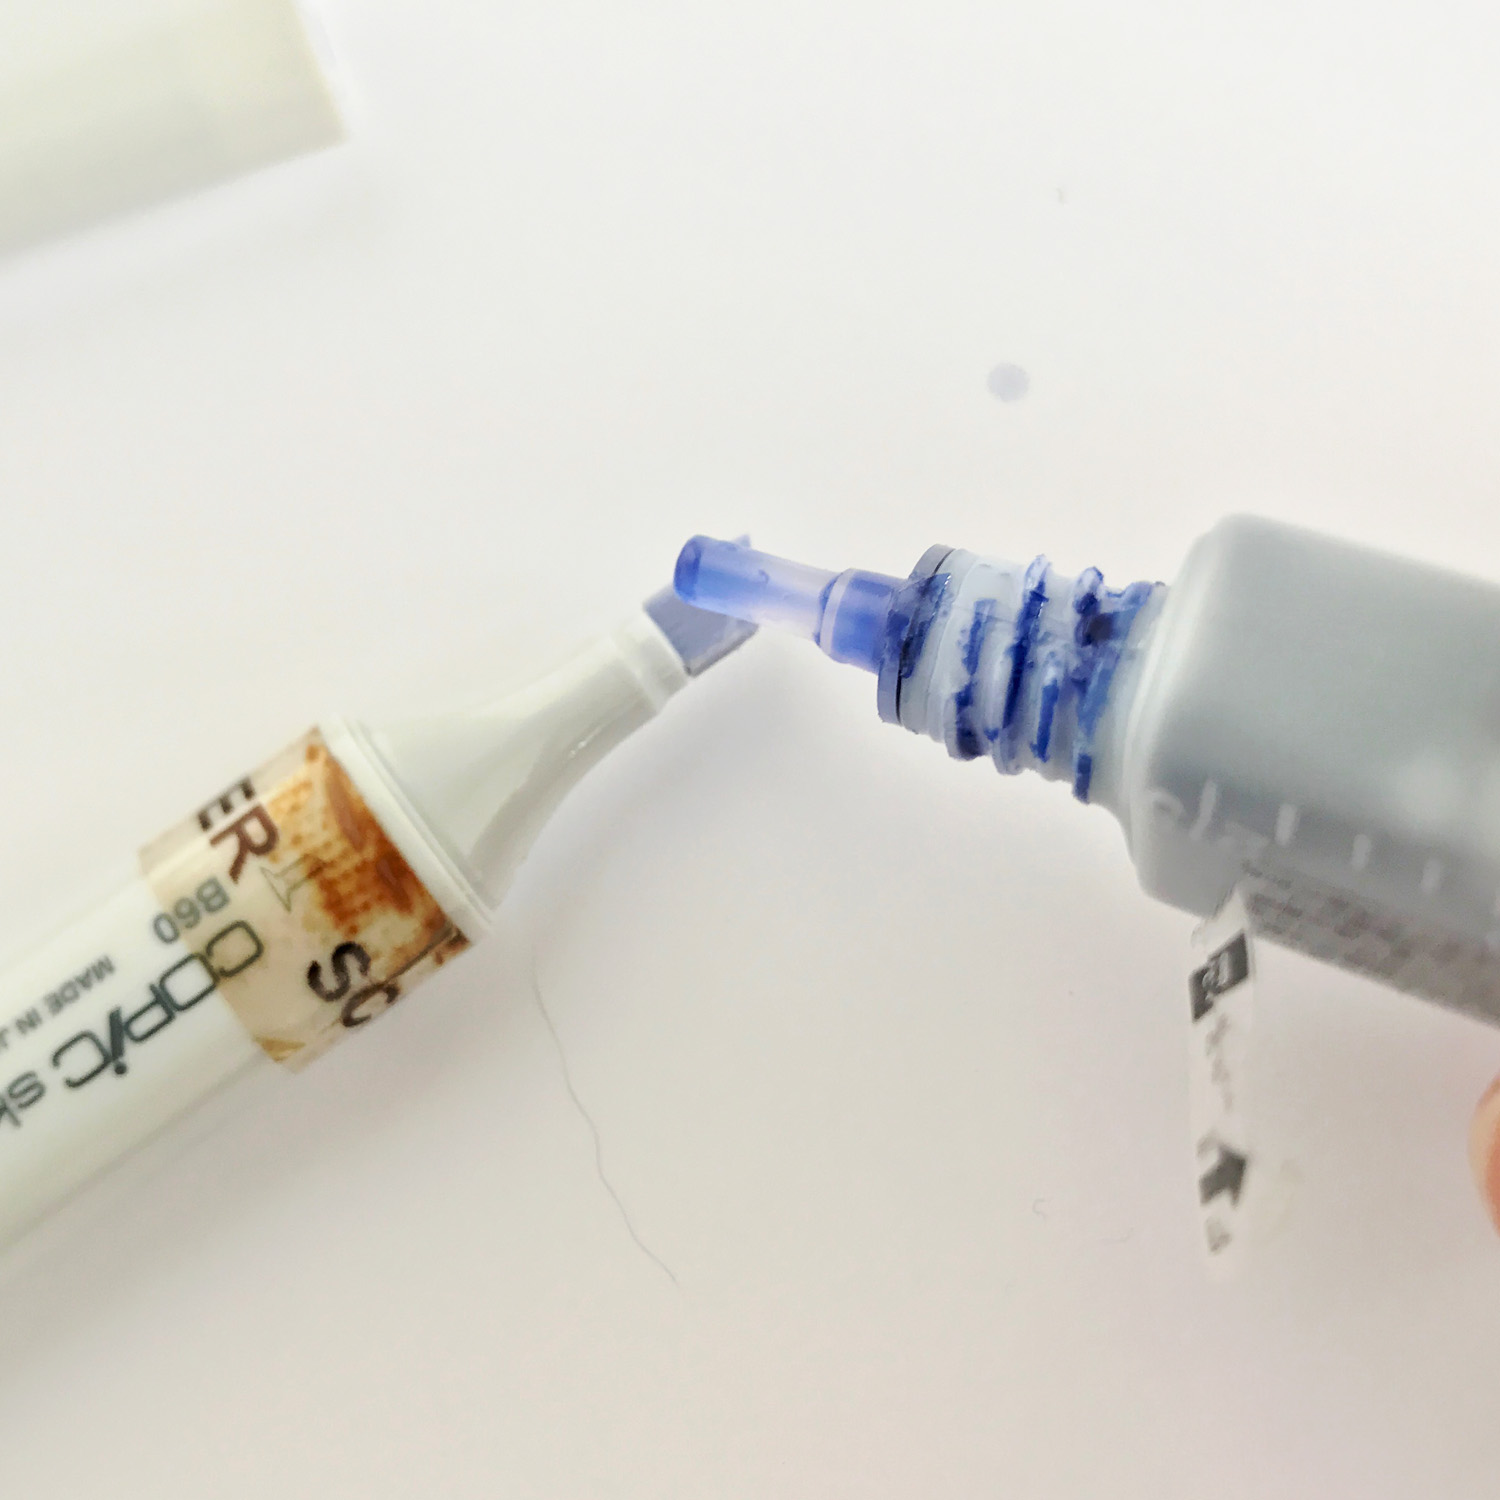
refill-7

When I reach my goal with caps off I double check with caps on and call it good!
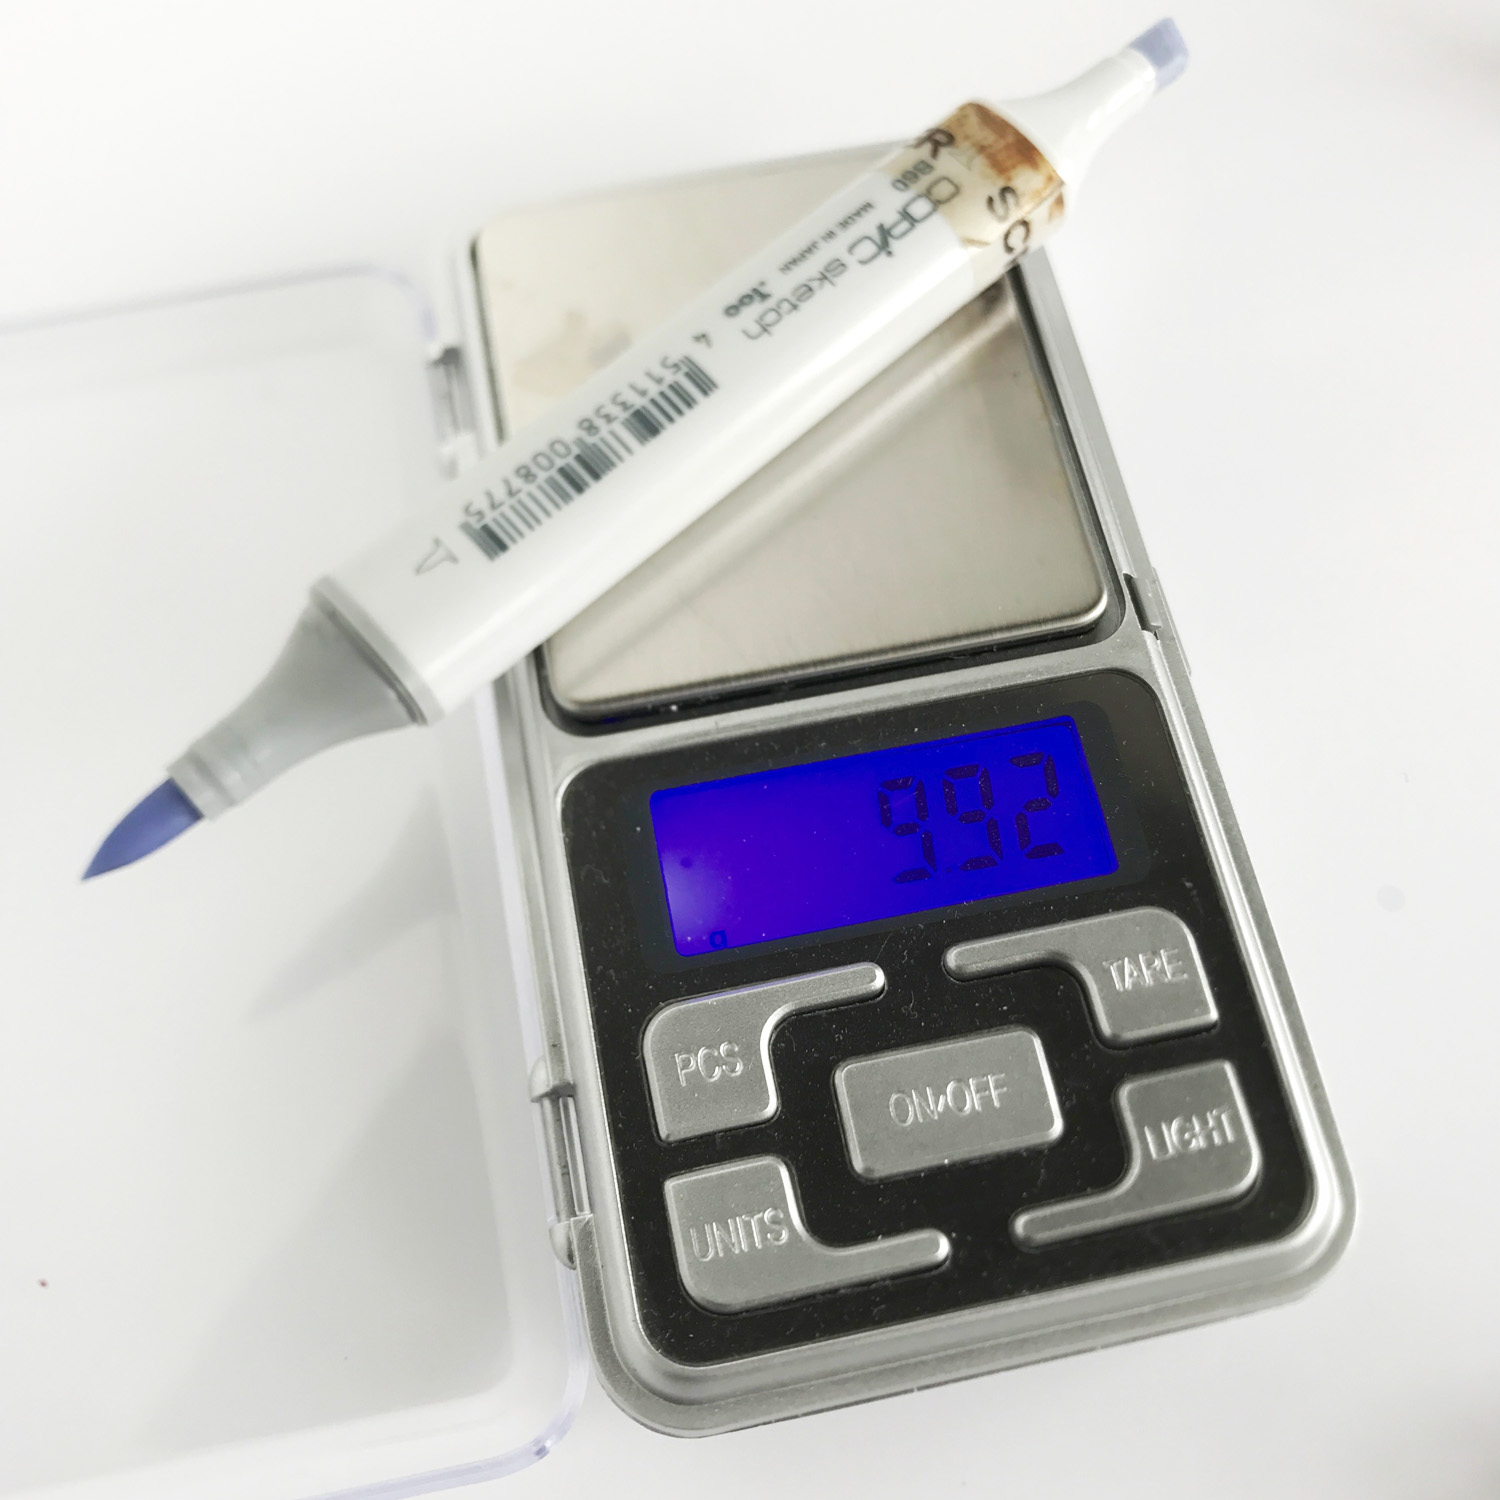
refill-5

refill-8

You will notice this is higher then my original new marker. As I said, the above marker was not brand new and I was using it as a starting point. I will keep an eye on this one and watch for blobbing as I color, but I think I should be good!

Copic markers are made to be refilled. Once you have purchased a marker it will last you for your entire coloring career with ink refills and nib changes as needed. 

If you have any questions let me know! And do not forget you can get all your refill supplies at Imagination International, Inc.

Have a Happy Colorful Week!


Posted on

New Copic video AND FREE Digital image!

As we continue into the October month, and I have managed to check a few MAJOR projects down to size I have had a great time going through my stamps to collect a group for fall and winter videos over at Comic In The Craft Room. This week I am featuring a digital stamp from an artist that I discovered way back when I was first starting with Copic markers. Jayleen Weaver, or GuruKitty as she is known on-line is a FAB-U-LOUS marker artist and Comic genius and has a fun playful style in creating characters. For a short while she even created a few digital stamps.

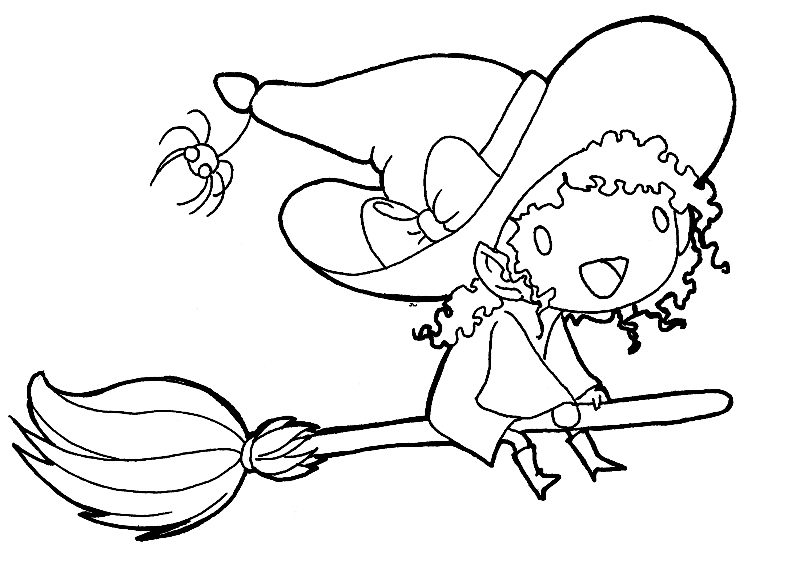
Unbeknownst to me she is no longer creating digital stamps. I always TRY to use stamps that my followers can still get and play along with me on so I did a hunt to find her on-line again and discovered this fact. BUT, I did make contact and ask if it was OK to use the older stamp that I still have and if I could direct people back in her direction. She said not only would that be fun, but that what the heck she’d even let you all have the stamp! So you have permission directly from the artist Jayleen Weaver to copy the image below and use it in your art. Like any rubber, acrylic or digital image she would GREATLY appreciate that if you post or share your art that you give her credit for her art! And if you have a friend that would like the image have them come this way and pick it up for themselves, don’t share the blank image on your blogs or on Pinterest or other social media outlets PRETTY PLEASE!

cutewitch1

You can find Jayleen Weaver at www.gurukitty.com and can credit her there as well.

Here is the video link over at YouTube with the coloring I did:

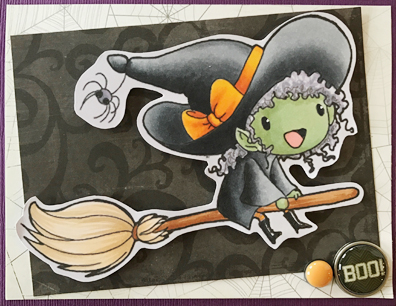
And here is the finished card :

cute-witch

Both Jayleen and I would LOVE to see what you create with her so if you would like to share give us a link to your work here or over at Copic In The Craft Room!

Have a Happy Colorful Week!
Posted on

Shadows and Shading by Marianne Walker

One of the questions we get asked most often in Copic classes is how do I shade things? Where do I put the light source, then where do I go from there?

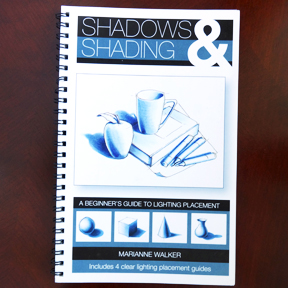
If you are person who likes a simple straight forward guide to have on hand this book is for you!

blog-book-1

Marianne Walker created this book with those questions in mind. She focuses in on the essentials and give you a compact guide to creating shading and shadowing. It is a great how, and why book that can become your go to reference when facing tricky lighting situations.

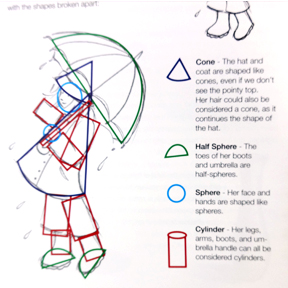
One of the pages I love the most is a reminder of how to break a complex shape, like a person, into the basic shapes for shading.

blog-book-2

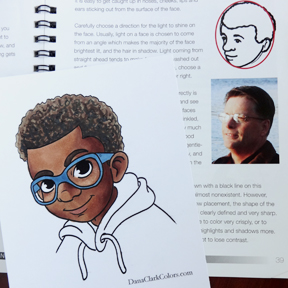
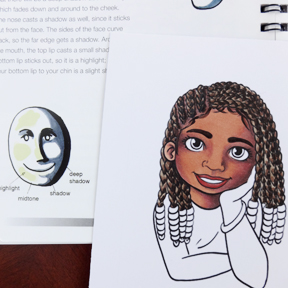
I can even use the tips and tricks on shading faces. It is all in there. The images used below are from DanaClarkColors.com

blog-book-3

blog-book-4

I love how straight forward and no nonsense the book is and how easy it is to find a plethora of useful tips and information on lighting, shading and shadowing.

This week at Copic in the Craft Room I colored the boys face above and talked about how I used the book as a reference as well. Here is that video if yo are interested:

You can get the book right from the Imagination International, Inc site.

Hope you have a happy colorful week!

Posted on

Hot Ribbon Hot Hot Hot!

OK I was not totally sure what I was going to do to show you the new Hot Ribbon that Imagination International, Inc. is carrying. It is a very thin ribbon that has adhesive on the back that sets with heat.  III also sells a small clover iron that you can use to tack the ribbon in place on your project.  I really figured that I would iron it onto a card and call it good.  BUT then I asked the crew over at Copic In the Craft Room and they came up with AMAZING ideas and oh so creative so I back peddled quickly and decided I better get my rear in gear and”go for it”!

So instead of ironing the ribbon straight onto a card or a paper craft project (which you could do) I decided to try the glass transfer method and create my own t-shirt!

Here are the steps I took and some tips I learned along the way.

ribbon blog 1

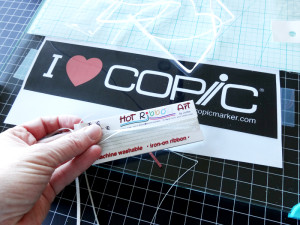
First I attached the image I wanted to recreate on the back of a sheet of tempered glass. It needs to be tempered so it can withstand heat. I used a Copic sticker and blew it up 200%.

ribbon blog 2

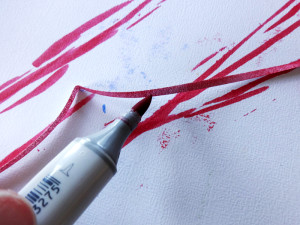
I colored some of my ribbon with Copic ink, this particular one is silver that I colored red with a R29.

(Sorry no photo!)

Then you tack the ribbon directly onto the sheet of glass with your craft iron. This does not adhere it permanently it just tacks it in place. Trim the edges as you go and get the ribbon lined up tightly. You can do a little wiggling here meaning lifting and re-tacking if you need to.

ribbon blog 3

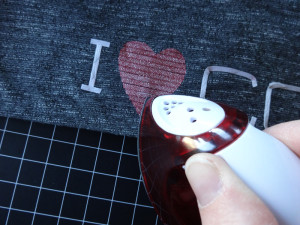
Next using a metal palette knife or even a table knife lift each piece carefully of the glass and re-tack it onto it’s final surface. I lifted the heart in one large piece all together. I only had to go back for two small strips from the top hump on one side.

ribbon blog 4

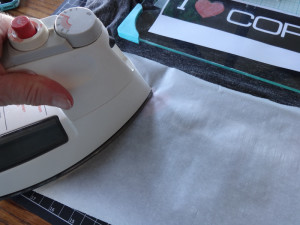
Lastly cove the entire piece with an iron safe material (I used parchment paper) and go over the area with a medium to high iron for about 45 seconds.

ribbon blog 5

Wa-La a fun new one of a kind t-shirt or craft of your creating!

ribbon blog 6

Some things I learned along the way:

  •  The heart and small circle did great on the glass! I could line up the strips and they lifted perfectly onto my t-shirt.
  • The lettering however was extremely difficult to bend around and tack down. BUT when I went free hand on to the fabric it adhered perfectly. So as intimidating as freehand is it seems to stick better when you are trying to go around bends on the fabric.
  • I am not sure yet how long the Copic color will stay since it is not meant for washing so we will see, but the Hot Ribbon comes in tons of colors so you can choose colors that work if it is going to be wearable, washable art.

There is a lot of information on the Hot Ribbon at the III site as well so if this does not answer all your questions give a quick check HERE.

Have a Happy Colorful week!

Oh by the way, I will have a video tutorial of this project coming out in January! You can see it in action!


Posted on

Monday Video and Copic CHA

Hope everyone is starting their week off right and are shooting through their Monday with ease. I posted my latest video at Copic In The Craft Room featuring this cute image from My Favorite Things.

He turned out pretty cute if I say so myself. I have continued experimenting with no-line coloring and this little guy is done in that style.

I also am pleased to announce that the schedule for CHA 2016 classes has been released! We will release the rest of the 2016 schedule in mid-December. YAY! I am ready to get it all under way!
Standard Certification Class Debbie Olson 1/6/16 
Intermediate Certification Class Debbie Olson 1/7/16 
Faces and Hair Workshop Lori Craig 1/8/16 
Vintage Values and Mono Tones Workshop Lori Craig 1/8/16 
Clothing & Accessories Workshop Lori Craig 1/9/16 
Copic Coloring Series Workshop: Coloring Flowers Michelle Houghton 1/9/16 

For details check in at Imagination International, Inc.