Posted on 3 Comments

Dare 2B Artzy New Products and Copic Backgrounds

There are new things on the horizon at Dare 2B Artzy! All sorts of beautiful new product and I get to share a couple today!

Make sure to check in on this month’s challenge Winter Wonderland! Make sure to get your art added so you have a chance at a wonderful prize.

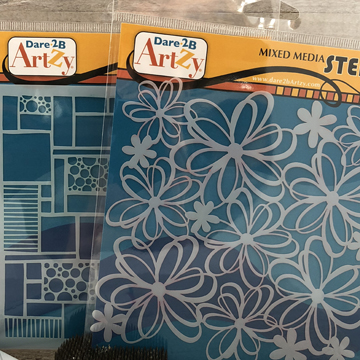
For today I am playing with two of the new stencils! I am just creating backgrounds for now soon they will be coming cards.

I used a Copic ABS (Air Brush System) to create the soft effect on these two backgrounds. Here is a closer look at both:

Here is a link to the video showing the above two backgrounds and two more.

For the art work I created in this post I used the new stencils, both the Wild Flower Stencil and the Wacky Boxes Stencil will be available soon so keep an eye out for them at the D2BA shop.

Have a Happy Colorful Day!

Posted on

January Challenge at Dare 2B Artzy

This month’s challenge over at Dare 2B Artzy is Winter Wonderland! I know here in Iowa the chill is ON! So it is not hard to gather inspiration for chilly cards. 


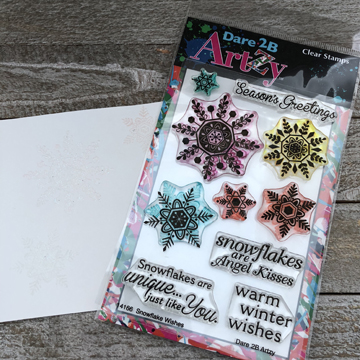
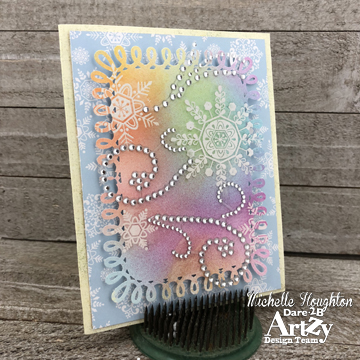
I created mine using the Snowflake Wishes stamp set.

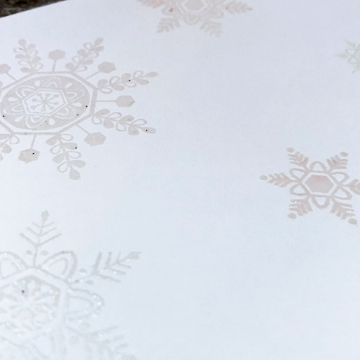
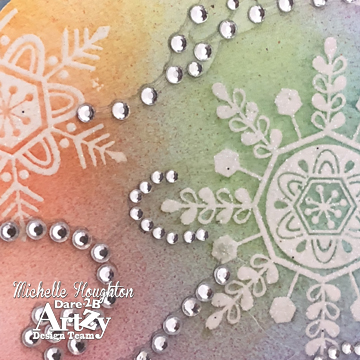
I heat embossed them with a clear, sparkling embossing powder,

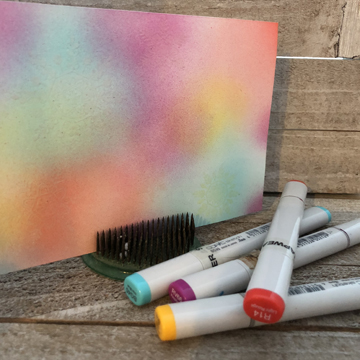
Then used my Copic ABS to air brush 4 colors over the top of the flakes.

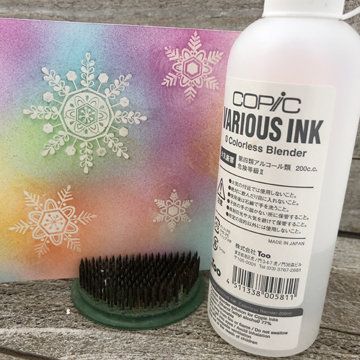
To make the snowflakes shine through again I dripped a little Colorless Blender on a paper towel and gently wiped over the embossing and the Copic ink comes right up!

Lastly I used a beautiful patterned paper from D2BA, used a punch to get a loopy edge and pulled out some ancient rhinestone swirls from my old stash to put this lovely card together.

Make sure to stop by Dare 2B Artzy there will be NEW products popping up near the end of the month AND make sure to get your Winter Wonderland challenge turned in!

Thank you for stopping by today!

Have a Happy Colorful Day!

Posted on

Tommy Arts, I am in LOVE

One of the new product lines at Imagination International, Inc. this year is the full line of Tommy Arts products. I’ll be honest and tell you that s soon as I saw these beautiful paints and mediums in action last year I used my next pay check to stock my art shelves with a lot of Jars with the beautiful Tommy Art labels on them. 

If you are not familiar with Tommy Art they are a fabulous line of Chalk-Based Mineral paints. These, however, are not ordinary chalk paints! they are buttery smooth, beautiful one coat coverage and flexible. You can bend and fold your paper after painting it and the paint does not crack or flake off. Then you have a whole series of wonderful specialty product that go with the paints. I can’t describe them all in a single post but encourage you to check them out over at the III web site.

This month one of the products the Paper Crafting Design Team is featuring is the textural mediums in the Tommy Art line. YAY!

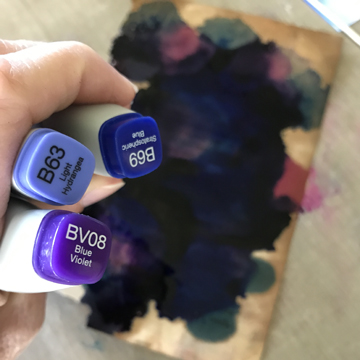
A perfect excuse to play! So I started by building a base with Copic Various Inks:

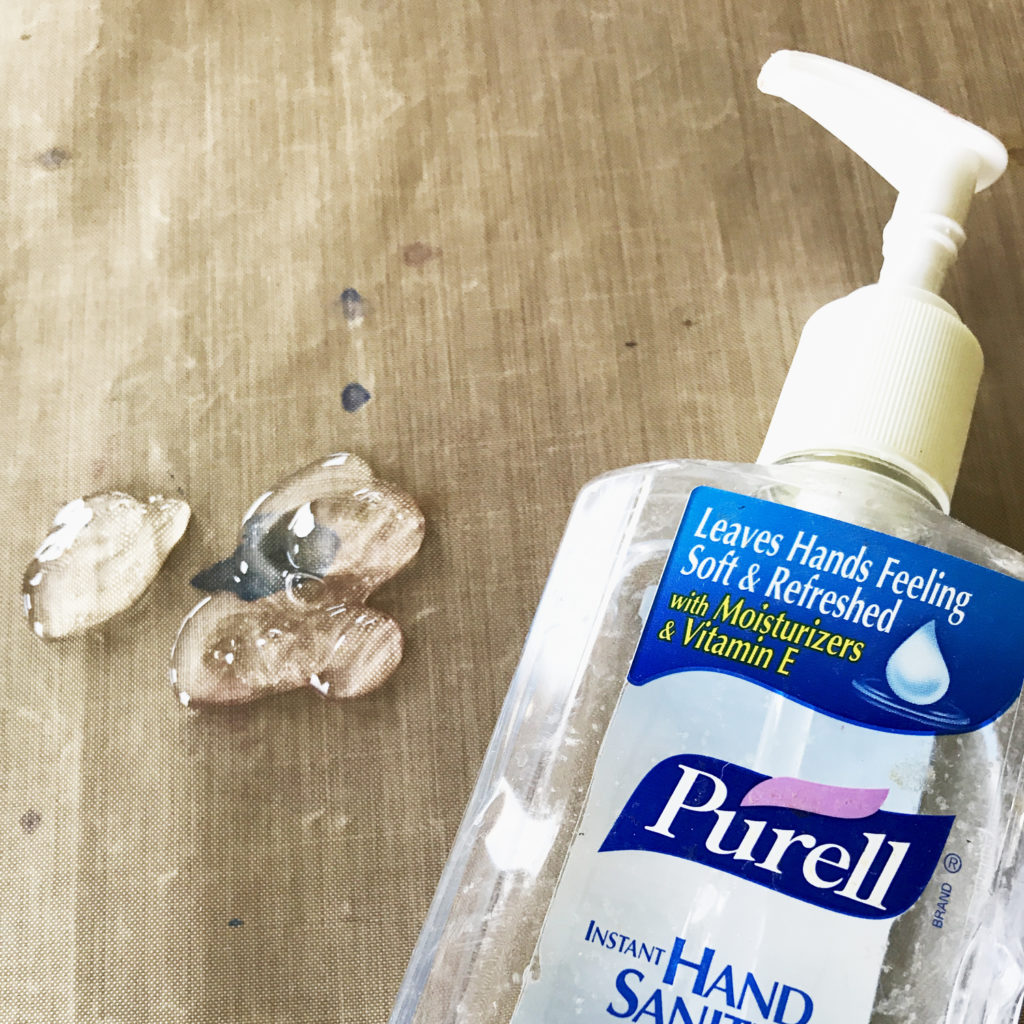
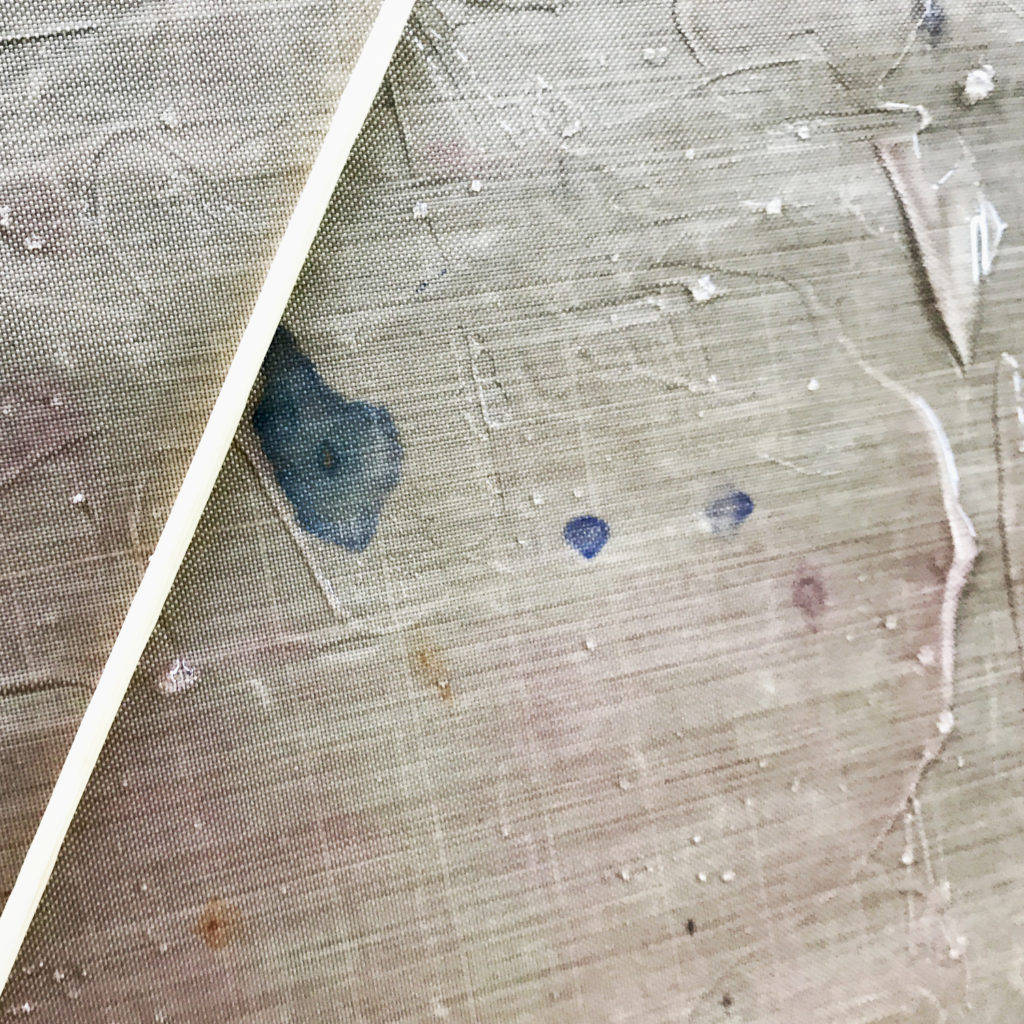
I used some leftover ink off my craft matte that is floating on top of hand sanitizer. You can see the leftover ink is starting to color the old book page and the hand sanitizer has gotten the paper coated.
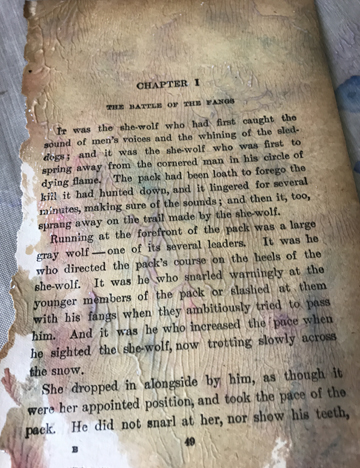
Then I dripped Various Ink in three more colors onto the wet surface of the paper. The hand sanitizer has the ink spreading and if I tip the paper at all it runs one way or the other. A lot of ink and moisture on the paper!
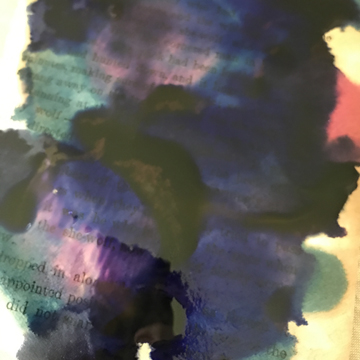
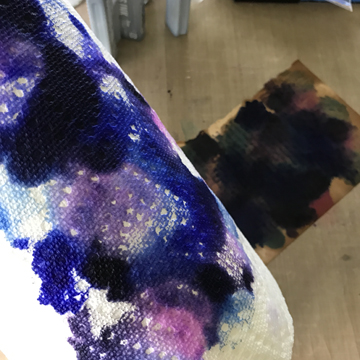
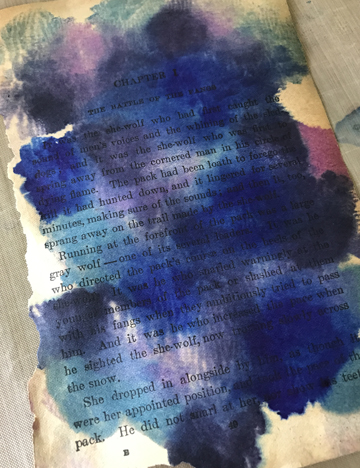
I used a roll of paper towel to roll over the page and soak up the surface ink and moisture. You can see the colors much more clearly now!
Next comes the Tommy Art, I am using the Stencil Light Paste and the Timbrillo. (Make sure to roll the R when you say that one it sounds much more sexy)
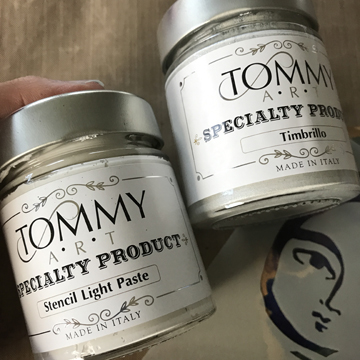
To start I mixed a small amount of both textures into a Dixie cup. The Stencil Light Paste is exactly what the name implies a paste used to created raised texture through a stencil. The Timbrillo is a medium that adds gorgeous sparkle! The Timbrillo is meant to be added into the mediums or paints for added shine and I will use it in conjunction with the paste and on its own. 
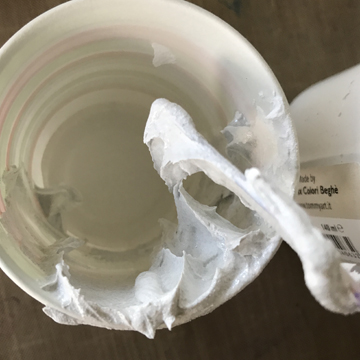
I selected a beautiful stencil by Dina Wakley an used a palette knife to spread a thin coat of my mixture over the top of the stencil that I laid on top of my dry inky book page.
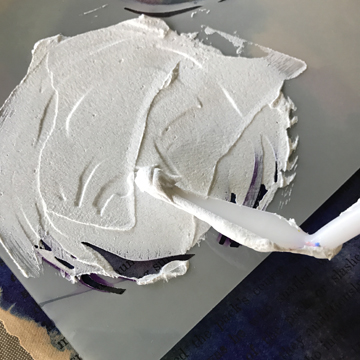
I lifted off the stencil to see the results. The paste is very thin, maybe 1/16th of an inch at the most, maybe a little thinner. I had a little extra paste under the right eye of the image and it was easy to use a toothpick to gently clean up the excess.
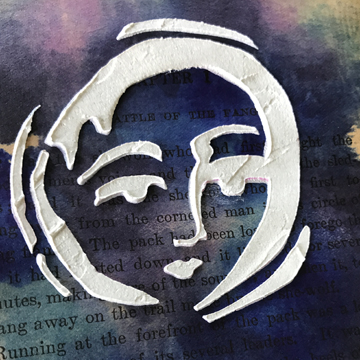
I decided I wanted some more sparkle, so after cleaning up my palette knife I used it to add the Timbrillo around the moon face. I could use a paint brush. the Tommy Art products clean up easily with water, I just had the palette knife handy.
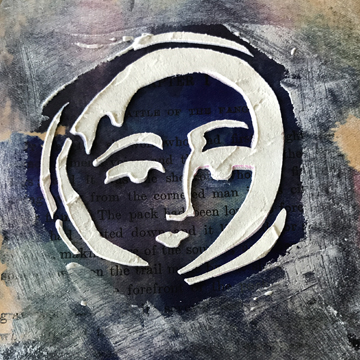
I loosely attached my dry page to a sheet of white cardstock. To complete my piece I found an old mixed media page created with Copic, oil pastel and acrylics that I attached my cardstock on top of with foam tape. 
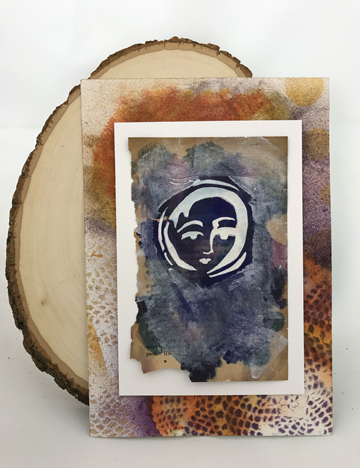
For now it is finished. You never know with a mixed media piece, I have been debating some writing around the edge of the white frame, but I am pretty happy with it at the moment so I am going to leave it as is for the moment. 

Our entire Paper Crafting Design Team will be working with several of the Tommy Art products over the next few months so stay tuned. To find links to several of the Design Team members blogs and posts head over to Copic In the Craft Room on Facebook. I feature our Paper Crafting Design Team twice a week with all of their fabulous art!

Thanks for joining me today,

Have a Happy Colorful Day!


Posted on

Dare 2B Artzy Big Bloom Stamp

I have a second take with the D2BA Big Bloom stamp set featured over at the D2BA blog today. I created another Copic background to base the image, here is how I did that part first:

Start by squirting hand sanitizer on a craft matte – 

Spread it out evenly using a craft stick or similar tool – 

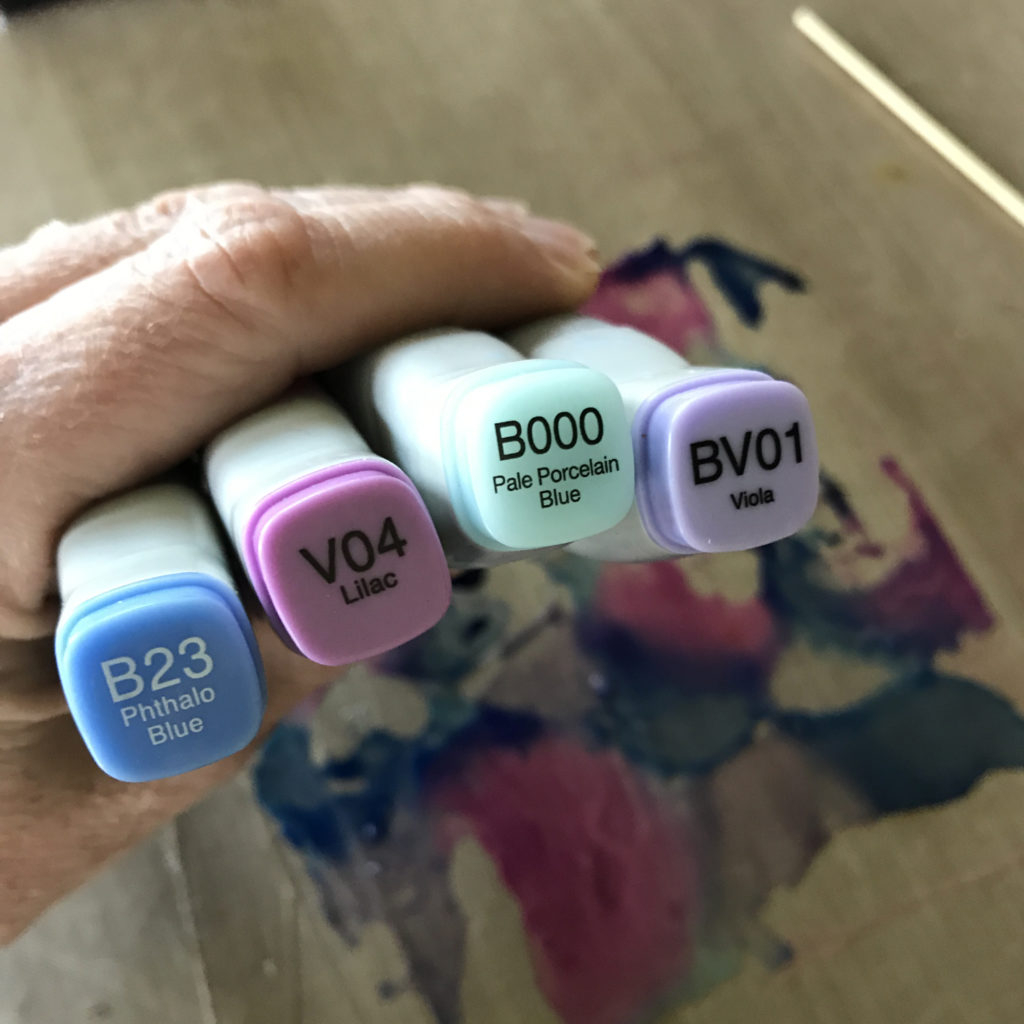
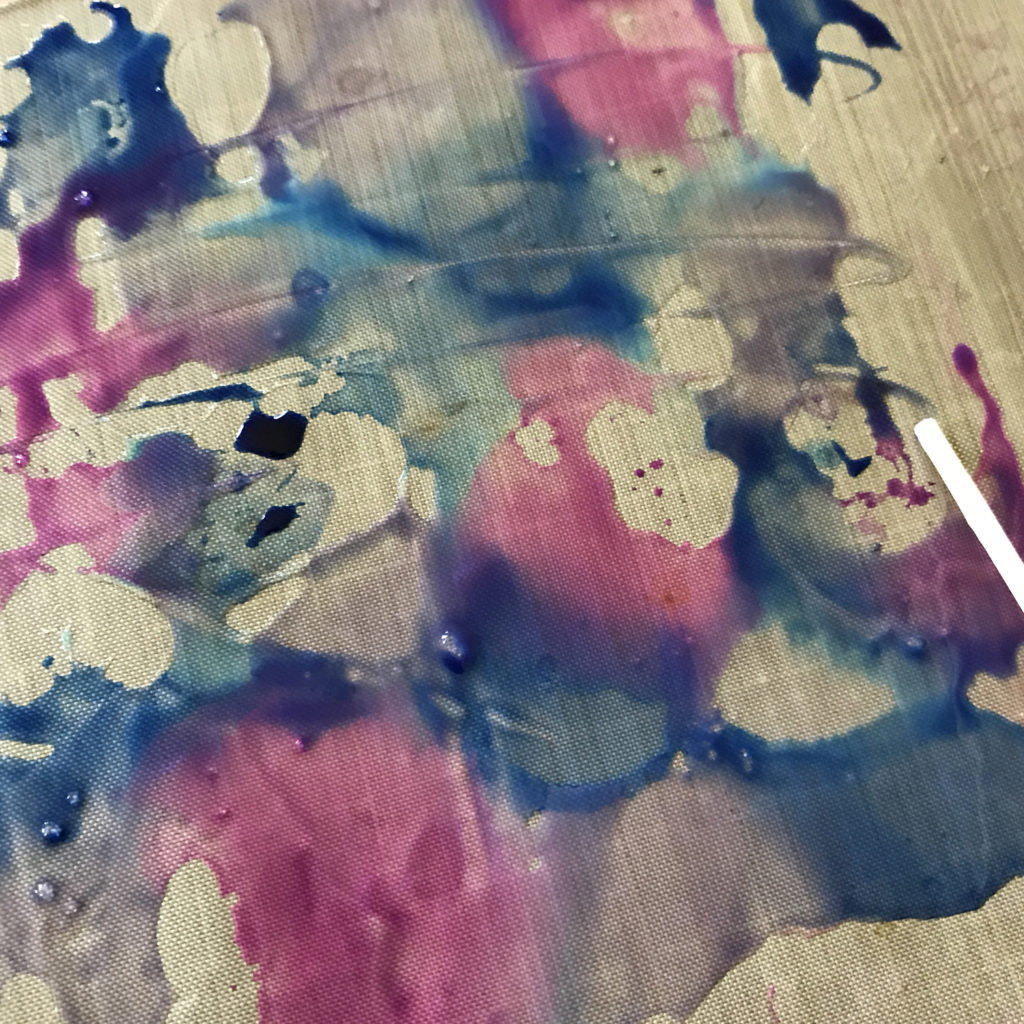
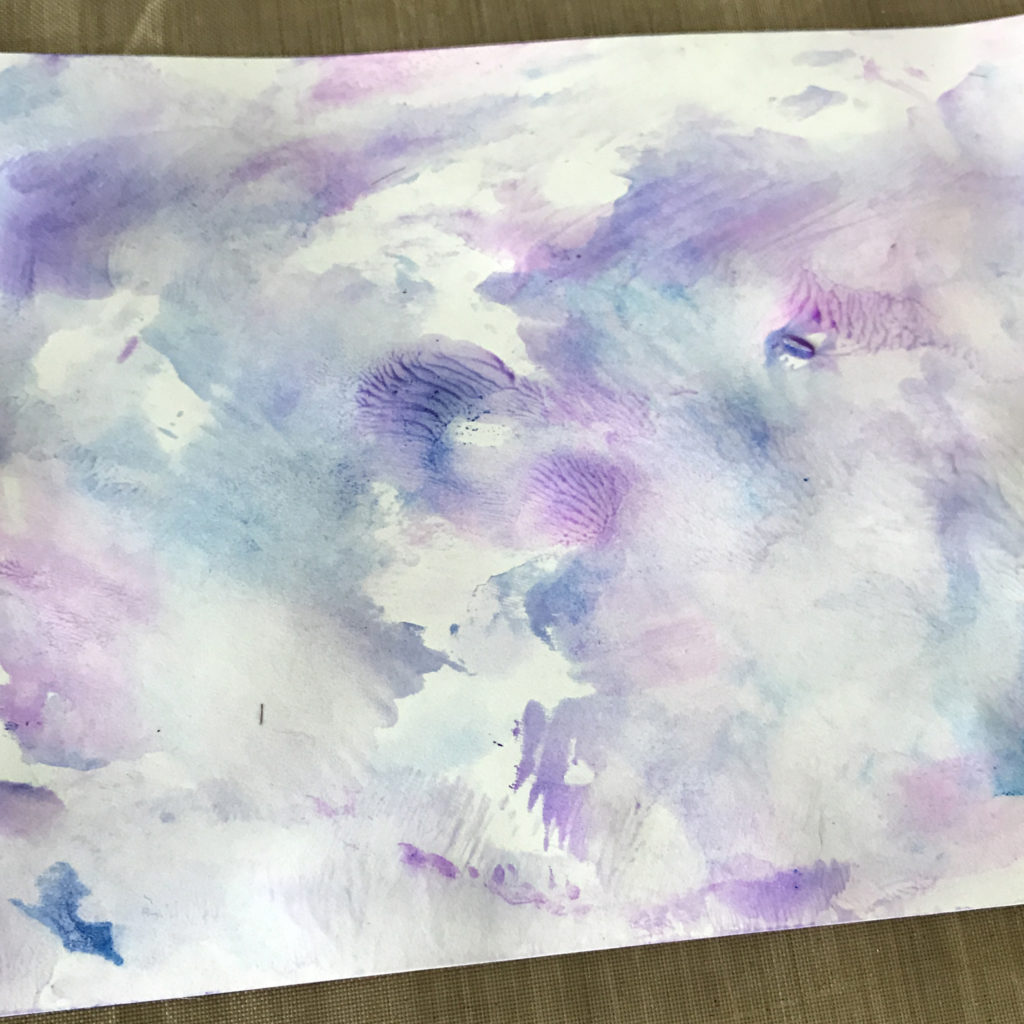
Drip Copic Various Inks onto the hand sanitizer – 

If you want marble the colors together with the end of your stick – 

Lay your paper face down onto the ink – 

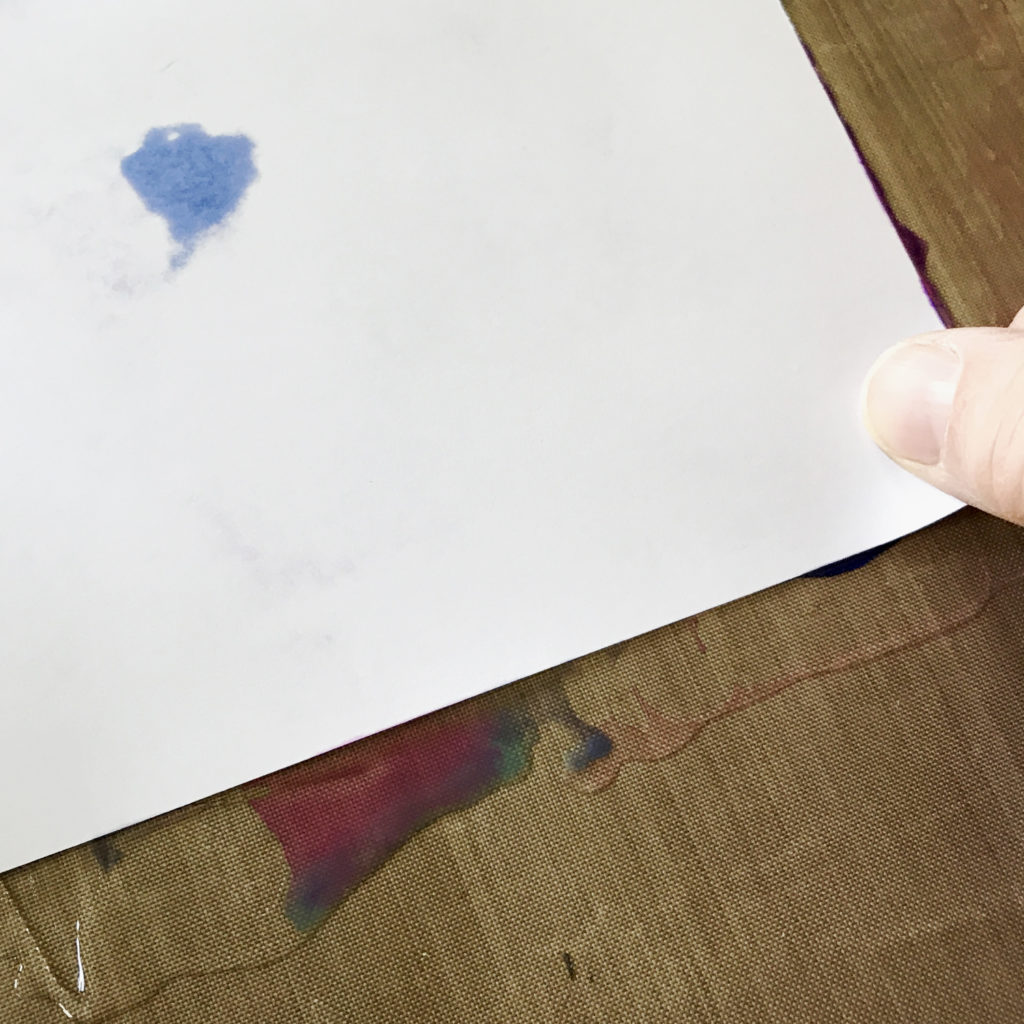
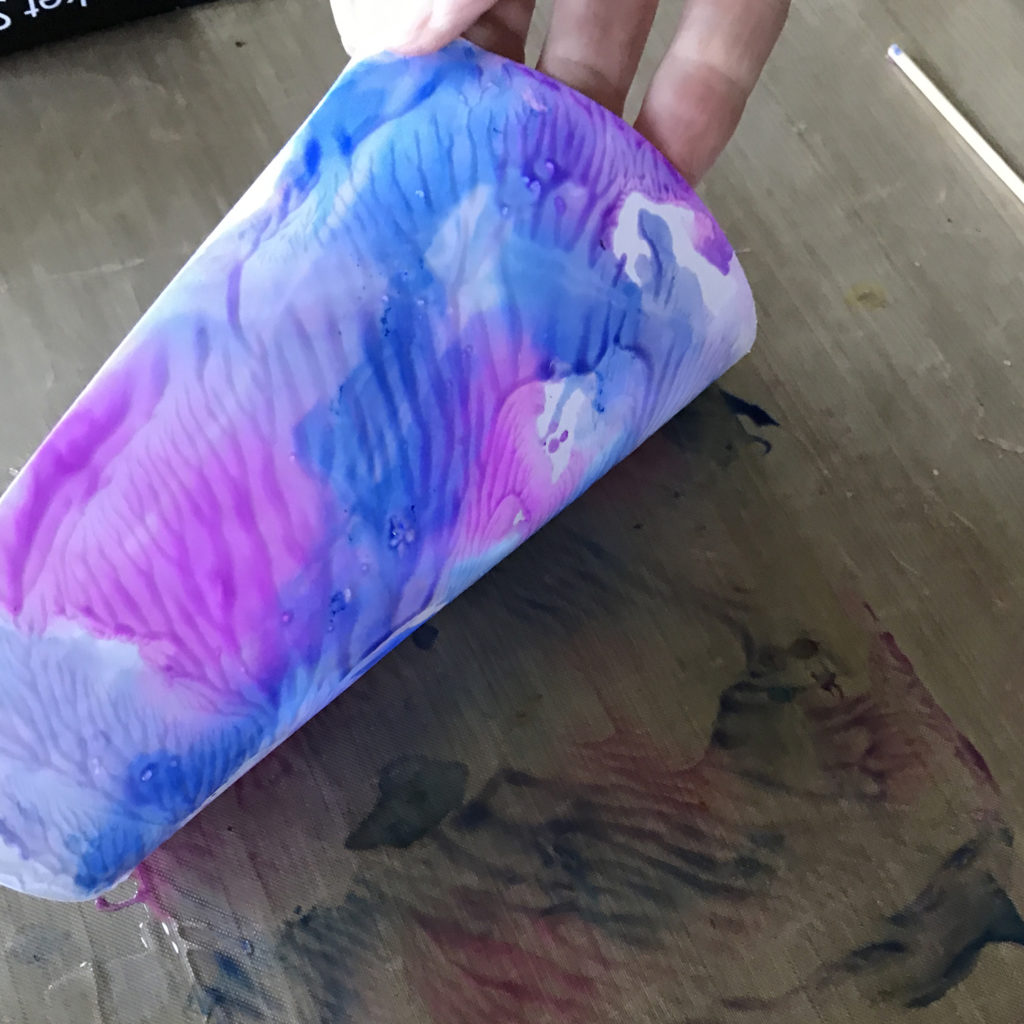
Carefully peel the paper up from one corner – 

I wanted a more subtle color wash so I used a second piece of paper, then dried the paper with my heat gun – 

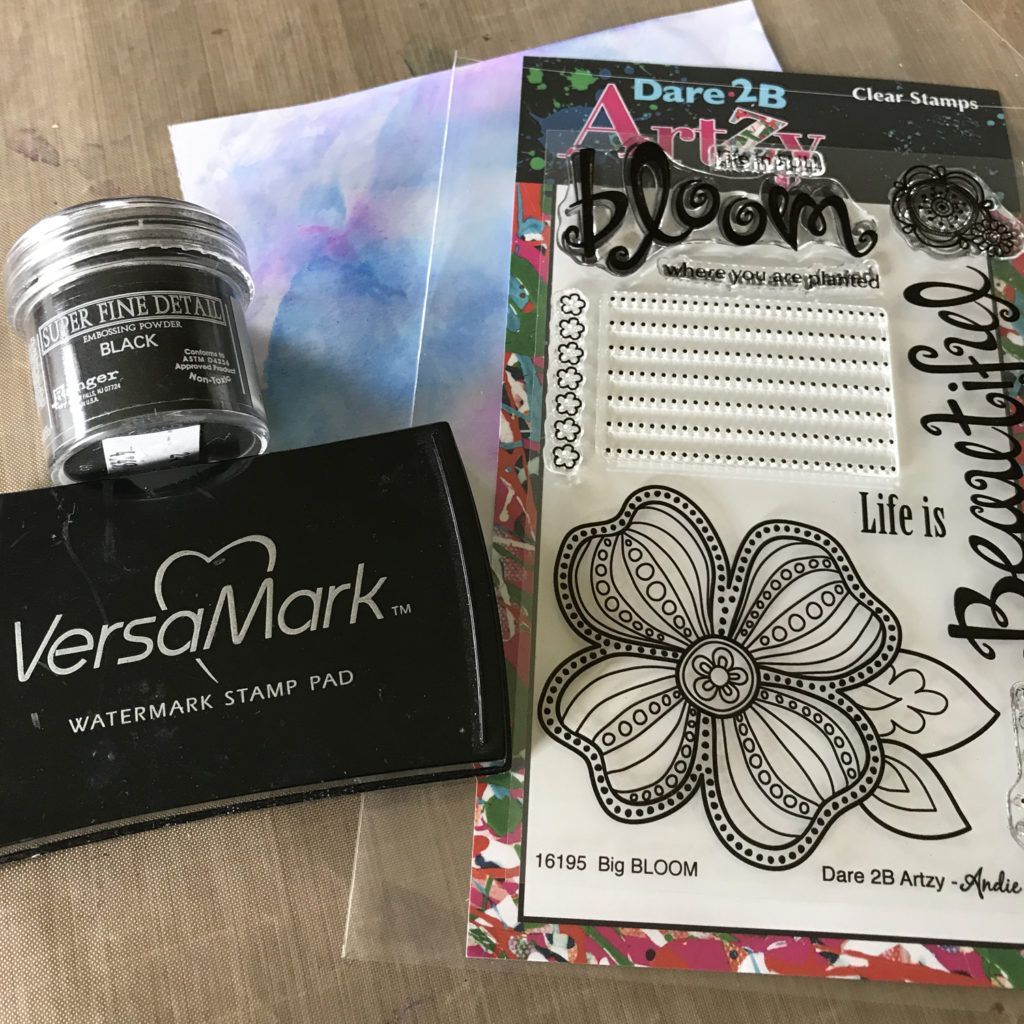
Next I gathered supplies to add my image – 

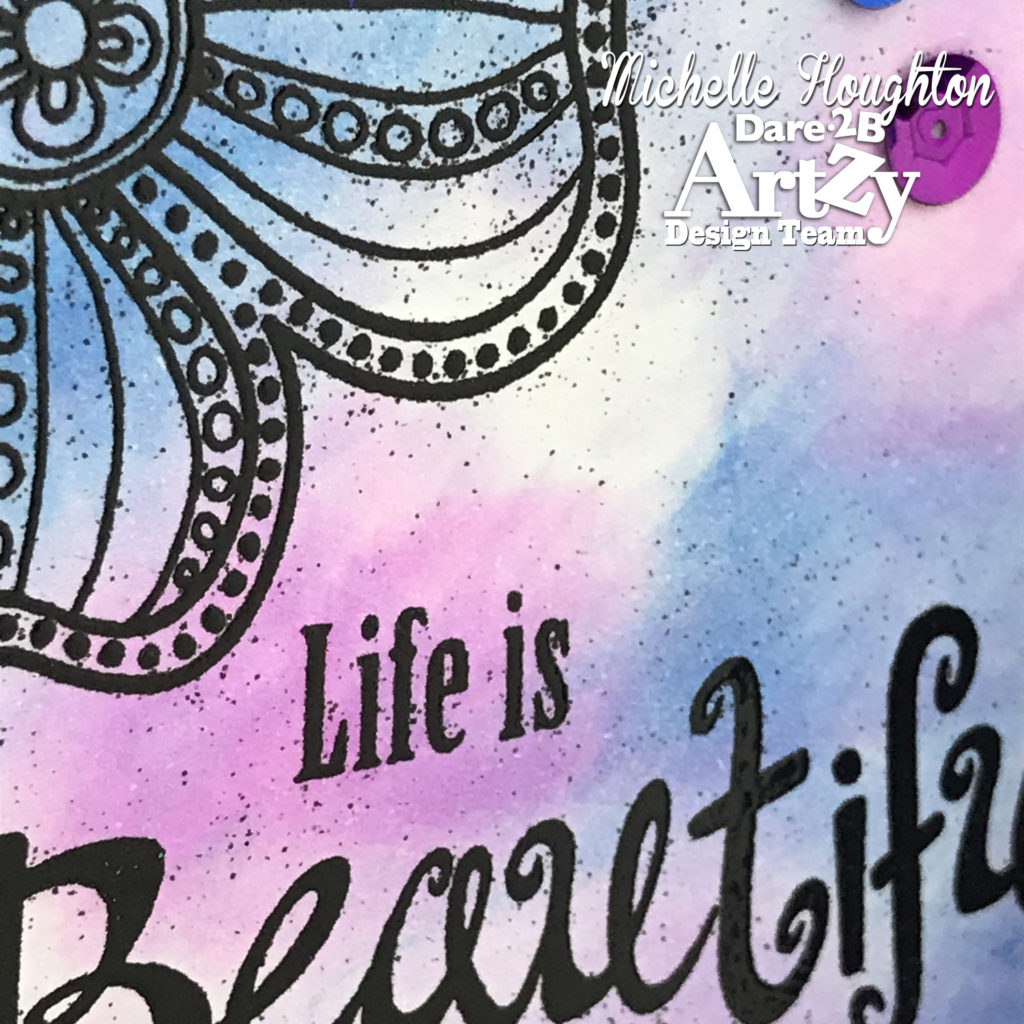
I stamped, sprinkled embossing powder and used my heat gun to set the embossing powder. I love how the image turned out even with the extra flakes of embossing powder scattered throughout – 

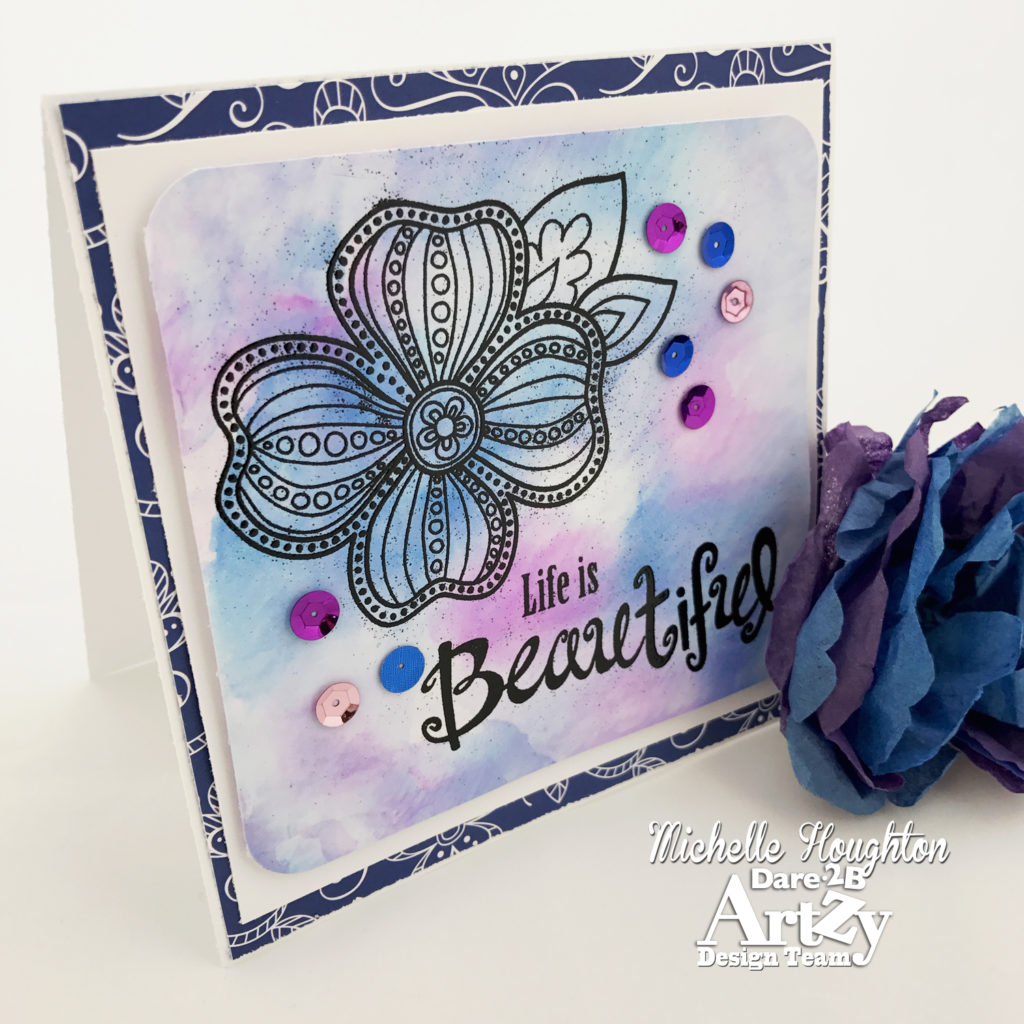
To finish it gets trimmed up, layered with yardstick, patterned paper, and a card base. A sprinkling of sequins is the final touch – 

I love that Dare 2B Artzy has me creating art regularly right now it is so good for my soul! Through the business of life it brings me peace! The products from Dare 2B Artzy that I used today are the Big Bloom Set and Artzy Doodled Paper Pack.

Thank you for stopping by today!

Have a Happy Colorful Day!


Posted on 21 Comments

Dare 2B Artzy Spring 3-D Blog Hop!

Welcome to Dare 2B Artzy‘s Blog Hop!!

Who’s excited for Spring?!

Here are D2BA we are super excited for some sun shiny days and warm weather!

To celebrate we decided to have a Spring 3D Themed Blog Hop!!  

We are super excited to have two Guest Designers joining us for this hop!!

D2BA_SpringBlogHop

You should have arrived here from Melody‘s  

blog!  If you haven’t and would like to hop along with us, please go back to the Dare 2B Artzy Blog to start at the beginning!

Be sure to follow each blog and leave comments along the way for your chance at winning!  We will randomly choose a winner from one of the blogs, so the more you comment, the more chances you have to win!!

Winner will receive a stamp set and ink pad of their choice!!

Blog Hop will end Sunday, April 30th at 7:00pm Eastern.  

We will then post a winner!!

———

Hello D2BA fans! I am so glad you are hopping through my blog this weekend! I created a 3D card or Pop Up card for my project this weekend. I used the “Flowers for Mom” set and then pretty much winged the Pop Up part :-). If you have not seen my work before that is pretty typical of me. The flowers are all colored with Copic markers which is really where my passion lies. Here is a close up of these LOVELY flowers, and the dimension on the card:
a1

And here is a shot of the full card. 

a2

There are two other ways you can take a peek at my process though! I have a full video of the card creation at the Copic In The Craft Room YouTube channel and I have a photo tutorial as well that is over at Pinterest again at Copic In The Craft Room. Here are the links.

A HUGE favor! If you enjoy the video like our channel, not only will you get great new content every week, but we are closing in on 10,000 followers and planning a celebration! 

https://www.youtube.com/watch?v=2KkBxXTUNDI&t=1s

And here is the link for Pintrest!

https://www.pinterest.com/pin/341218109255943125/

Thanks for stopping by!  

Your next stop in the hop is Chris‘s

 blog!  

We hope you are inspired all along the way!  

Check out all D2BA’s products here!

Have a Happy Colorful Day!