Posted on

Strange Things Happening at Stamp AnnieThing!

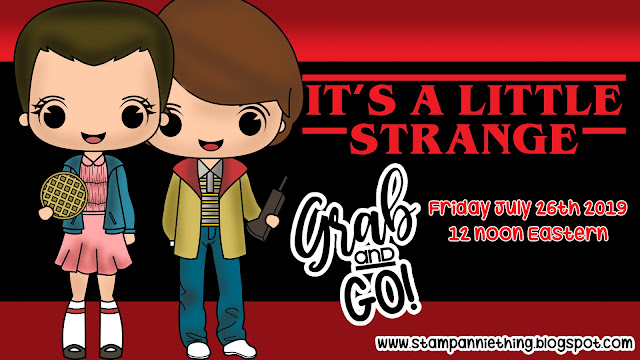
It is time for another amazing Grab and Go! Themed box!
It's a Little Strange is anything BUT Strange, it's Awesome!
What is Grab and Go!?
It's a well thought out (and jammed packed) themed subscription box!
We put alot of time and effort into our boxes and we are thrilled to tie this in with the release of season 3 of Stranger things!
If you are anything like me, and love anything Stranger Things related - than this box is for you! Click the BUY Now button below to see all the box contains, and scroll below to see the inspired projects by the DT!!
~*~*~*~*~Because LOVE is a well stocked subscription box!~*~*~*~*~
   
Take a peek at the projects the DT has made using this adorable themed box!!
`~*~*~*~*~*~*~*~*~*~*~*~*~*~*~*~*~*~*~*~*~*~*~*~*~*~*~*~*~*~*~*~*~


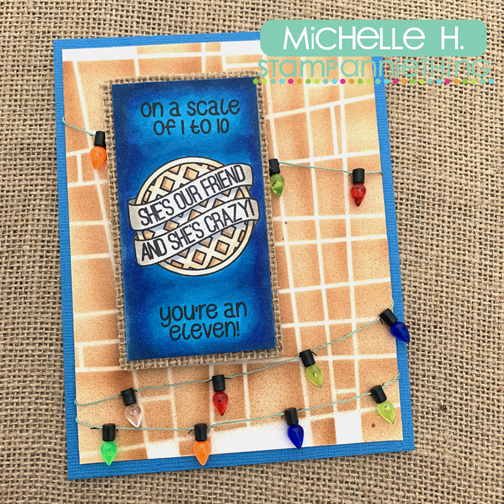
I have two cards to share today! Here is a peek at the first. I used LOTS of supplies from the box so here is a rundown of the process.
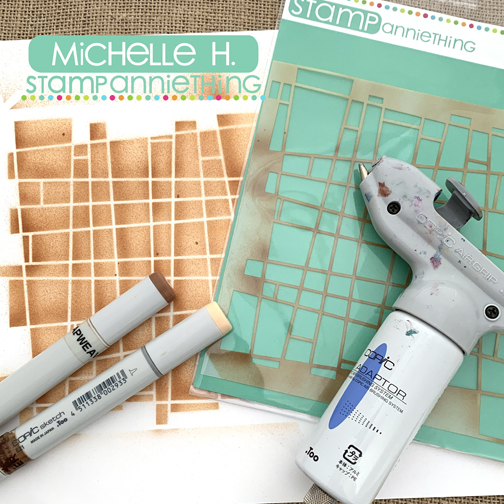
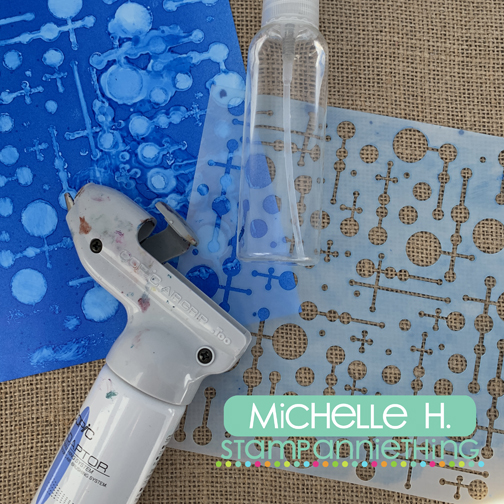
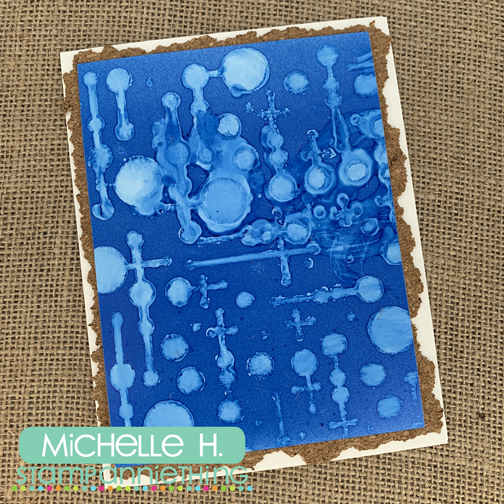
First was creating a background with one of the stencils in the box, I used 2 Copic and my Copic Air Brush to get the look.
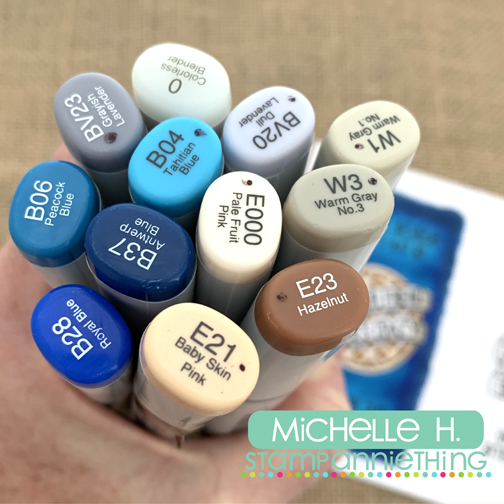
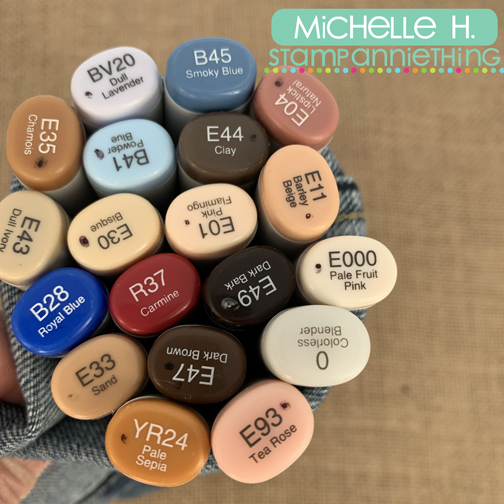
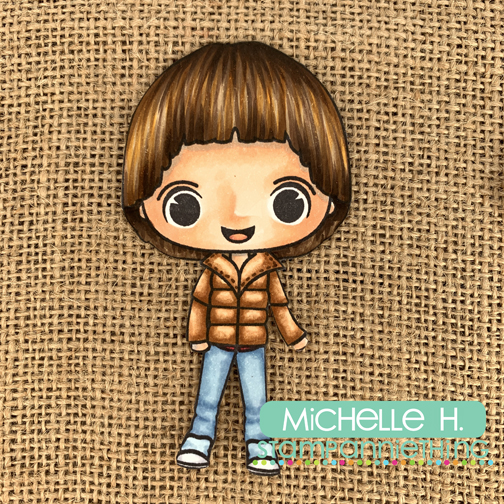
Next stamping and coloring an image here is the colors I used on this one!
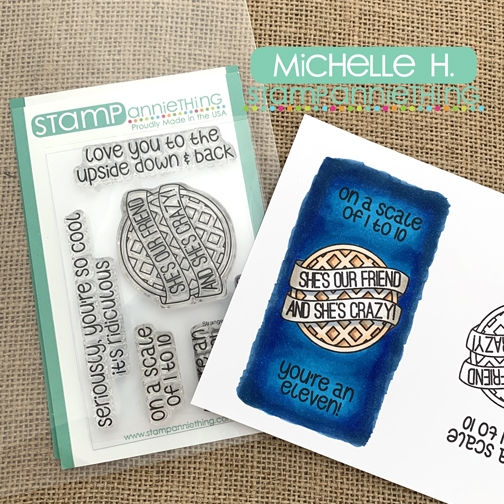
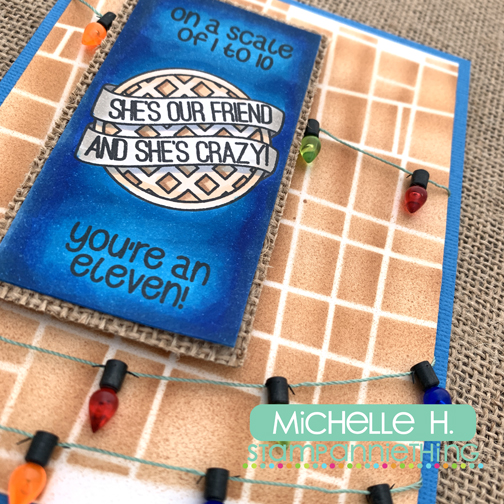
I do not know the characters very well, but waffles? OH YEAH!! How fun is this and the sentiments throughout the entire box are SO FUN!!
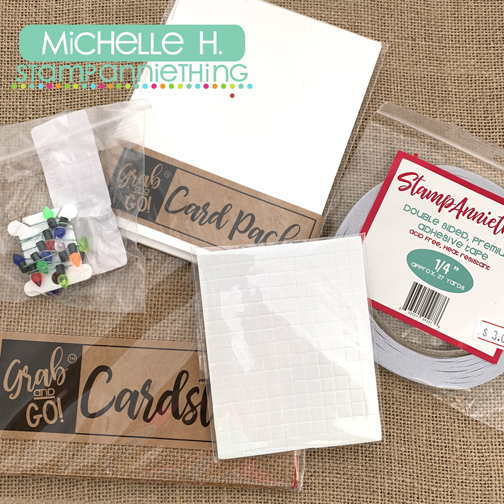
Then off to raid the Grab and Go box to pull it all together. I used a card base, all three kinds of adhesive, (glue not pictured), the Cardstock pack wait till you see the burlap and the cork, SWOON, and the adorable string of lights.
Other than my Copics it is all in the box!
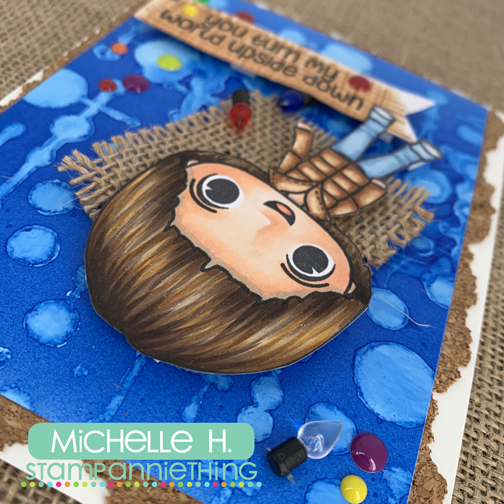
Card #2 required a little research on my part on the characters and on Stranger Things and boy am I missing out! Now I want to watch all three seasons!
I created the background by airbrushing a full sheet of Yupo (that you can get at SAT) then using the second new stencil in the box and Copic Colorless Blender solution to lift the pattern this time.
Coloring is next I tried to get close to the character at least from shots that I could find on-line. But I know this little guy could go completely different for fun as well!
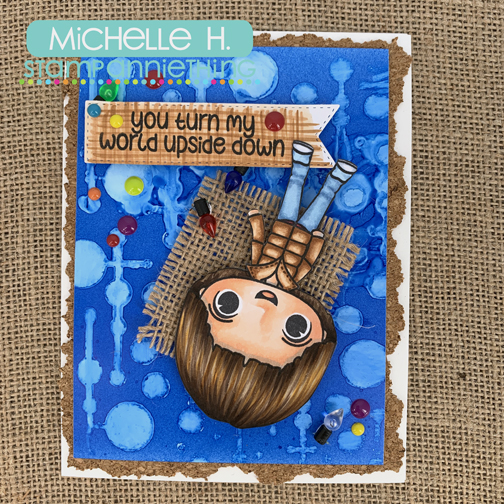
Starting to build it is next I started with the card base, the cork from the cardstock collection and my inky background then…
I added a square of burlap, I pulled the backing off and frayed the edges for this one, some individual lights that I cut off the string and enamel dots for color and used one of the FAB sentiments and colored a burlap like texture over it with my Copics and my little guy, upside down of course! I used all three adhesives for this card again!

Woosh if you made it this far thank you! Make sure to check out the other designers with their amazing creations!

Candace
Cindy
Gigi
Kerri
Meg
Melissa
Michelle H
Nicole
Tina
Stephen

Have a Happy Colorful Day!

Thanks for stopping by today! And make sure to take a peek at all the fun stamping products Ann has in the store!

Posted on

Sunshine Day!

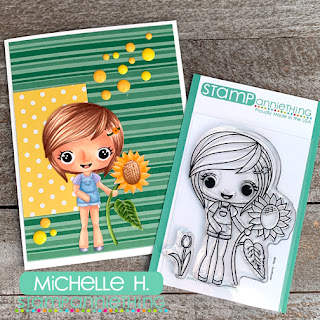
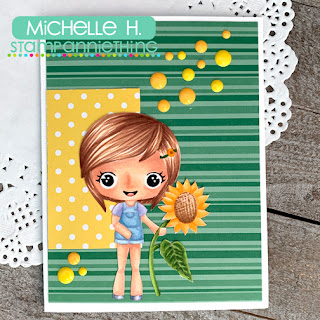
Hello friends and family! A little mid-week inspiration from Stamp AnnieThing today. I used my Copics as usual to color up Molly – Sunflower

I stamped her with a very light ink color so that I could do a little no-line coloring today, here is a close up and the colors I used:

Skin – E50, E21, E11(tongue – E93, E04) Hair – E21, E23, E25, E27  Sunflower – E31, E33, E35, Y32, Y35, Y38, G21, G24, G28  Overalls – B91, B95. Shirt – BV00, BV02

I also used a black Copic Multiliner for to add back in the pupils, eyelashes and mouth. 

The patterned papers I used are from Stamp AnnieThing and the acrylic dots are as well!

Thanks for stopping in today! Ann has all sorts of AMAZING things planned for you in the new future so make sure to be checking back in here and on the Facebook group to keep up with all the latest!

Have a Happy Colorful Day!

Thanks for stopping by today! And make sure to take a peek at all the fun stamping products Ann has in the store!
Posted on

Dare 2B Artzy Lovebirds Part 2

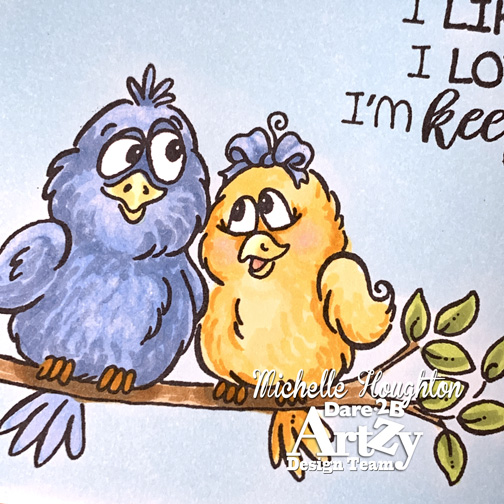
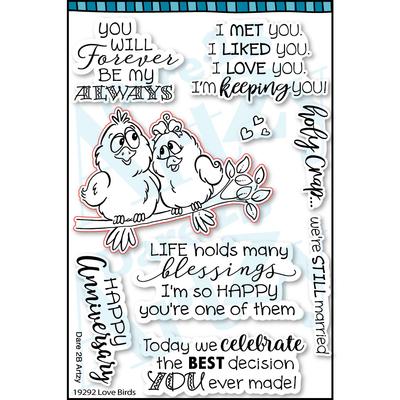
Hello friends, earlier this month I shared a card using the new “Lovebirds” stamp set for Dare 2B Artzy, I was having so much fun coloring them however that I decided to create a second pair and a second card.

I still colored up my birds with Copic:

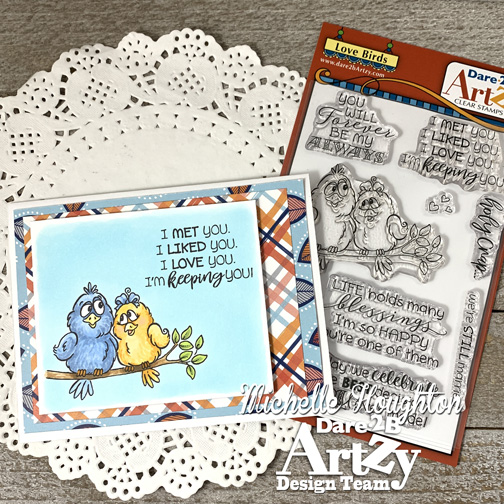
I kept the color palette pretty simple with yellows and blues and this time I added a sentiment and colored the sky around the two lovebirds.

Then I added them to a card base along with a couple beautiful D2BA patterned papers:

I do love when a card just falls together so easily. Thank you so much for stopping in today! Make sue to play along in this month’s challenge “Male Birthday Cards”.

Have a Happy Colorful Day!

D2BA Products used in this post include:

Thanks for stopping by today! And make sure to check out some of the products I’ve used here in the D2BA store!

Posted on

Kraftin Kimmie July Release

Today is the day for Kraftin’ Kimmie’s July release. There have been peaks going on the past two days and today all the stamps will be available at the store.

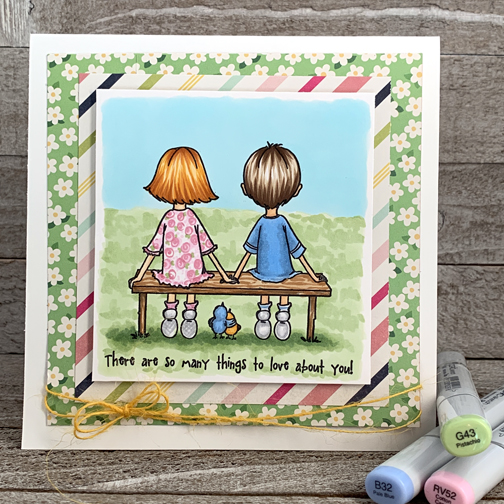
I am lucky enough to be on the in this month and have a couple of the beautiful new images! I got them both colored up and I have one to share today and then I have a video tutorial that will be featured over on the Copic In The Craft Room YouTube channel on Wednesday.

Here is the first card I have for you today!

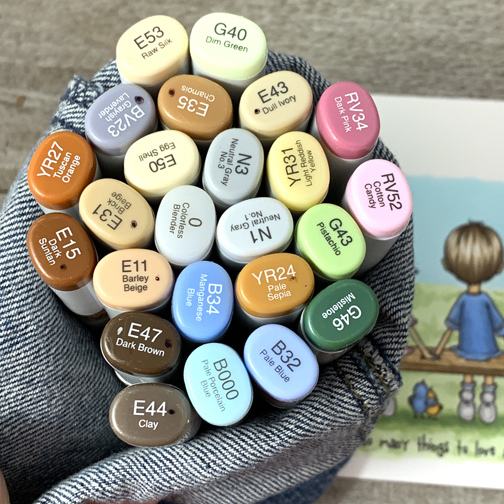
Copics as always look below for all the colors used and where.
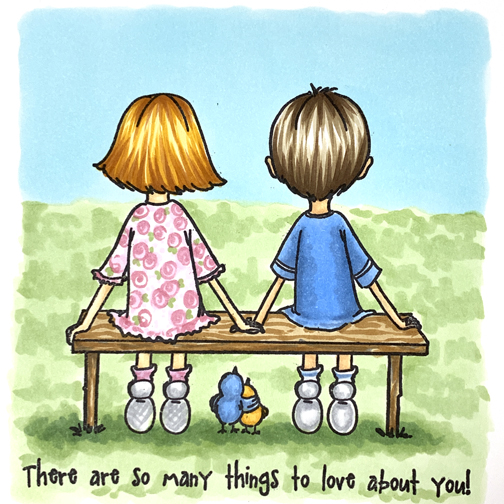
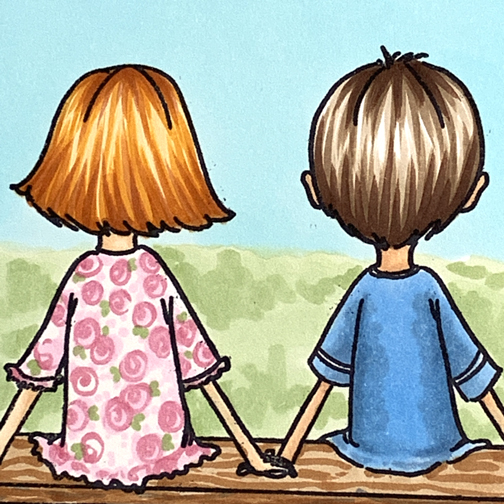
Hair girl – YR31, YR24, YR27, E15 Hair boy – E43, E44, E47 Skin both – E50, E53, add E11 onto boy Boy’s shirt, socks and bird – B32, B34 Girls shirt and socks- RV52, RV34, G43 Little bird – YR31, YR24 Bench – E31, E35, BV23 Shoes N1, N3 Ground – G40, G43, G46 Sky – B000
They are just so sweet!

Make sure to check in with Kraftin’ Kimmie today on Facebook to see Kim live and with the shop when you have the chance to see the full collection of this month’s release.

Have A Happy Colorful Day!

Posted on

Stamp AnnieThing June Love

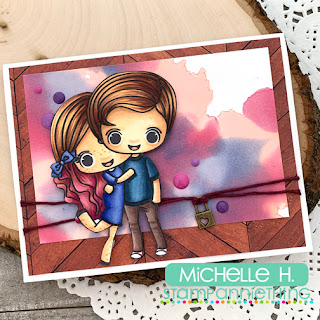
Hello friends and family! I am popping in with a little hump day inspiration from Stamp AnnieThing. I figured this month might be the perfect time to bring a couple stamp out to color up to celebrate June with summer and weddings in full swing. 

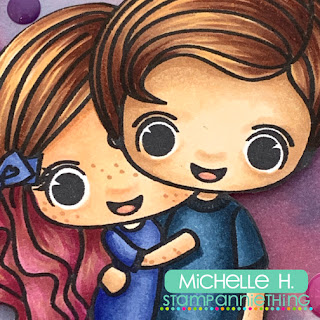
I colored up the image with Copic markers and with two people I tried to keep the color palette pretty simple. You can add too many colors to an image and make it look a little too busy. So keeping colors closer to each other or coordinating through an image can help. In this case I made the couple look a little like my husband and myself so the skin and hair choices were determined by us!

Girl skin – E50, E01, E53, E93, E04, E33 hair – YR30, YR31, E21, E23, E25, E29, RV63, RV66, RV69 dress – B63, B66, B69 Boy skin – E50, E53, E34, E93, E04 hair – YR31, E21, E23, E25, E29 pants – E71, E74, E77 shirt – B95, B97, B99, B91

The background is an alcohol ink blob I created a while back, the dots and that adorable charm are from Stamp AnnieThing! 

Thank you so much for stopping by today! If you have time hop over to the Copic In The Craft Room YouTube channel and check out a video coloring up these two cuties!

https://www.youtube.com/channel/UCwXYh-LRJqKRv6f8KJasb1w/videos?view_as=subscriber

Have a Happy Colorful Day!

Thanks for stopping by today! And make sure to take a peek at all the fun stamping products Ann has in the store!