Posted on

Winter Ready Bear!

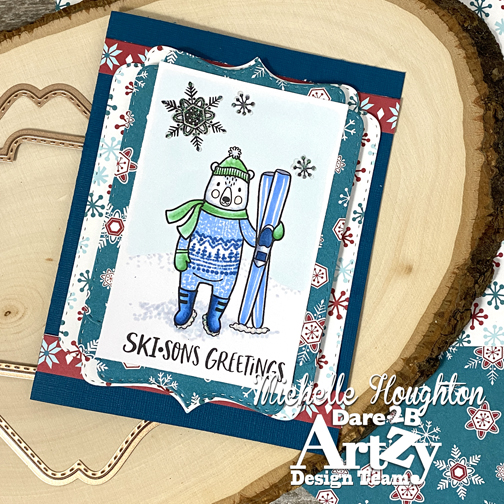
Hello friends! I am here to start your week off right with a little Dare 2B Artzy inspiration. I played around with the Skisons Greetings Stamp set and a new technique creating a sweater pattern! This. is not my idea I saw another brilliant Copic artist giving this a go so I am excited to share it here as well!

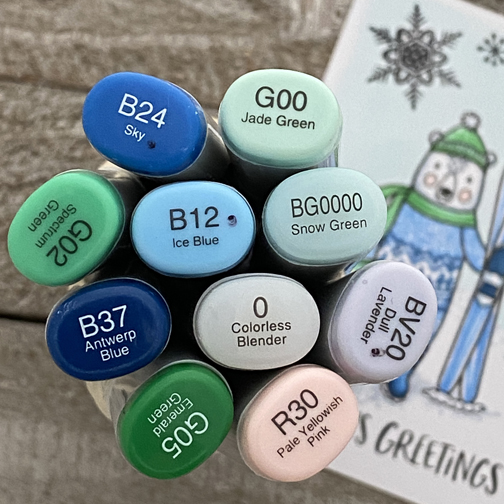
Here is a look at the markers I used:

And here is a look at what I came up with!

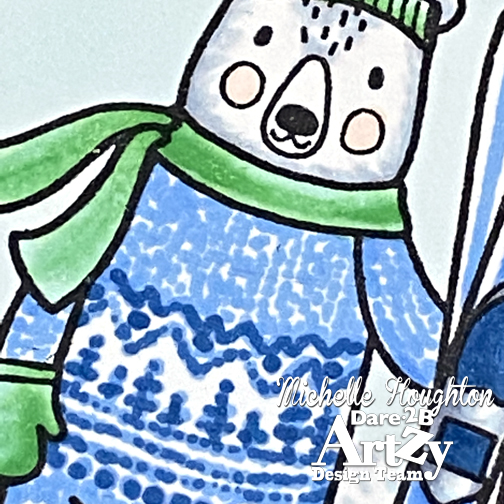
His whole jump suit is little dots so easy and fun! I added layers of D2BA papers from the new Snow Much Fun line and also used D2BA dies to add a little shape. If you look close you will see I stretched one of the dies a little longer by doubling up to fit the length of my image.

I recorded how I created all that fun texture and pattern with my markers, but the video is not quite ready to go! I promise I will get it to you in the next few weeks.

Thanks for stopping by today and

Have a Happy Colorful Day!

Here are a few items I used for today’s card:

Thanks for stopping by today! And make sure to check out some of the products I’ve used here in the D2BA store!

Posted on

Elf Boots!

Hidey Ho! Happy Friday to you all! Have you seen all the new stamps from Rubbernecker for the Holiday season? I have been lucky enough to get a couple of them and I have two to share today! One of them was featured in a video Wednesday over at the Copic In The Craft Room YouTube channel.

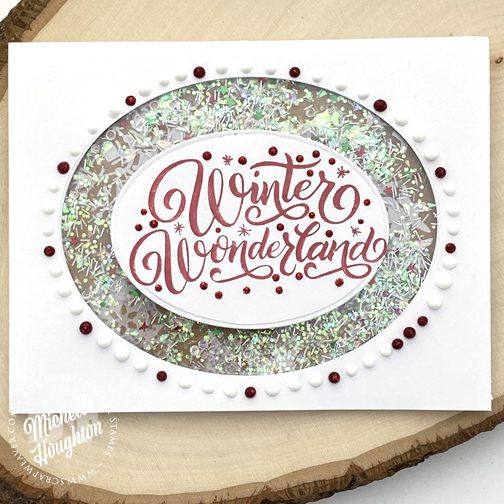
For this release there are several sentiment stamps and I have been blown away watching what the Design Team is creating with them. They are so creative with ink and stencils and… I kept mine very simple and created a shaker.

I used the new stamp as well as a nesting oval die set from Rubbernecker.

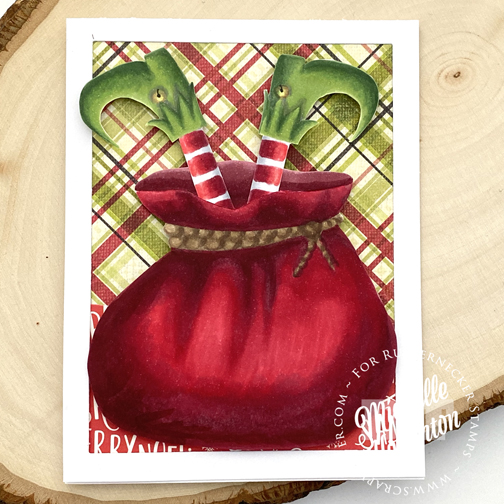
Here is my second card featuring the Elf Boots. They are so stinkin’ cute! I tried a new ink with some no-line coloring it’s Called Ink one 3. Worked great and you can get a peek at it on the new video!

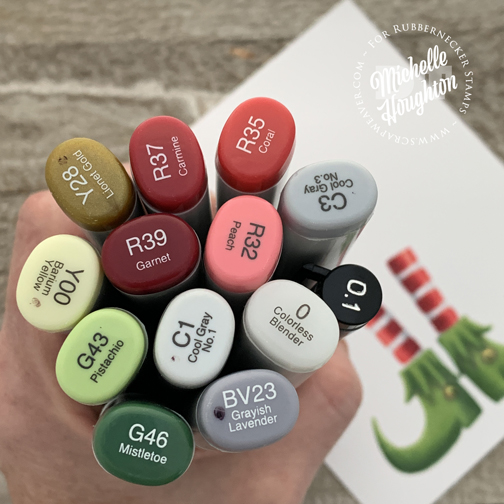
Here are the colors I used on the elf legs and boots. The Multiliner I used to add the small detail back into bell.
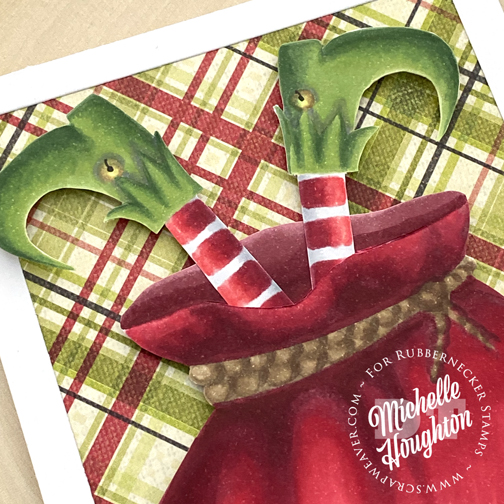
Here is a close up of the boots and legs. The new ink disappeared right away and even next to the white stripes of the socks my lines disappeared with the lightest touch of C1!
I created a large Santa sack for my little elf to fall into. I debated about a chimney or even the just the bottom of a tunic and decided on this. It makes me giggle ๐Ÿ˜

And here is a link to the video of coloring the boots and socks!

To find the stamps and the dies I used to create the cards click the Rubbernecker below and head over to the store!

Have a Happy Colorful Day!

Posted on

Fall Flowers

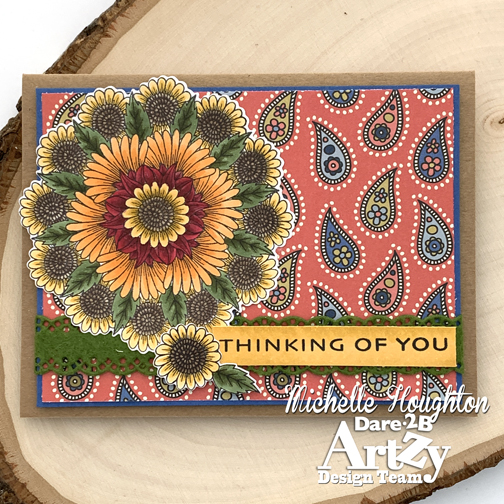
Hello friends and family! Time for a little Monday morning inspiration. I am lucky enough to have one of the new sets, the Flower Mandela Stamp Set from Dare 2B Artzy and that is what I am playing with today! This set comes with coordinating dies and of course also has coordinating papers!

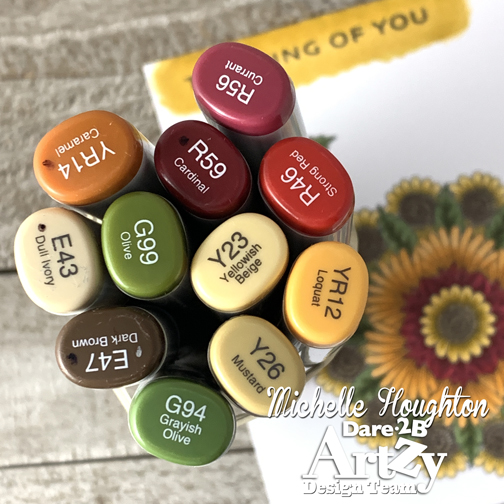
I decided to go for a very fall look with the big and little flower and stamped out one of the sentiments as well. Then colored them up with my Copics. This time I went online and used Pintrest to search color combinations for a little inspiration! Here is a screen shot from my phone of what I found.

I then translated that into my Copics:

I used the die set to quickly cut the two flowers out and get them attached to some beautiful D2BA papers.

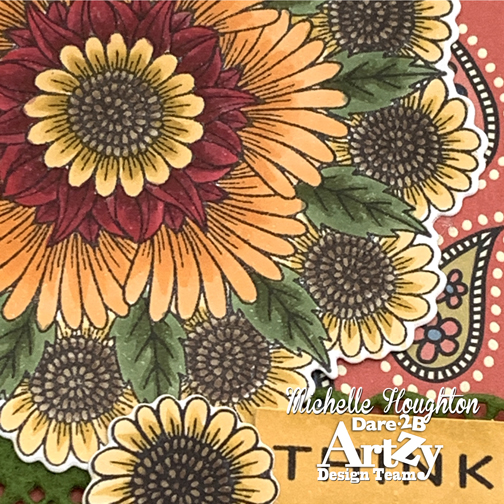
Here is a close up as well๐Ÿ˜‰:

Remember when coloring a detailed image like the Flower Mandela to keep your color choices simple you might only need two markers in an area or in a particularly small spot only one color, you can always add a second layer of the same color to add a little dimension!

Have a Happy Colorful Day!

Here are the D2BA supplies I used in today’s creation:

Thanks for stopping by today! And make sure to check out some of the products I’ve used here in the D2BA store!
Posted on

Kraftin’ Kimmie October Release

WOOHOO!Today we are celebrating all thenew goodies that are available NOWfrom our OCTOBER Release at
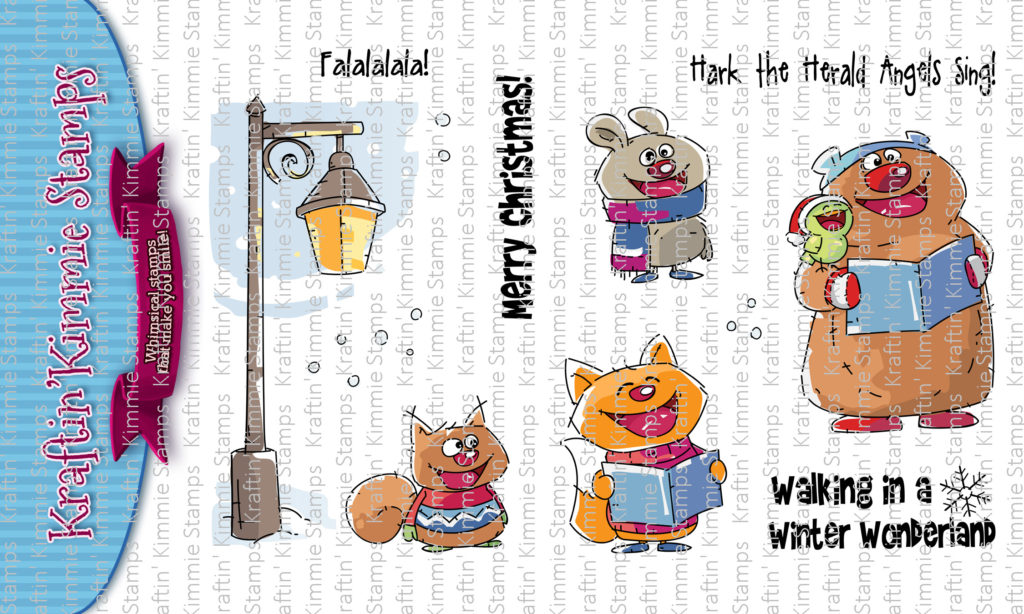
Kraftin’ Kimmie Stamps!All THREE new clear stamp sets are NOW available over at the Krafty Shop, along with our new STORMY SKY inks, TWO new Krafty Stencils and our new FESTIVE Krafty Dots! Yaaaay!So let’s have a fun hop around the Krafty Team’s blogs and check everything out in action! Grab a nice hot (or cold) beverage, sit back and relax while you enjoy this kreative tour!First up we have TWO new sets from artist, Melissa Baker-Nguyen called….SNOWFLAKE KISSES….and SOLID HOLIDAY!Also available now is our brand new Hybrid Ink colour in the large ink pad, mini cube and ink refill and it’s called….STORMY SKY!We have two new stencils that are perfect for all your new creations called….BRICK WALL and PERFECT PLAID!And lastly we’ve got new KRAFTY DOTS called…
FESTIVE DOTS!Everything is NOW available at the krafty shop! All the new products are available individually but if you HAVE to have it ALL this month, you can pick up our GIMME KIMMIES KIT which contains one of EVERYTHING we released this month and at a discount but for a limited time!And don’t forget to grab the INK OF THE MONTH!
This month all in stock products in the PINK PIZZAZZ colour are on SALE 15% OFF while supplies last!Happy hoppin’ and happy shoppin’!

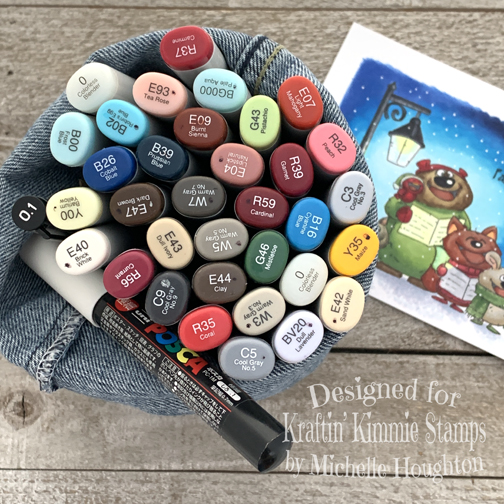
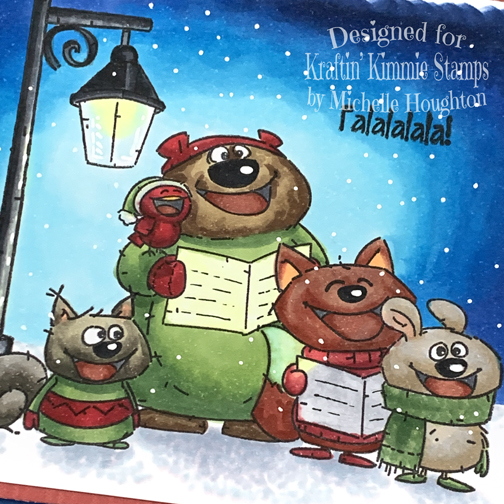
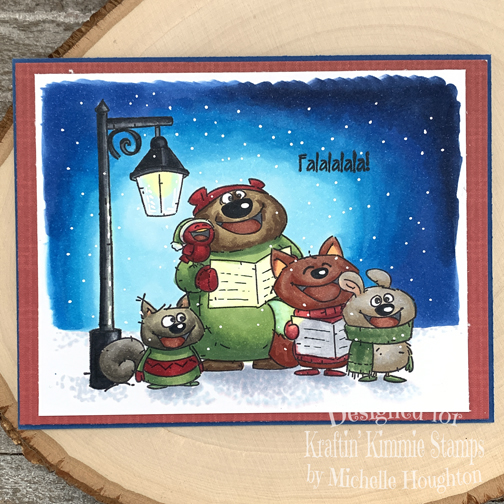
I got to play with the Caroling Cuties! I created a full scene using all of. them and the street lamp. I colored them up with my Copic markers and even have a video with the full creation over on the Copic In The Craft Room YouTube Channel.

It is quite the large bag I know! Watch the video to see where they all go ๐Ÿ˜‰
Here is the full crew!
And the full card.

Lastly here is a link for the video so you can head straight over:

Thank you so much for stopping by! click the link below to go to the store!

Have a Happy Colorful Day!


You are invited to the Inlinkz link party!

Click here to enter

Posted on

Fly Away Butterfly

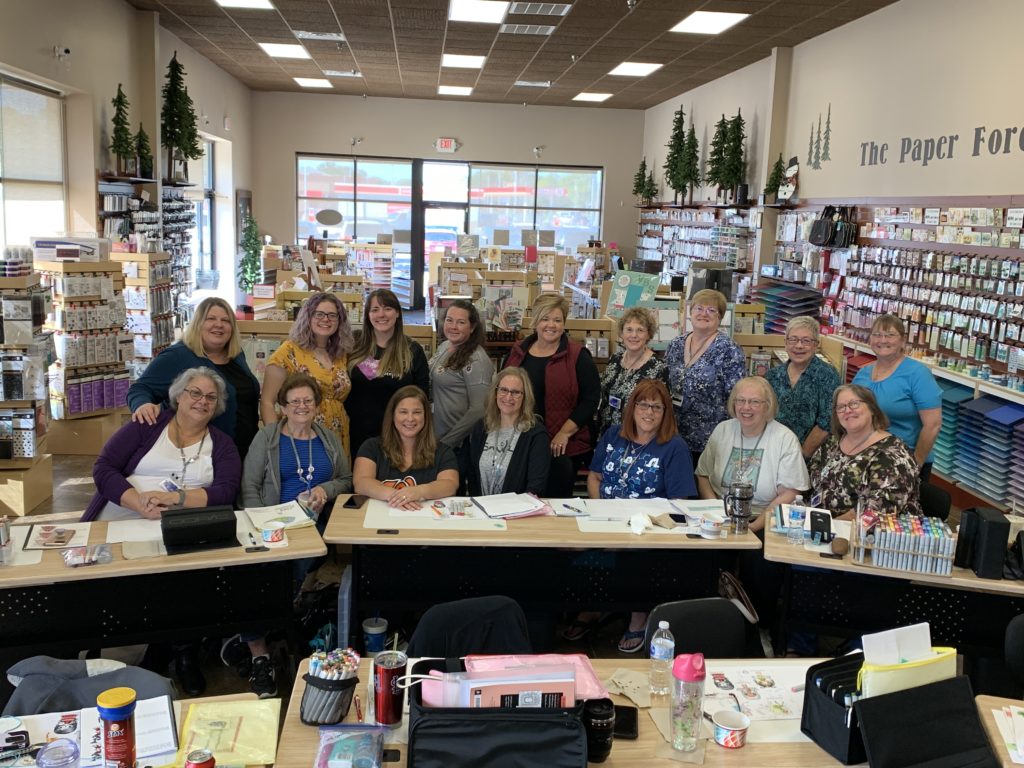
Just want to say thank you so much to my next group of Copic College attendees! The ladies of Washington, Il and surrounding areas rocked the Copic weekend! And special thanks to Tami and The Paper Forest for hosting the event. Your store is a true pleasure to return to each year!

There is only one Copic College remaining in the 2020 season if you are near to Sacramento or more specifically Dixon, CA or are itching for a weekend away check out the details and join me for an incredible weekend of fun!

I also want to share my latest creation using stamps and dies from Rubbernecker Stamps. I decided to keep this one simple as usual, but I love when a group challenges you to push your normal. Like using a certain number of dies or adding sentiments which is not always the easiest. Sometimes the results turn out just right!

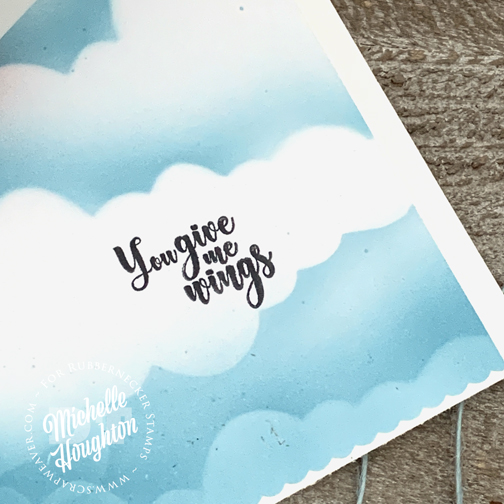
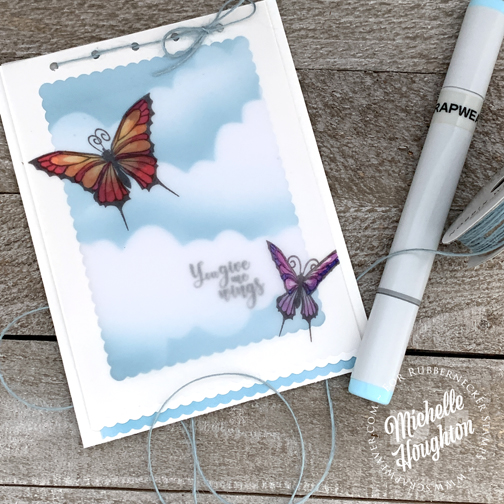
On top of the card base there are 3 separate layers this is the first, a Copic Airbrushed, cloud filled sky and sentiment from the Brush Butterflies set.
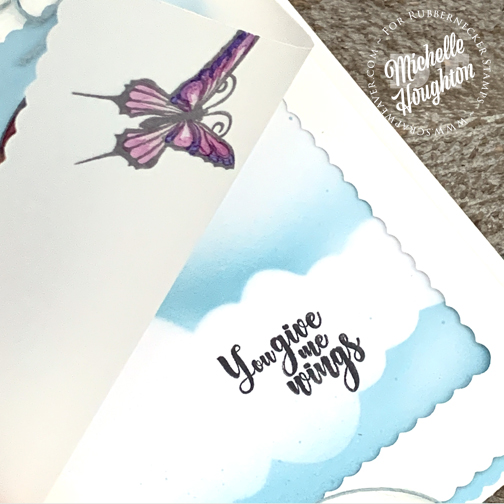
The next 2 layers consist of a white cardstock framed then a sheet of vellum with Copic colored butterflies also from the Brush Butterflies stamp set. All of those scalloped edges including the bottom edge on the velum and the first layer of airbrushed sky are cut using the Nested Rectangle Scallop Die set.
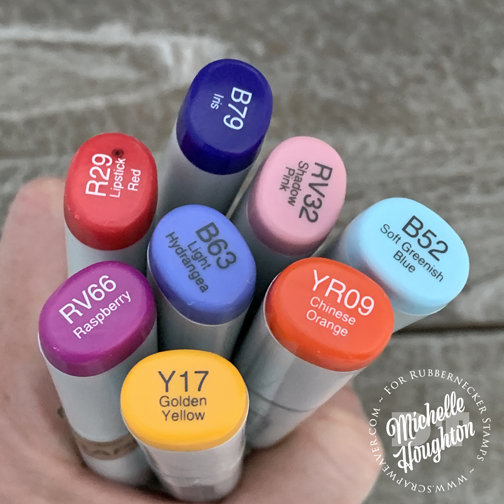
Before I show you the final card here are all the colors I used the B52 is what I used on the sky and the others are for the butterflies. Remember if you color one vellum you will need to stamp your image on one side and then color on the opposite side.
I kept the layers loose and tied them at the top with a blue twine. I love how it turned out

Thank you so much for stopping by today! If you are interested in any of the Rubbernecker products I used in my post today make sure to stop by the shop using the link below, just click on the banner!

Have a Happy Colorful Day!