Posted on 2 Comments

Krafty July Peeks Coming Your Way!

      Who’s ready for lots of brand new Krafty goodies?!

It’s time for our July Release Peeks to begin 


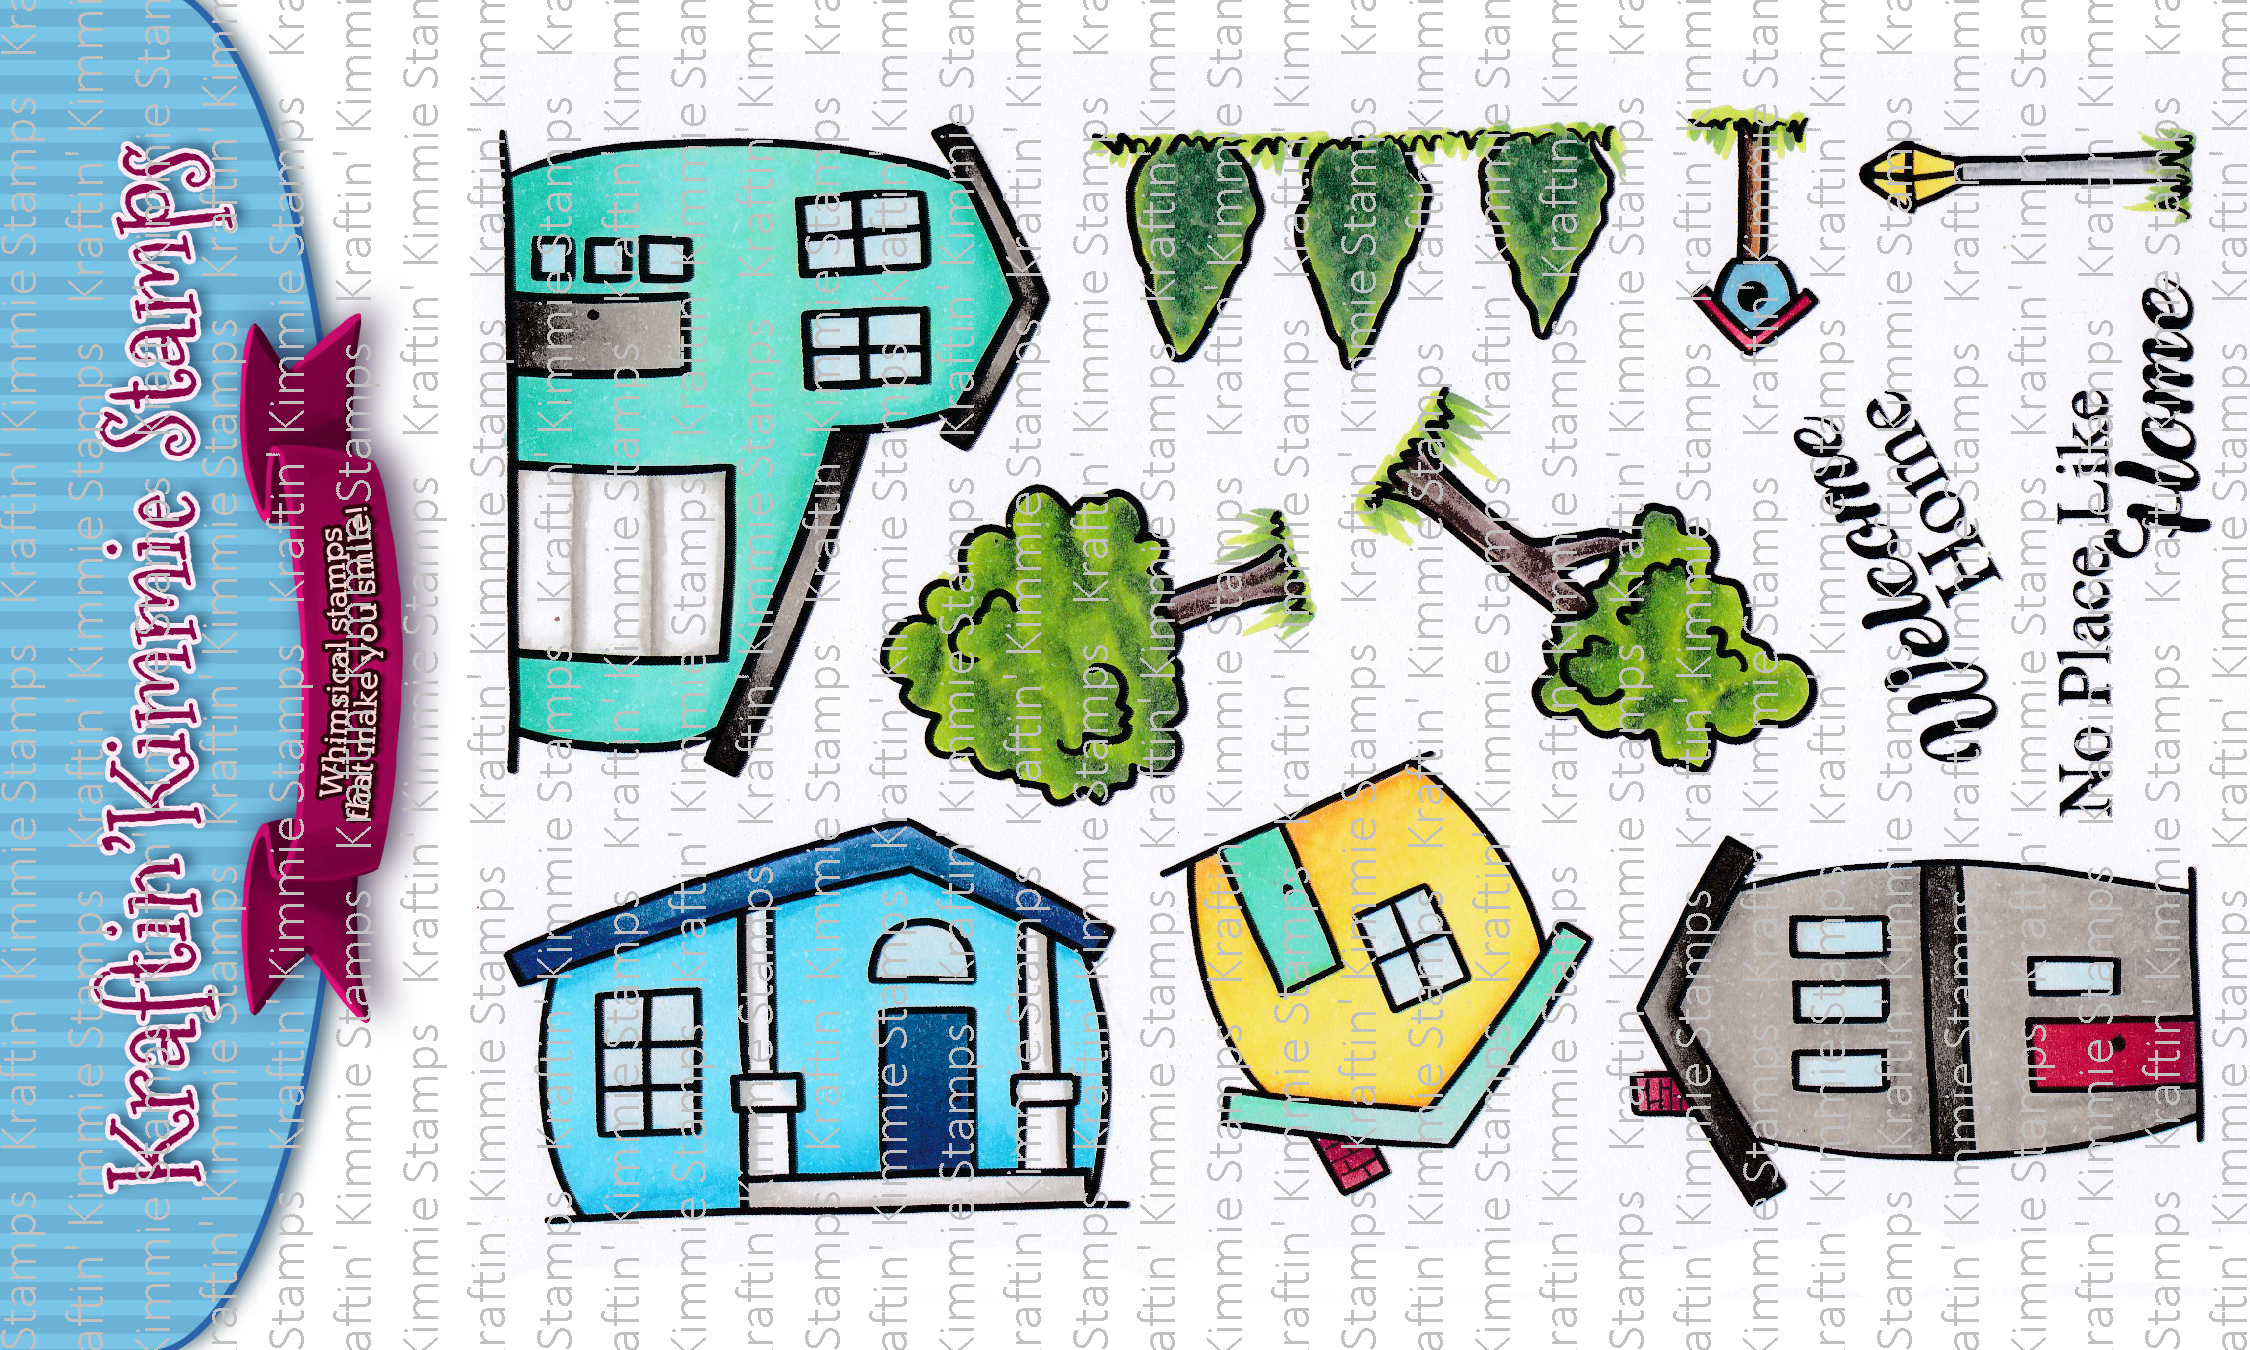
Today’s set features an assortment of sweet houses along with accessories to create awesome scenes,


designed by Michelle Houghton

 and it’s called…..

NO PLACE LIKE HOME!


As you hop around the design team’s blogs today you’ll be able to check out NO PLACE LIKE HOME! in action 
in combination with a lot of our other new 
June Kraftin’ Kimmie products!  


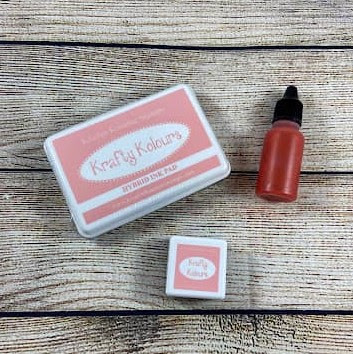
You will spot our newest addition to the Kraftin’ Kimmie Hybrid Ink rainbow!  It’s a gorgeous new colour…..called GLORIOUS GRAPEFRUIT!


As always it will be available in full sized ink pads, ink cubes and ink refills!


We’ve got TWO new Krafty Stencils for this month’s release to help add some funky fun to your creations!  

They are called….
BREEZY BACKGROUNDS


and PAWPRINTS 2!


Both designs are perfect for all your cards, scrapbook pages, mixed media and more!

Plus we have our exclusive JULY ADD ON BUNDLE!

Our exciting Add-On bundle this month features several amazing products which will coordinate with our new goodies and will help you enhance your new creations!! 


This month’s special curated Add On Bundle includes:

  • Dylusions Desert Sand Shimmer Spray
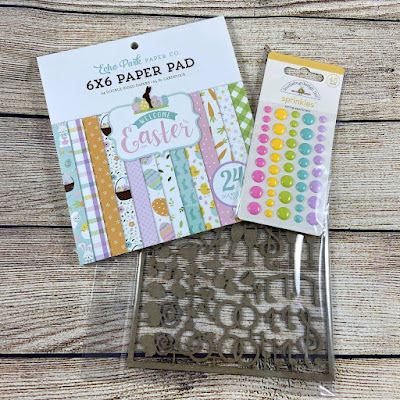
  • Beach Party 6×6 paper pad 
  • 6 magnets!

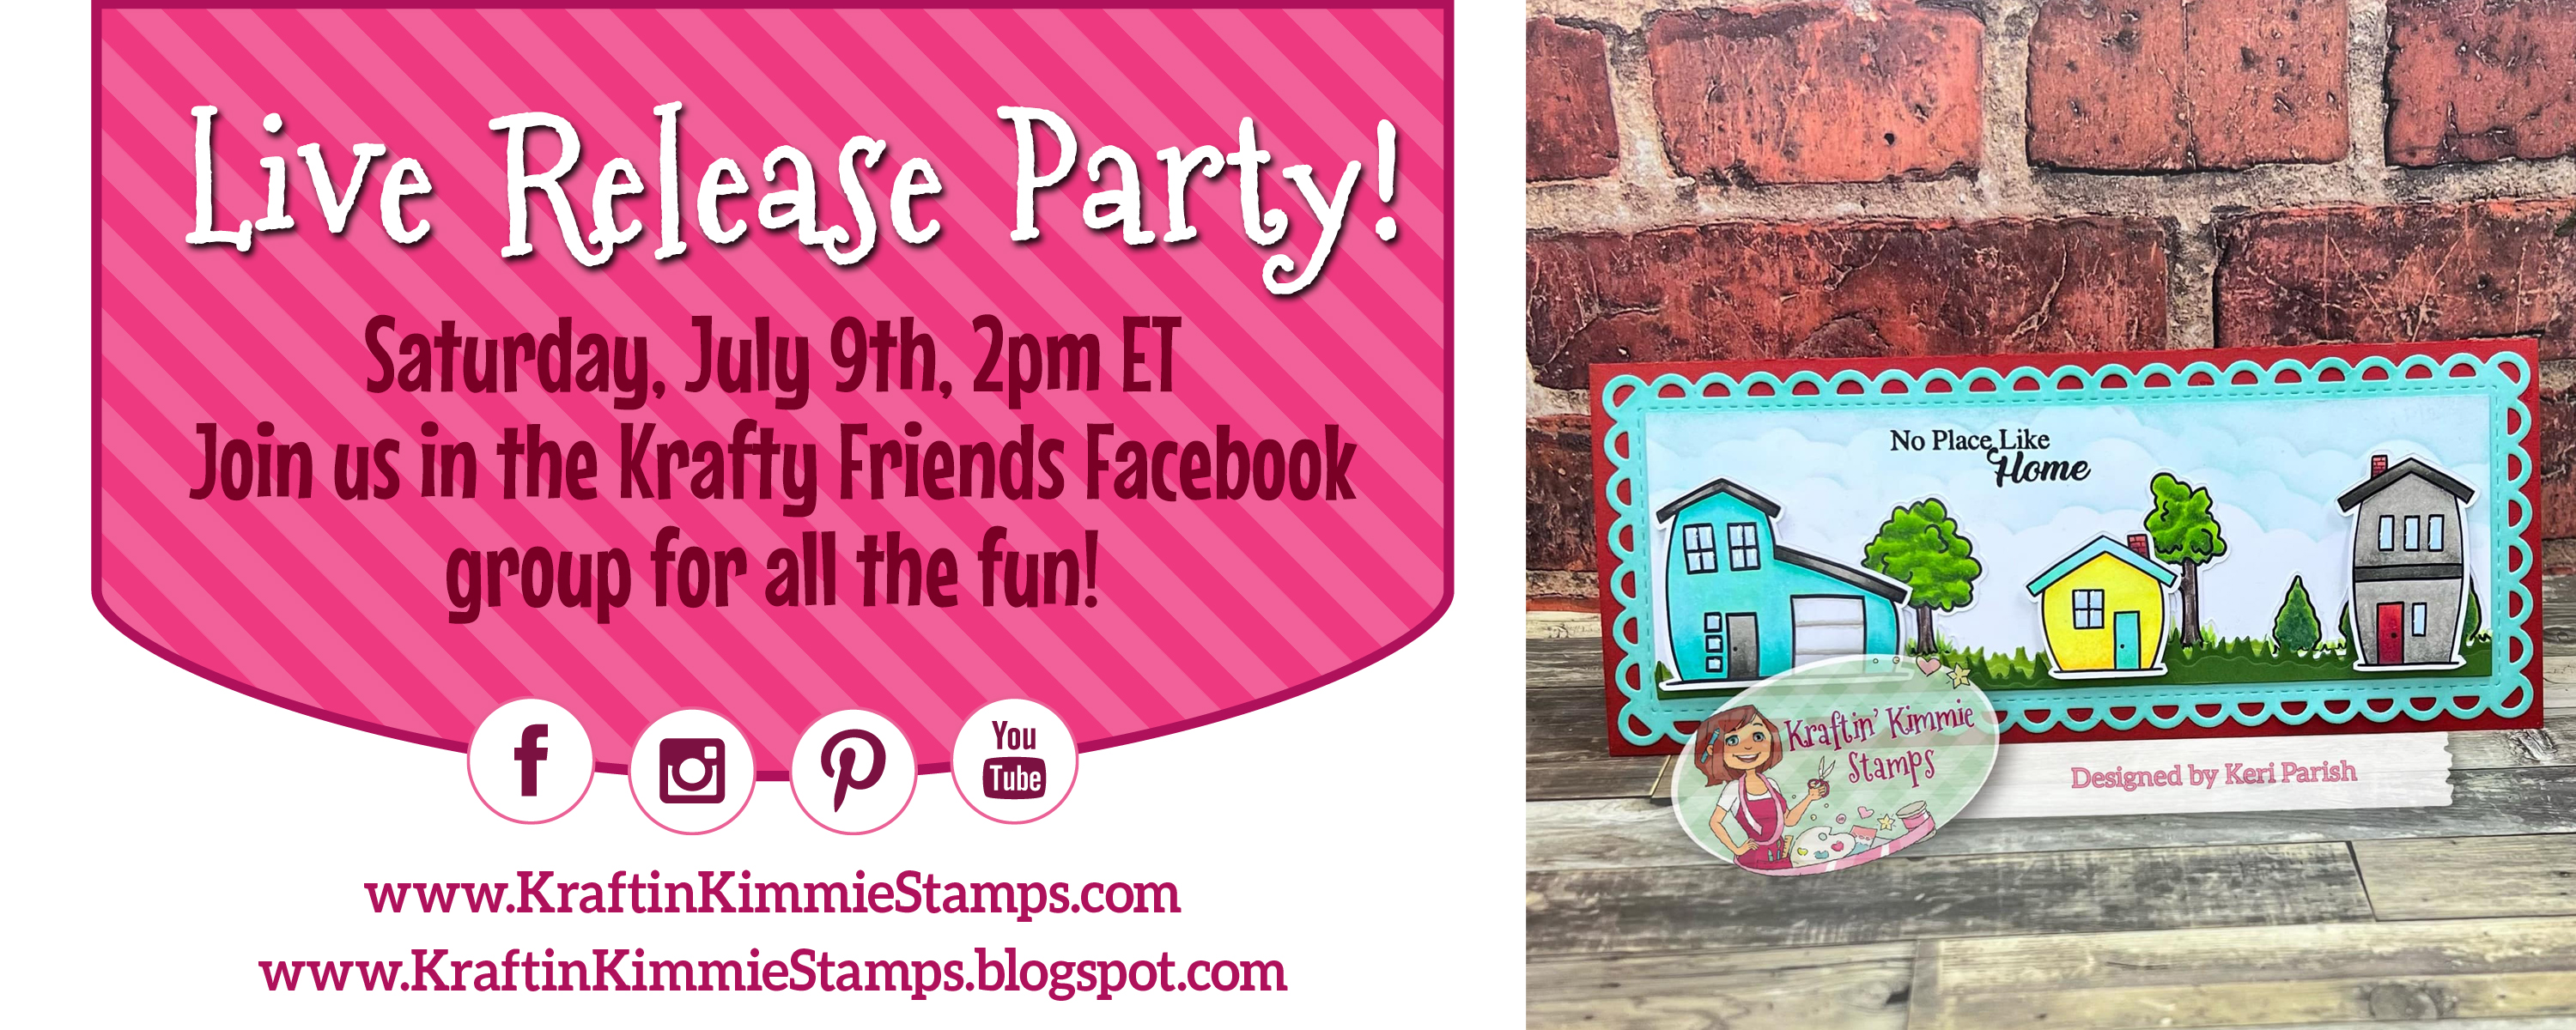
  A limited number will be available in the shop on Saturday afternoon after our Live Release Party! Get ready to get krafty!!


You’ll get to see all of our brand new goodies in action over the next few days of the July Krafty Peeks and everything will be released at our LIVE Release Party 

on  Saturday, July 9th at 2 pm ET in the Krafty Friends group

*Be sure to join us for our Live Release Party as one lucky Facebook commenter will win Krafty $’s!!

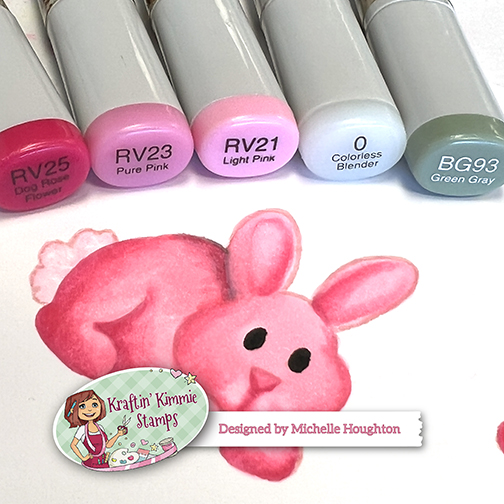
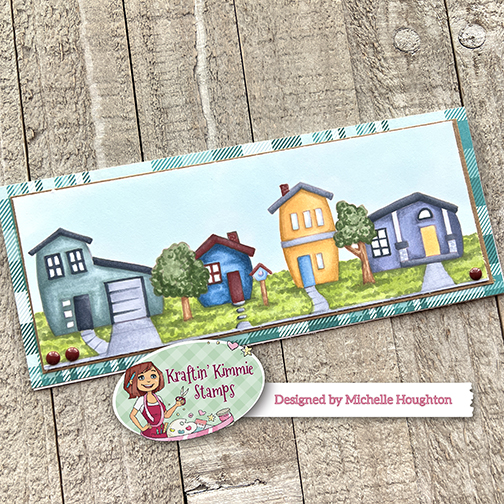
Happy July! I am doing some major Copic coloring on the card I am sharing today. I am using all 4 of the little houses in the new No Place like Home stamp set that I created. I also used two of the trees and the little birdhouse. I stamped them all in light pink ink which allowed me to forget the masking. I just stamped the pieces right on top of each other knowing that the coloring would make the lines disappear! One note make sure that the objects that are in front or closer to the viewer are sitting lower on your card front. So for example watch where the bases of my trees sit in comparison to the bottom edge of the houses.

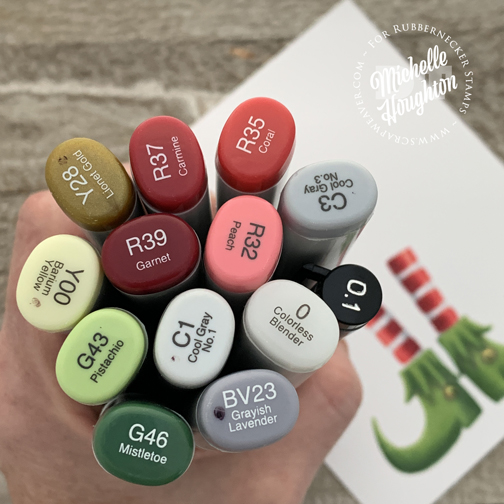
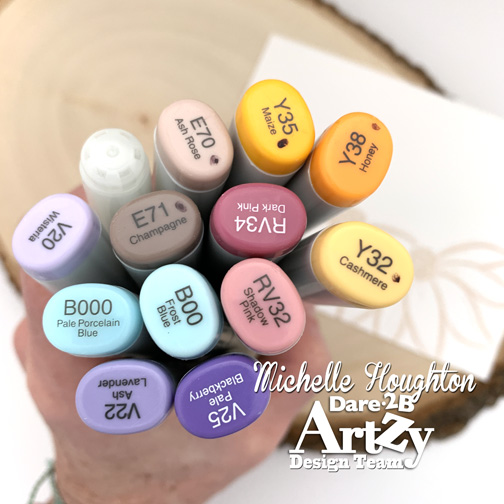
With so many pieces, there are a lot of Copic colors that I used. You can ABSOLUTELY simplify and use fewer markers!

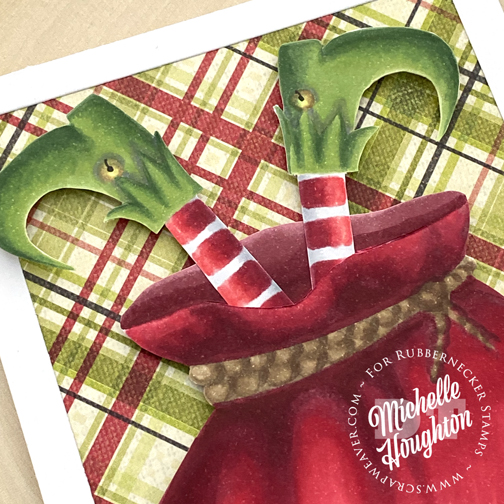
I took a few photos of the coloring so you can get a closer look. This is all no line coloring. If you choose to use black ink you will need to either plan on fussy cutting and layering your pieces, or doing some masking for the overlapping.

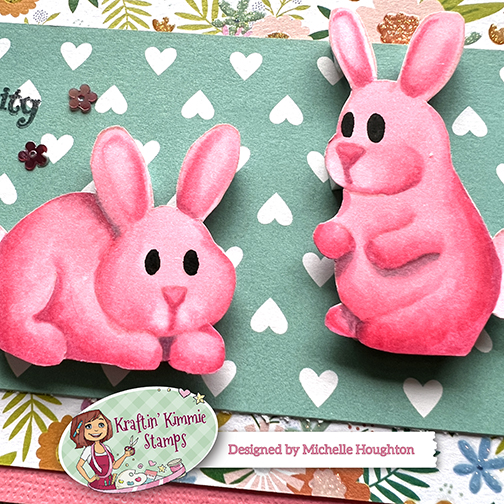
Here is the full street, I added the little driveways and walkways to finish the scene along with adding the sky and grass.

With so much coloring there is very little need for a lot of add ons. I used a piece of Kraft cardstock to base the card front and frame it then layered that on a fun patterned paper. I added a few acrylic dots and called it finished!

Thank you for stopping by today. I hope those of you getting some summer days in are enjoying some time off or at least a few extra moments with friends and family. The Kraftin’ Kimmie team has more to share over the next few days so keep a watch out and be ready for shopping this weekend.

Have a Happy Colorful Day!

You are invited to the Inlinkz link party!

Click here to enter

Posted on 1 Comment

Hippy Hoppity Shop Day with Kraftin’ Kimmie

 Woohoo!!!

Today we are celebrating all the new fabulous goodies in our March Release that are NOW available in the

 Kraftin’ Kimmie Stamps Shop!


All FOUR of our new stamp sets, plus two new stencils and a new hybrid ink colour were released yesterday along with our exclusive 

ADD-ON BUNDLE, 
and we’re excited to share it ALL with you in a fabulous krafty HOP!

So let’s check everything out as we hop around the Krafty Design Team’s blogs today!  Grab a nice hot beverage, sit back and relax while we take you on the krafty tour!

First up we have the cute Krafty Komeback
by Emilie Goulet called…..
 
 
Next, we have an adorable Easter set  


by artist Michelle Houghton
 and it’s called…..


BUNS & PEEPS!


Thirdly, is a beautiful wedding set

by artist

Neda Sadreddin called…

I DO! 


And lastly, we have a coordinating wedding sentiment set

by artist

Melissa Baker-Nguyen called


We have a gorgeous new ink colour called 
As always it will be available in full sized ink pads, ink cubes and ink refills!


We’ve got TWO new Krafty Stencils for this month’s release to help add some funky flair to your creations!  They are called….


We’ve again carefully curated an awesome ADD ON BUNDLE featuring several amazing products which coordinate beautifully with our new goodies!!


You’ll be all set to start your
crafting with this month’s Add On Bundle, which includes:


  • 6×6 Welcome Easter Echo Park Paper Pad
  • Doodlebug Spring Assortment Enamel Dot Sprinkles
  • Coordinating Exclusive Chipboard
 
And don’t forget our awesome Stamp Of The Month!! We have the sweetest Tweetie Birds stamp, which is FREE with your order of $75 or more before shipping/tax!  (while supplies last!)


Now head on out on today’s celebration blog hop and check out all the new products in action as the Krafty Team shares their incredible designs!  Then jump on over to the Kraftin’ Kimmie Stamps shop and grab some of these fabulous goodies for yourself!


Happy kraftin’! 

For Todays Shop and Hop I am playing with my new Buns and Peeps set again. I stamped the two bunnies up with the this month’s new ink and then colored them with some very bright Copic RV’s. I used the BG for a little shadow work and I think would switch the color I used for this next time. This one was a little tough to work with.

Then a little fussy cutting and onto a card. I am thinking they might need a little glitter over them to make them look a little sugary though, what do you think?

Thank you so much for hopping by!

Have a Happy Colorful Day!

You are invited to the Inlinkz link party!

Click here to enter

Posted on

Elf Boots!

Hidey Ho! Happy Friday to you all! Have you seen all the new stamps from Rubbernecker for the Holiday season? I have been lucky enough to get a couple of them and I have two to share today! One of them was featured in a video Wednesday over at the Copic In The Craft Room YouTube channel.

For this release there are several sentiment stamps and I have been blown away watching what the Design Team is creating with them. They are so creative with ink and stencils and… I kept mine very simple and created a shaker.

I used the new stamp as well as a nesting oval die set from Rubbernecker.

Here is my second card featuring the Elf Boots. They are so stinkin’ cute! I tried a new ink with some no-line coloring it’s Called Ink one 3. Worked great and you can get a peek at it on the new video!

Here are the colors I used on the elf legs and boots. The Multiliner I used to add the small detail back into bell.
Here is a close up of the boots and legs. The new ink disappeared right away and even next to the white stripes of the socks my lines disappeared with the lightest touch of C1!
I created a large Santa sack for my little elf to fall into. I debated about a chimney or even the just the bottom of a tunic and decided on this. It makes me giggle 😁

And here is a link to the video of coloring the boots and socks!

To find the stamps and the dies I used to create the cards click the Rubbernecker below and head over to the store!

Have a Happy Colorful Day!

Posted on

Sweet Dreams- Copic no-line

Hello Stamp AnnieThing fans, Michelle Houghton here for a little mid-weeks inspiration.

There is a new theme week this week, we are challenging you to use some of the beautiful adornments now found at SAT!

I am challenging myself with a little no-line coloring as well on Holly – Sweet Dreams

I chose to use some of the adornments from one of our Grab and Go boxes and I used them as part of the background versus in a shaker card. It took a little time to dot glue and place the small glitter and sequins, but I like the end effect. 

Here is a couple close ups so you can see both the coloring and the sequin backdrop. I just love those fuzzy bunny slippers. 

To top it off here is a link for the video of the no-line coloring!

Thank you so much for stopping in today.

Have a Happy Colorful day!

Posted on

Copic No-Line Coloring

Hello Friends and Family! I am running a bit behind this am but just catching up from a weekend of teaching! I have a little D2BA inspiration for your Monday morning.

Today I am bringing you a follow up to my “Anything Goes” card that I shared yesterday. I shared Ragity Rabit being colored in a no-line coloring technique. Today I have a video of how to do no-line coloring on a different D2BA stamp set. It is the Totally Tracy Holly Xmas. Except that I color the flowers for spring!

Here is a direct link to the video:

I used a series of Copic markers here is a look at what I gathered:

I also use an E21, E23, and E25 that are not shown

And here is a peek at the project I completed!

And a close up too!

Thank you for stopping by today! Enjoy the rest of your week and

Have a Happy Colorful Day!