Posted on 2 Comments

RubberMoon, Copic and Vellum

Happy Wednesday one and all and welcome RubberMoon fans!  I have another Copic and RubberMoon tutorial for you!  I am passionate about RubberMoon stamps, not only do I think the quality and artistry is top notch, the team and Quality of the people running RubberMoon just can not be beat!  I am also CRAZY passionate about Copic markers and the amazing versatility that these markers and inks have so when given a chance to share their abilities I try to give you the full view of what these products can do.

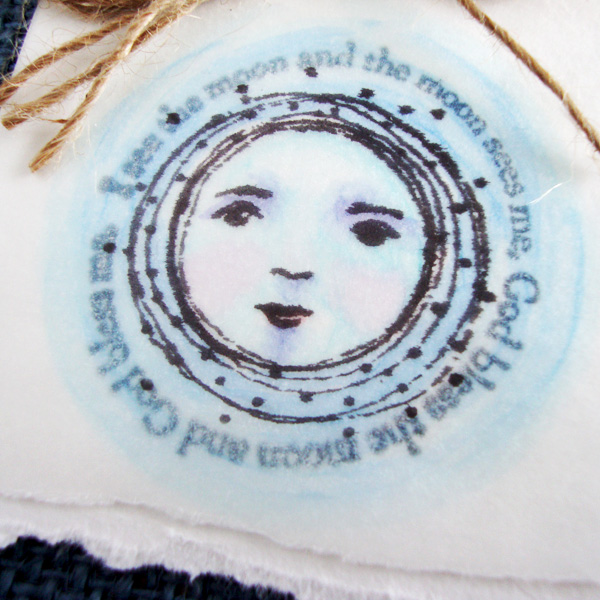
This week I have two beautiful stamps created by Kae Pea, See The Moon and New Moon. These two stamps are truly a favorite of mine not only because they are beautiful but because my family used to sing this song EVERY time we saw the moon when I was growing up.  Yes…EVERY time.  Come to think of it if any combination of us are together in one location and happen to see the moon together we often STILL will be heard singing this song.  So you can imagine there is a large portion of personal history and memory tied to an image like this.

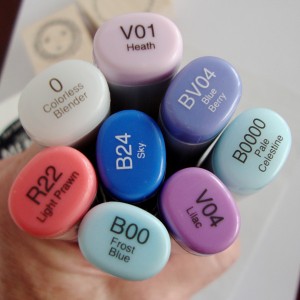
For coloring today I am sticking with my Copics but I wanted a much softer look, one that is more suited to the dreaminess of the image.  I could paint with the Copic inks, and I will show you that technique another day I promise, but for today I chose working on vellum or in this particular case on tracing paper.  You would get a very similar effect working on either, I just happened to have tracing paper within arms reach.  I am also using Memento ink in Tuxedo Black, and Copic markers B0000, B00, V01, BV04, B24 and R22.  (In the photo you also see V04 and my colorless blender that I did not end up using.)  For the card I used a small bit of watercolor paper, natural twine, blue burlap fabric and kraft cardstock.

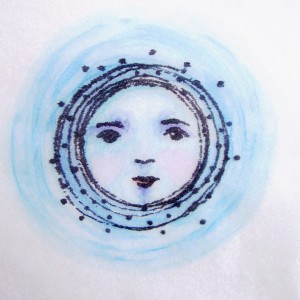
RM moon 2

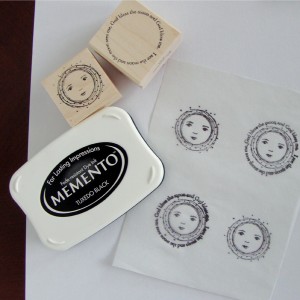
Step #1 – On your tracing paper or vellum stamp your moon image and on a few also stamp the words to the song.  I did not add them to all of mine since I was not sure exactly where I was going to end up with my project.


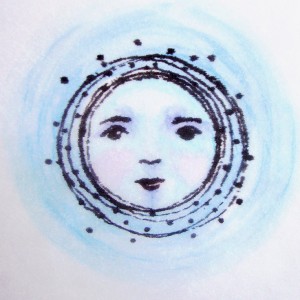
RM moon 1


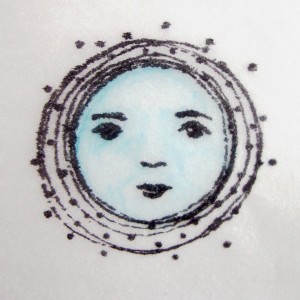
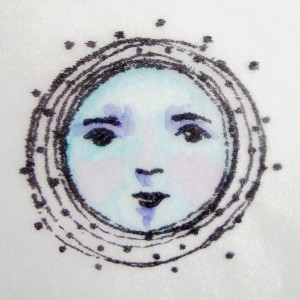
Step #2 – On the BACK SIDE of the tracing paper color in the entire moon face with B0000.  I am working on the back to soften the look of the Copics.  If you let the ink dry completely you will not have any issue with smearing even on the vellum or tracing paper if you choose to work on the stamped side of your work.  You will barely be able to see this layer but it is putting a wash over the entire face to help the next layers go on smoothly.

Step #3 – Using B00 go into the areas where you would like to add a little shading like under the brows, the nose the cheeks, chin and along side the nose.  This should blend fairly well as you go if you work quickly on top of the B0000.  You can always come back to soften the edges just slightly if you need to.

RM moon 3


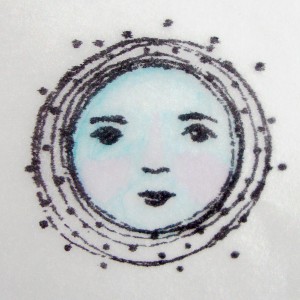
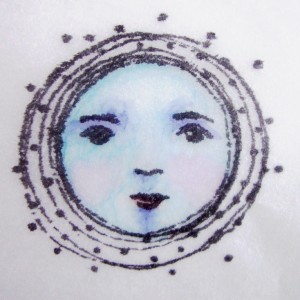
Step #4 – Add V01 into the cheeks and down the length of the nose.

RM moon 4

Step #5 – Use your BV04 to add your deepest shadows under the brow and small touches under the nose and bottom lip.

RM moon 5

Step #6 – Go back in with your B0000 to soften some of these edges.  They will not have perfectly smooth blends on the tracing paper or vellum but more of a painterly quality to them.  Also add R22 to the bottom lip.

RM moon 6

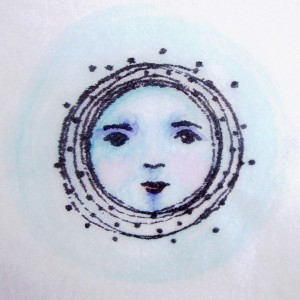
Step #7 – Using your B0000 go around the outer edge of the moon about 3/4 – 1″ again laying a base for the colors to come.

RM moon 7

Step #8 – Use both B24 and B00 to add streaking around the moon.

RM moon 8


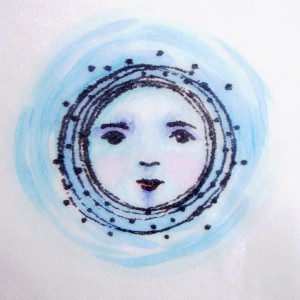
Step #9 – Use your B000 to soften the streaking around the outer edge.

RM moon 9

Hopefully you will be able to see a difference here, in real life there is a striking difference when I turn my image right side up again so I have the stamped image facing me.  The black becomes much more striking and the colors all soften one more step to a very watercolor look.

RM moon 10


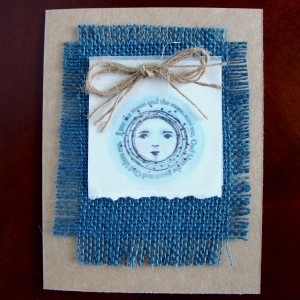
To finish I decided to stamp the words to the song onto a small piece of water color paper and then layer my colored image over the words so they show through.  I added a simple bow of tine and layered it on top of blue burlap and a kraft cardstock base.

RM moon 11

Thank you so much for stopping by my blog today!  I hope you will come back by again!  Next Wednesday I have a HUGE announcement that includes a prize giveaway, so you rely need to make it back!

Happy coloring!

Posted on

RubberMoon and Copic In the Craft Room

Welcome back me!  I have been out of town for a week visiting the beautiful Levenworth, Washington area with my Mom and Dad.  We had a spectacular week with Pike’s Place market, river rafting, horseback riding, hiking, shopping and lots of spectacular food!  The weather could not have been more beautiful and we soaked in the family time!

photo-2

SO being out of town now I have a little catch up work to do!  BUT first let’s start with what is going live today!  I have 2 tidbits to share that popped up on the internet today.  The first is a new tutorial over at RubberMoon.  I have to say it have been fun getting some stamp time in again.  It had been way too long and RubberMoon stamps are beautiful and lend themselves to creativity.  For this particular tutorial I decided to do a little cleaning and playing all in one.  Check out the details HERE.

RMnecklace14


Then I was featured in a little post at the Copic in the Craft Room Facebook page.  You can check it out HERE.  The work that was featured was the Bokeh technique that I used for a layout at Get It Scrapped.  You can see that particular article HERE and If you want to see my post about how it was created check HERE.

Boka

Posted on 2 Comments

Rubbermoon and Copic Journal Cover

Welcome to my blog for another quick peek at some beautiful Rubbermoon stamps and coloring with Copic markers.  I am going to give you all the steps and the colors I used but remember you can always substitute and if you have questions about what might work you can post a question in the comments and I will let you know!

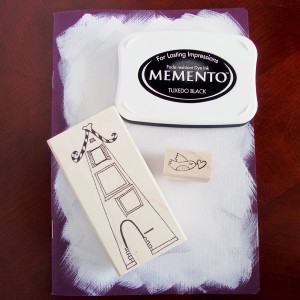
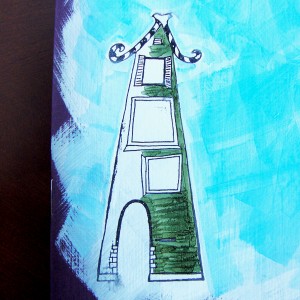
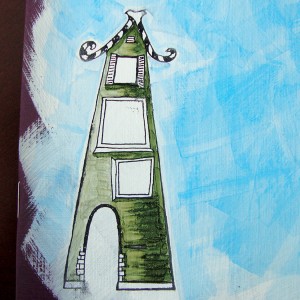
I started with a simple paper journal that I painted with Gesso.  This is going to change my coloring surface and make the Copics look very different.  Then I used Momento ink to stamp both “Lovely Loft House” by Dave Brethauer and “Spread the Love” by Kae Pea.  When stamping on Gesso you will want to heat set your ink OR wait several hours before working.  You will see on my art where I did not wait and ended up with some smearing.
journal01

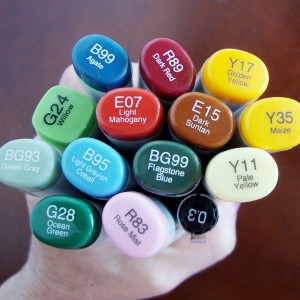
Here are all the Copics I used B95, B99, R83, R89, E15, Y11, Y17, Y35, BG93, BG99, G24, G28, E07 and a 0.3 Multiliner.

journal001

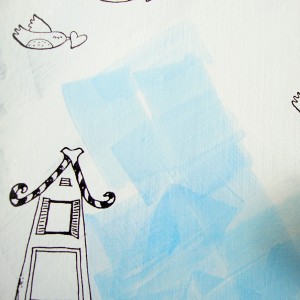
Then I added one more marker, a wide Copic B32.  I decided to keep it very loose and color the sky with this broad Copic.

journal03

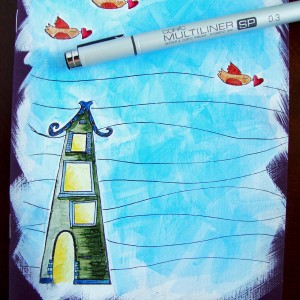
Next are the little birds, I started with Both the R83 and R89 I colored in the small hearts.

journal04

Then I went back in with the R83 to create a little smoother blend.  On the Gesso it won’t be totally smooth but more painterly.  ** Special note when using Copic markers on top of other mediums or surfaces you might pick up other inks, paints or mediums on your nibs.  It is easy to take of, just scrub them off on scratch paper as you work.  If they happen to dry you can always change them, but is easy to clean as you go and not ave the extra cost.

journal05


The rest of the little birds get colored with E15 on the bodies and E07 for the bellies and wings.  The tiny beaks get a touch of Y35.

journal06

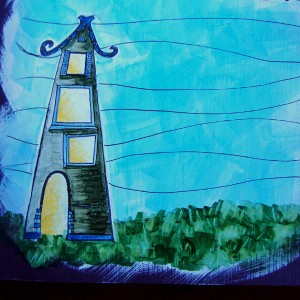
The Loft House is next and I am starting with the bulk of the building and working with BG99 to start.

journal07


Coming in from the opposite side with BG93 and flicking the color into the darker shade.  It is easy to see how easily the Copics blend on top of the gesso on this step.  Even with colors that are extremes from light to dark.

journal08


Use Y11 and Y17 to add light and welcome to the windows and door.  I started with the dark first and flicked in the lighter color.

journal09


Small brick, roof and shutter details with B99 and B95, no blending here just coloring.

journal10


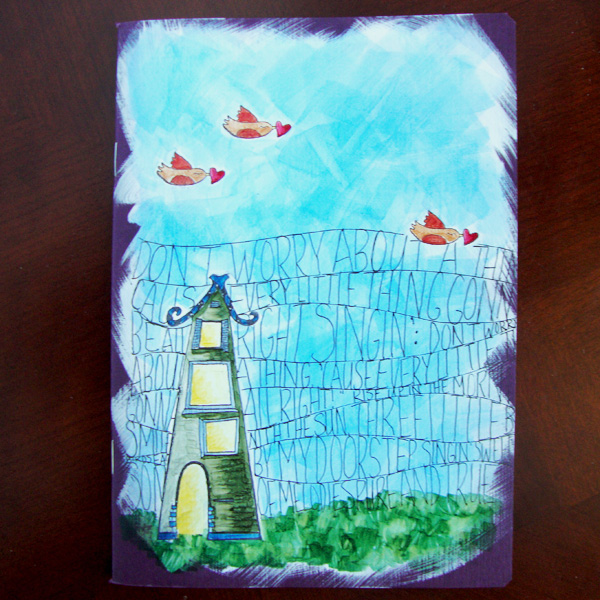
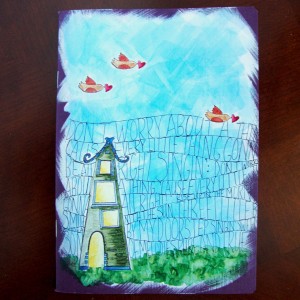
I wanted to add a chorus and verse from the song “Three Little Birds”  by Bob Marley.  For a fun easy lettering technique I added wavy lines with a Copic Multiliner.

journal11

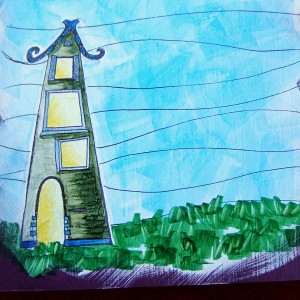
Then I remembered I wanted to add ground under my house so it is not floating so I added scribbly grass with a G28.

journal12

I added some G24 in the same scribbly fashion into the grass as well.

journal13

To finish I added the words to the song.  I allowed the letters to stretch and shrink according to the lines.

journalfinished


My journal is ready for creating or for gifting.  Someone might need a smile and a “don’t worry” message today.  Thank you so much for stopping by today!  Make sure to check the recent art work at Rubbermoon as well.  There have been some amazing posts over the past week with paper dolls made from pieces of stamped images with doodling, intuitive painting, and shrinky dink jewelry that I guarantee my daughter’s and I will be trying this summer!

Happy Wednesday!


Posted on 3 Comments

RubberMoon and Copic Background

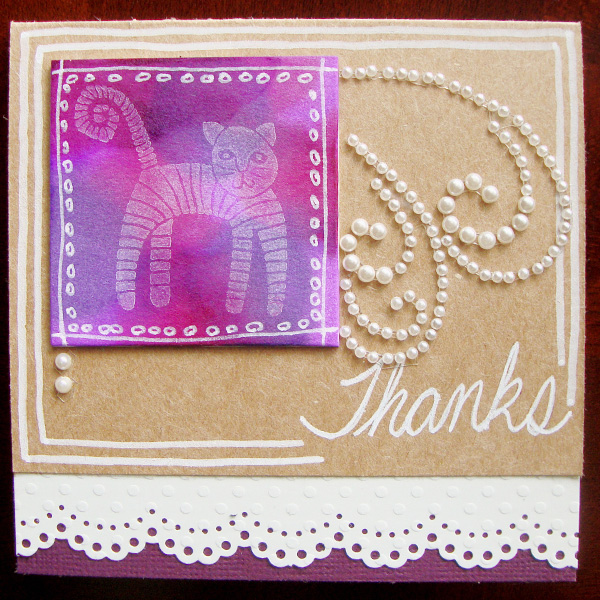
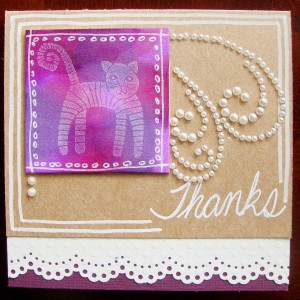
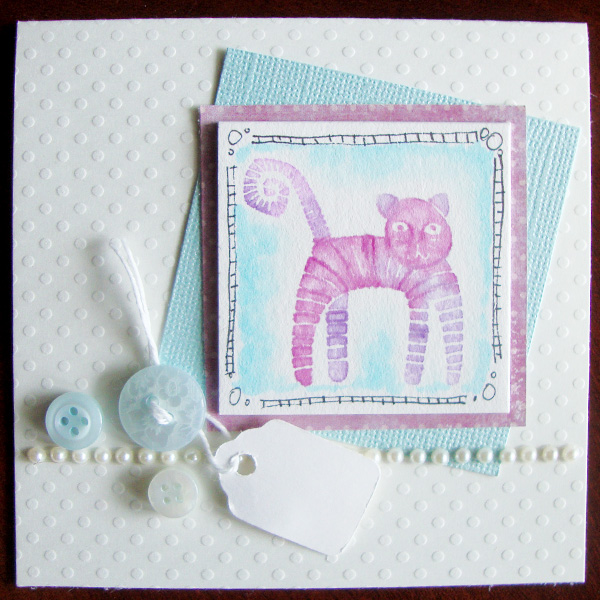
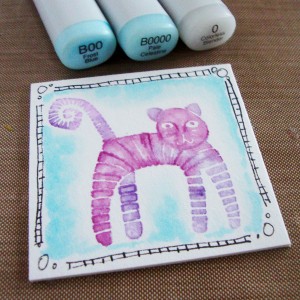
Hello RubberMoon fans!  Welcome to my blog!  As promised I have a second tutorial using Gretchen Ehrsam’s  Striped Cat  I created another card but this time wanted a completely different look to show you the versatility of one stamp and a fun different technique with Copic Various Inks (the refills).  The supplies I used are:
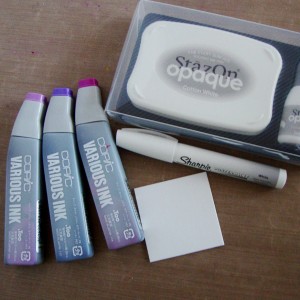
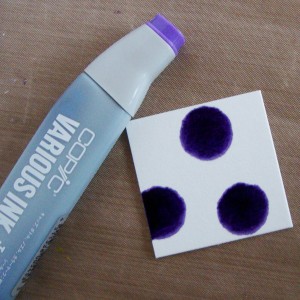
Striped Cat stamp by Gretchen Ehrsam, a white Sharpie paint pen, Copic Various ink in V04, V17 and RV66, a 2″ Art Square, and StazOn opaque white ink.

RMb1

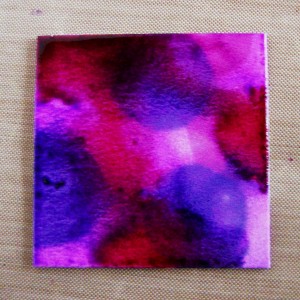
Step #1 – Drip Copic Ink directly onto the art square.  The colors will bleed quite a bit so you will only need 3 or 4 drops of 3 colors.

RMb2

RMb3

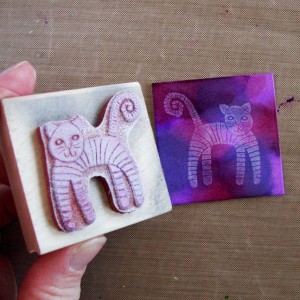
Step #2 – After the ink is completely dry, use StazOn opaque white ink to stamp your image onto your square.

RMb4

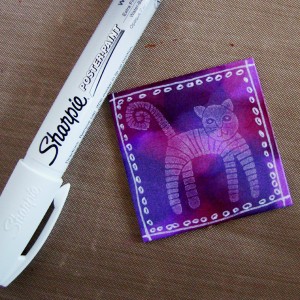
Step #3 – Use an opaque white pen to add doodles onto your square, my FAVORITE white marker is a Sharpie poster paint pen.

RMb5

Step #4 – Add your square onto your card base, I used a wine colored card stock and white Swiss Dot Cardstock from Bazzill and a small piece of Kraft card stock, I added pearls and more doodling with my Sharpie.

RMb6

Thank you so much for stopping by today to take a peek at my RubberMoon creation.  Make sure to stop by the RubberMoon blog as well if you have not had a chance to this week!  Nancy posted an amazing inky tutorial there Monday!
Happy Wednesday!


Posted on

Stamping with Copic

My first tutorial posted over at RubberMoon today!  It is a quick fun technique using Copics and stamps, but not the way you normally would 🙂

Check it out HERE

RM6Hope you have time to check it out!

Happy Friday!