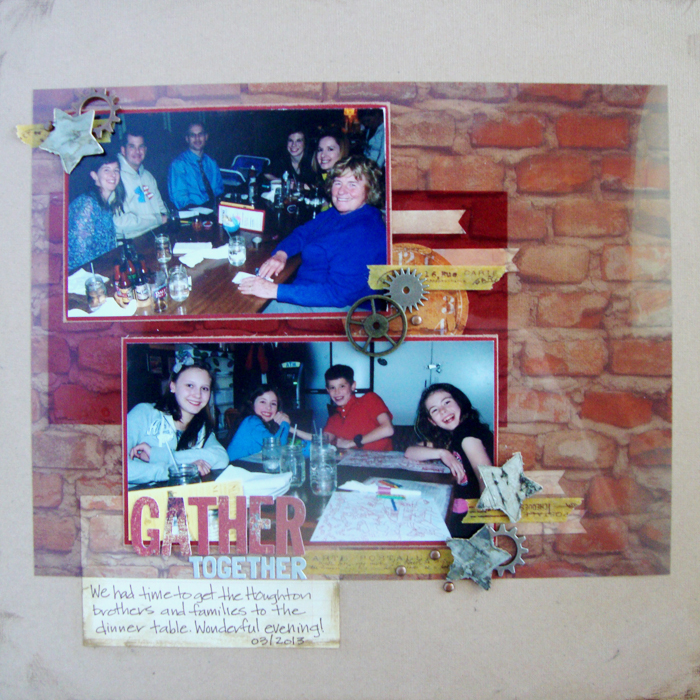
A fun crazy layout posted this week over at Get It Scrapped. I had way too much fun with this one and it’s crazy color combination. We were all working with big dots on our layouts. Here is my page:
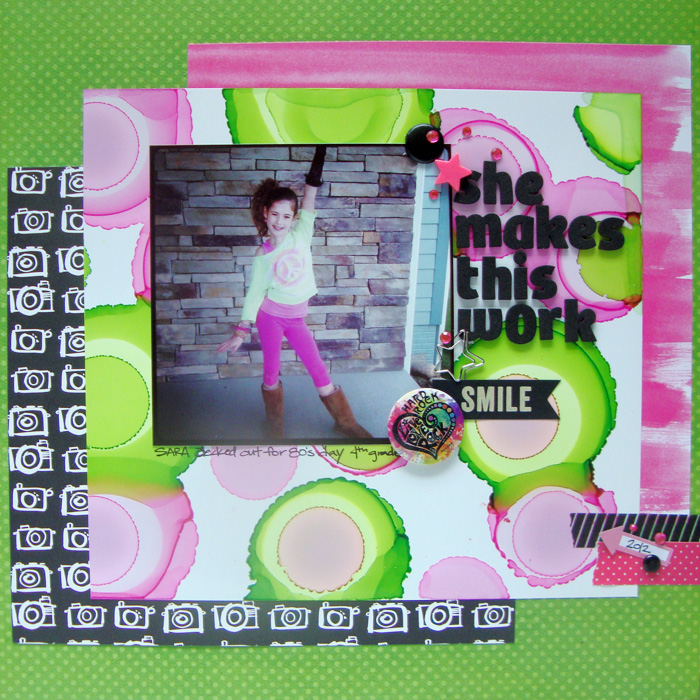
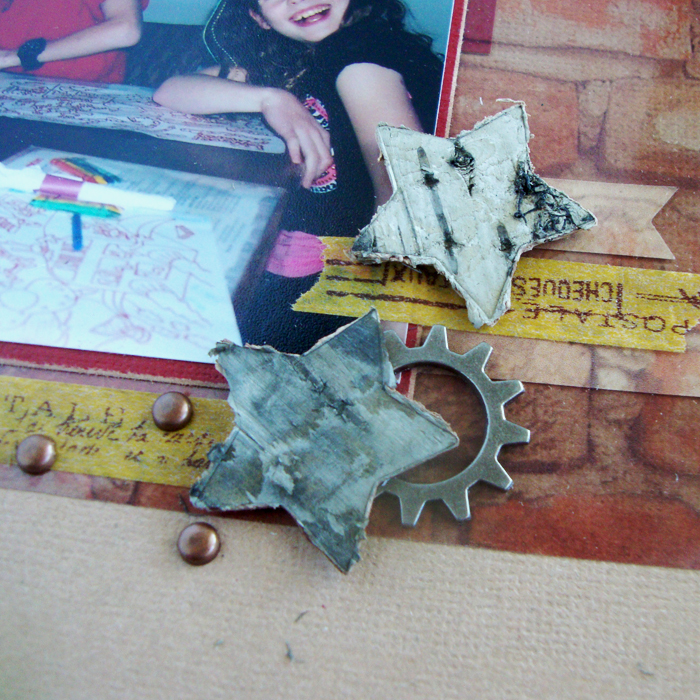
She Makes This Work by Michelle Houghton | Supplies: patterned paper; American Crafts Amy Tangerine and Bo Bunny, rhinestones; Kaiser Kraft, Washi tape; Bella Blvd. and Freckled Fawn, foam letters; American Crafts, star clip, arrow sticker and plastic star, Freckled Fawn, Smile banner; Pebbles, brads; SEI, flair; pin from Hard Rock Cafe, ink; Copic and Sharpie
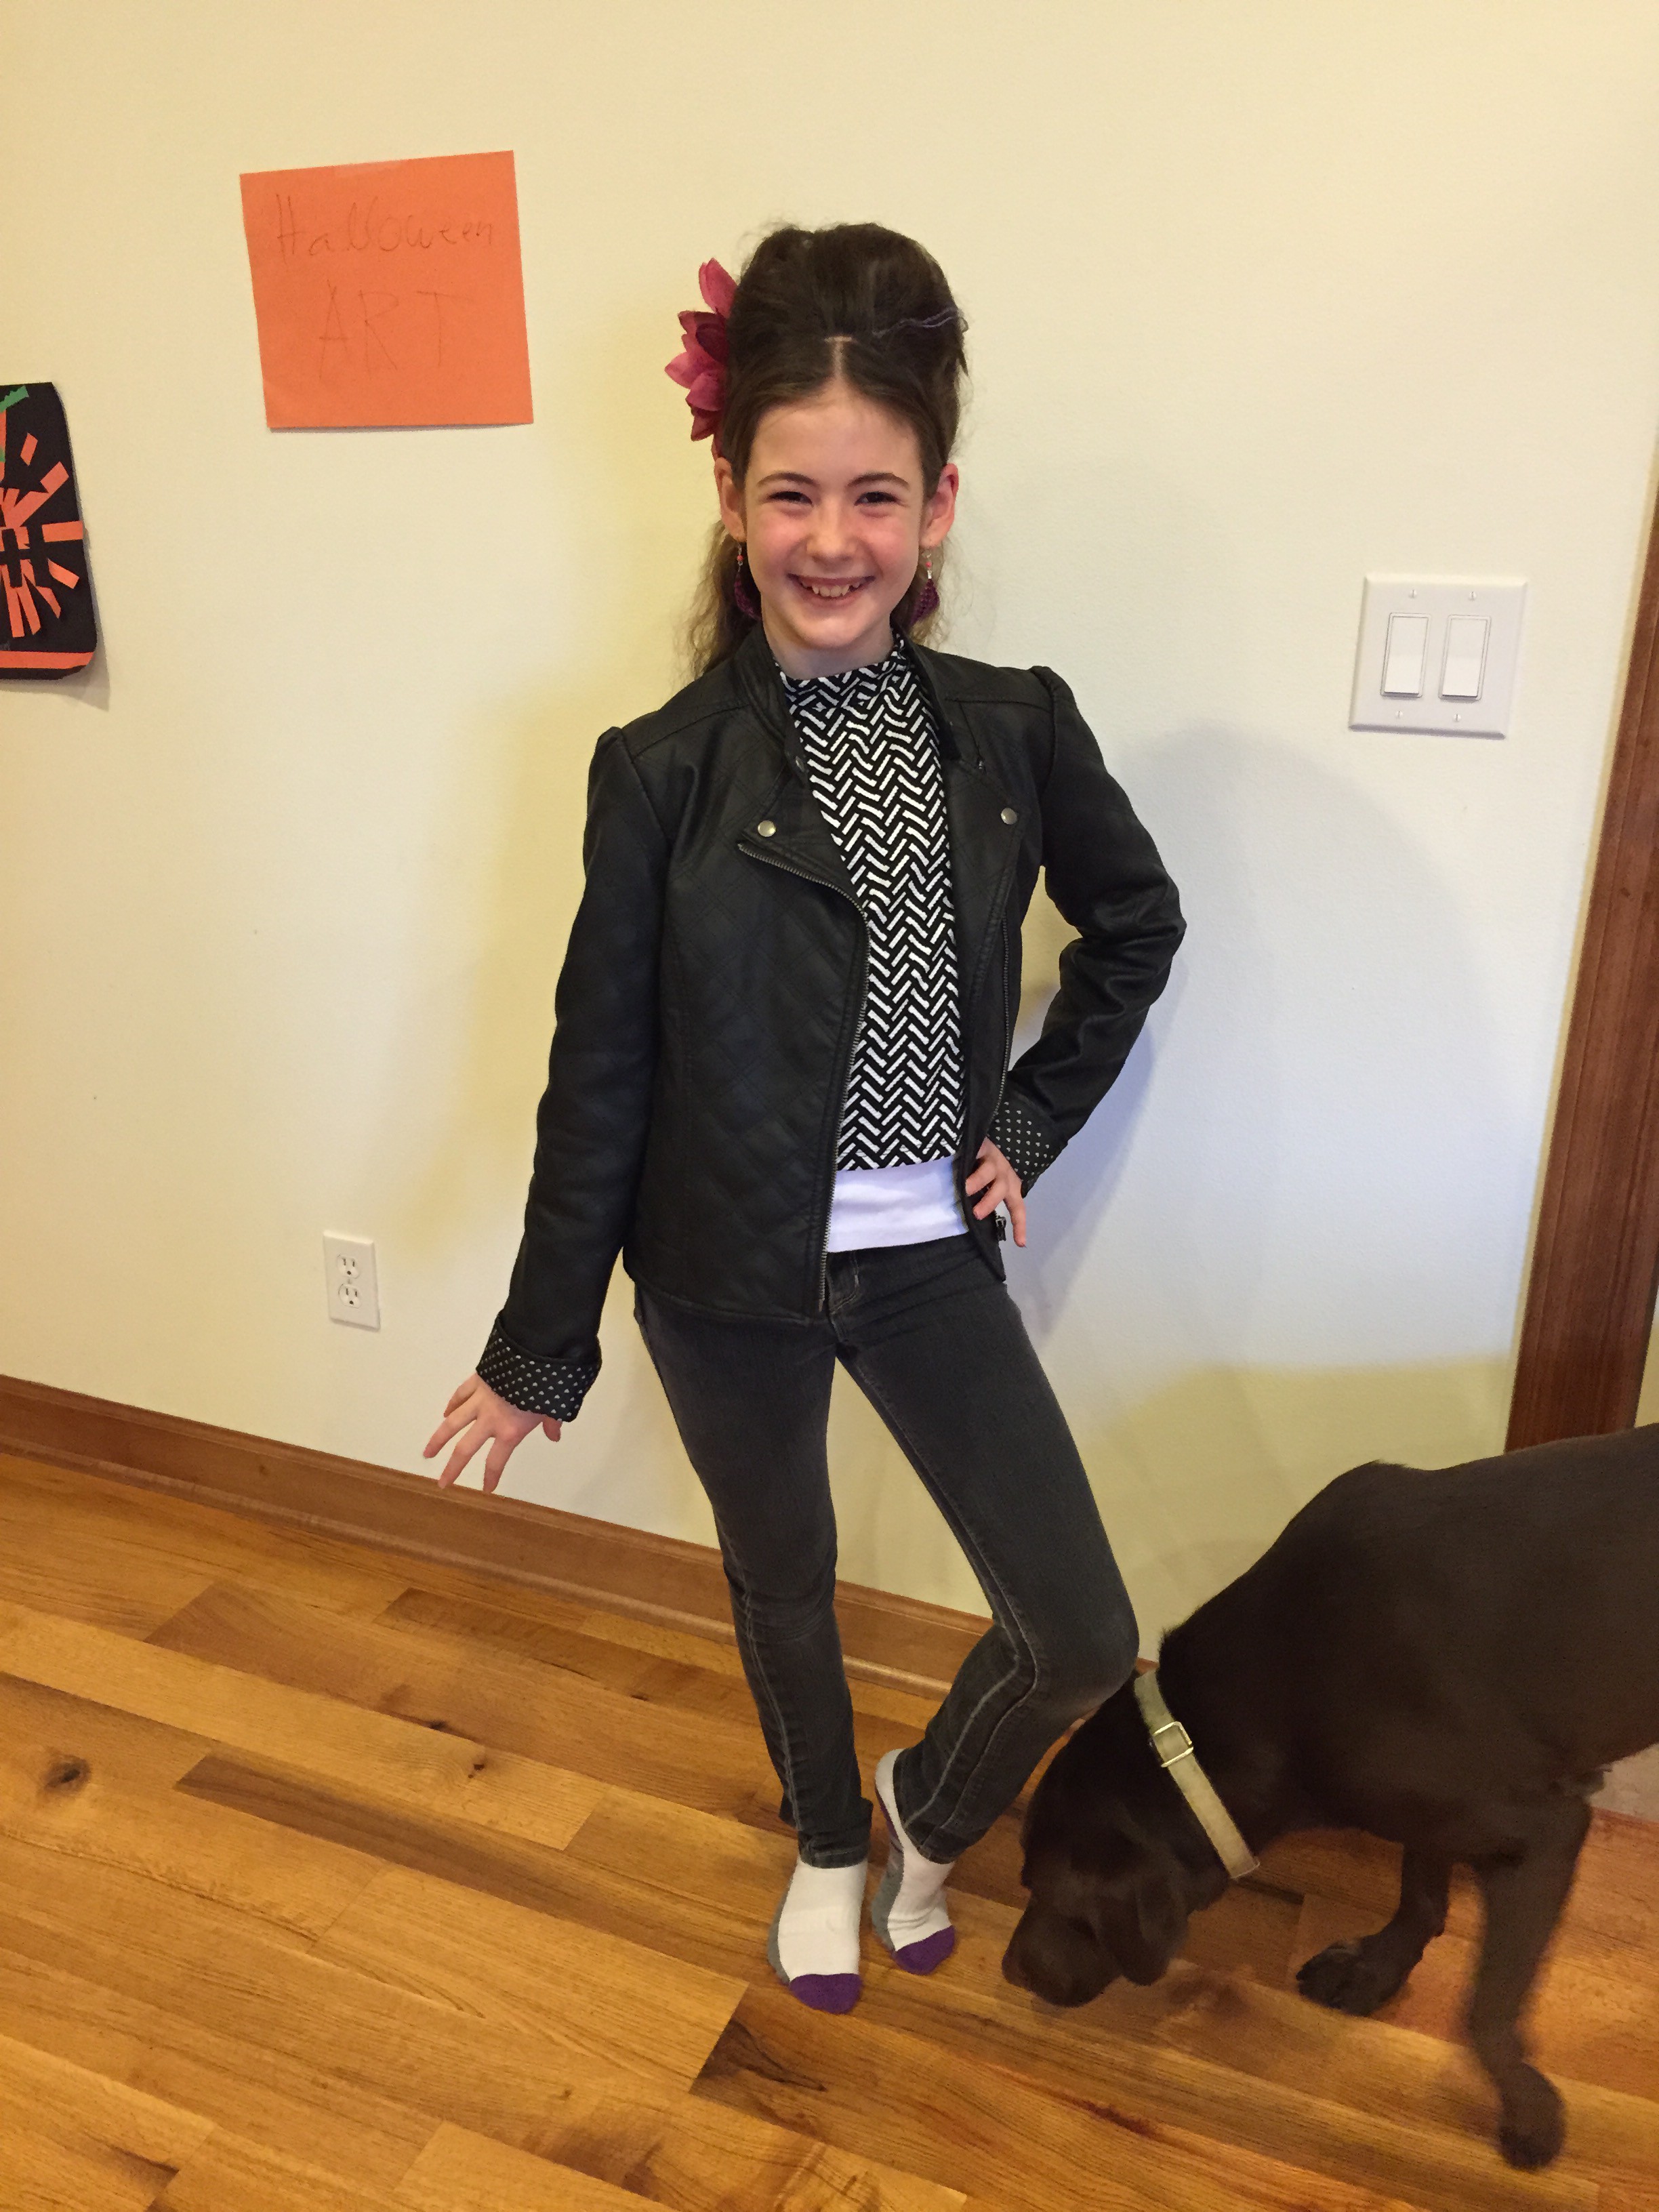
I smile whenever I see this photo of Sara and when I discovered that I not only had not scrapped it, but neglected printing it I was shocked! This is so Sara all sass and only she can look this good in a high side pony tail, neon pink and green with bangles and lace glove to top it off. I am so glad I finally circled back around to the photo and love how the page finally pulled together.
I have used this particular technique before with Copic inks and thought it would really capture the bright crazy colors like nothing else would. I used a glossy photo paper and then dripped 2-3 dots of Copic ink and let it spread. I did find fairly quickly that I needed to wait for the ink to completely stop spreading before adding more ink. My fist attempt was a page full of color. For a comparison the pink dots that are smaller on the page are only a single drop of ink. So two spread well beyond what I expected.
As always there is stunning inspiration over at Get It Scrapped, check out the article HERE.
Happy Crafting!