Posted on 1 Comment

Copic Air Brush and Stencil

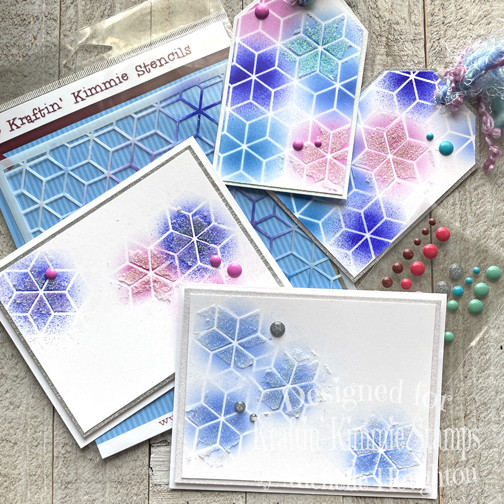
As part of the Instagram Blog Hop for the Kraftin’ Kimmie October release I created two tags and two cards really FAST with my Copic Air Brush System, one of the new stencils and Krafty dots from Kraftin’ Kimmie and some glitter paste!
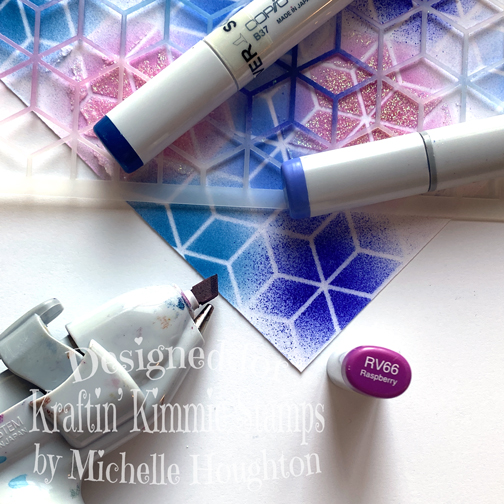
I started with three sheets of white card stock cut to 4.25 x 5.5 and used my air brush to blow color into the centers of the star shapes on the stencil. I was going for a snowflake look.
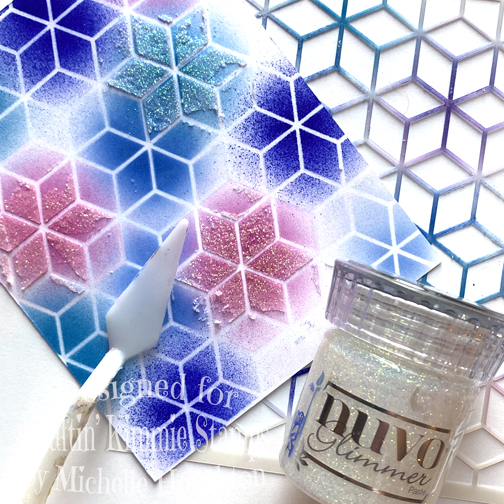
Next I slayed the stencil back onto of the star shaped and scraped glitter paste over a few of the star/snowflake shapes.
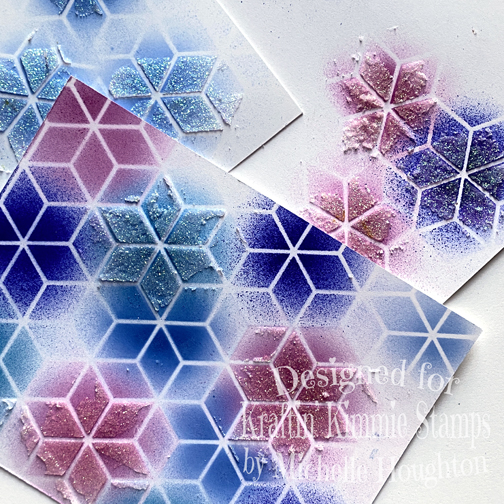
Two of the card fronts only have 4 snowflakes total where the third is covered in them.
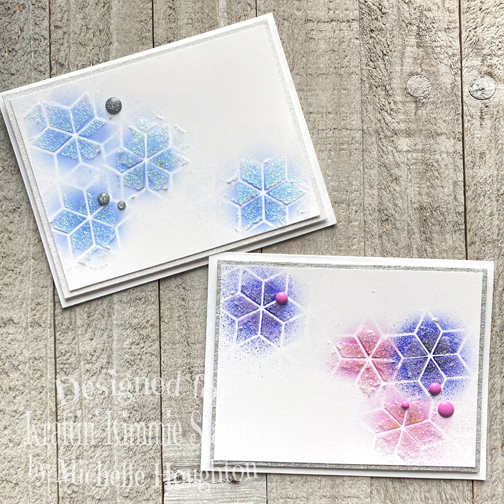
The two with limited snowflakes got trimmed then popped up with glittery cardstock in-between the card base and the card front. I also added a sprinkle of Krafty Dots for just a little something.
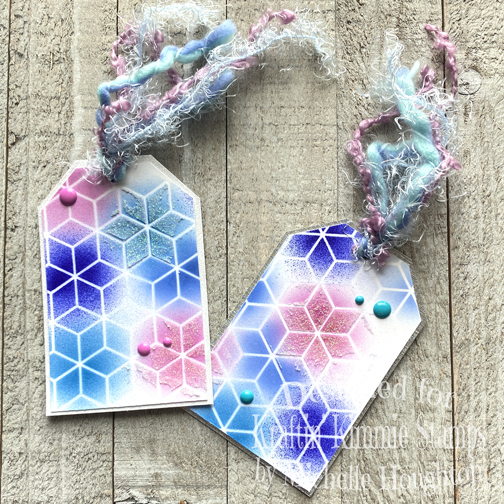
The third card front got divided in two and became two tags. I based these with sparkly cardstock, added a sprinkle of dots and a fun fiber tie to complete them!
If you came here from Instagram make sure to scoot back over to complete the hop! If you are seeing this through Facebook or my blog head over to my Instagram feed and follow instructions so you can get your name in the drawing for some Kraftin’ Kimmie prizes!

Have A Happy Colorful Day!

Posted on 3 Comments

Kraftin’ Kimmie October Release Hop!

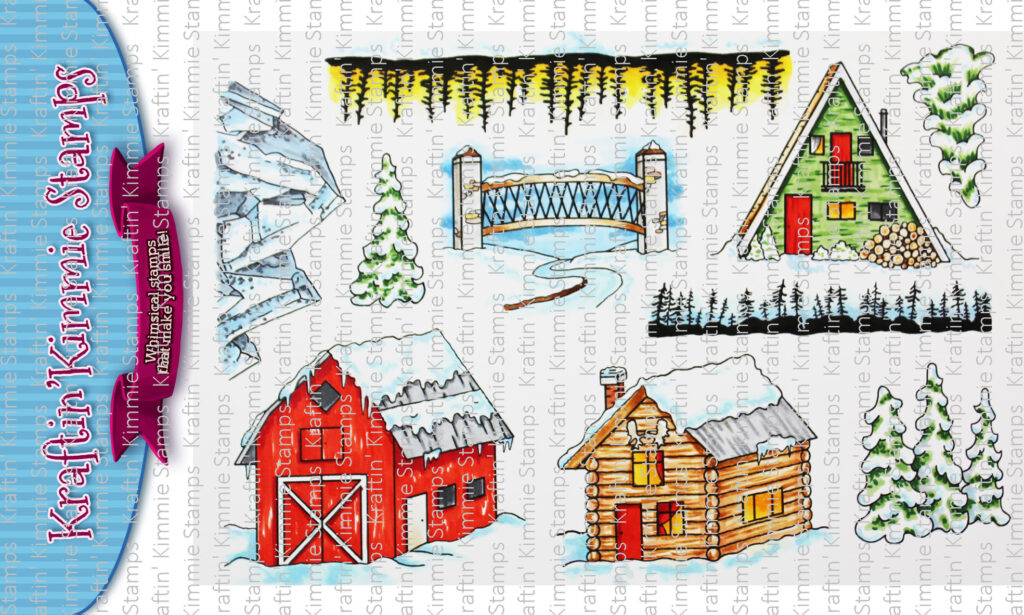
Woohoo!!! Today we are celebrating all the new fabulous holiday goodies in our October Release that are NOW available in the Kraftin’ Kimmie Stamps Shop! All three of our new stamp sets, plus two new stencils, a new hybrid ink colour Amazing Azure and new Dazzling Dots were released yesterday and we’re excited to share it ALL with you in a fabulous krafty HOP! So let’s check everything out as we hop around the Krafty Design Team’s blogs today! Grab a nice hot beverage, sit back and relax while we take you on the krafty tour! First up we have TWO new stamp sets from artist Sabrina van Vloten! The first is called KRAFTY ELVES….. and the second is WISH UPON A STAR! The last stamp set is from our brand new artist, Allison Cope! Check out WINTER SCENERY! Available now is our stunning new electric blue hybrid ink colour called AMAZING AZURE! As always it’s available in large ink pad, ink cube and ink refill! We have two new AMAZING stencils called…. MAGICAL MOSAIC and SO MANY SQUARES! And lastly we have the perfect finishing touch for your holiday creations with our new Krafty Dots called……DAZZLING DOTS! Now head on out on today’s celebration blog hop and check out all the new products in action as the Krafty Team shares their incredible designs! Then jump on over to the Kraftin’ Kimmie Stamps shop and grab some of these fabulous goodies for yourself! Happy kraftin’!

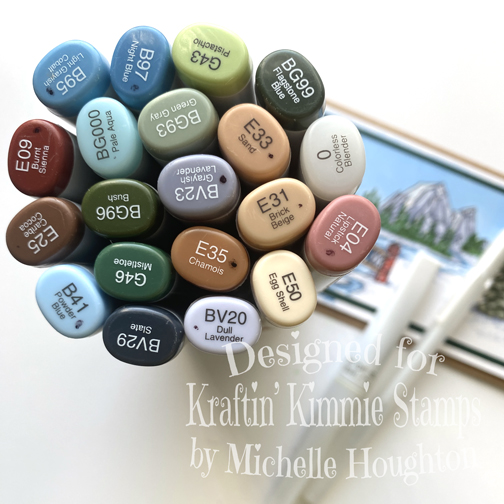
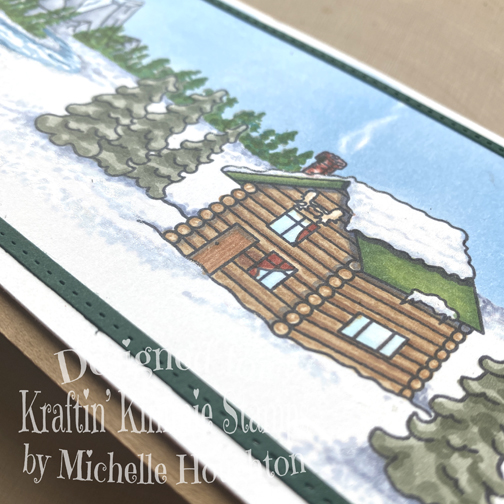
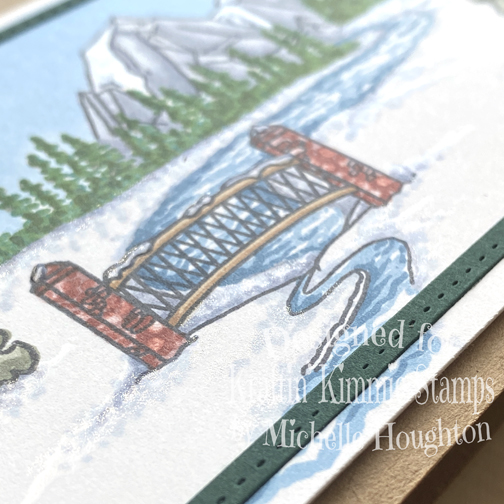
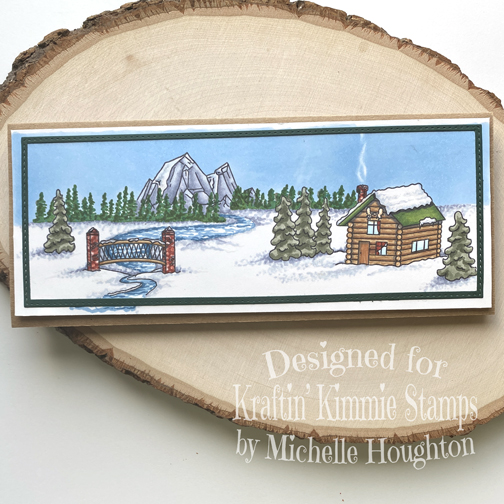
I decided to play with the Winter scenery stamp set today and attempted a full scene on a slimline card. I used my I stamped out the full scene first. I added a river running from the mountains out under the bridge very lightly with pencil. And then I colored up the full scene with my Copics. Here are some views.

I kept the scene at the center of attention. with a couple layers. There is a card base, the image is popped up on foam and then a very narrow frame layer on top of the image.

Was honored to get to play with Alison Cope’s first stamp release with Kraftin’ Kimmie! Hope there will be more to come!

Have a Happy Colorful Day!
You are invited to the Inlinkz link party!

Click here to enter
Posted on

Slimline cards with Color Burst and new Slimline dies

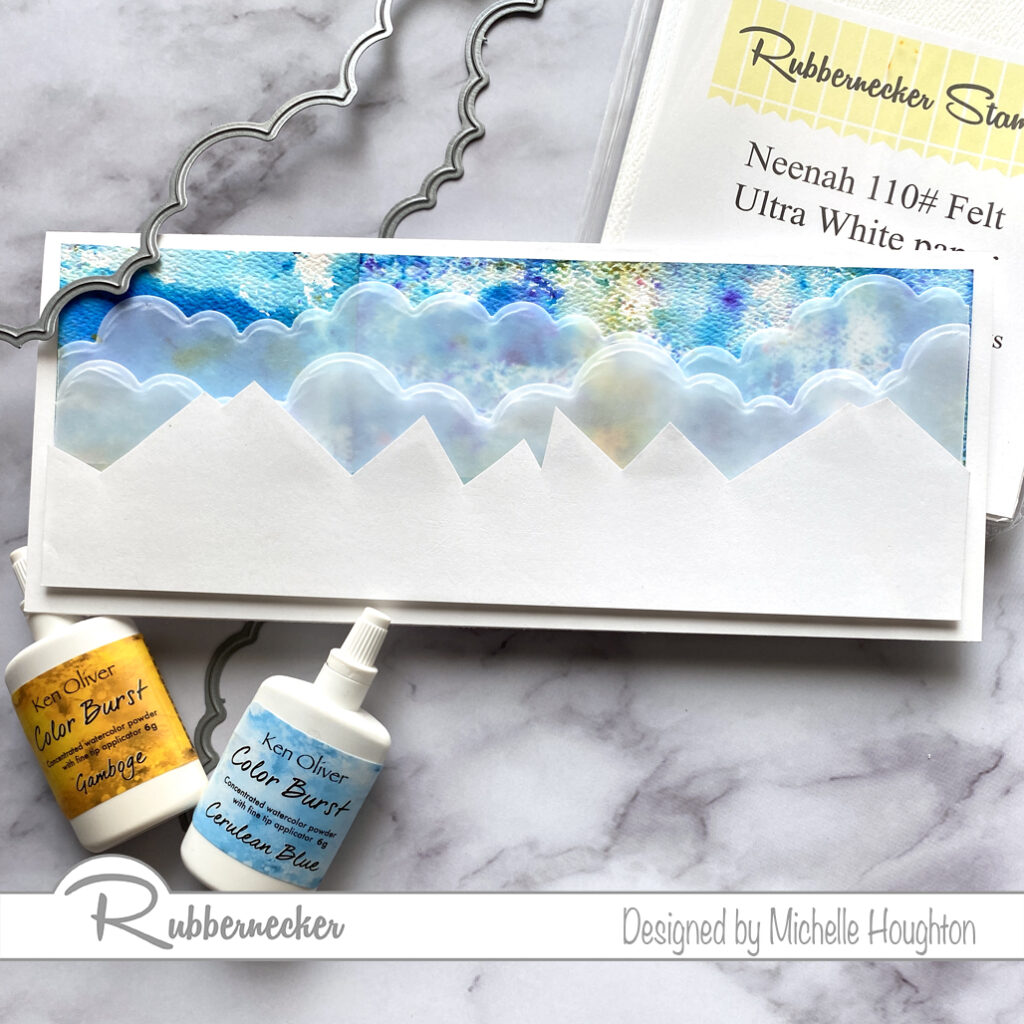
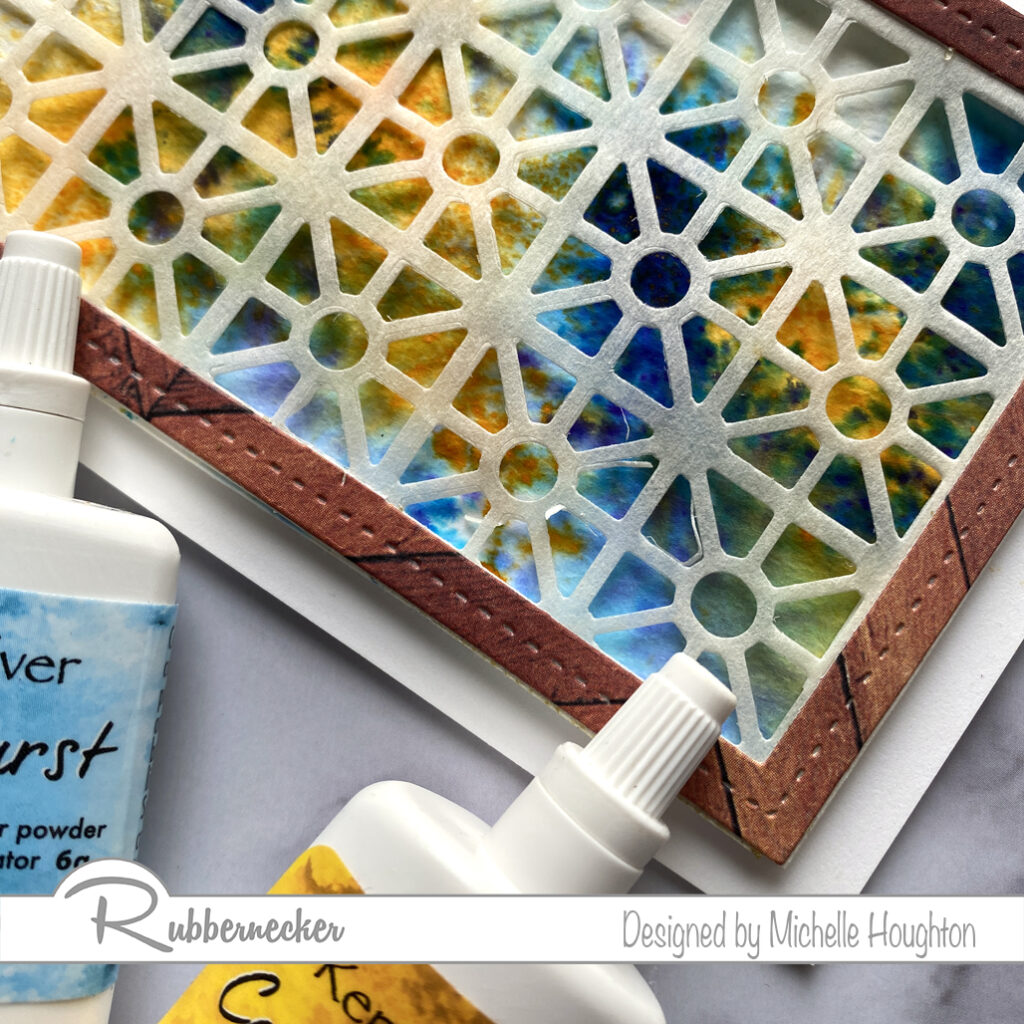
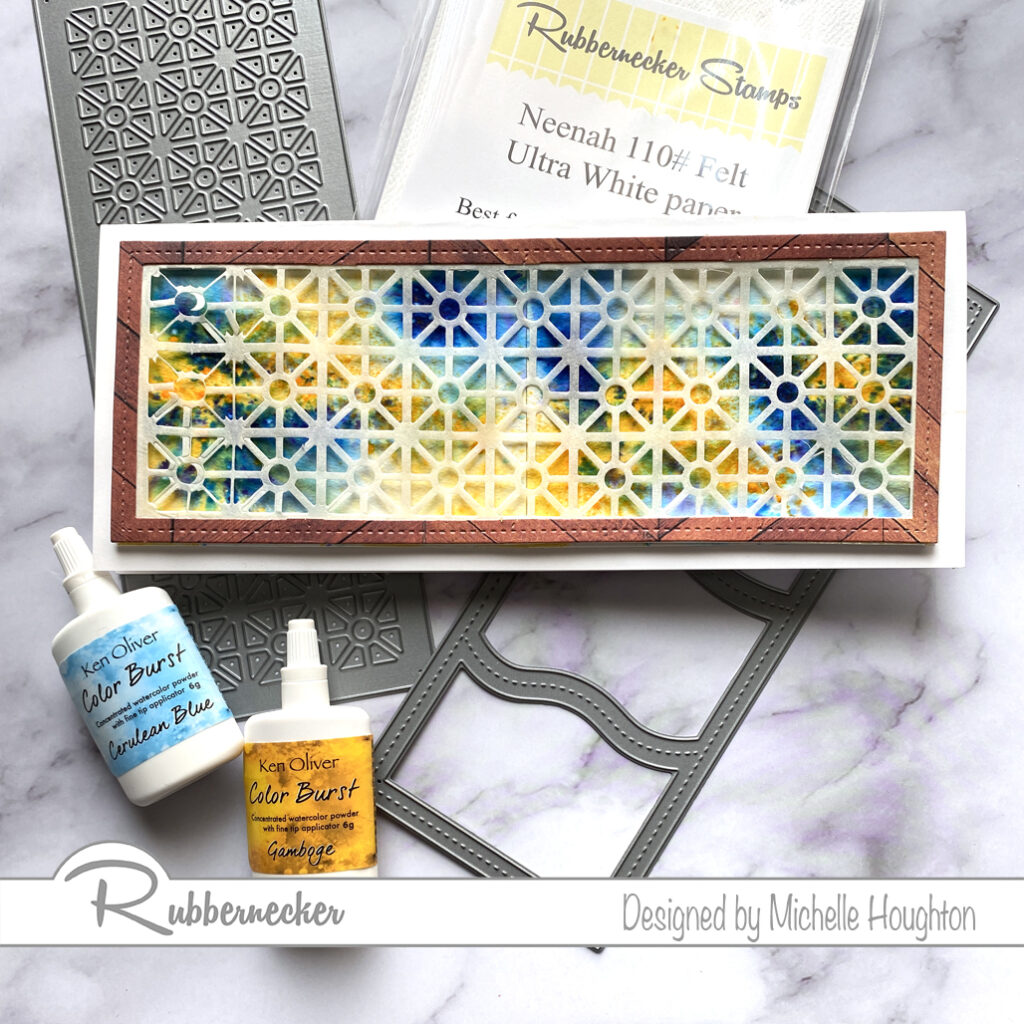
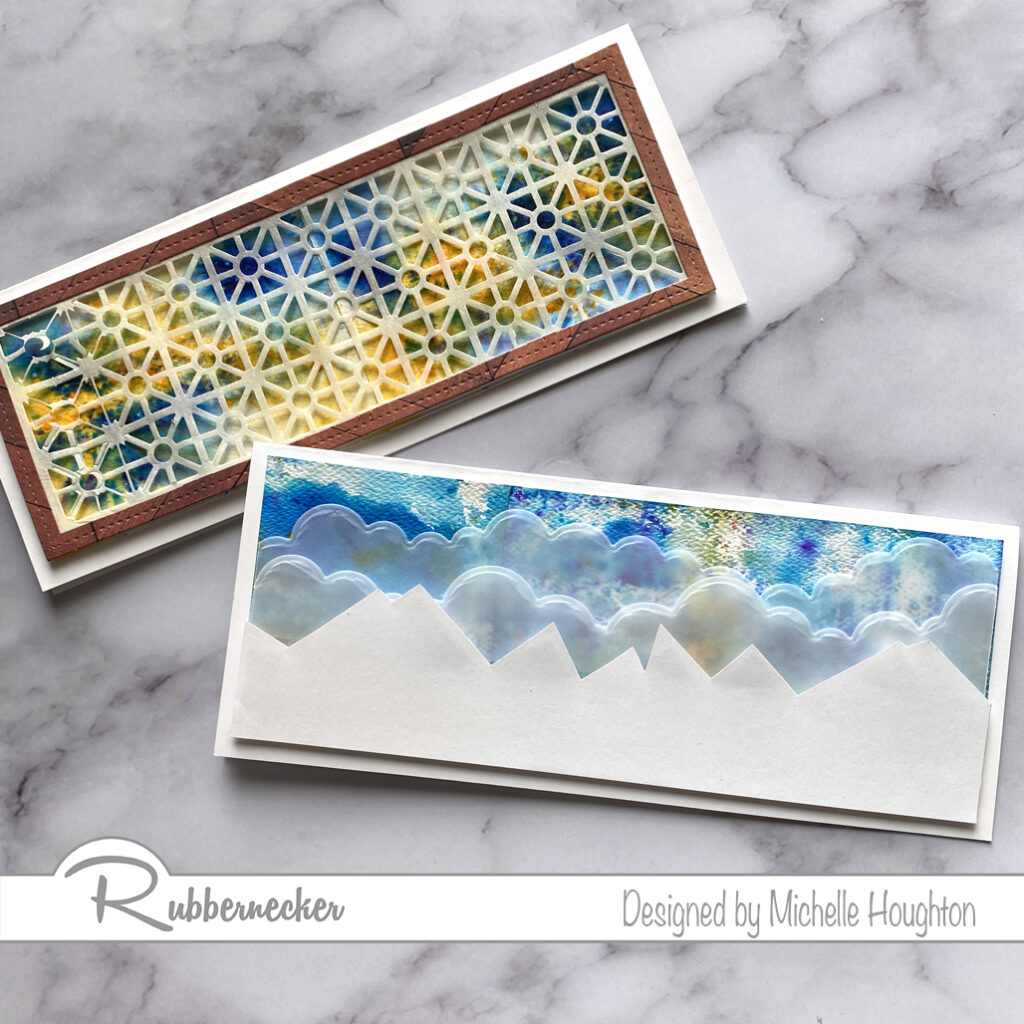
Good morning! A couple SIMPLE new cards today using Color Burst and a couple new dies from Rubbermoon! I am new to both Color Burst as well as slimline cards so fun fun! I started with a couple backgrounds withColor Burst and watercolor paper, then used some dies to create some simple layers. Check out the steps I used below:

  • Sprinkle Color Burst Cerulean Blue and Gamboge on Neenah Felt Ultra White paper.
  • Spritz the paper with water.
  • Let paper dry.
  • Split the paper in half lengthwise.
  • Attach the watercolor paper onto a slimline card base leaving a quarter inch border.
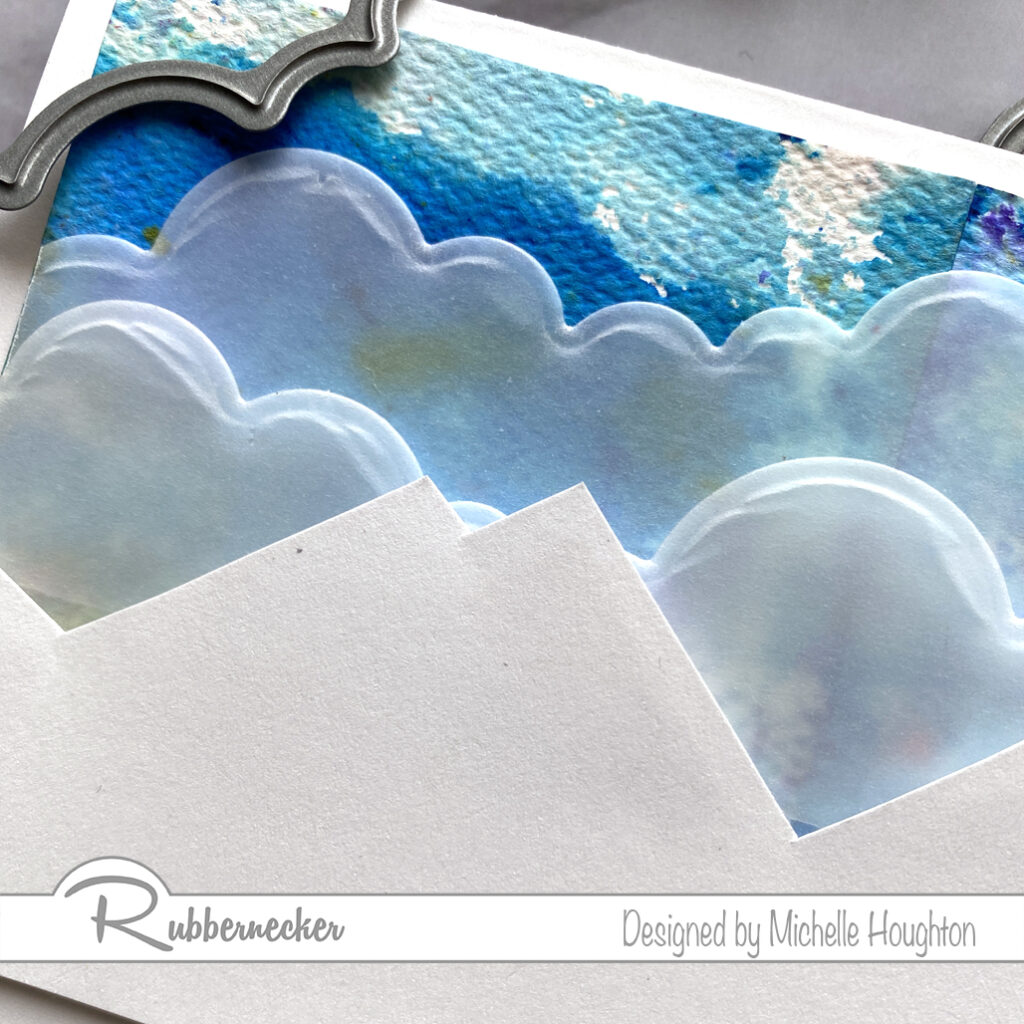
  • Use the cloud slimline die to cut 2 or 3 cloud layers out of vellum.
  • Trim a sheet of white cardstock to be a silhouette of mountain tops (there is a die for this as well, I just don’t have this one😉).
  • Attach the clouds directly to the Color Burst background .
  • Pop up the mountains on top with foam tape.
  • Same start for this card, use two sheets of the Neenah Felt Ultra White Paper and sprinkle Color Burst Cerulean Blue and Gamboge on both.
  • Mist the paper with water.
  • Let the papers dry.
  • Trim the two sheets so they fill a slimline card base leaving a quarter inch border.
  • Use the new OPC Geo Squares die on a rice paper then used the OPC Wavy die on a patterned paper.
  • Trim the waves out of the Wavy die cut so only the frame is left.
  • Attach the patterned paper frame to the edge of the rice paper.
  • Use foam tape to pop up the rice paper and frame above the Color Burst background.

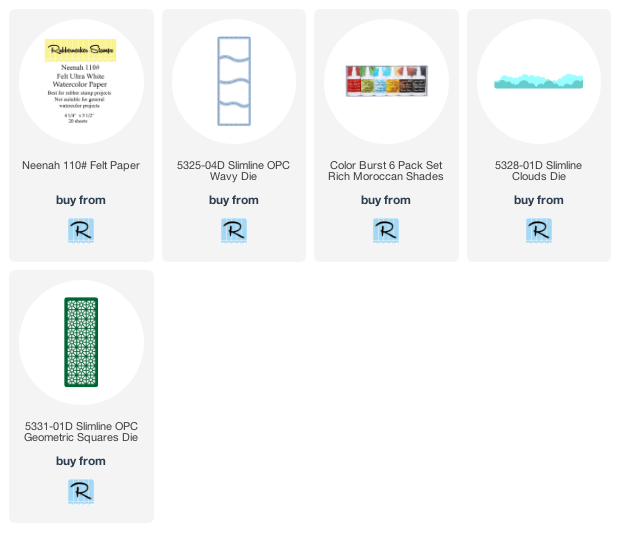
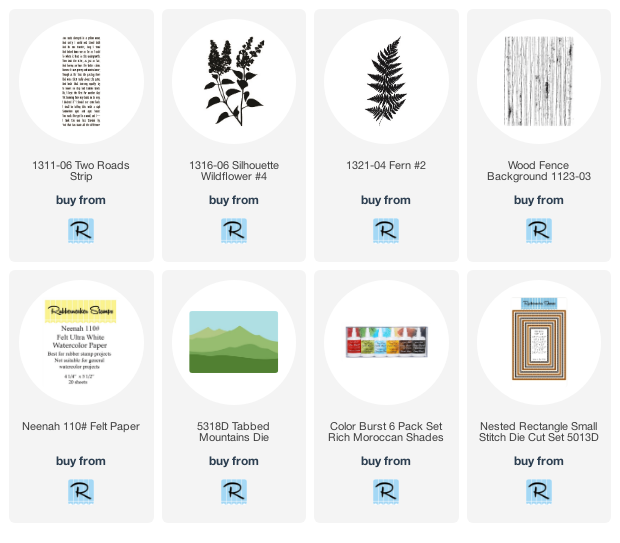
Hope you enjoyed seeing a little of my creative process! Sometimes it is more about making messes and playing with fun colorful materials. This was one of those creations for certain! Thanks for stopping by, all of the Rubbernecker products I used can be found with the links below!

Have a Happy Colorful Day!

Posted on

Krafty Komeback!

It’s a very exciting day at Kraftin’ Kimmie Stamps!
Not only is it challenge day but it’s also time for a….
Krafty Komeback!!
 
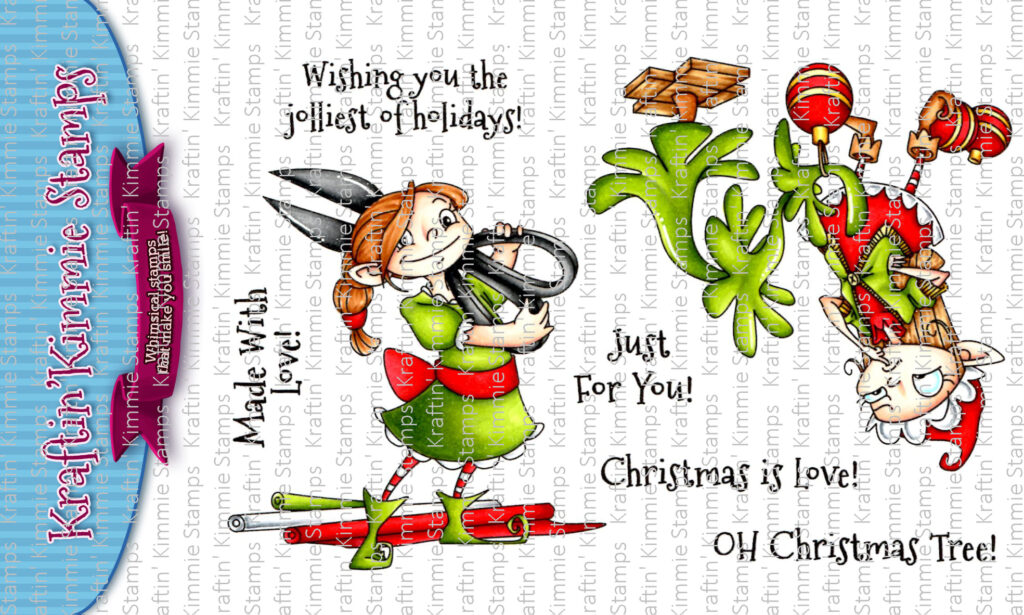
In case you are new to Kraftin’ Kimmie Stamps, we have been creating whimsical krafty stamp sets for almost ELEVEN YEARS! So we have lots of incredible designs that have long retired and once in a while we bring one back for you!
Today we are bringing back two holiday images that were originally released in 2012!! It’s just in time for those Christmas creations! These images were only ever released in rubber and NOW you can get them as a set in clear photopolymer!!
It’s called…..
CHRISTMAS IS LOVE!
 
PLUS we’ve got a new challenge for you and it’s GIRLY AND SPARKLY!
 
Each and every Saturday we post a brand new challenge for the week and you are welcome to enter as many times as you like.
These must be new creations and you are welcome to use any stamp, however, using Kraftin’ Kimmie Stamps and products will earn you double entries!
The monthly prize is a $25 voucher to the Krafty shop!!!
Woohoo! There are two ways to enter: you can link up your creation on the Kraftin’ Kimmie blog page and
you can upload your photo to the album in our
 
Don’t forget to check out this weekend’s
WORLD CARDMAKING DAY SPECIALS!
We are celebrating by putting a large selection of Fall, Halloween and Christmas stamp sets, stencils and krafty dots on SPECIAL this weekend! Enjoy up to 30% OFF these goodies but only for the weekend and ONLY while supplies last!
Happy shoppin’!!

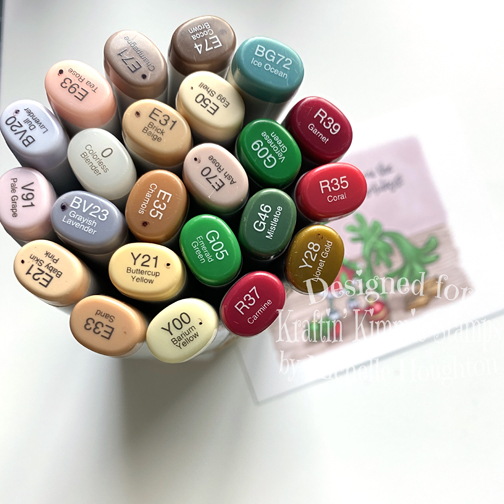
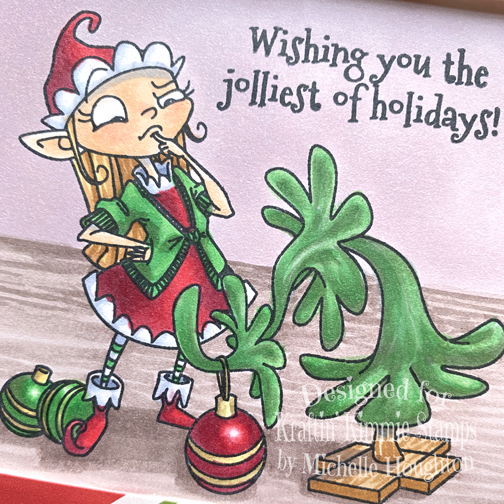
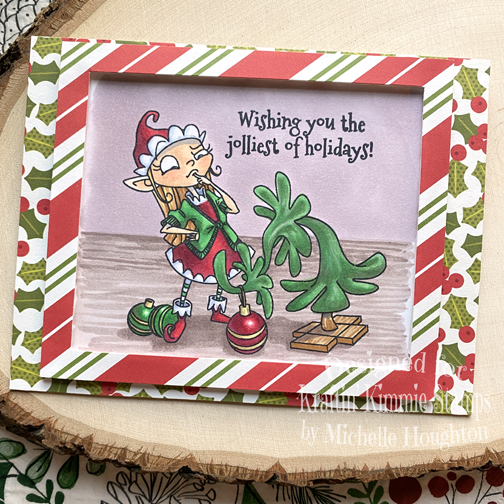
I decided to play with the elf and her little tree. Just couldn’t resist. I colored her up with Copics:

Here is a look at the image:

And with such a cute scene it took a couple bright papers and wa la a card!

Thank you so much for stopping by today! Hope you are getting a little crafty time today!

Have a Happy Colorful Day!
You are invited to the Inlinkz link party!

Click here to enter
Posted on

Happy Halloween from Rubbernecker

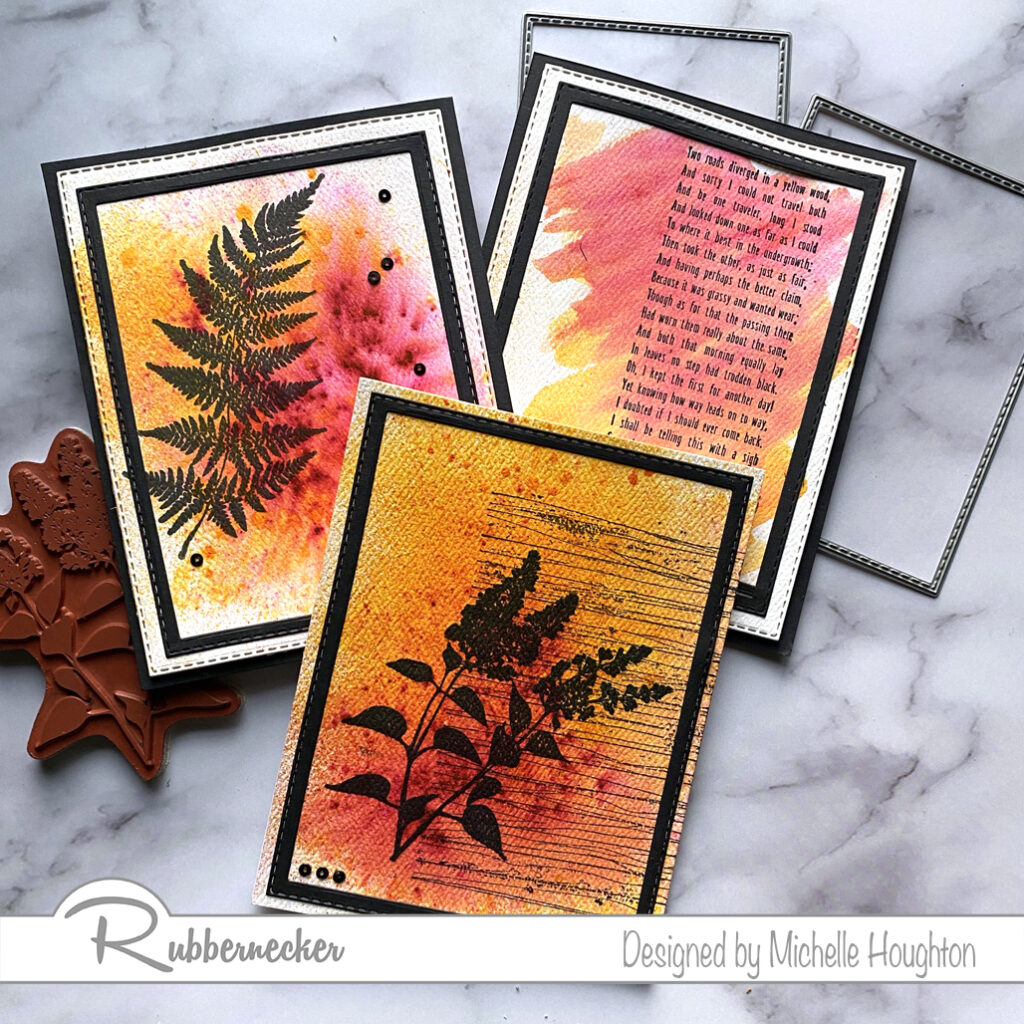
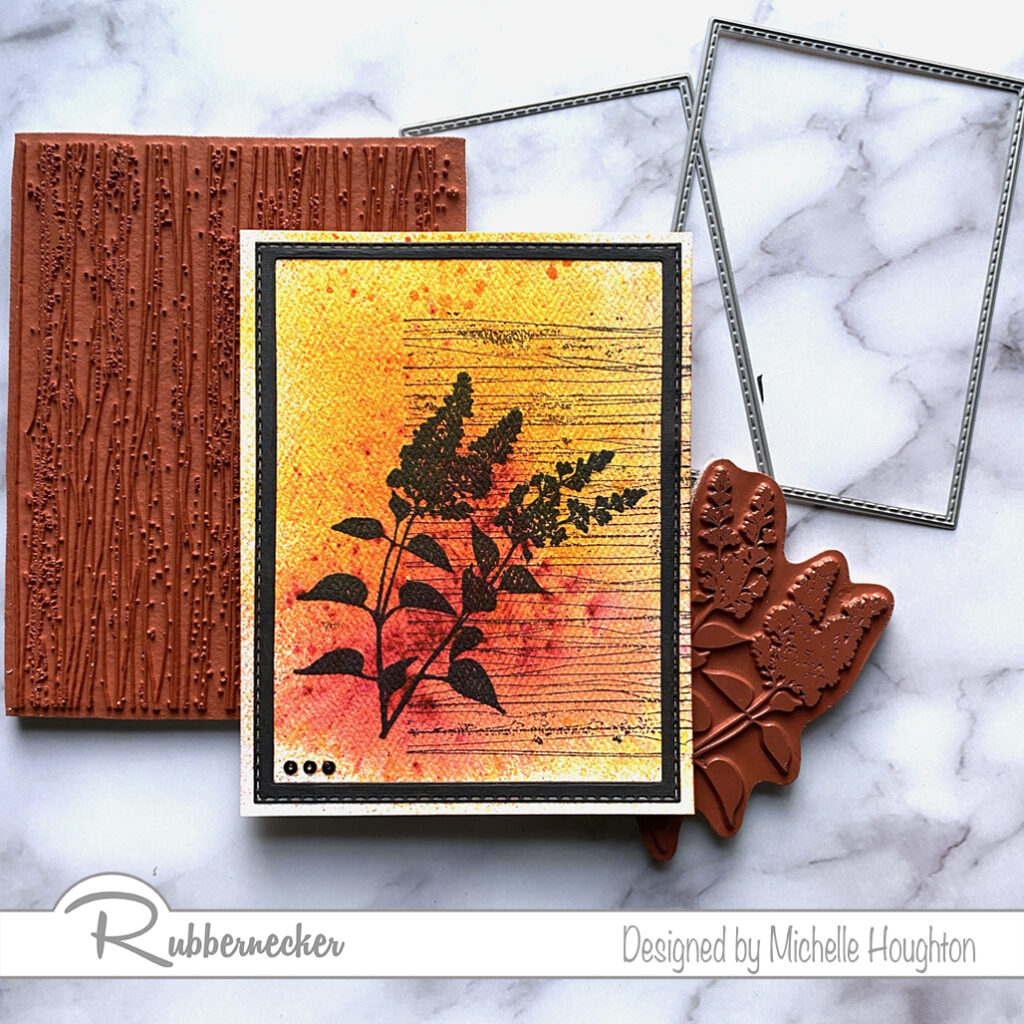
We are celebrating Halloween for 13 days over on the Rubbernecker blog and I am up for day #1! I decided to play with Fall/Halloween colors. I have not had the opportunity to play with Color Burst before and decided this would be a super fun day to do it. I created three cards with Color Burst backgrounds, beautiful silhouette stamps from as well as dies and Neenah Felt Ultra White Paper all from Rubbernecker. Let’s take a look.

I tried three different techniques with the ColorBurst so let’s look at each card.

  • Wet a sheet of Neenah Felt Ultra White paper with water. You can do this with a mister or paint brush.
  • Shake small amounts of Color Burst onto the wet surface.
  • Set the page aside to dry.
  • Once dry, use a background stamp and silhouette stamp in black to create a dramatic image.
  • Use nesting rectangle dies to create a black frame out of cardstock.
  • Layer the card front, frame and a few black sequins or dots on a card front to finish.
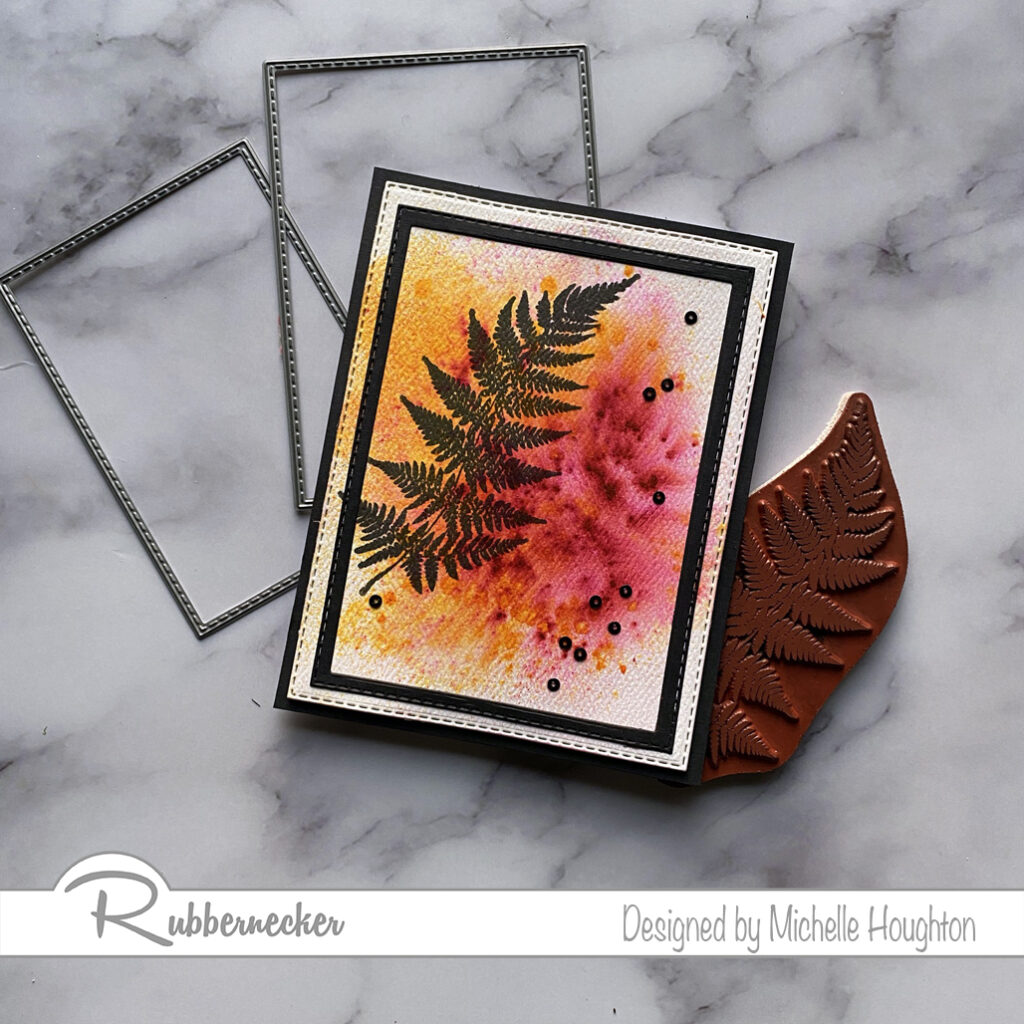
  • Shake Color Burst directly onto a sheet of Neenah Felt Ultra White paper.
  • Use a mister to spray water on top of the dry Color Burst.
  • Set the sheet aside to dry.
  • Once the page is dry use a silhouette stamp and black ink for a dramatic effect.
  • Use rectangle nesting dies to trim down the Color Burst page and create a black cardstock frame.
  • Layer a black card base, Color Burst background, black frame and black sequins or dots to finish the card.
  • Sprinkle dry Color Burst onto a sheet of Neenah Felt Ultra White paper.
  • Use a wet paintbrush to lightly run over the Color Burst creating a watercolor background.
  • Set the sheet aside to dry.
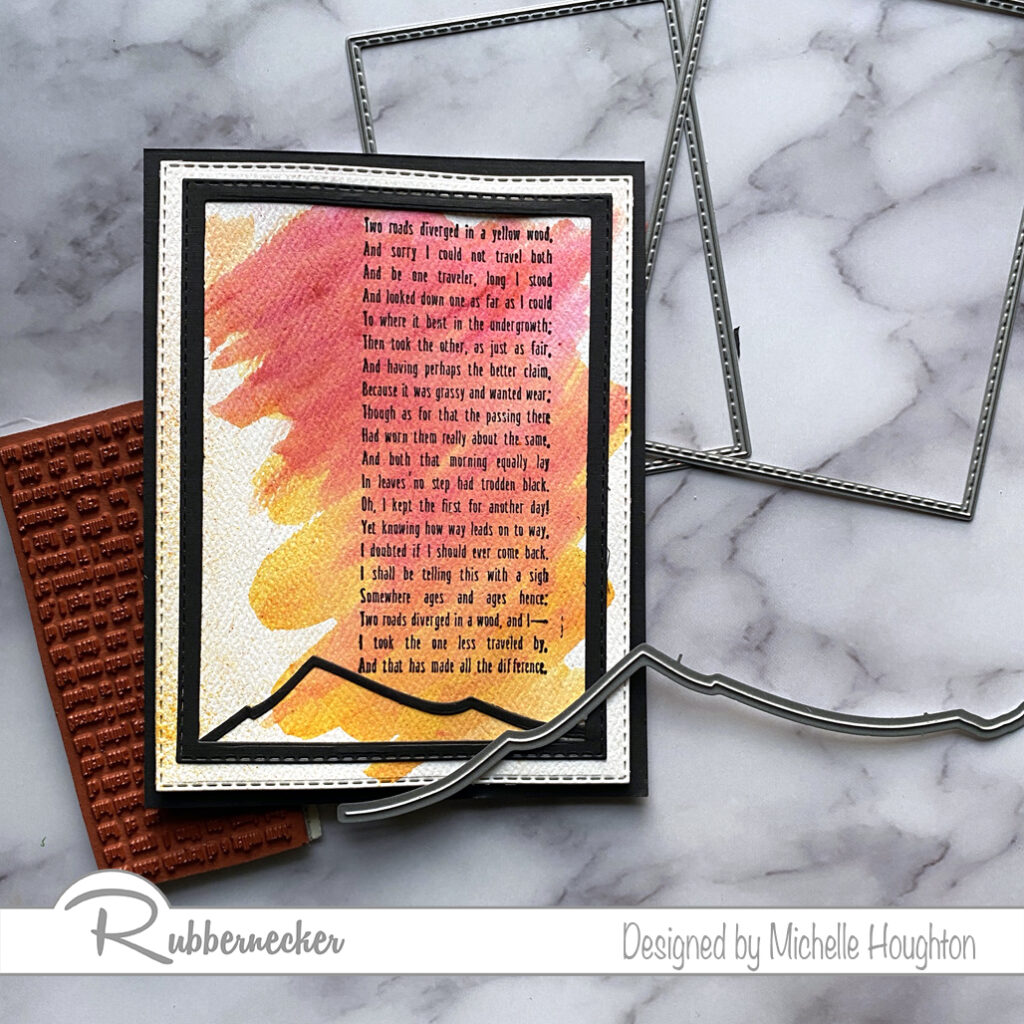
  • Once the paper is dry use a stamp with a lower quote or a detailed background through the watercolor.
  • Use a mountain die and cut a thin mountain outline by running it through your die cut machine twice.
  • Use nested rectangle dies to trim the watercolor background and cut a black frame out of cardstock.
  • Layer a black card base, the watercolor background, the slim mountain silhouette and a black frame.

Thank you so much for stopping by today and make sure to keep watching Rubbernecker for the next 12 days to see heaps of Halloween inspiration!

Have a Happy Colorful Day!