Posted on

Copic Coloring Darker Skin Tones Part 2

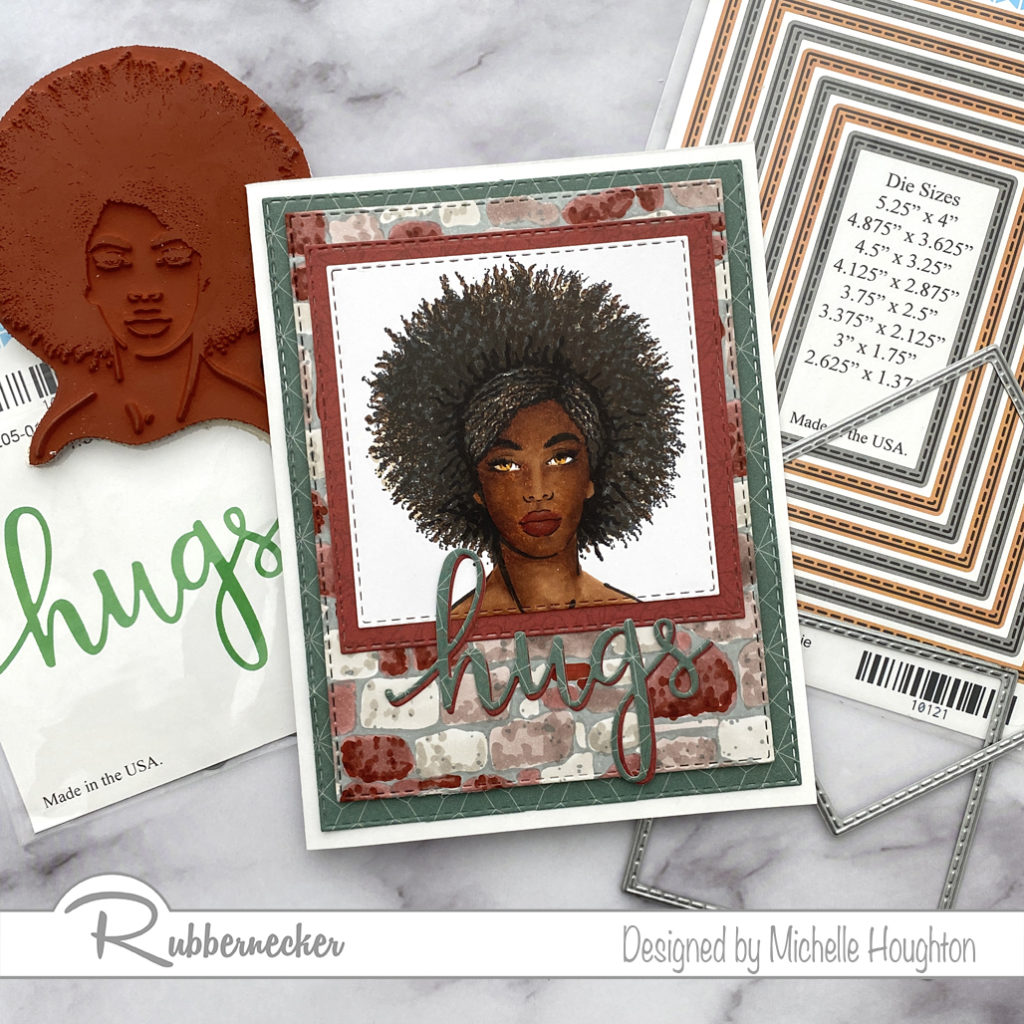
Good morning all, I have my second installment featuring darker skin tones on another beautiful image by Rubbernecker Stamps. This image is considerably darker than the first. I am OK with how the skin turned out, I have used this combo before with better results, but I LOVE how her hair turned out so I am sharing!
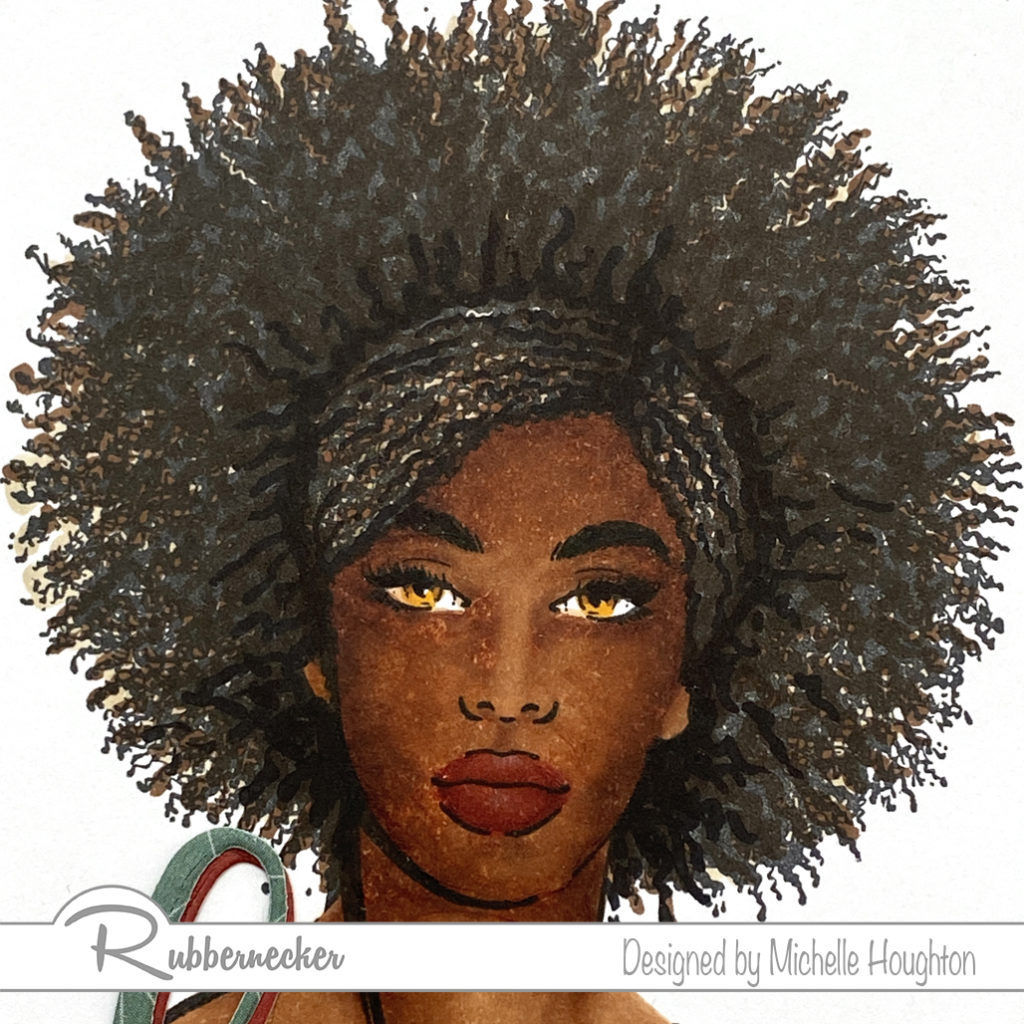
  • Base the entire skin area with E21
  • Using a series of three more Earth Tones add shape to the face, E23, E25, E27
  • Blend the colors together going in reverse, E25, E23
  • After blending the edge of the E25 with the E23 slightly wash over the rest of the skin with E23
  • If needed bring back highlights with the E21
  • Use E04 and E09 to add fullness to the lips
  • Use YR24 and E23 to add a golden color to the pupils
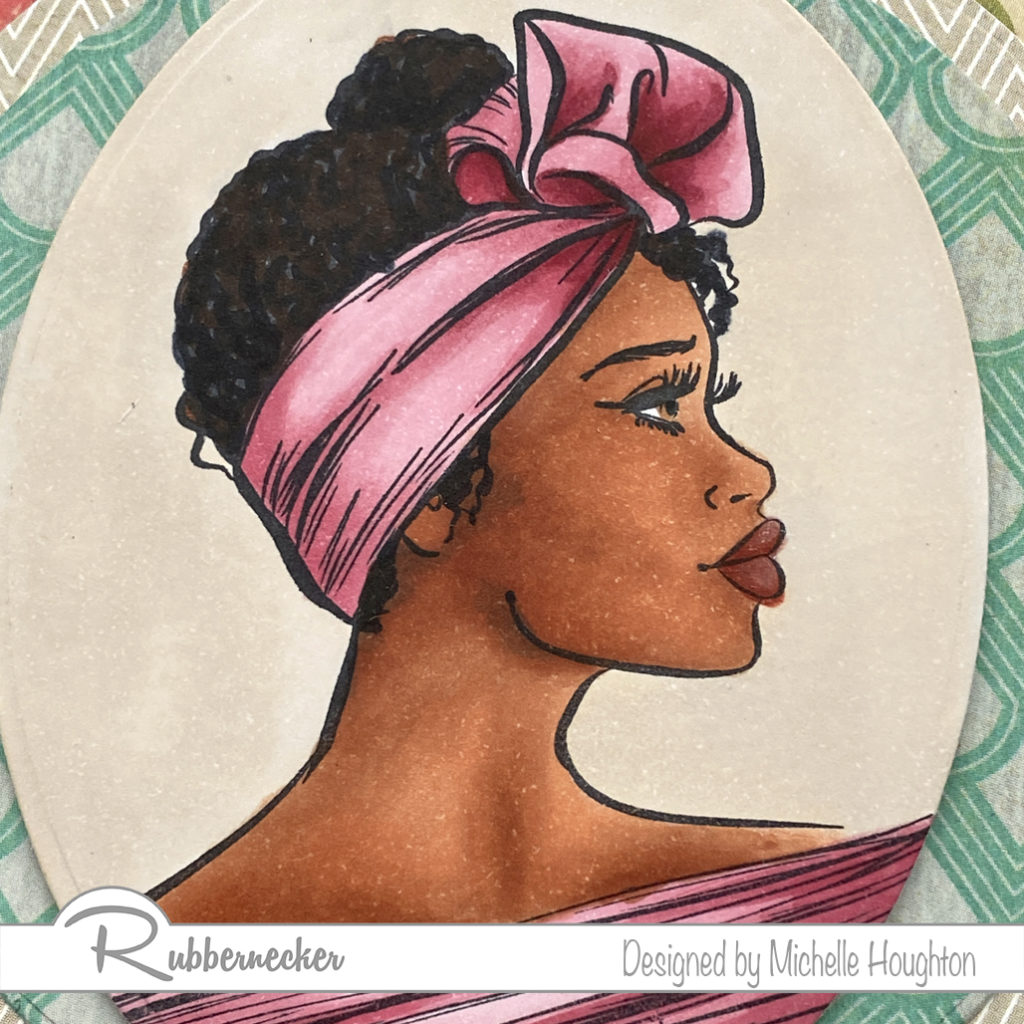
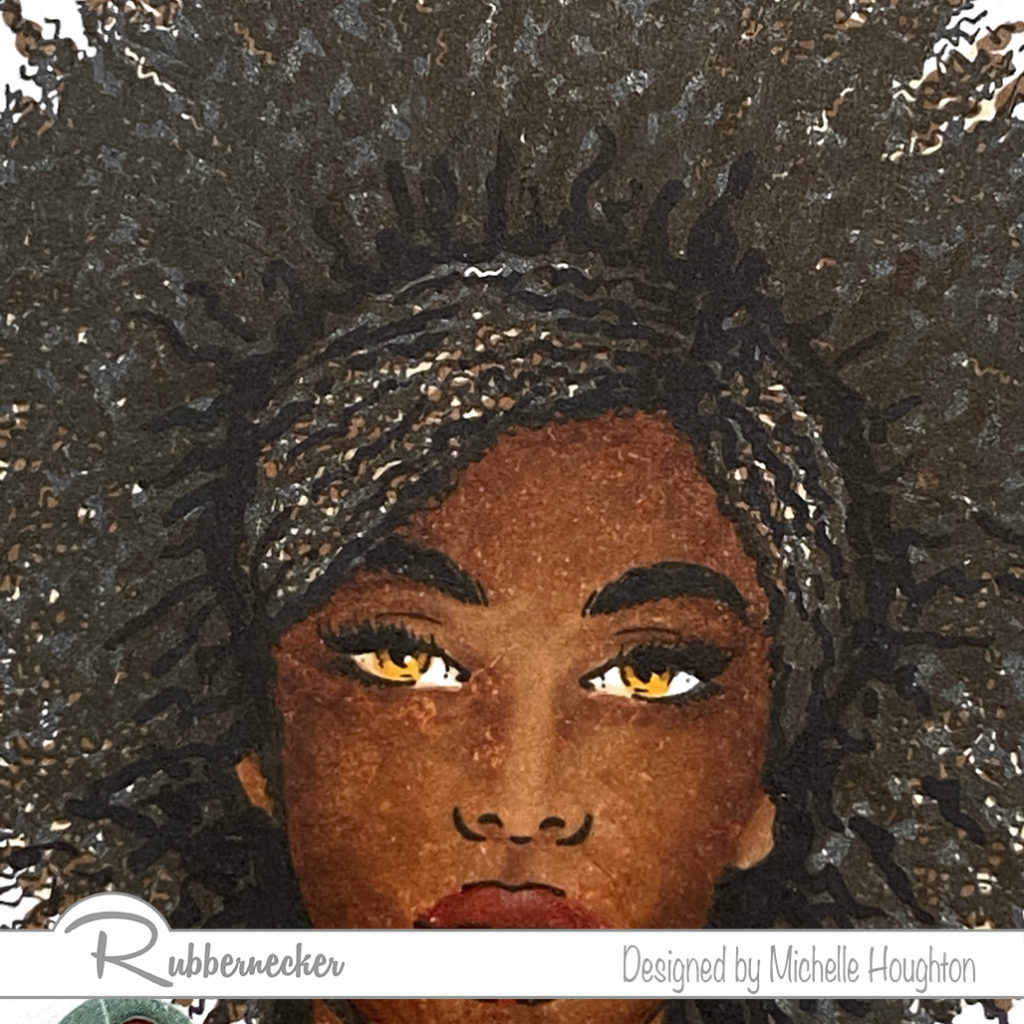
  • Use a series of Copics in long squiggly lines to emphasize the direction and shape of the hair, this will also warm up and separate the solid black from the stamp E43, E47, E49, C9

Here is a closer look at the hair:
  • Stamp the background image in a light gray ink
  • Color the rock wall with a variety of Copic natural tones adding texture as you go
  • Use a sentiment die cut to create 2 layers of a simple greeting
  • Use square nesting die cuts to frame the face and one size larger on patterned paper
  • Use rectangle nesting die cuts to cut the rock wall paper and a second patterned paper
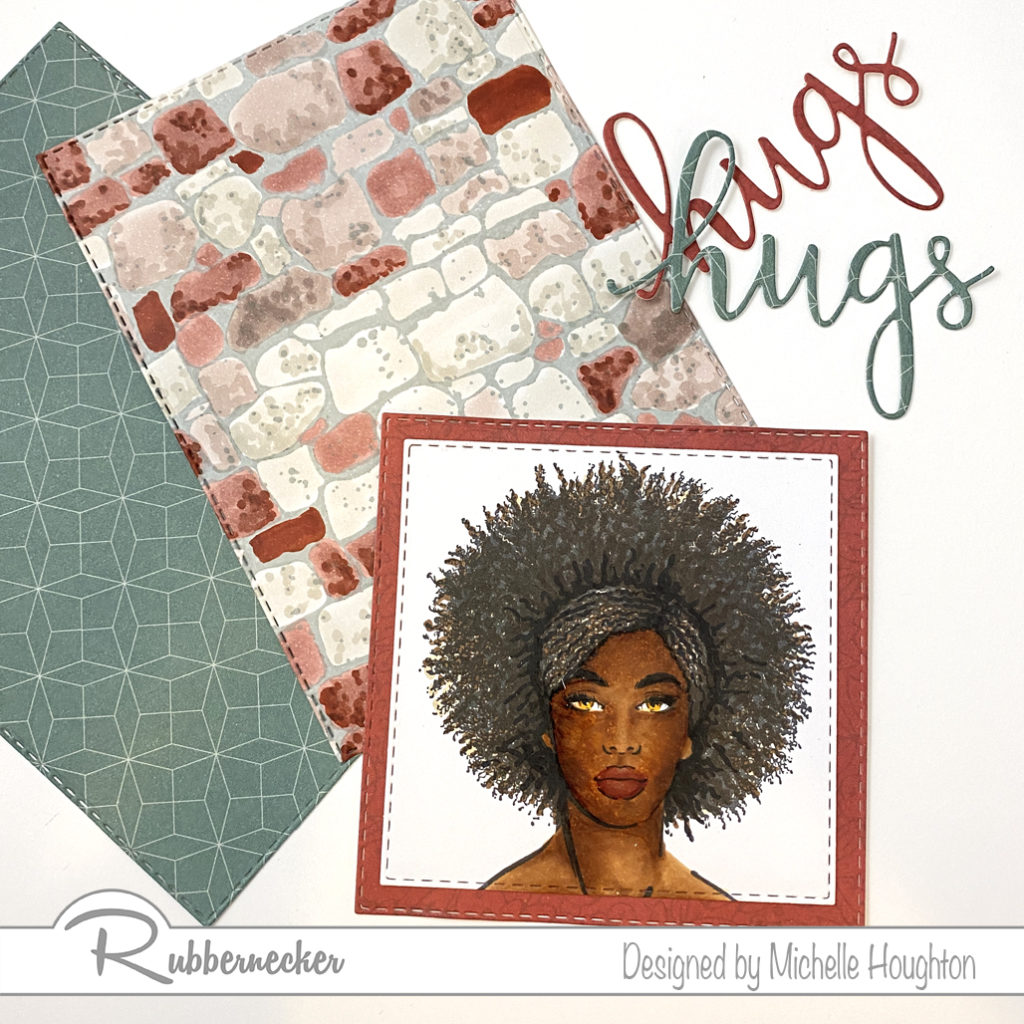
  • Attach the largest patterned paper to a card base
  • Use foam tape to pop up the rock wall paper onto the base
  • Attach both the square patterned paper and image onto the base
  • Using a liquid glue attach the 2 sentiments together off setting them just a bit
  • Use liquid glue to attach the sentiment to the card
Thank you for stopping by for today’s post! I have at least one more in this series and then I hope to get a video done with darker skin tones as well. Below you will find links to the Rubbernecker products used on today’s card.

Have a Happy Colorful Day!

Posted on

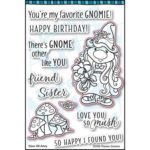
Crafty Gnome from Dare 2B Artzy!

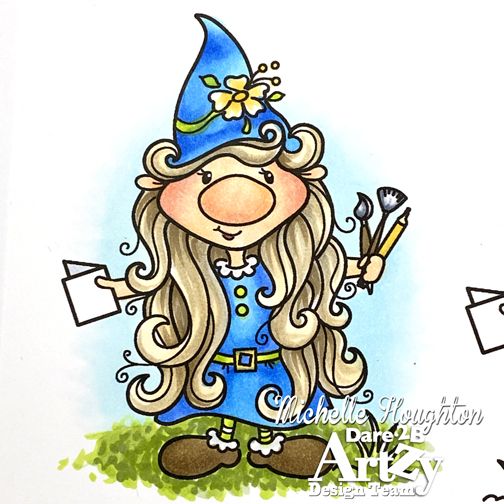
Hello friends and family here to start your day with a little Dare 2B Artzy inspiration. I am super excited to share another of the new images created by Cindy today, the crafty gnome. She is too cute and so so fun to color up! I used Copic Markers of course 😉

Skin – E000, E01, E93, R81 Hair – E50, E43, E44 Dress – B00, B12, B24, YG01, YG03, C1, Y21, Colorless Blender Sky – BG000 Ground – YG61, YG63 Shoes – E43, E44 Art supplies – C1, C3, C5, E44, Y21

Here she is all colored up!

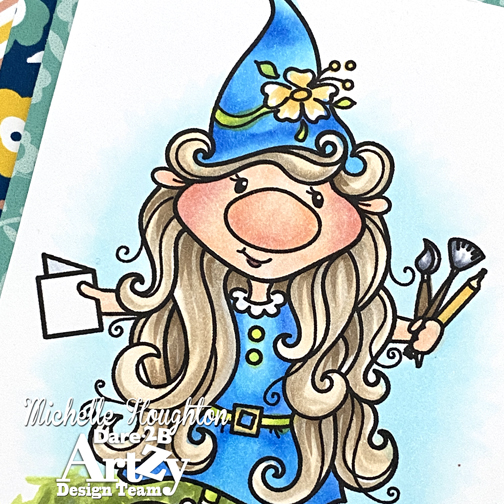
Next to get her on a card, new fun patterned papers to the rescue!

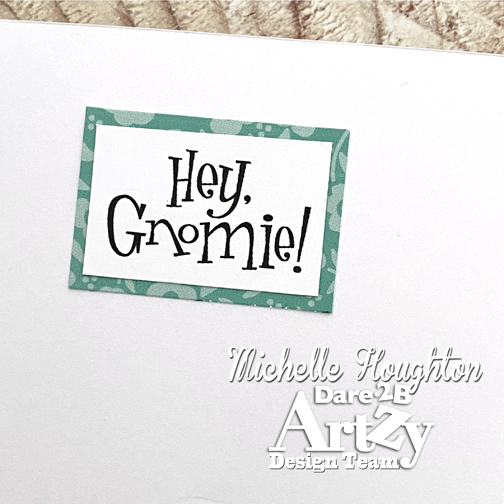
And a fun sentiment to tuck inside!

Yep the new collection is a keeper! I know these are images I will be reaching for again and these papers?! Yumm!

Stay tuned for continued inspiration from the new release. These product swill be available to ship March 15th.

Have a Happy Colorful Day!

Thanks for stopping by today! And make sure to check out some of the products I’ve used here in the D2BA store!

D2BA products used in this creation:

Posted on

Facebook Celebration With the new D2BA release

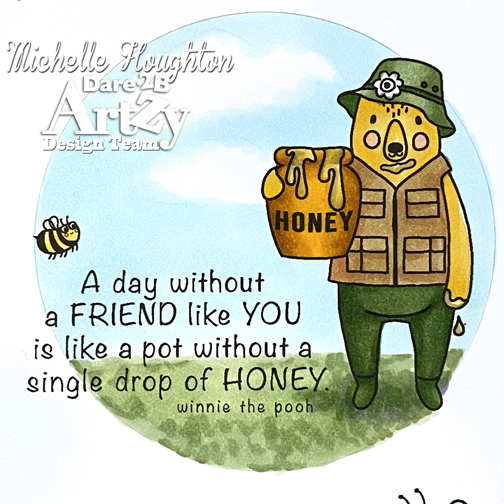
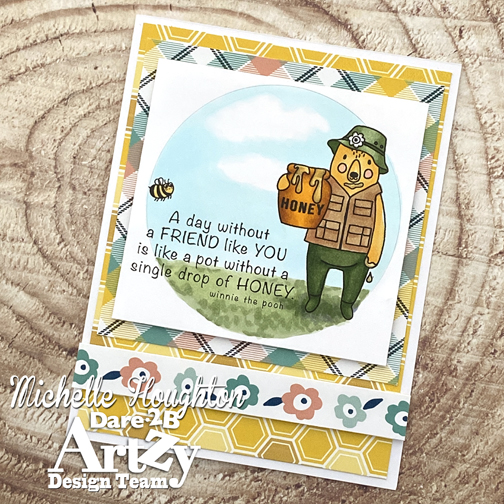
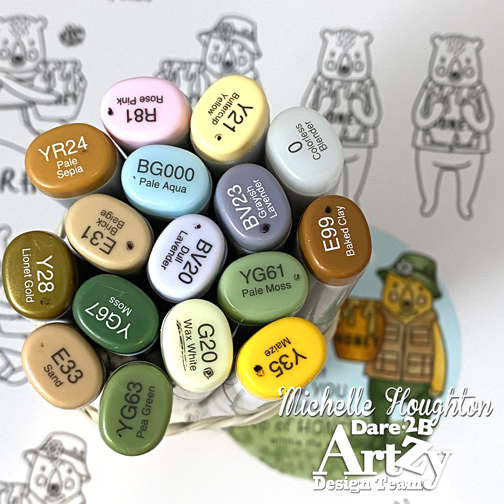
Hey Hey! Good morning all! I have a little Copic coloring on fun Dare 2B Artzy images to share this AM. Back with a second card from the new Honey Bear stamp set! Love this little guy all set for fishing but with his nose in the honey pot!

First some Copic coloring, here are the colors used:

And here is what the image look like. I LOVE the quote, can’t beat Winnie The Pooh!

Next onto a card, yes even more of these fabulous new papers! I adore the honeycomb patterned paper! And like all D2BA papers that end strip is a wonderful added bonus, the flower strip on this card is one of those bonus strips!

Make sure to take a quick swing by the D2BA blog and also by the D2BA Facebook page and leave a comment for a chance to will some Dare 2B Artzy fun money!

Thanks for stopping by today! And make sure to check out some of the products I’ve used here in the D2BA store!

Have a Happy Colorful Day!

Here are the Dare 2B Artzy products used in this creation:

Posted on

Copic Coloring Dark Skin Part 1

Coloring darker skin tones takes a little more time and patience than lighter variations, typically there are more layers of ink, they are heavier by nature not as much alcohol solution in the mix. So it takes a little more practice and a lot more mistakes to get images where you would like them to go. You know me I am always up for a good challenge! So when Rubbernecker asked if some of the design team members would help showcase the new images featuring women and men of color I said sure I’ll give it a go!

  • Base the skin in an Earth tone E11
  • Use a mid-tone and shadow to add shape and depth to the face E13 and E15
  • Blend the colors together going in reverse, E13 and E11
  • Add small touches of a blue violet into the deepest shadow areas BV23
  • Fill the lips with E04 and small touches of E09 for shape
  • Color the head wrap and top in a series of reds R81, R83, R85
  • Add squiggled lines over the hair area of the image with darker colors E47, E49, C9 * note you could leave the hair alone the stamp actually stamps the hair black, I always feel like it needs a little more texture and richness. It is very subtle but effective.
  • Fill the pupil of the eye with a warm Earth tone, E35
  • Use a layer of E50 to fill the background and then go over the entire area with W1, this helped match the background to the patterned papers I have chosen

Here are the steps to create the card:

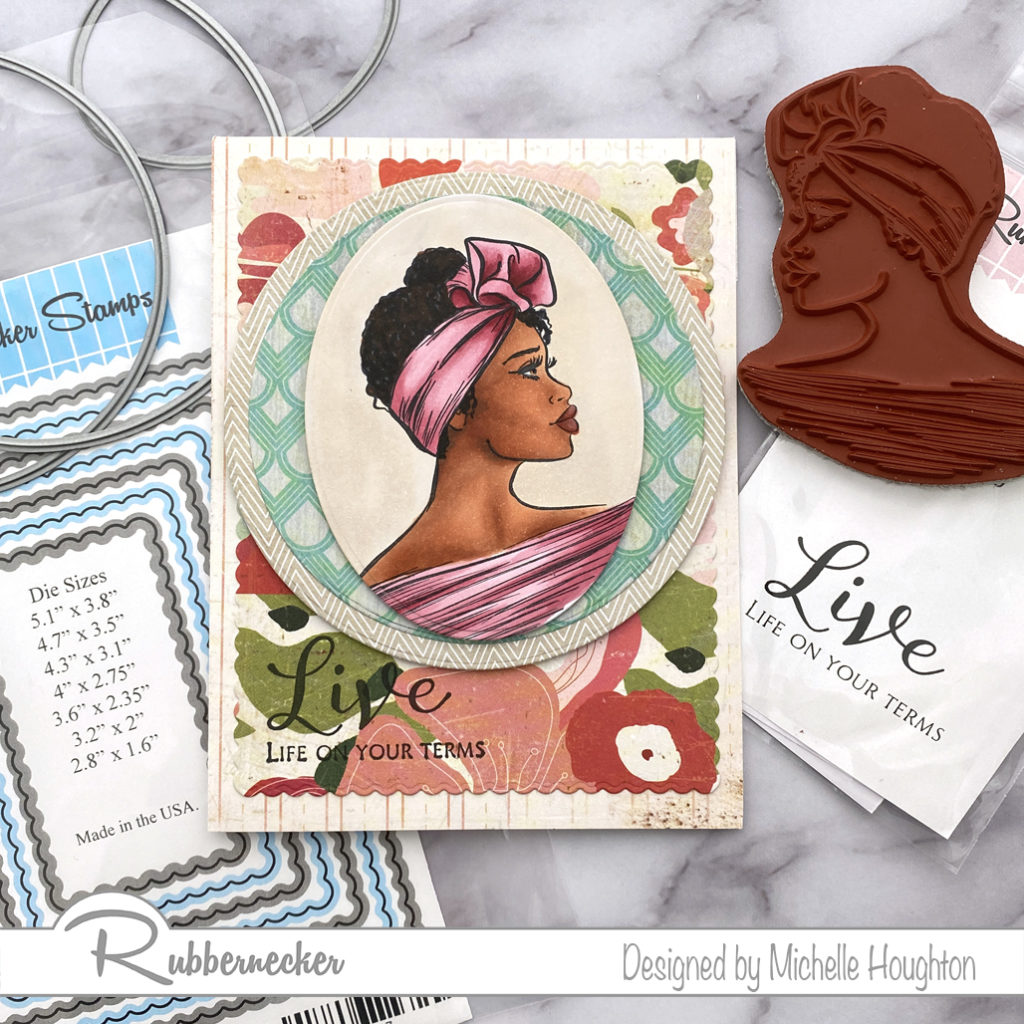
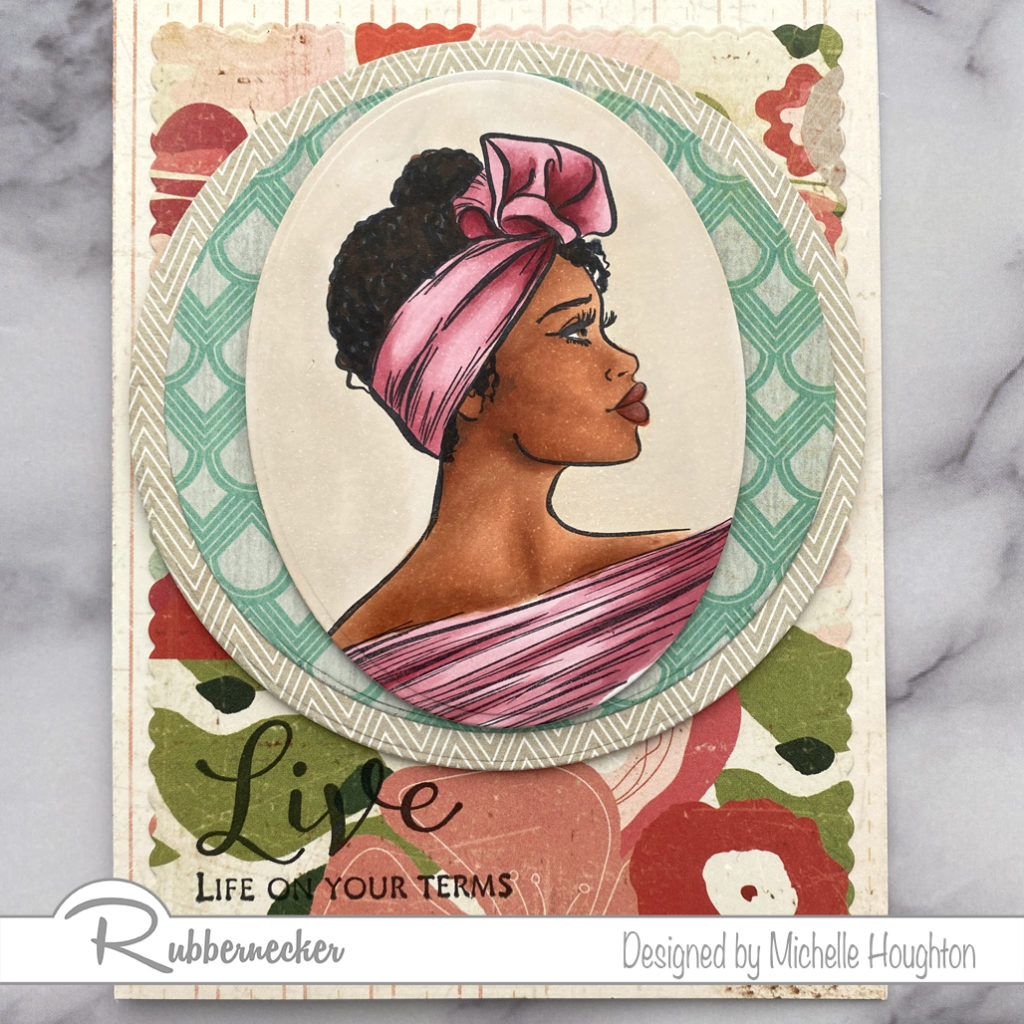
  • Trim a light piece of patterned paper to 4.25 x 5.5 and attach it to a card base
  • Use a scalloped rectangle die to cut a large rectangle from a blog patterned paper and stamp the lower corner with the “Live On Your Terms” sentiment stamp
  • Using the nesting circle dies cut two circles from coordinating patterned papers, attach these together and then use foam tape to pop them up on the card base
  • trim the image using an oval from the nesting die set and use foam tape to pop it up in the center of the circles

Thank you so much for stopping by today! below you will find links to all the Rubbernecker products I am using on this card.

Have a Happy Colorful Day!
Posted on

Thanks So Mush!

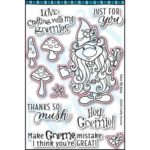
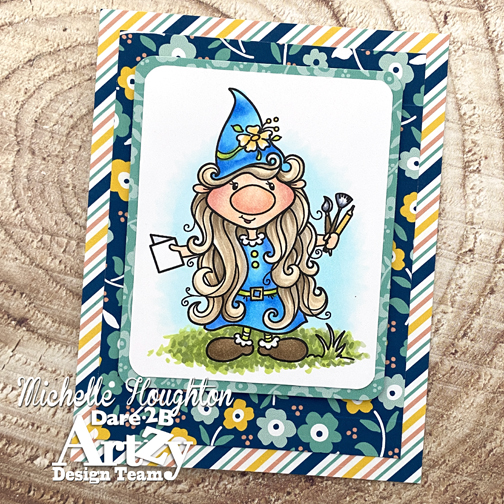
You read that correctly! I love a good pun 😁. Morning all,  bringing you a little Dare 2B Artzy inspiration this beautiful Tuesday morning. Rolling out more of the new release from D2BA. I have pieces from 2 of the new stamp sets and some of the gorgeous new papers on my card today.

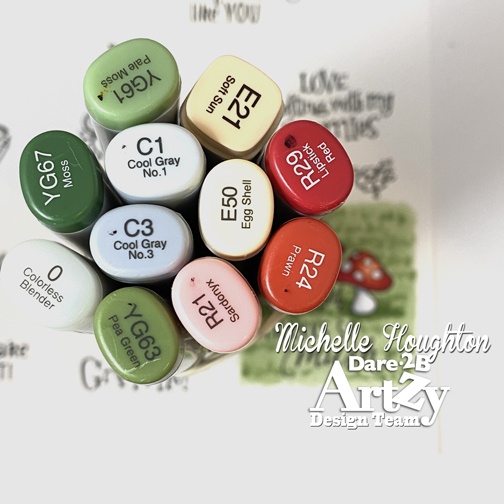
First I colored up my little image with my Copic Markers.

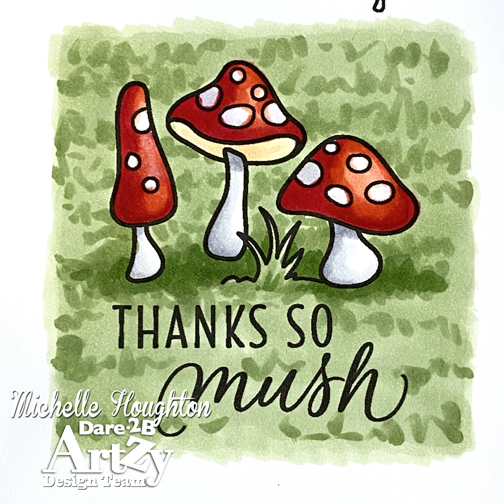
Here is what that little window looks like:

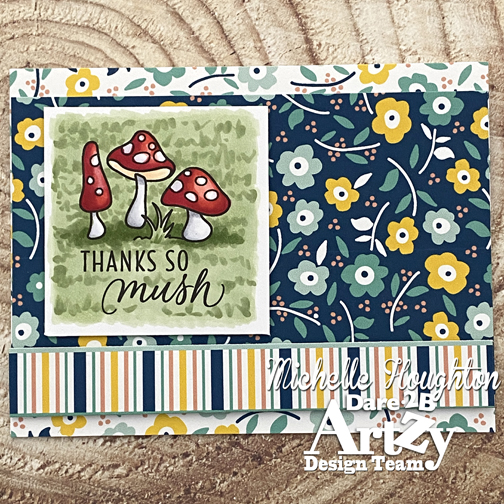
I am liking the look of the unfinished coloring edges so I trimmed my image leaving a white border around the green grass. and added it to layers of the beautiful new patterned papers from the D2BA release.

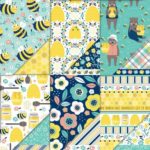
As always I love all the options Cindy gives us with the coordinating papers! Lots of fun florals, stripes and beautiful colors! All of the new collection will be available to ship March 15th so start your list now and stay tuned for more inspiration from the design team on how to use all the new fun products.

Have a Happy Colorful Day!
Dare 2B Artzy products used in today’s post:

Thanks for stopping by today! And make sure to check out some of the products I’ve used here in the D2BA store!