Posted on 10 Comments

Kraftin’ Komeback

Who’s ready for lots of brand new Krafty goodies?!It’s time for our January Release Peeks to begin at Kraftin’ Kimmie Stamps!Today’s featured set is a Krafty Komeback set by Cheryl Grant and it’s called…..
TOGETHER IS BETTER!
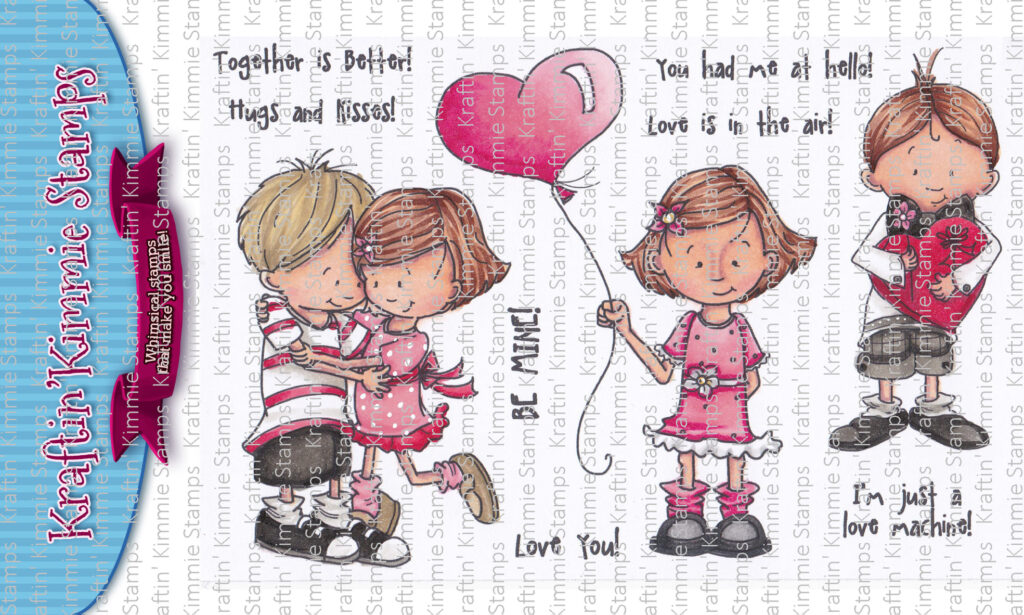
This was originally released in rubber, and we’re so excited to bring it back in clear for you!! This adorable set is of course perfect for Valentines, but is also going to be a sweet set to create keepsake cards for many special people in your life!! As you hop around the design team’s blogs today you’ll be able to check out TOGETHER IS BETTER! in action in combination with a lot of our other new January Kraftin’ Kimmie products!

You will spot our newest addition to the Kraftin’ Kimmie Hybrid Ink rainbow! It’s a gorgeous new colour…..called BERRY BOLD!As always it will be available in full sized ink pads, ink cubes and ink refills!

We’ve got TWO new Krafty Stencils for this month’s release to help add some funky fun to your creations! They are called….
COZY CHECK and ROCKY ROAD! Both designs are perfect for all your cards, scrapbook pages, mixed media and more!

FUN NEWS! – We are super excited to share a brand new feature to our monthly release! We’ve carefully curated an awesome ADD ON BUNDLE featuring several amazing products which will coordinate with our new goodies and will help you enhance your new creations!! You’re going to hit the ground running when your package arrives! This month’s Add On Bundle includes: a package of the gorgeous Princess Dreams Sparkletz, a set of gorgeous chipboard evergreen trees, a delicate and magical chipboard castle and two yards of 1/2 inch natural twill trim! This package is $15.99CAN and a limited number will be available in the shop on Saturday afternoon after our Live Release Party! Get ready to get krafty!!

You’ll get to see all of our brand new goodies in action over the next few days of the January Krafty Peeks and everything will be released at our LIVE January Release Party 
on Saturday, January 16th @ 2 pm ET in the Krafty Friends group!

For now, hop around and check out some amazing creations from the Krafty Team and be sure to leave some love at each stop on the hop! Your comment could be a WINNER of some krafty $$ to use in the shop! (Not to mention our designers are incredible and you should tell them so!  😉 )

I colored up this sweet girl! Copic colors of course.
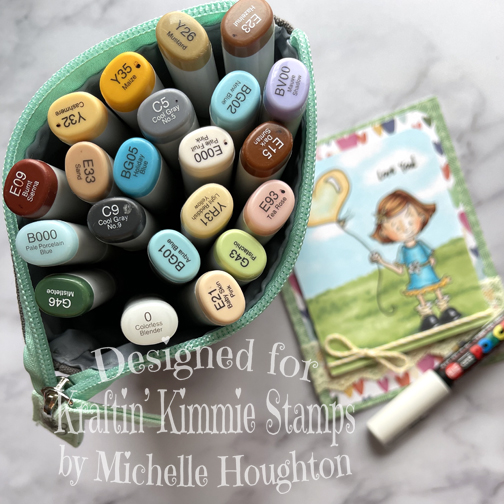
I kept it simple background wise a cloud filled sky and grassy hill. And I found two fun patterned papers and a little lace and twine to tie it all together.
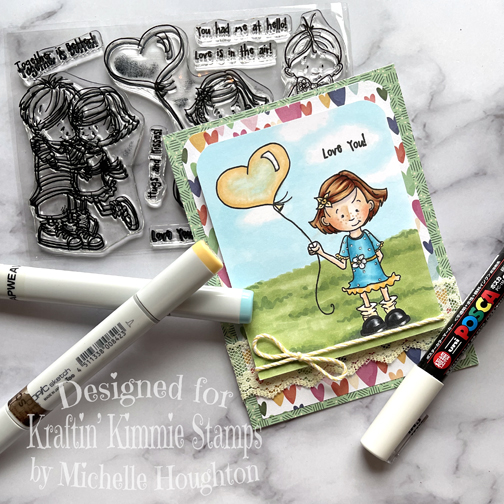
I was so torn between all three of the images in this set tough! I know I will be using the other two shortly.

Thanks so much for stopping by today! I will be sharing more of the January release Saturday, Sunday and next Wednesday on Instagram. The link below will get you hooked up with the other Design Team members sharing their creativity today!

Have a Happy Colorful Day!

You are invited to the Inlinkz link party!

Click here to enter
Posted on

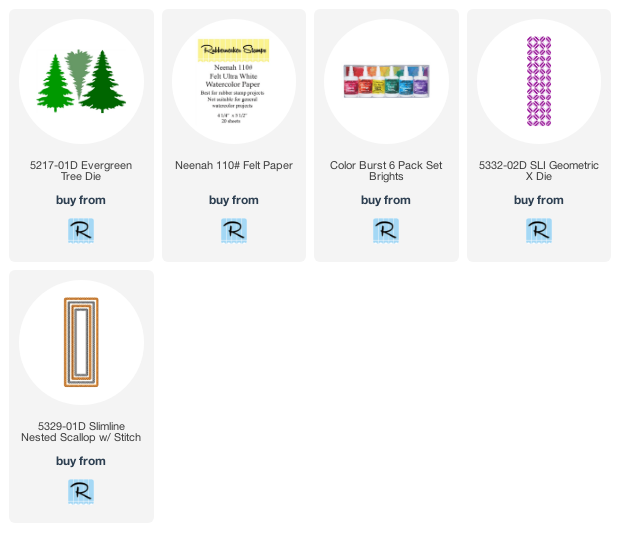
Slimline Color Burst Trees

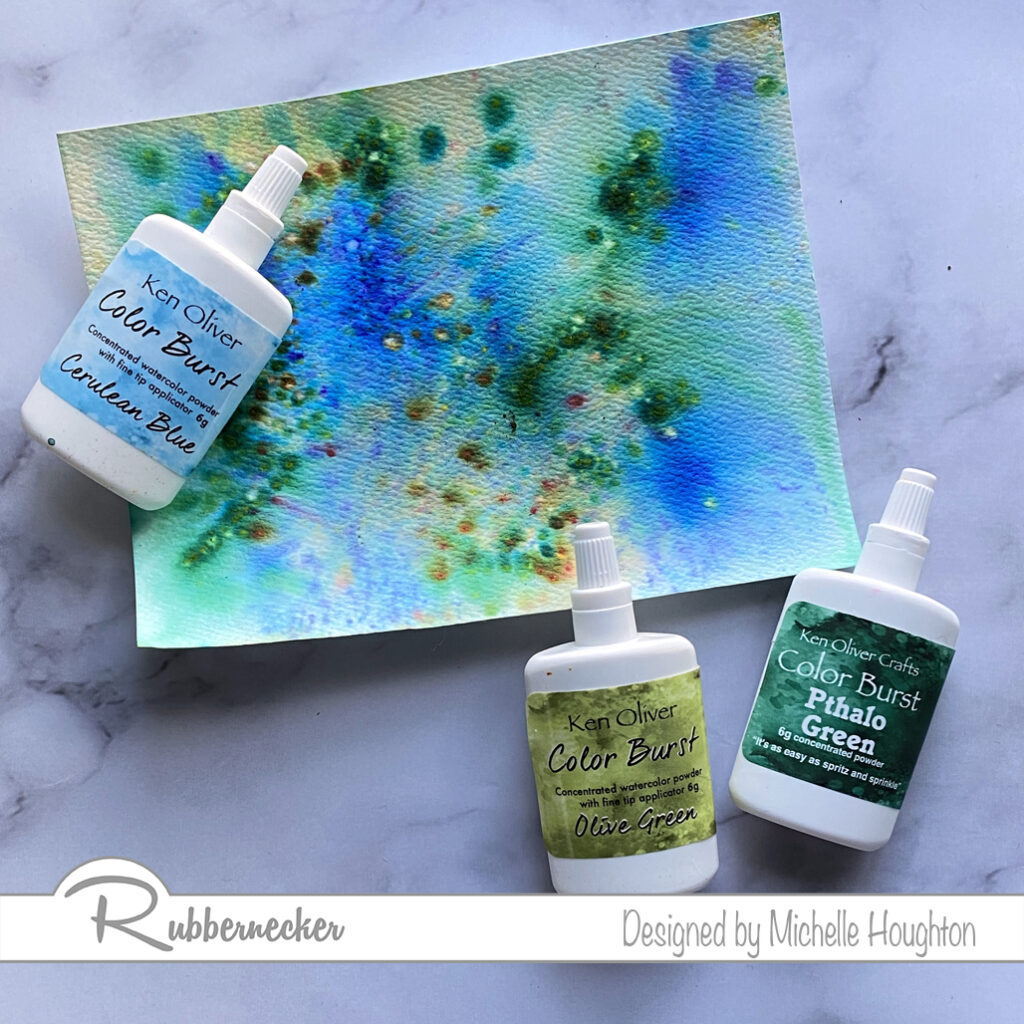
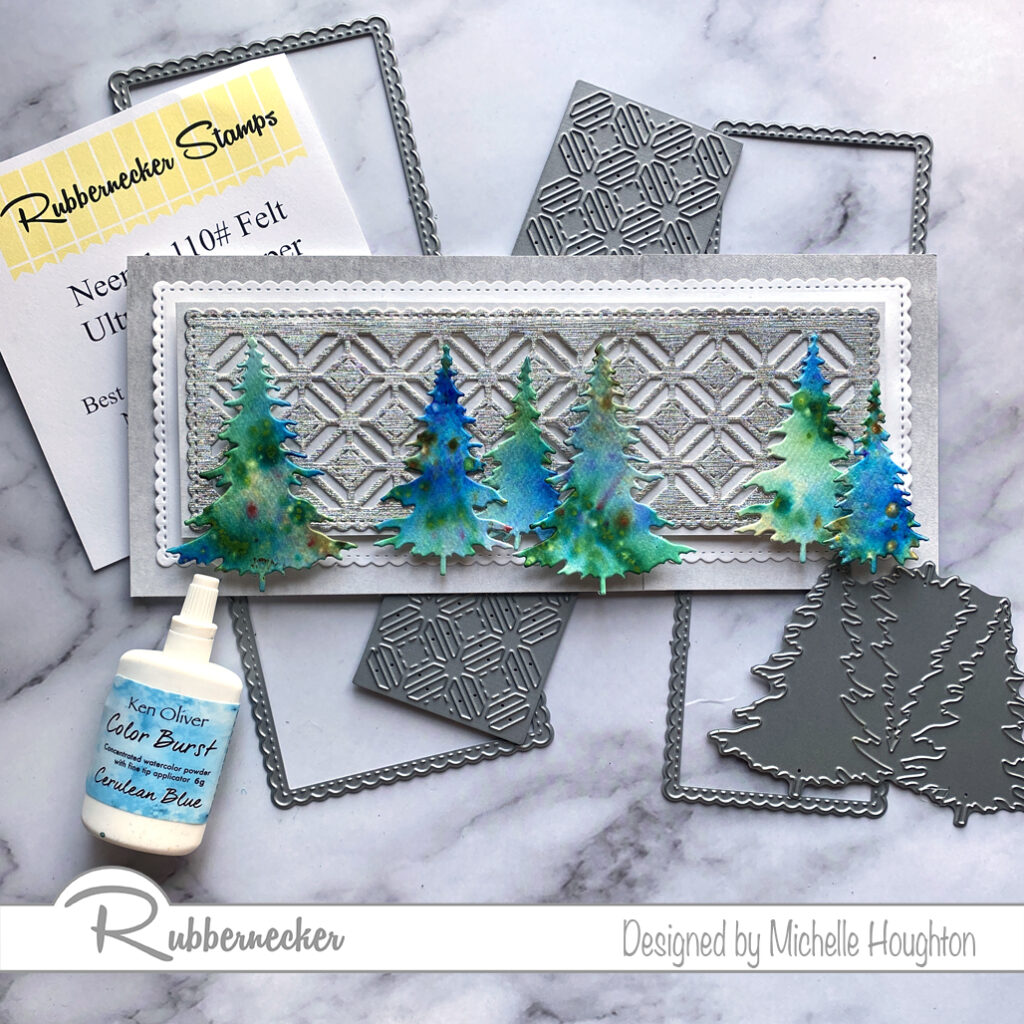
Hey all I am making colorful messes today and playing with some gorgeous slimline dies today!Take a peek at my colorful, messy process. Happy New Years Eve by the way!😁

  • Dust 2 or three colors of Color Burst onto Neenah Bright White Felt Watercolor Paper.
  • Spray the paper with eater and allow the Color Burst to spread.
  • Let the paper dry completely.
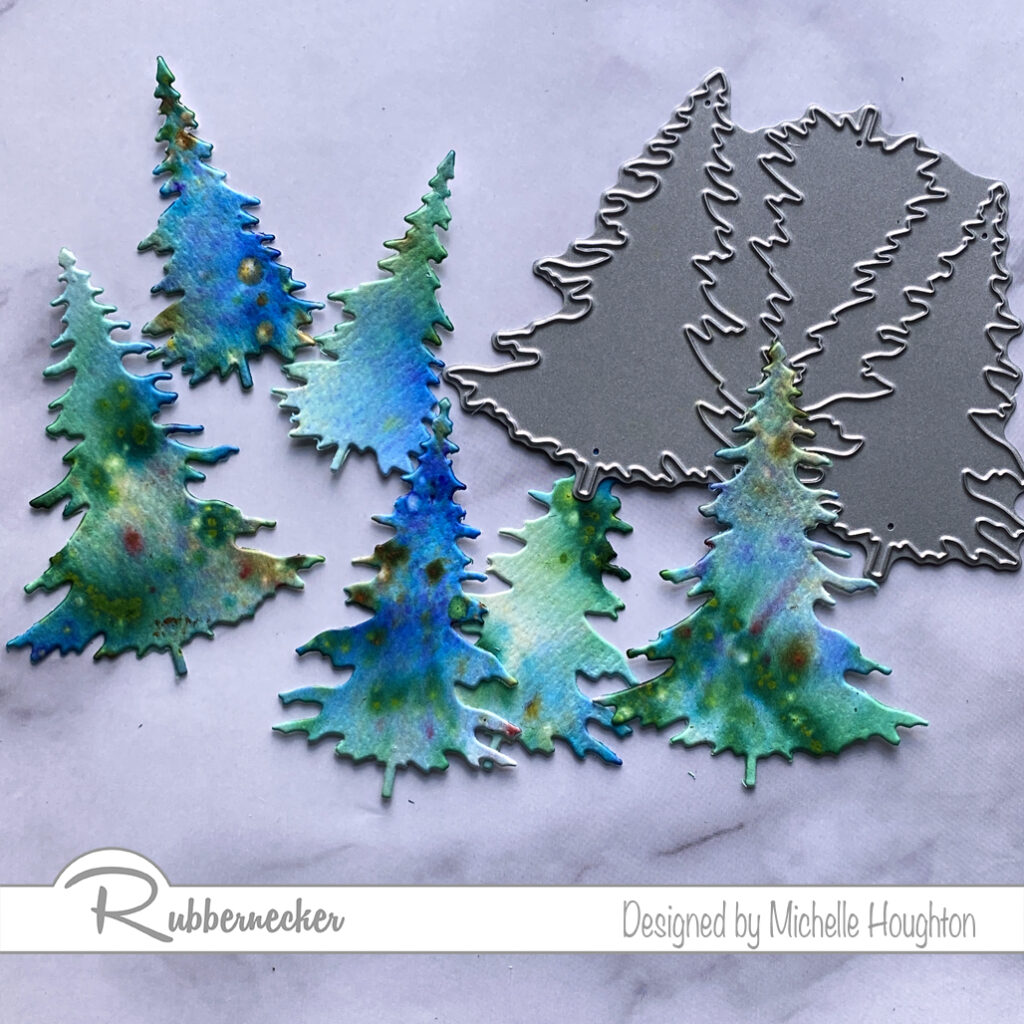
  • Use the Evergreen Trees Die to cut a small forest of trees out of the colorful paper.
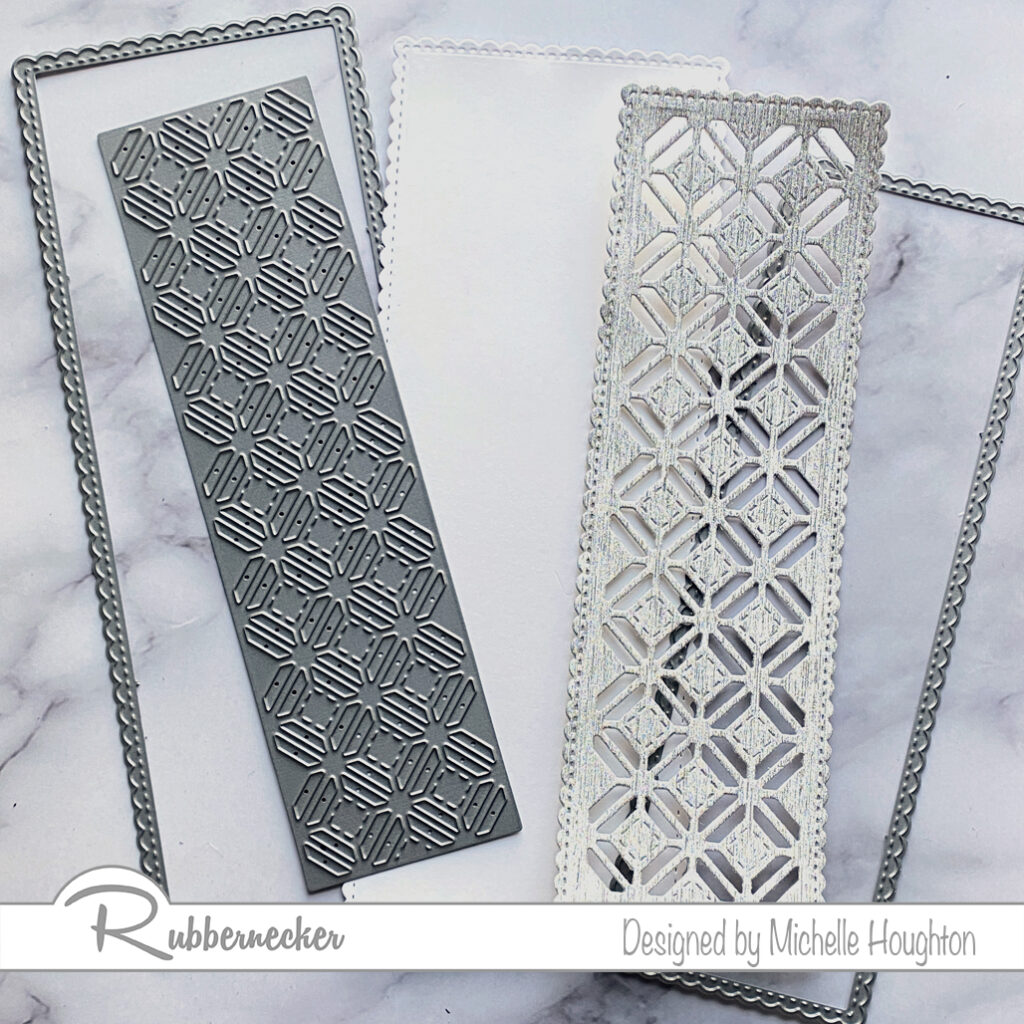
  • Use the slimline Geometric Die on a silver metallic cardstock.
  • Use one of the nesting slimline scallop dies on the silver paper you just cut with the geometric die.
  • Use a second nesting slimline scallop die to cut a larger white base for the layers.
  • Adhere your layers working from the card base up.
  • Pop up the metallic silver layer.
  • Pop up two or three of the trees to a third level.

Thank you so much for stopping in! I am praying that all of my friends and family are healthy and safe moving into the 2021 year. I am praying for a healthier, more open year for all of us!

Have a Happy Colorful New Year!


Posted on

Copic College On-Line

It is time to sign up for Copic College 2020 On-line! In order to get your images to you in time to have them for the first day of class, January 4th get signed up today!

There are three links below each one gets you to a different spot. To sign up for Copic College 2020 and pay in full click the link below:

Copic College 2020

This next link will allow you to purchase Copic College 2020 in 3 installments:

Copic College 2020 Payment Plan

This last link will allow you to purchase the optional add on kit. You will need to pay for these separately, I could not get them linked. Sorry for any confusion!

Copic College Add On Kit

Thank you so much for supporting me in this new adventure and allowing me to continue Copic In The Craft Room.

Have a Merry Colorful Day!

Posted on

Snowman Copic Coloring

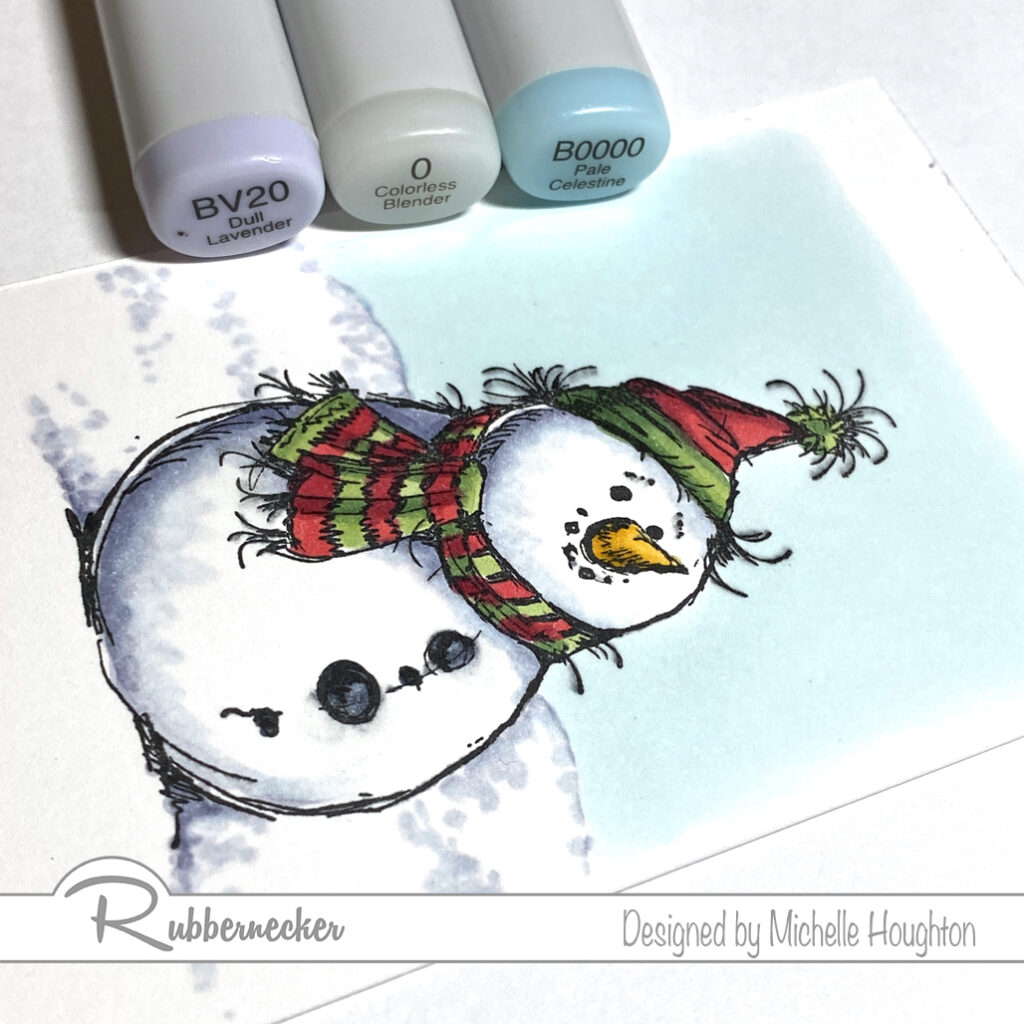
There are SO MANY snowman images out there! And I love them all. Let’s take a peek at one today and I will walk you through how I use Copics to color him up. The beauty is these steps can bee used on all your snow buddies! Let’s get coloring.

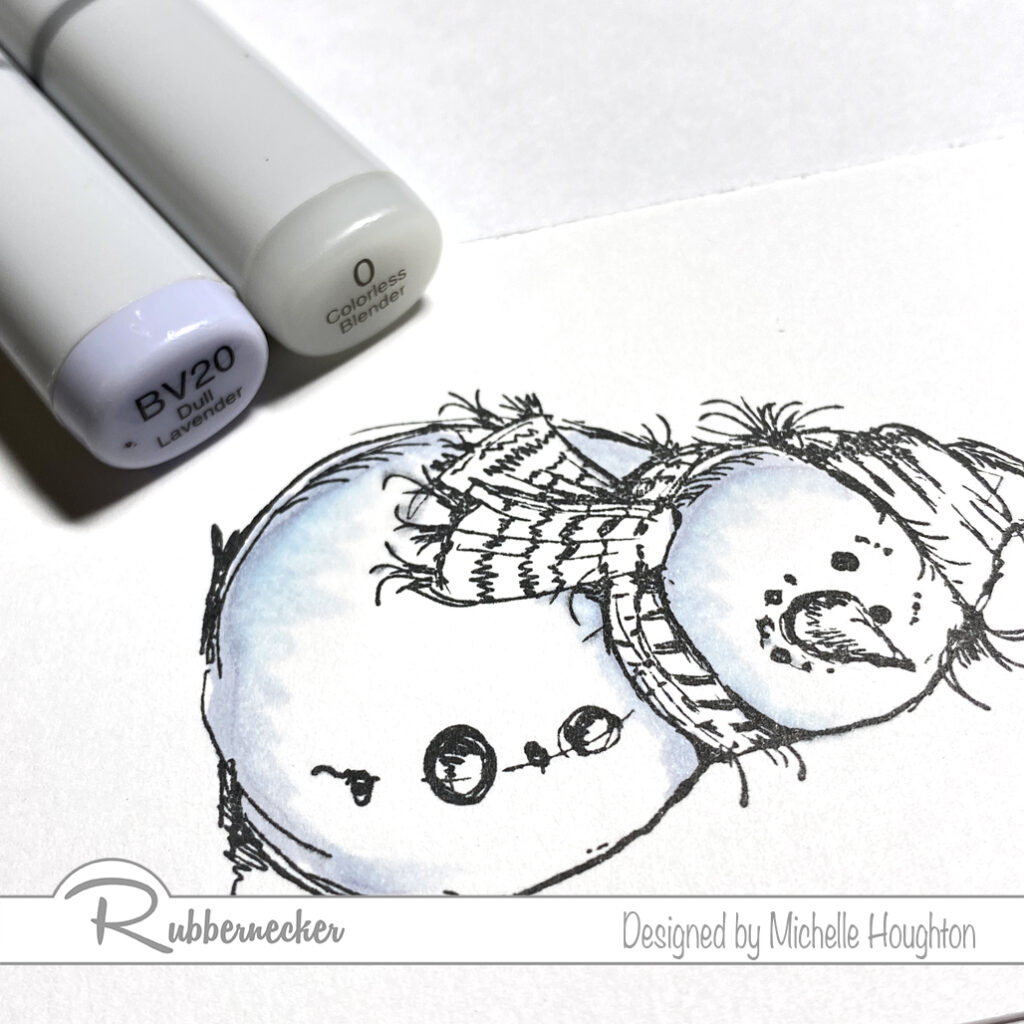
  • Use a light blue violet to flick from the edge of the snowman inward. (BV20)
  • Starting from the white area, use the Colorless Blender to flick into the blue violet to soften the edge. (0)
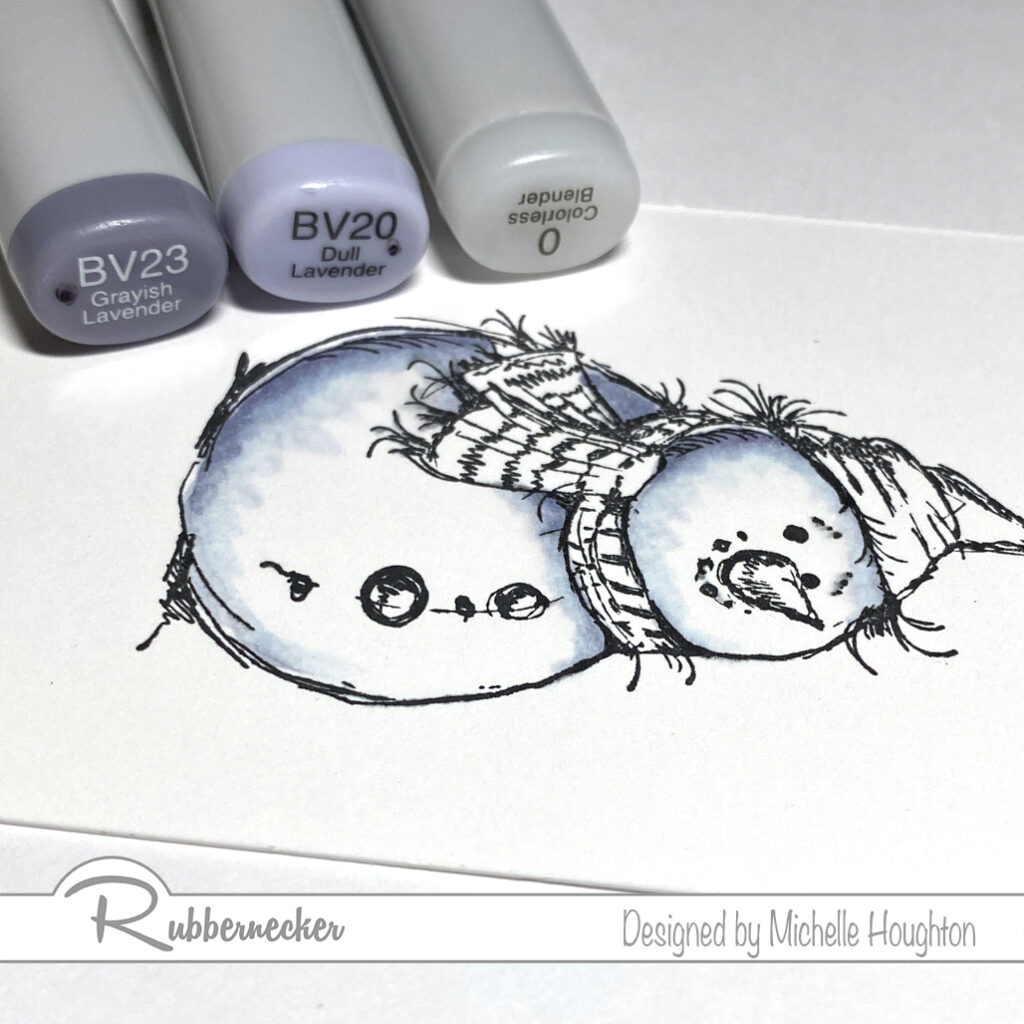
  • To deepen the shadows use a darker blue violet to dab in color at the bottom edge. (BV23)
  • Soften with the lighter blue violet. (BV20)
  • If needed use the Colorless Blender to fade the edge again. (0)
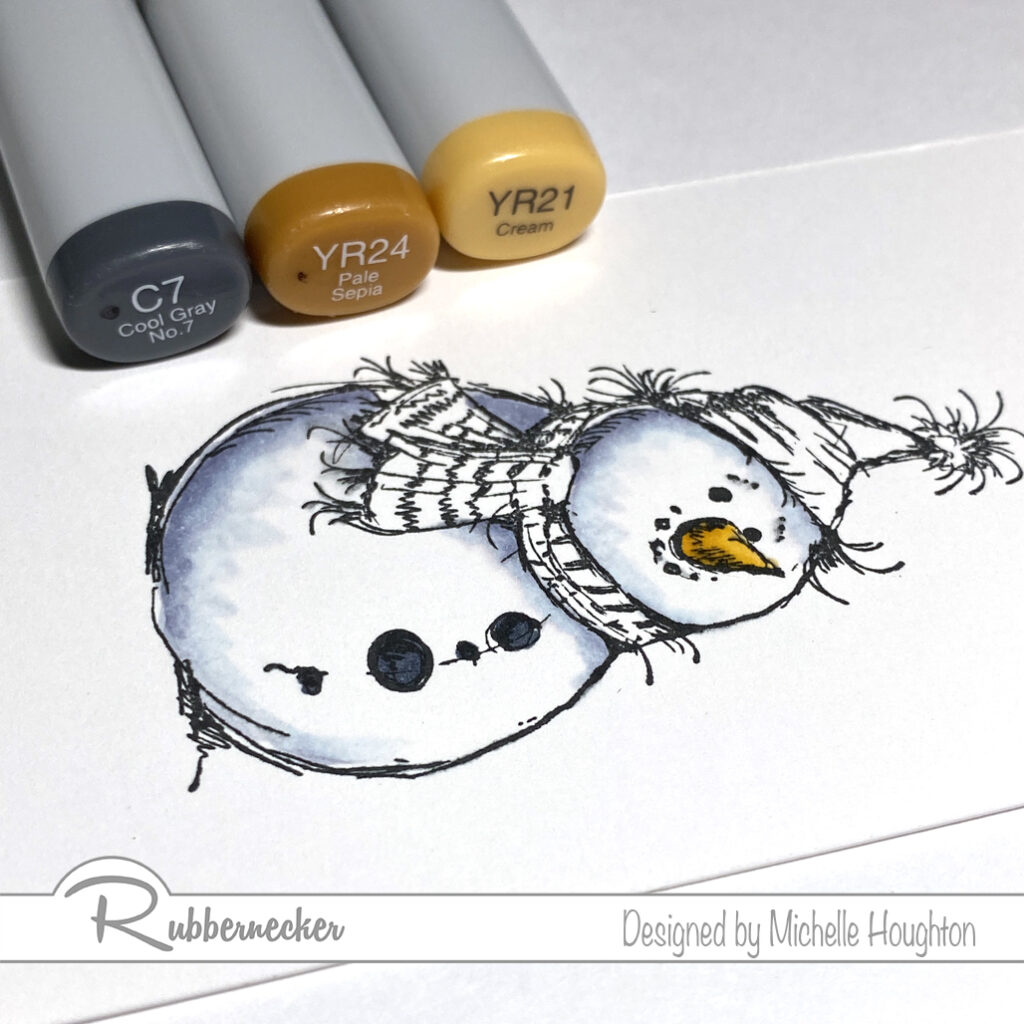
  • Use two yellow reds to color the carrot nose. (YR24, YR21)
  • Use a dark gray to color the coal. (C7)
  • Color every other stripe on the scarf, the bottom edge and pom-pom on the hat with two greens. (G46, G43)
  • Use two reds on the opposite stripes and the rest of the hat. (R39, R35)
  • As an optional step, use the Colorless Blender on the coal to add dimension. (0)
  • Use a light blue green or blue to color the sky. (BG000)
  • Use the light blue violet and Colorless Blender to dot in a snowy ground for your snow buddy. (BV20, 0)

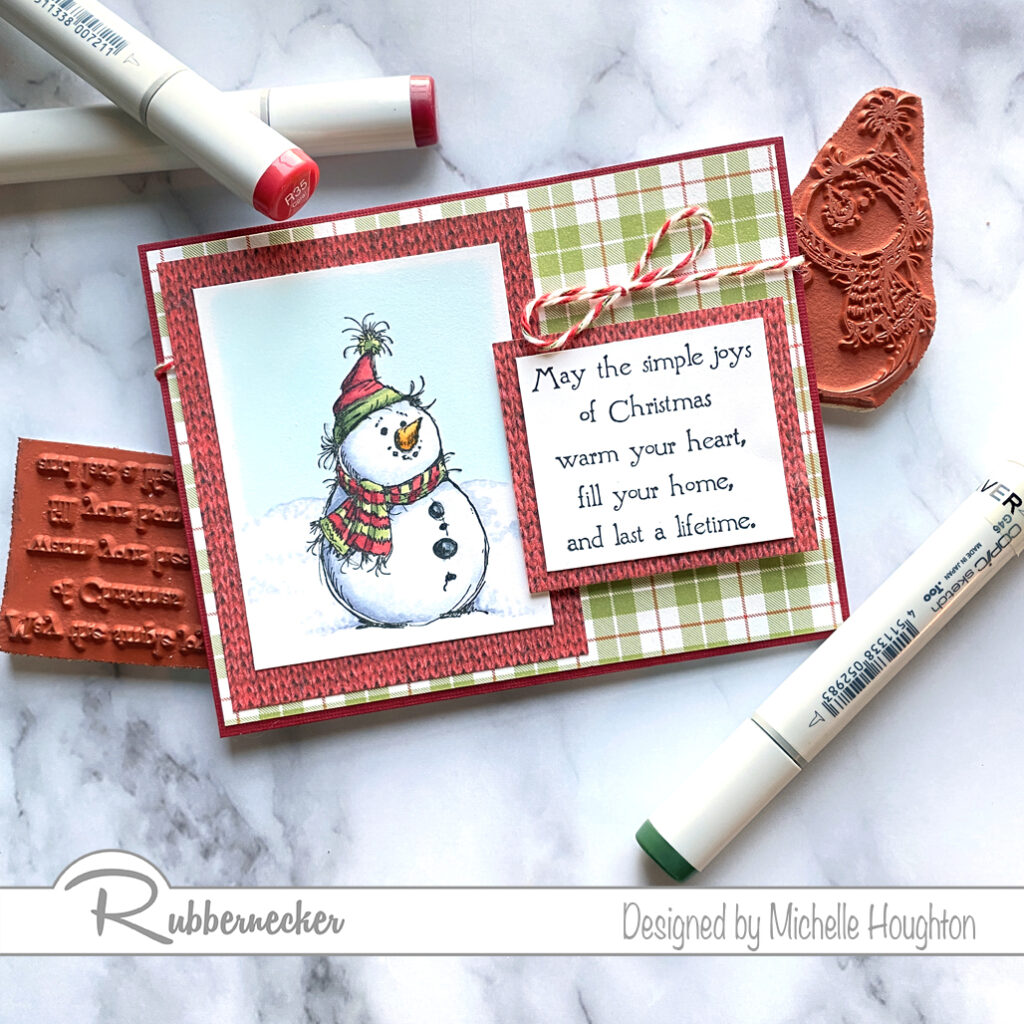
Finish your card with simple patterned paper layers, a wonderful sentiment and maybe a bow of twine. Thank you for visiting Copic In the Craft Room today! Below you will find links to the Rubbernecker Stamp products used in this post.

Have a Happy Colorful Day!


Posted on

12 Days of a Krafty Christmas

Welcome to Day TWELVE ofthe Twelve Krafty Days of Christmas!
It’s our FINAL DAY! We’ve had such fun sharing ALL the incredible new releases we’ve had at Kraftin’ Kimmie Stamps in 2020!

And we hope you’ve enjoyed revisiting all our wonderful new sets! It’s been an incredible year!

We’re going to leave you with a few more projects featuring MORE of our amazing stamps from EACH of our fabulous Design Team members from each month of 2020 on the Kraftin’ Kimmie Stamps Blog!!

Thanks so much for joining us for our 12 Krafty Days event! There’s still one more day to share your projects – new or old – you created with the fabulous 2020 releases, so be sure to link up on the Kraftin’ Kimmie Stamps Blog and leave those krafty comments!!

Make sure you’re a part of our Krafty Friends Facebook page where comment winners will be announced! 

Merry Christmas!

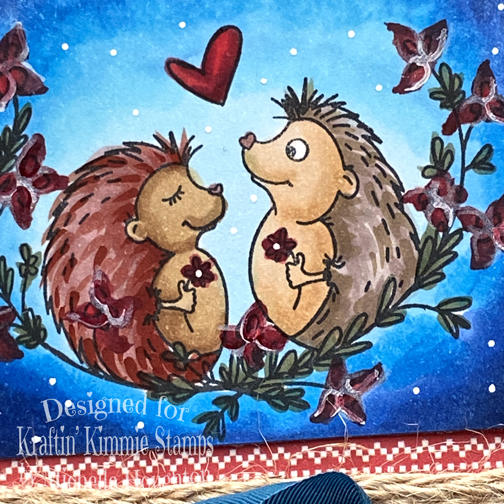
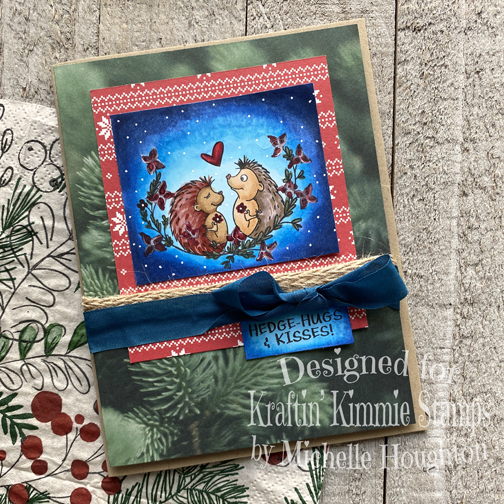
I decided to go way back to a release from February, Happy Hedgehogs. Then why not shake it up and use them for a Christmas card? I colored my Hedgehogs up with my Copics and put them into a starry night. I also changed the flowers a bit aiming for a poinsettia look. They are pretty small but I got the red in there😉.

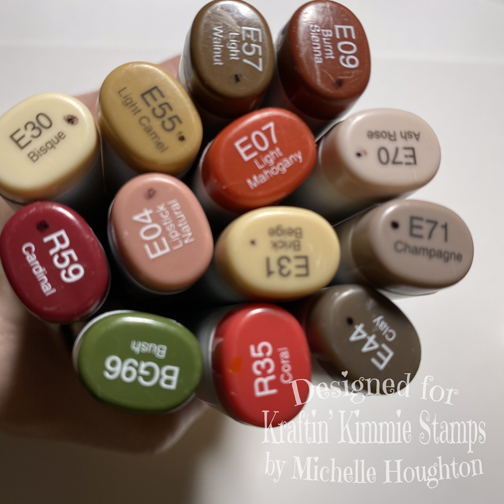
Here are all the colors I used on the hedgehogs, and flowers.

Here are the colors I used and the night scene for the pair.

Here they are all colored. I love how quick and easy these two are to color up. Keep it simple whenever possible!

Merry Merry 12th day of December! Thank you so much for hopping by! Continue through the full design team and then share one of your favorite cards or a new one created with a set from the 2020 collection.

Have a MERRY Colorful Day!