Posted on 8 Comments

Day 1 Peeks for Kraftin’ Kimmie November Release

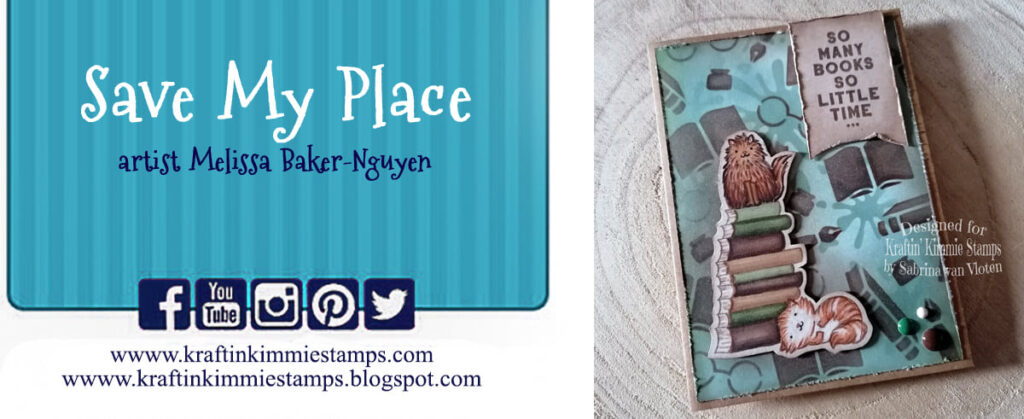
Who’s ready for lots of brand new Krafty goodies?! It’s time for our November Release Peeks to begin at Kraftin’ Kimmie Stamps! Today’s featured set is by Melissa Baker-Nguyen and it’s called…..
SAVE MY PLACE! We all have readers in our lives! This super cute stamp set is perfect for lovers of the written word with lots of fun sentiments and such an assortment of literature lovin’ critters! As you hop around the design team’s blogs today you’ll be able to check out SAVE MY PLACE! in action in combination with a lot of our other new November Kraftin’ Kimmie products!

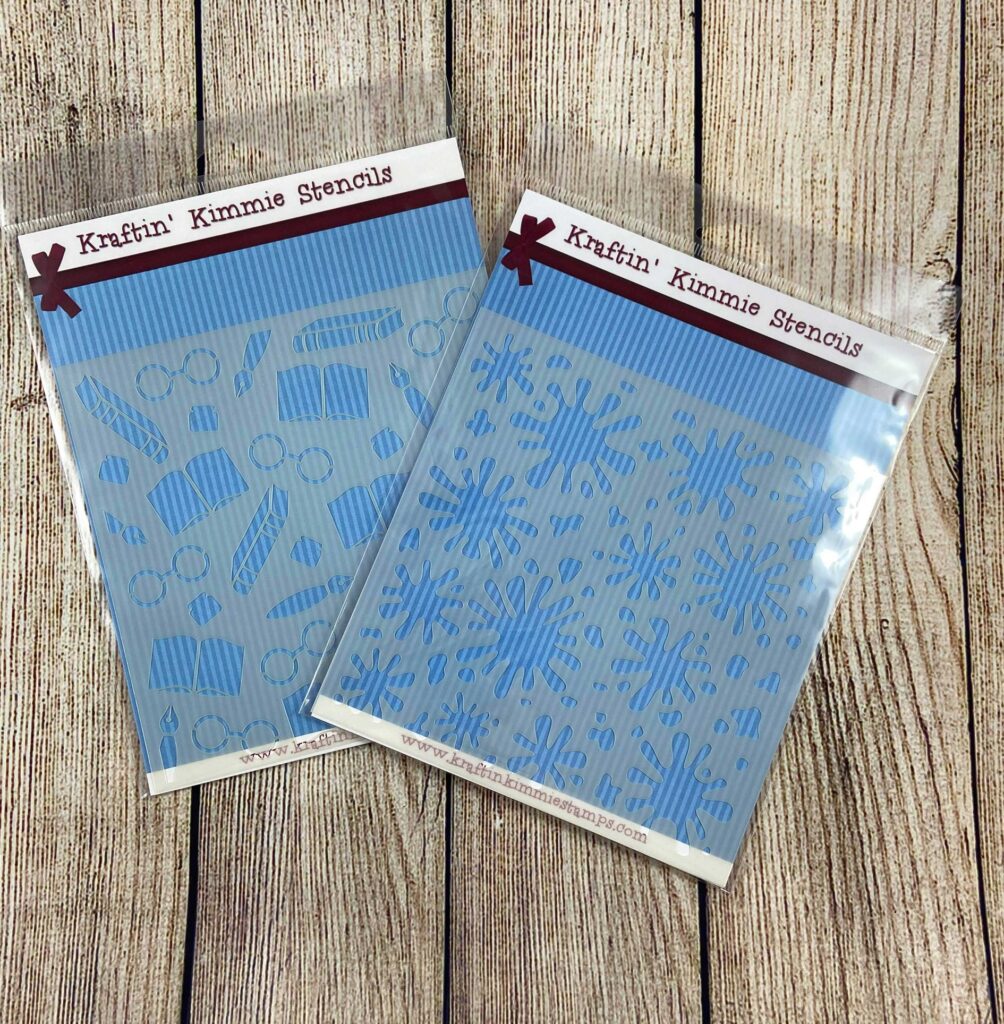
You will spot our newest addition to the Kraftin’ Kimmie Hybrid Ink rainbow! It’s a gorgeous new color…..called SOFT SAGE! As always it will be available in full sized ink pads, ink cubes and ink refills!We’ve got TWO new Krafty Stencils for this month’s release to help add some funky fun to your creations! They are called….
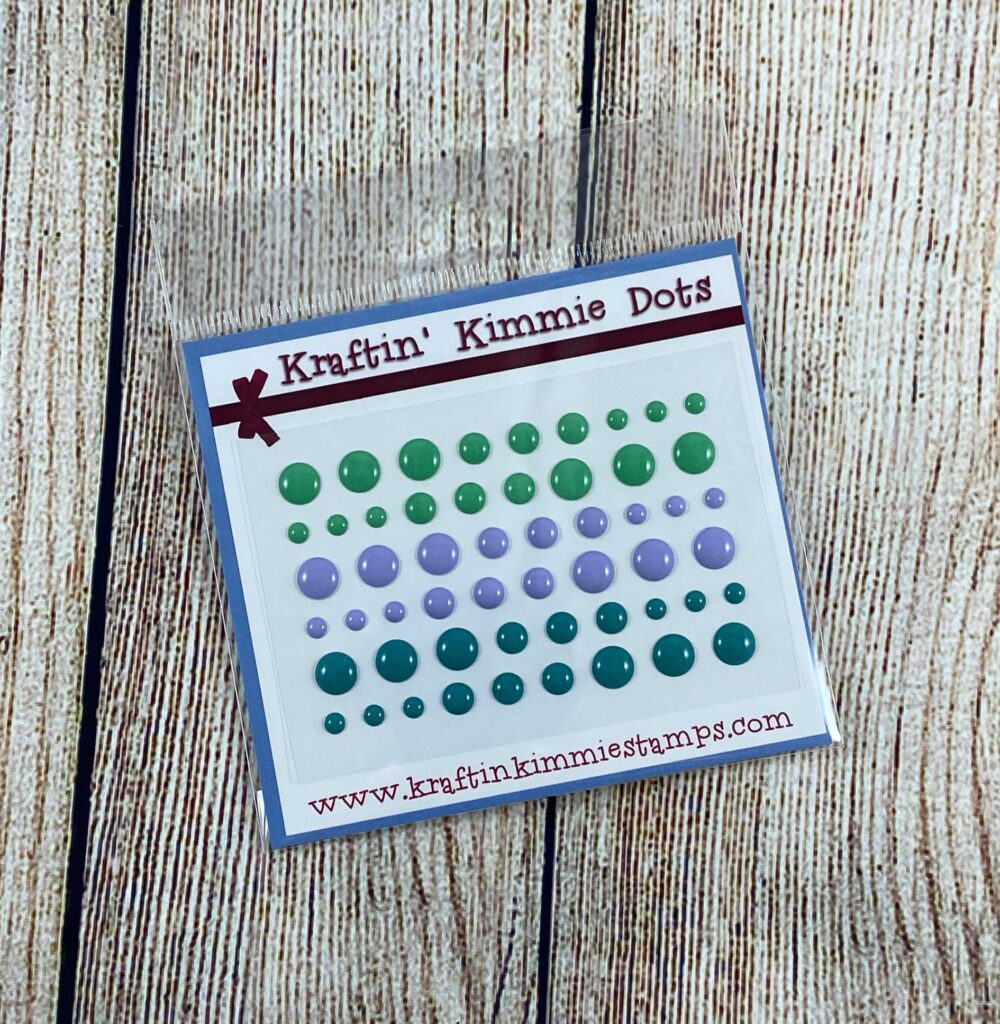
STUDY BUDDY and SPLISH SPLASH! Both designs are perfect for all your cards, scrapbook pages, mixed media and more! And of course we are adding the perfect new coordinating Krafty Dots for this release! This month’s additions are called DREAMY DOTS for adding the fabulous finishing touch to your design!

You’ll get to see all of our brand new goodies in action over the next few days of the November Krafty Peeks and everything will be released at our LIVE November Release Party 
on Saturday, November 21st at 2pm ET in the Krafty Friends group! For now, hop around and check out some amazing creations from the Krafty Team and be sure to leave some love at each stop on the hop! Your comment could be a WINNER of some krafty $$ to use in the shop! (Not to mention our designers are incredible and you should tell them so! ðŸ˜‰ )

Come on back tomorrow for some more krafty fun and goodness!

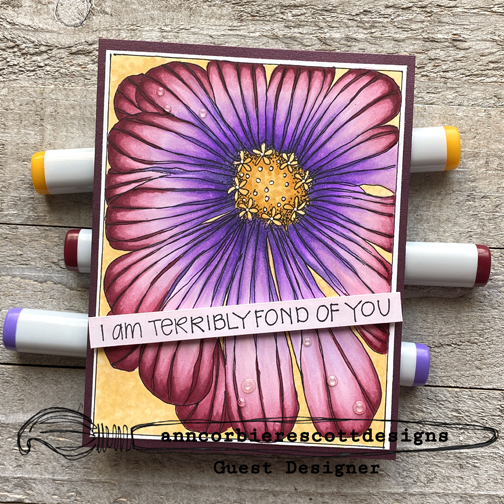
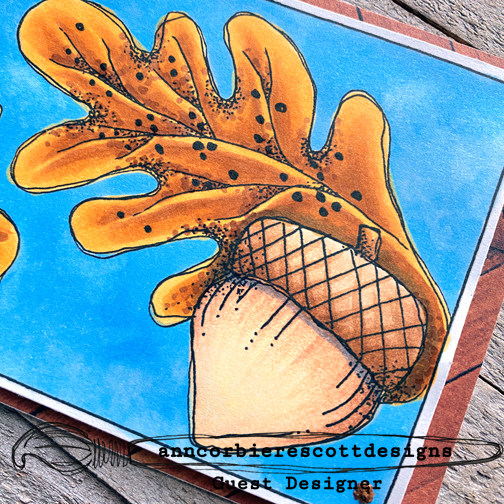
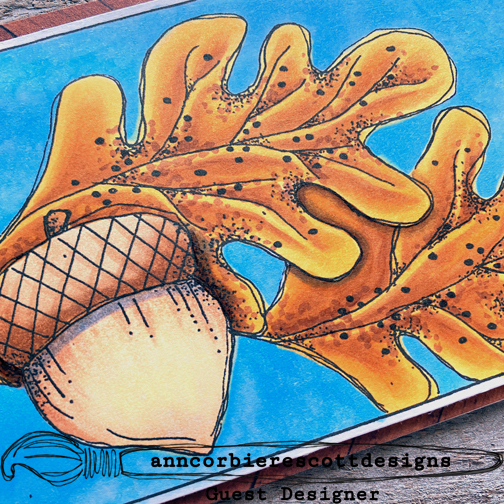
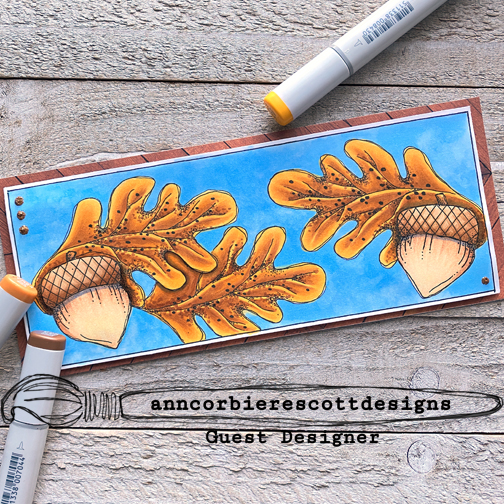
I decided to create a few bookmarks for something fun and different with these fun critters!

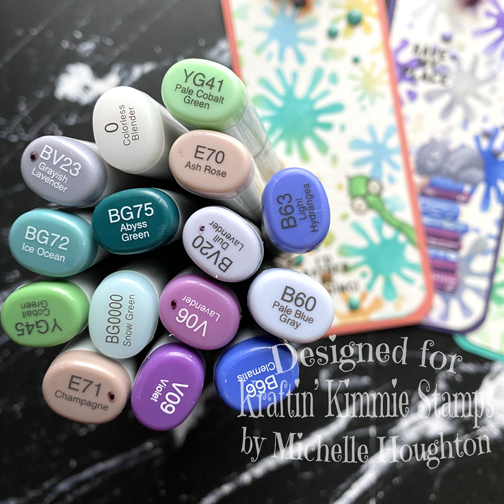
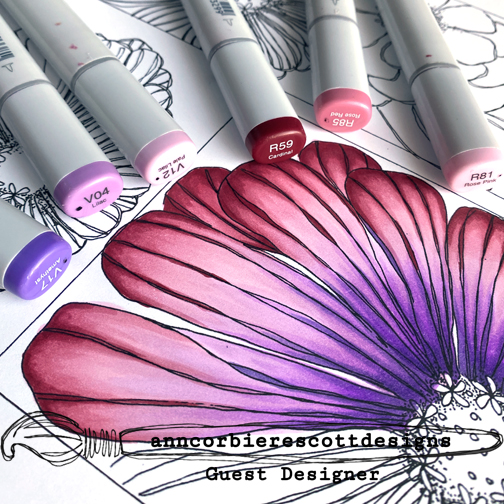
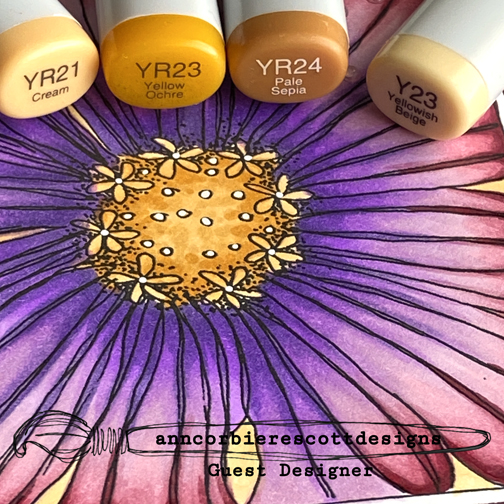
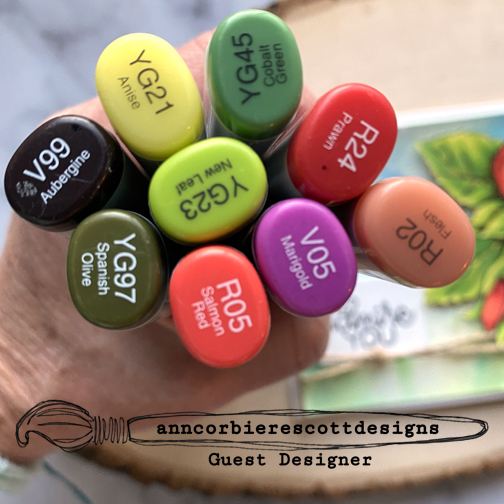
I used Copic Air Brush System and the Splish Splash stencil to create the backgrounds. I also used Copics to color the critters peeking in and propped on top of the books!

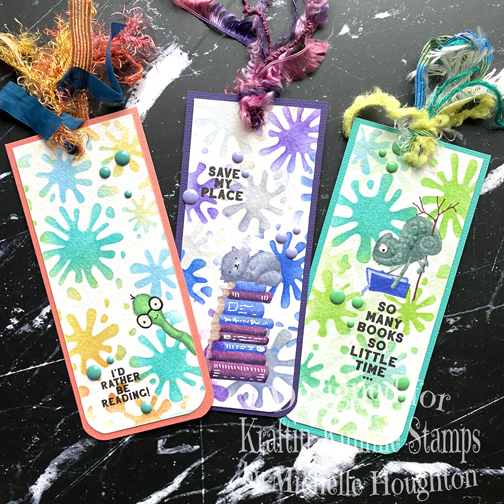
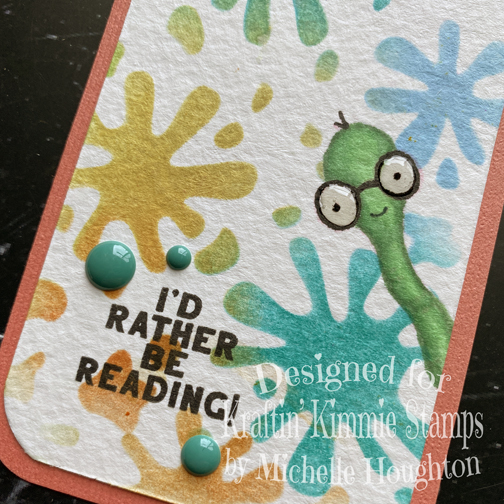
I used watercolor paper for the bookmarks so the Copic coloring is very soft looking. I finished them off with some random fun fibers and Krafty dots. Now remember there is more to come tomorrow! Stay tuned!

Have a Happy Colorful Day!

You are invited to the Inlinkz link party!

Click here to enter
Posted on

Week Three With Ann Corbiere-Scott Designs

Hello again. I am back with a third week guest designing for Ann Corbiere-Scott Designs. This week I am using one of Ann’s newer images, Aunt Mur. Copics are the star of the show again and I decided on a BOLD color combination for the petals.

From the center out are V17, V04 and V12, then from the edges inward are R59, R85 and R81. When coloring these I did about a quarter of the petals at a time in order to keep the ink fluid and blending easily.

Once I had the petals complete I added golden yellows to the center and on the background as well. The center is colored with YR21, YR23 and YR24 and the background is colored with Y21. I first colored in the background and after it dries I added dots with the same color. Once again completing the card was as simple as trimming the image, adding is on a colored base and a card base. For this card I also used one of the sentiments that Ann includes with all of her sets. A few drops of glossy accents on the petals as a finishing touch!

Thank you for stopping bye today! I will have another post next week with more lovely art from Ann.

Have a Happy Colorful Day!

Posted on

Happy Veteran’s Day Poppy

Happy Veteran’s Day. Thank you to those that have served and are serving this amazing country I call home. Thank you for defending my freedom. I am celebrating the day sharing a poppy image created by Ann Corbiere-Scott. This is part of her Lucinda set. I used my Copics on the poppy and Color Burst to create the background. I am loving how the two combined so well.

I kept the image fairly simple and used three color groups but very bright and vibrant! For the background, to keep it really light, I used the leftover Color Burst on my craft matte. It worked perfectly for a subtle soft background behind the bright flower.

I fussy cut the flower and then colored a second flower center and fussy cut it out as well. I mounted the watercolor paper on the card base, after wrapping it with twine. I added a touch of color to one of the included sentiments and then attached it to the lower left corner and popped the lower up in the upper right corner.

A few dots of glossy accents finished the card and adds a little sparkle. If you would like to more of Ann’s beautiful digital art head over to her shop! Thank you as always for stopping in today. I hope you are staying healthy and happy through this fall.

Have a Happy Colorful Day!

Posted on

More Slimline Stamps!

Rubbernecker Stamps has more slimline stamps and I want to make sure you see them all! Today I have a quick run through of the Copic Colors I used on the Christmas and the Birthday Slimline stamps. I think you will love both of these. Let’s start with the Christmas stamp.

Work through the full image with one color family at a time. You will find other small areas to come back to with each color group at the end, but this system helps me keep a more complex image like this balanced.

  • The darker red Copic group I used for this image consists of 3 reds that I used from dark too light. R59, R29, R24
  • The lighter red group I used consists of 2 reds and the Colorless Blender. R20, R21, 0
  • The yellow/gold group also uses the Colorless Blender with 3 yellows. Y28, Y21, Y00, 0
  • On both the lighter and darker green areas I used a combination of blue green and green colors to get the evergreen feel to the image.
  • For the lighter green areas I used a blue green and green as well as the Colorless Blender. BG70, G40, 0
  • The darker green areas use 2 blue greens and 3 greens. BG70, G40, BG72, G43, G46
  • The white areas use a light blue violet and the Colorless Blender. BV20, 0
  • The background areas are filled in with a dark blue. B39
  • There are a few light brown areas including the cookie edges and twine, these areas got two light earth tones. E50, E53

Then I colored up the Birthday Slimline. I used the same technique working through the entire images one color family at a time. Some I colored light to dark and others dark to light. I will list them in the order that I used them. I also switched gears to bright primary and secondary colors for this image.

  • Starting with the reds I used a very common 3 color natural blending group for the red sections. R29, R24, R22
  • I used a set of 3 yellow reds for the orange sections that I colored. YR09, YR07, YR04
  • The bright yellow sections I kept simple with two yellow Copics. Y19, Y13
  • I wanted the greens to stay bright and cheery so I used 3 yellow greens. YG09, YG03, YG01
  • Bright blue sections have a group of 3 blues. B28, B24, B21
  • I kept the purple sections lighter with two lighter violets. I also used the lighter color and the Colorless Blender in the white areas. V04, V01, 0
  • I used a light blue and the Colorless Blender in all the background sections to keep this image bright and cheerful. B01, 0

Thank you as always for stopping by and checking out what I am up to! Below you will find links to the Rubbernecker Stamp site where you can find all the RN products I used on the two card fronts above.

Have a Happy Colorful Day!


Posted on

Copic Coloring Video With Ann Corbiere-Scott

Hello my friends! This past Sunday I shared that I am Guest Designing for Ann Corbiere-Scott Designs this month. Today I am sharing the wonderful Patricia image. I have a Copic coloring tutorial that is going live today over on the Copic In The Craft Room YouTube channel.

These beautiful acorns and leaves are just screaming for fall colors! Here is a list of the colors I used: Acorn G20, E50, E31, E33, E35 – Tops E21, E23, E25 – Leaves Y35, YR24, E99 – Cast Shadows BV23, BV25 – Sky B32, Colorless Blender. Close Ups…

Because Ann has these sized perfectly for card fronts all I did was add a patterned paper that peeks around the edges and a card base beneath the image.

Thank you so much for stopping by today! Make sure to also stop over at the Copic In The Craft Room YouTube channel to check out the new Copic coloring video.

Have A Happy Colorful Day!